FableVision Learning Spotlight Blog
Categories
- Animation-ish 42
- Books 21
- Civics! 2
- Classroom Spotlight 17
- Conferences and Events 20
- Creative Educator 3
- Creativity 25
- Distance Learning 13
- Dot Day 22
- FabClassroom 28
- FabFriday 19
- FabMaker Studio 66
- FabMaker Studio Classroom 13
- FableFive 7
- FableVision Games 3
- Free Educator Resources 36
- HUTCH 1
- Home Activities 5
- In the Classroom 34
- In the News 11
- International Dot Day 23
- Ish 1
- Library 1
- Mapping the World by Heart 7
- Paul Reynolds 10
- Peter H. Reynolds 54
- Professional Development 9
- STEM/STEAM 20
- Storybook Academy 2
- Teacher Spotlight 14
- The Dot 17
- The North Star 2
- Words and Their Stories 1
- Zoombinis 3
Sydney & Simon Blast Off in Their Latest Adventure: To The Moon!
They’ve used STEAM-thinking to save Greenie, revive flowers for the art show, and now Sydney & Simon are embarking on their next adventure that is truly out of this world.
In To The Moon, the twin mice flex their creative and collaborative muscles to create a STEAM-inspired project about the Earth’s Moon, all for a chance to meet astronaut Kris Kornfield!
To The Moon is the third installment in the STEAM-powered Sydney & Simon series, which includes Full Steam Ahead and Go Green, written by real-life twins Peter H. and Paul Reynolds. To The Moon is available now from Peter H. Reynolds’ own book store, The Blue Bunny Books & Toys.
To celebrate the book’s release, we put on our own STEAM-powered hats to develop a few activities for our paper prototyping and fabrication tool, Fab@School Maker Studio:
Inspired by Simon’s moon-matching game, you can test your skills with the Fab@School Maker Studio 2D Moon Phase Puzzle. Try adding an extra challenge by filling in each Moon phase name yourself!
Join Kris Kornfeild on her mission and blast off with an animated Rocket Launch pop-up that slides up and down!
Or cruise through space with the Rocket Flight Path pop-up. Try making new tracks for the rocket to trace for an extra creative challenge!
Finally, test your FAB skills with the 3D Rocket Ship. Can you change the shape or size of the design? Can you put yourself and Commander Kris Kornfield inside the rocket?
The FableVision Learning team is excited to see what your students are fabricating, animating, and writing! Share your Moon-inspired Fab@School Maker Studio creations by emailing Patrick@FableVisionLearning.com. You may even get the chance to be featured in a future blog post!
But wait! Did you know that our Moon is going to pass directly between the Earth and the Sun on Monday, Aug. 21, 2017? This solar eclipse is a very rare event, and a great opportunity to use STEAM to learn and teach others about our position in the solar system. Check out NASA’s Solar Eclipse resource here.
FABClassroom: Sir Charles Tupper School in Nova Scotia
The following FABClassroom post was written by Laura Kennedy, a third-grade teacher at the Sir Charles Tupper School in Halifax, Nova Scotia. From geometry to storytelling, she says that Fab@School Maker Studio has become a game-changer in her classroom.
Fab@School Maker Studio is a hit in our class! I fiddled and tinkered with it a bit before showing it to my class and appreciated the “Ready-to-Go” options. I was intrigued and brave enough to tackle the automaton.
The students were all eyes when I showed them what I made. What I didn’t know at the time was that the quietest of all the students in class was making mental notes of the design. She came to class the next day with a close replica of the automaton to share with the class. Not only was the feat of making one without the specific outline and instruction page incredible, even more so was that she asked to present it to the class. Being shyer than others she stepped out of her comfort zone and stood in the spotlight. She was beginning to find her voice and it was the act of creating and feeling proud of her accomplishment that helped her on her way.
In this way, Fab@School Maker Studio was more than a fun way to represent ideas, it became a game changer.
After attending the one-day FabMakerSummit in Boston, I was even more excited to share ideas with the class in creating, imagining and dreaming.
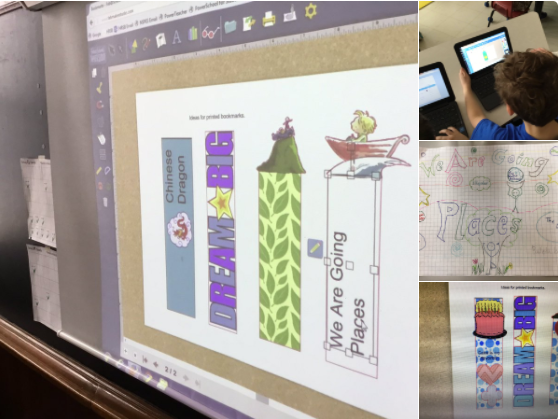
Beginning with customizing bookmarks, students became familiar with the different elements to choose. What was most interesting in this case was not the instant communication and collaboration of ideas and peer helping but how another particular student rose to the occasion. This student usually requires various supports in the classroom. In this case though, the student independently worked diligently changing the color, texture and adding stamps. Each new element was proudly displayed and shared with others. Bookmarks might have been the task but confidence was the result.
After I learned more about the different elements such as welding shapes and the 3-D viewer, I showed the class who picked up on these skills quickly. I remember mentioning how even how the teachers at the summit worked as a group to problem solve how to unweld shapes. To my surprise, in the time it took to share the story, the student next to me had figured it out and had an example to show our class.
It was the natural discussions that were heard as the students were engaged in creating and learning on the go. We took this a step further and share our items with our Learning Buddy class of grade 1 students. The grade 3-4 students became the teachers when they took the younger students through the process of customizing their own bookmarks.
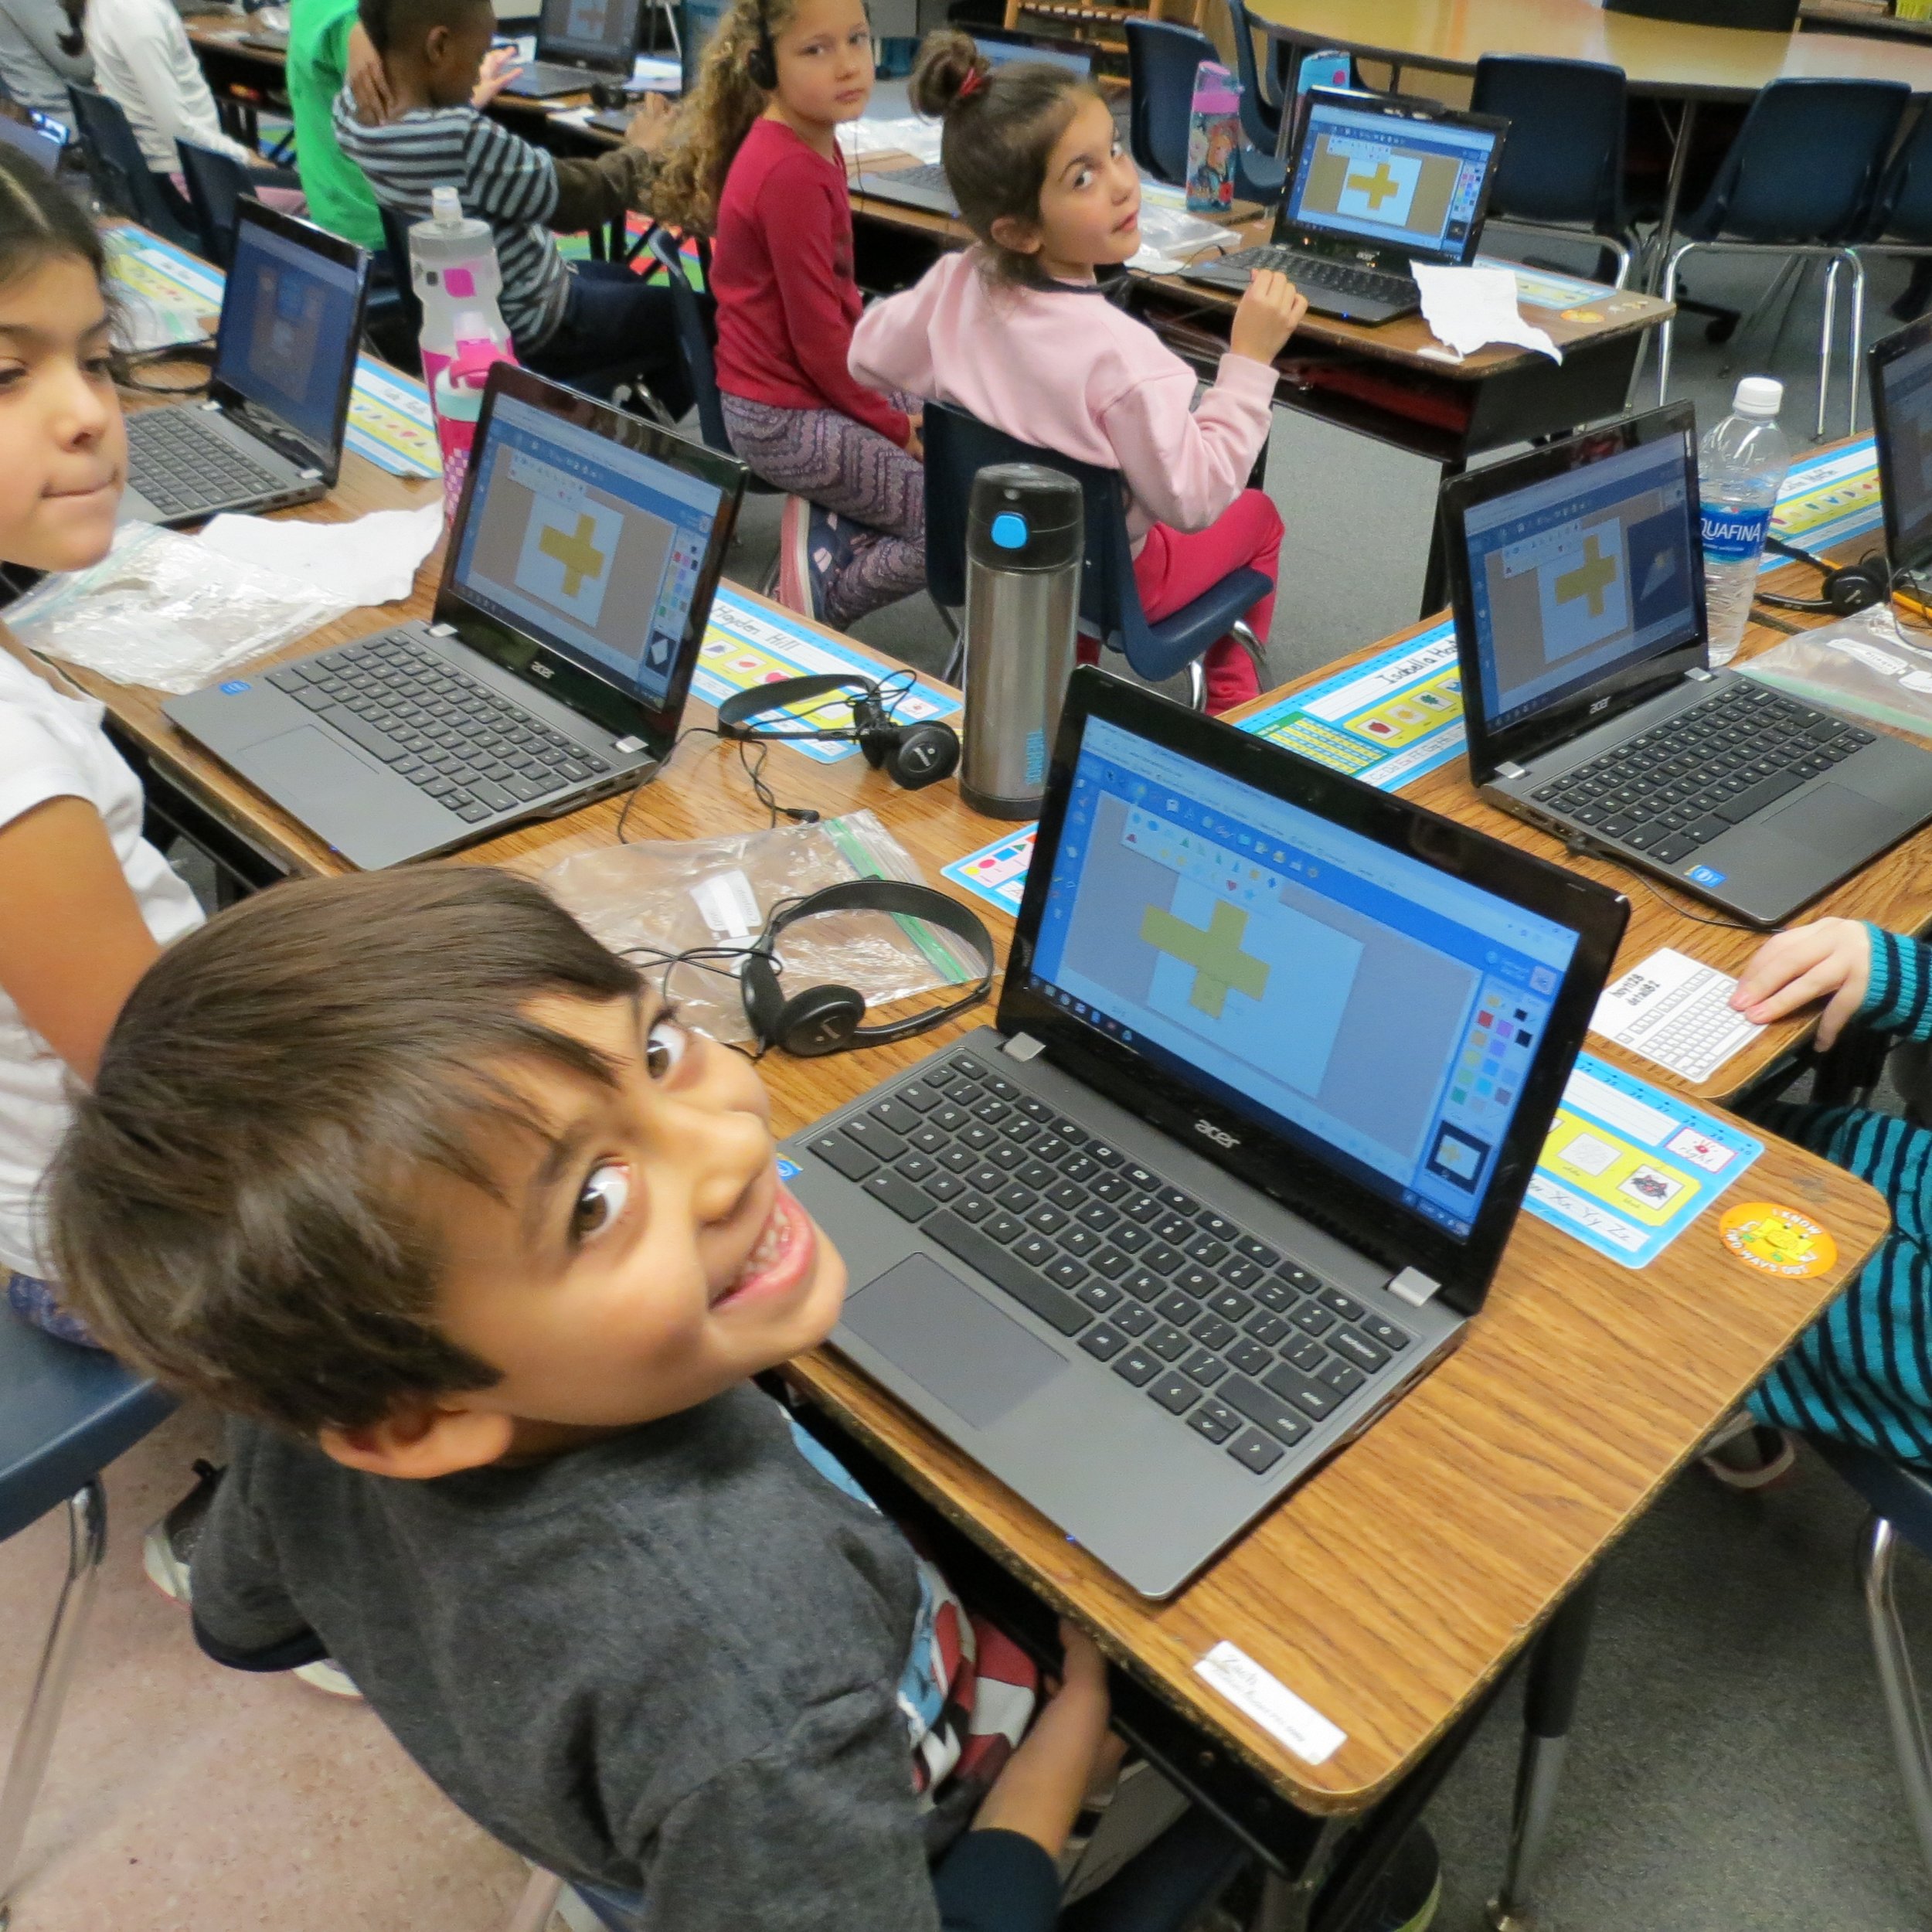
Connecting the Fab@School to geometry outcomes, students created 2-D shapes. They were modeled after our “Perimi-bot’ robots. Using multiple ways to demonstrate their knowledge benefits student learning and development of their ideas. Since Fab@School has a built in ‘intrigue’ factor, students are drawn to the program and spend productive time creating items. Storytelling to poetry to nonfiction facts of their design process add another element that expands the learning.
Is your classroom a FabClassroom? We would love to feature your school in an blog post! To be featured in an upcoming post, send an email to info@fablevisionlearning.com. You can also tweet your photos with the hashtag #FabMakerStudio! For more posts featuring Fab@School Maker Studio, click here.
FABClassroom: Tiny House Revolution at Stem Launch K-8
The sixth graders at Stem Launch K-8 in Thornton, Colorado started a revolution - a Tiny House Revolution. Every year, students engage in a Problem-Based Learning (PBL) model and are motivated by inquiry-based, hands-on learning.
Best Model-Group 22 Ms. York
Katherine Klaver, STEM coordinator at the school explained that the students, "are immersed in authentic problem solving and they present their learning to expert panels made up of community experts multiple times throughout the year. "
This year, about 170 sixth graders used Fab@School Maker Studio to tackle the Tiny House Challenge. We asked Katherine to share a bit more about the program and how the school is applying the digital design and fabrication software into their curriculum.
Can you share a bit about the Tiny House Revolution and the Sixth Grade Math PBL Panel?
Our sixth graders’ math PBL was called, "Living Small: The Tiny House Revolution." Check out the link to the site, here. Students were asked to consider the following
Context: The cost of housing is skyrocketing. This is causing people to lose their homes or not able to afford them in the first place. There is currently an affordable housing shortage in the Denver Metro area and alternative solutions are necessary.
Problem: How do you create housing that is both affordable and sustainable for a family of four using the specific parameters of the tiny house model (250-1,000 square feet)?
Task: Students will design a tiny home that is cost effective, energy efficient, and can fit a family of 4.
This PBL was rooted in math. Here are some of the standards that were taught:
Geometry plays a role in our everyday life.
Mathematical models can be used to solve real-life problems.
Students are able to reason about relationships among shapes to determine area, surface area, and volume.
At the end of March, we brought 170 sixth graders to the Denver Home Show. Deek Diedricksen from HGTV's Tiny House Builders talked to us and we got to tour about 12 tiny houses.
The kids researched the current housing situation in the Denver Metro area and the need for more affordable options. They utilized their math skills to create tiny house designs that they then created in Fab@School and used the fabricator. Students also build physical models.
Can you share an “aha moment” working with your students Fab@School?
I think the best way for me to answer this question is with some direct quotes from sixth grade students!
"FabMaker Studio is easy to use and understand. It's one of the best websites I've used for 3D printing! I love how if I needed a shape I could just grab it and move it. TinkerCad is too sensitive for me." ~Logan S.
"It's easy to see and to run this program. I love how you could see what it would look like before you folded it." ~Dejanae W.
"This program helped us figure out the measurements and we determined how to scale it down by a third. We really liked the visual that the program gave us." ~Eric D.
"I love the magnet tool. It really helped us construct our physical model." ~Jeff D.
Is your classroom a FabClassroom? We would love to feature your school in an blog post! To be featured in an upcoming post, send an email to info@fablevisionlearning.com. You can also tweet your photos with the hashtag #FabMakerStudio! For more posts featuring Fab@School Maker Studio, click here.
FABClassroom Spotlight: Castle Rock Middle School & Yvonne Miller
Meet Yvonne Miller from Castle Rock Middle School in Castle Rock, Colorado. The school has a makerspace library filled with resources and tools for students and teachers to use. They recently added Fab@School Maker Studio, a digital design and fabrication program, to space. We asked Yvonne to share more about how they are applying this software into their school curriculum.
Can you share a bit about your library makerspace and programming?
For the past 3 and a half years, we have been on a mission to transform our traditional library to a dynamic space for students. Students will have access to world-class tools, innovative spaces, comprehensive resources, and 21st Century instructional support. We started our Library MakerSpace with donations of recycled and consumable materials. Today, we have 3D printers, littleBits and MakeyMakey products, robotics, a CNC machine, and a 2D fabricator. Recently, with the generous donation from the Morgridge Family Foundation, we were able to add the Fab@School Maker Studio software, four additional Silhouette machines, and receive training on the software as well. The space has supported students and staff in numerous projects, and it has been wonderful to witness excited and engaged students learn about the potential of a MakerSpace.
Our school has adopted the mindsets of Design Thinking as our constructivist model of instruction. Every student attends a class called InnoV8 where they learn about the Design Thinking Process and apply it to authentic problems and designs for human needs.
How are the students at Castle Rock Middle School using Fab@School Maker Studio?
Students use Fab@School Maker Studio as part of the prototyping process in their Design Thinking curriculum. Currently, all 8th grade students are engaging in a Sustainability Project in their Science classes. They are learning about sustainable living, energy transfer, natural resources, and human environment interactions. They have been challenged to design a tiny home in a specific location and for specific users. For example, an environmentalist who lives in a Portland, Maine, or a pet rescue family who lives in Buffalo, New York. Students will build spaces that must be proportionally correct and includes the amenities of a tiny home. They will be using Fab@School Maker Studio to design the interior of the tiny home, receive feedback about their designs, then iterate any components needed for the tiny home.
We are also using Fab@School Maker Studio in numerous different ways. We had a team of 7th graders use Fab@School Maker Studio to design a school during a Mars Challenge. They’ve also created a game incorporating math concepts for their Math Challenge activity. Our World Cultures teacher also used Fab@School Maker Studio during a study of a Japanese culture and paper folding.
What has been the “aha” moment working with Fab@School?
The spatial awareness and critical thinking necessary to design a 3D project is challenging to say the least. Students also found it challenging to mentally deconstruct a 3D object to a 2D design. Students with strong visual spatial skills have an easier time with the design, compared to those who think in pictures. There is definitely a lot of metacognition and visible thinking going on, and we appreciate the ready-made objects as a learning tool to take the designs even further. But the challenge is real.
What is next?
I hope our students make it a routine to use Fab@School Maker Studio while prototyping their designs. It fosters and promotes the mindset of rapid prototyping and helps build the maker culture, all while supporting instruction with Design Thinking.
Is your classroom a FabClassroom? We would love to feature your school in an blog post! To be featured in an upcoming post, send an email to info@fablevisionlearning.com. You can also tweet your photos with the hashtag #FabMakerStudio! For more posts featuring Fab@School Maker Studio, click here.
Denver and Boston-based Nonprofits Announce Partnership and Grants to Accelerate STEM Learning in Schools Across U.S.
A consortium of organizations in Denver and Boston have announced a new partnership between mindSpark Learning and FableVision Learning to provide students with earlier access to quality STEM education. The two groups are offering a match grant program supported through the Morgridge Family Foundation (MFF) and the Reynolds Center for Teaching, Learning and Creativity (RCTLC).
Denver-based mindSpark Learning — a nonprofit providing innovative professional learning and development nationwide for educators, by educators — and FableVision Learning — a Boston-based K12 educational media and software provider offering creative learning tools, resources, and support — are excited to partner in the Fab@School Match Grant Program.
This grant provides a match of $1,750 per school, supplying each site with:
A year-long school site license for Fab@School Maker Studio web-based, digital fabrication software program — compatible with Mac, Windows, iPad, Chromebooks, and other mobile devices
Digital fabricators
Virtual professional development — overview of the software tools, as well as support for curriculum integration
Significantly discounted annual software license renewals
Interested schools and districts are encouraged to apply for the grant by reaching out to the Reynolds Center (TLCgrants@reynoldsTLC.org).
The Fab@School Match Grant program is designed to accelerate STEM education in schools and libraries across the country by combining professional development and teacher support with a research-based digital design and fabrication software platform.
This grant opportunity is helping provide solutions to the challenges around effective STEM learning, a dream envisioned almost a decade ago by another international coalition of research and education leaders, led by the University of Virginia. Launching the Fab@School initiative, the coalition quickly tapped RCTLC to research and develop a key tool for its research program. After five years of research, prototyping, and testing, RCTLC released the Fab@School Maker Studio early last year. The online-program, designed by Dr. Peggy Healy Stearns, is a digital design and fabrication software platform which uses affordable paper-based fabrication hardware.
Designed as a flexible onramp to meaningful STEM/STEAM learning, this online software introduces an engineering process specifically for use in K-8 classrooms. Easily adapted across grade levels, Fab@School Maker Studio tools allow for the creation of step-by-step and ready-made standards-based projects. Student can also recreate and modify sophisticated inventions from the Smithsonian, which was made possible through an Investing in Innovation Fund (i3) grant from the U.S. Department of Education.
Teachers are reporting the impact Fab@School has had in their classroom.
“Project-based learning with Fab@School Maker Studio is a great way to learn as it allows students to become fully invested in their work, so much so that they forget they are even doing ‘school work,’” Maryann Molishus, an educator at Goodnoe Elementary School, Council Rock School District, Newtown, PA said. “I can honestly say that the students are actively and happily engaged in mathematical conversations at a fifth grade level and more!”
By introducing STEM teaching and learning much earlier on in schools, Fab@School aims to spark critical interest in STEM studies, and prepare students for the careers of the future. According to the U.S. Bureau of Labor Statistics, by 2020 jobs in the STEM field will have grown more than 18 percent over the previous decade; however, the current education system is struggling to produce enough qualified STEM graduates to fill those jobs.
The President’s Council of Advisors on Science and Technology (PCAST) — an advisory group of the nation’s leading scientists and engineers — warned, “It is important to note that the problem is not just a lack of proficiency among American students; there is also a lack of interest in STEM fields among many students. Recent evidence suggests that many of the most proficient students, including minority students and women, have been gravitating away from science and engineering toward other professions. Even as the United States focuses on low-performing students, we must devote considerable attention and resources to all of our most high-achieving students from across all groups.”
The good news is that Fab@School is already reporting measurable progress in meeting this challenge. Research pilots, funded by the Noyce Foundation, demonstrated Fab@School’s efficacy in shifting students’ attitudes about STEM education, including a 30 percent increase in interest in STEM learning after eight weeks of using the software program.
“It’s gratifying to be part of a national initiative that’s really moving the meter on STEM education,” Reynolds Center Founder Paul Reynolds notes, “Since Fab@School is committed to equity and access around STEM opportunities, it’s critical to have partners like mindSpark Learning and Morgridge Family Foundation who can help provide support and funding to give all schools a chance to use the Fab@School program, especially those who may be economically disadvantaged.”
FABClassroom Spotlight: Kim Slayton, Burnham Brook School
Meet Kim Slayton from the Burnham Brook School in Canterbury, New Hampshire. Not long ago, the school added Fab@School Maker Studio, a digital design and fabrication program, to their school curriculum. Kim and her students have been using the web-based program in art, science, and social studies projects. We asked Kim to share more about how her students were using the tool and how they plan on taking the program to the next step.
As a teacher, you truly encourage your students to Create Bravely. What tips can you share on encouraging creativity in the classroom?
An important tip to encourage creativity is not to panic. If something doesn’t work out the way it is supposed to, don’t be afraid to try again or find another way to solve the problem. Where there's a will there’s a way to work around any problem. It is also important to have a backup plan, in case your original idea doesn’t come out as you hoped it would. Finally, taking notes on what did and didn’t work helps gives the learner a general sense on how to solve the problem in the future.
How are you using Fab@School Maker Studio in the classroom?
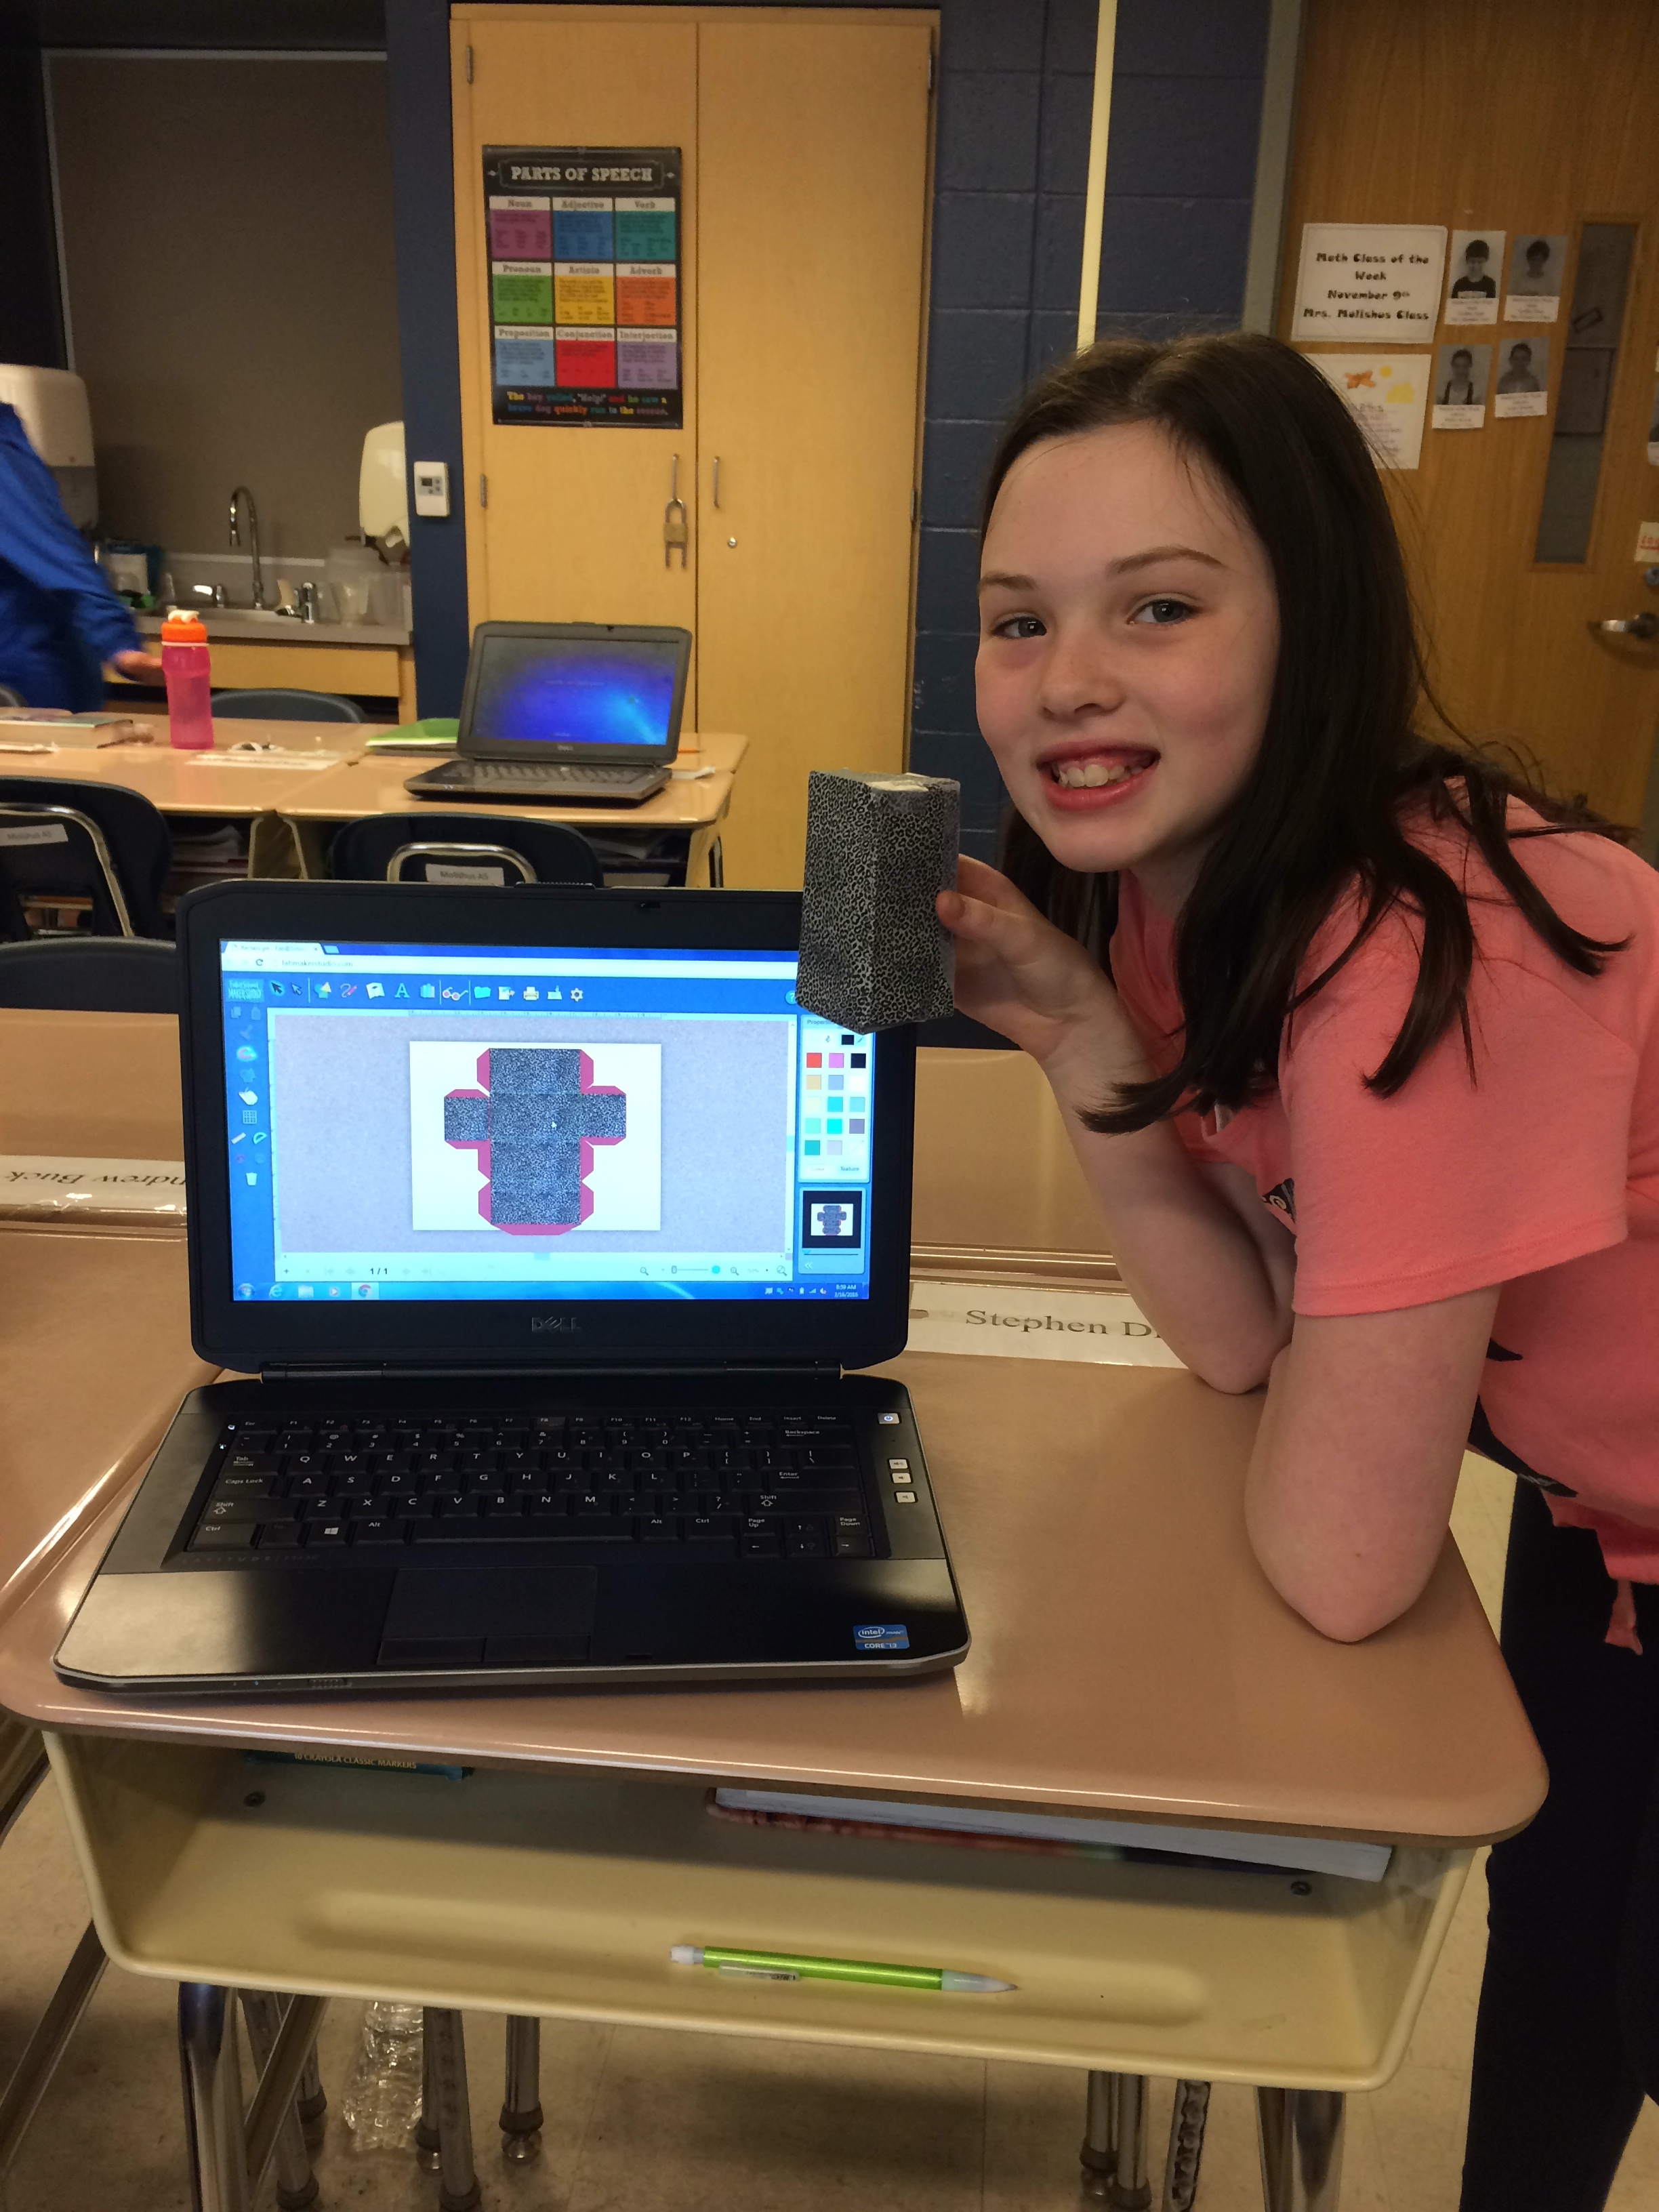
We use Fab@School Maker Studio in art class for making sculptures, as well as creating boxes to store small art projects. The program is especially helpful in demonstrating concepts in science and social studies. To top it off, I also make paper masks for my dyslexic students, as well as other teachers for their students.
What has been an “aha” moment using Fab@School Maker Studio?
I have a student who, due to birth complications, has only four fingers on one hand. This makes it especially difficult for her to use scissors. She was so excited and amazed when she came across the Fab@School Maker Studio program. She was able to plan and create a very complex paper art project without difficulty [and cut it out with the digital cutter]. It was a great “aha” experience when she finally saw her concept come to life.
You work with learners of all ages and abilities. How have you used Fab@School Maker Studio with every student?
Some of my students have been using Fab@School Maker Studio on their own computers, while others explained what they wanted and I designed it on my computer. Typically, the students sketch out their desired finished product, and then we work together to figure out how to properly place the nets. My students and I have also used some of the 3D Ready-Made projects, such as the castle and automaton, for writing prompts and story mapping.
What is next? Any cool projects in the works!?
The student who has difficulties using scissors really likes horses, so we will be working on building an automaton with galloping horses instead.
Can you tell us a bit about your school?
Burnham Brook is a small private school founded in 1982 by Barbara and Walter Howell. All teachers use multisensory structured language instructions to teach their students. Each student is provided with an experience and then we attach a specific language to that experience. This allows them to take ownership for their learning, as well as develop a deeper foundational understanding of the concepts.
Instead of dividing the students into grades, they are instead grouped together based on their ability and language processing styles. The school consists of students with average, above average, and gifted intelligence. Some students have been identified as having a learning disability, while some have no learning difficulties but weren’t being challenged in their local public schools. All of the same types of classes meet at the same exact time, so if we need to change a student’s group, it would not disrupt his or her overall school schedule.
Is your classroom a FabClassroom? We would love to feature your school in an blog post! To be featured in an upcoming post, send an email to info@fablevisionlearning.com. You can also tweet your photos with the hashtag #FabMakerStudio! For more posts featuring Fab@School Maker Studio, click here.
Dedham is home to one FAB Library!
Huddled around a computer, kids excitedly watched as their ideas became digital designs. On Friday, March 24, kids of all ages joined a Fab@School Maker Studio workshop a the Dedham Public Library and got hands-on with digital design and fabrication. From dog masks to personalized boxes, these children learned the design process in the library makerspace by means of 3D and 2D printing.
Dedham Library Innovation Team (DLIT), the award-winning library advocacy group dedicated to creating modern libraries in Dedham, MA, generously donated a Fab@School Maker license to the library. This donation allows residents to work with the digital fabrication program in the library’s makerspace, or check out the technology to use at home. FableVision Learning is happy to help with DLIT’s initiative to provide more people access to amazing, innovative technology and lessons that can be of use to children outside of the classroom.
Friday was the introduction of this new product at the library, and the FableVision Learning team join the celebration by letting children try it out. During the workshop, kids of all ages, altered ready-made projects and tried their hand at fabricating their own.
Fab@School Maker Studio particularly made an impression on one little girl, Eliza, who was eager to create her own ninja mask. But there wasn’t a pre-made mask! This didn’t stop Eliza; she went right over to the computers and started mapping out a new design - all on her own. And, not surprisingly, at the end of the workshop, she walked away with her mask. This story shows that this creative generation of kids don’t have to stick to the guidelines of already designed layouts - they can venture out and create their own unique designs as well. That is truly the beauty of Fab@School Maker Studio!
Local? Try it out at the Dedham Public Library today. Want to bring Fab@School to your public library or makerspace? Send an email to the team at info@fablevisionlearning.com or give us a call 800-828-0017.
FABClassroom Spotlight: Arrowwood Elementary
From the library to the classroom, Arrowwood Elementary is a FABschool. Earlier this year the neighborhood school in Douglas County, CO added Fab@School Maker Studio, a digital design and fabrication program, to its STEAM curriculum. Recently, Dana Palmer shared a bit about how students are using the tool and the plans for the future.
As a STEM/STEAM teacher can you share a bit about the importance of introducing STEAM concepts in elementary school?
I was the "tech lab teacher" for the first 8 years of my career - straight tech lab activities devoid of creativity did not help students develop a deeper understanding of concepts. I found students cutting and pasting information from the internet directly into PowerPoint and calling it "technology integration.” They were unable to explain concepts in their own words; they were unable to relate concepts to their lives or other applications. With the hands-on creative approach of STEAM that I use, students are highly engaged and have a much deeper understanding of concepts.
How are the students at Arrowwood Elementary School using Fab@School Maker Studio?
We are at the starting stages - our older students are creating manipulatives for younger students. We reworked an old lesson that used straws and pipe cleaners to make 3D prisms with Fab@School Maker Studio prisms created by students.
For our older students, they are learning to be creative and do for others-creating something another student will use to learn has been really exciting for them, and the younger students are receiving top quality manipulatives made by school mates.
What has been the “aha” moment?
When I looked at last year’s "prisms" compared to this year’s it is evident that they are accurate- having accurate prisms allowed students to better understand planes, vertices, etc...
They got the "correct" answer quicker and were able to understand the correlation between sides, vertices, etc..
What is next?
Looking to create a fabrication center in our library - great software - easy to get started with and reasonable equipment prices will make this a reality much quicker than I thought possible.
Is your classroom a FabClassroom? We would love to feature your school! To be featured in an upcoming post, send an email to info@fablevisionlearning.com. You can also tweet your photos with the hashtag #FabMakerStudio! For more posts featuring Fab@School Maker Studio, click here.
Geometric Storytelling Dice with FabMaker Studio
“Storytelling is the most powerful way to put ideas into the world today.”
It’s rare that any story will emerge fully-formed. Ideas usually come bit by bit and often rely on inspiration and spontaneity to develop. Physical objects can help tactile and kinesthetic thinkers manage their ideas. Let’s jump into FabMaker Studio to create story dice that enhance the creative brainstorming process.
Step 1: Building the Cube
Let’s get started by constructing a cube net in FabMaker Studio. Not sure how to begin? Check out the Cube Net Step-by-Step Project for an introduction to creating 3D cubes. For more tips on creating a cube in FabMaker Studio check out this video.
Step 2: Adding Story Elements
Now that we have the basic cube net laid out, let’s add storytelling elements to each face of the cube with the Text Tool and Library Images.
Place text onto your cube by opening the Text Tool on the top toolbar and then clicking on the page to create text boxes to type in. Add clip art by opening the Library on the top toolbar and selecting art to place onto the page.
Tip: Turn off the Magnetize tool so the text boxes and images do not snap automatically to the edge of the squares.
Step 3: Design Glue Tabs for Assembly
Your students can choose to either tape the edges of the cube together, or add tabs for glue. The Cut Fold Tab tool is perfect for adding tabs. When working in the classroom, students will often ask me where they should put their tabs. My favorite response is “everywhere!” For this cube, students can put tabs on every edge and then tear away the ones they don’t need when they are assembling.
There is also another solution inside the program - the 3D Viewer! Encourage your students to use the 3D Viewer to help visualize how the cube will fold and which edges will touch each other. You will want one tab for each pair of touching edges. Here are two possible tab layouts - there are a lot more out there to find!
For information on the how the Cut Fold Tab tool works, check out the Cut Fold Tab Tutorial Video.
Step 4: More Cubes!
Now that your students have constructed their first cube, let’s duplicate the design onto another page to make more.
With the Select Arrow, click and drag a box around the entire cube to select it and then click Copy. Create a new page with the Add Page button on the bottom toolbar and, on the new page, click Paste to place another cube.
Invite your students to add actions, nouns, and transitions to their new cubes. The story possibilities are endless!
Step 5: Print, Fabricate, and Assemble
When your students are ready to “roll” with their design, follow the Fabrication Quick Start Guide to create the physical paper cube.
Hot off the press, it’s time to assemble the dice and roll out a new story!
"We thought it was over when the Dinosaurs stole the Statue of Liberty... BUT THEN-"
Do More! Experiment with other geometric shapes and game design
You can experiment with the other dice forms shown above by looking in the FabMaker Studio Pre-Made Projects library, under the tab “3D Stuff” (see right).
The project is called “Dice Set.”
The small, decorative elements on the side of the dice were also made in FabMaker Studio - created with the Shapes tool, and scaled-down to a miniature size.
You can combine them in multiples to make a standard, number-roll dice.
You can also design your own, themed game with your custom dice, and use this Design-your-own game board printable! (Shown bottom right.)
Constructing 3D shapes is a moderate challenge, but it is always possible to apply these ideas to a simpler design. You can try making 2D story cards instead of 3D shapes, or try designing a moving object like a spinner wheel for an extra twist.
Classmates can work together and combine their creations for an extra boost of inspiration, and teachers can fit these games into their existing curricula!
How are you using Fab@Maker Studio? We'd love to share YOUR tips and ideas! Send your photos to info@fablevisionlearning.com, or post them and tag us, @FableLearn, using the hashtag #FabMakerStudio for a chance to have them featured on our blog!
Fab Lab Tulsa Pilots Early Elementary School Program Featuring Fab@School Maker Studio
The following blog post was written by the team at Fab Lab Tulsa about their Digital Fabrication pilot with early elementary school students.
At Fab Lab Tulsa, we’re used to working with digital design and fabrication tools. In fact, we consider ourselves to be experts at it, with over five years of experience teaching youth programs that target 5th through 9th graders. We’ve had some experience with younger students but we’ve wanted to find some way to get early learners engaged in the design process. After a ton of research we were able to locate the Fab@School Maker Studio platformer. We were super excited to pilot Fab@School Maker Studio to see if it could be used to expand our existing programs to students in the 1st to 3rd grades.
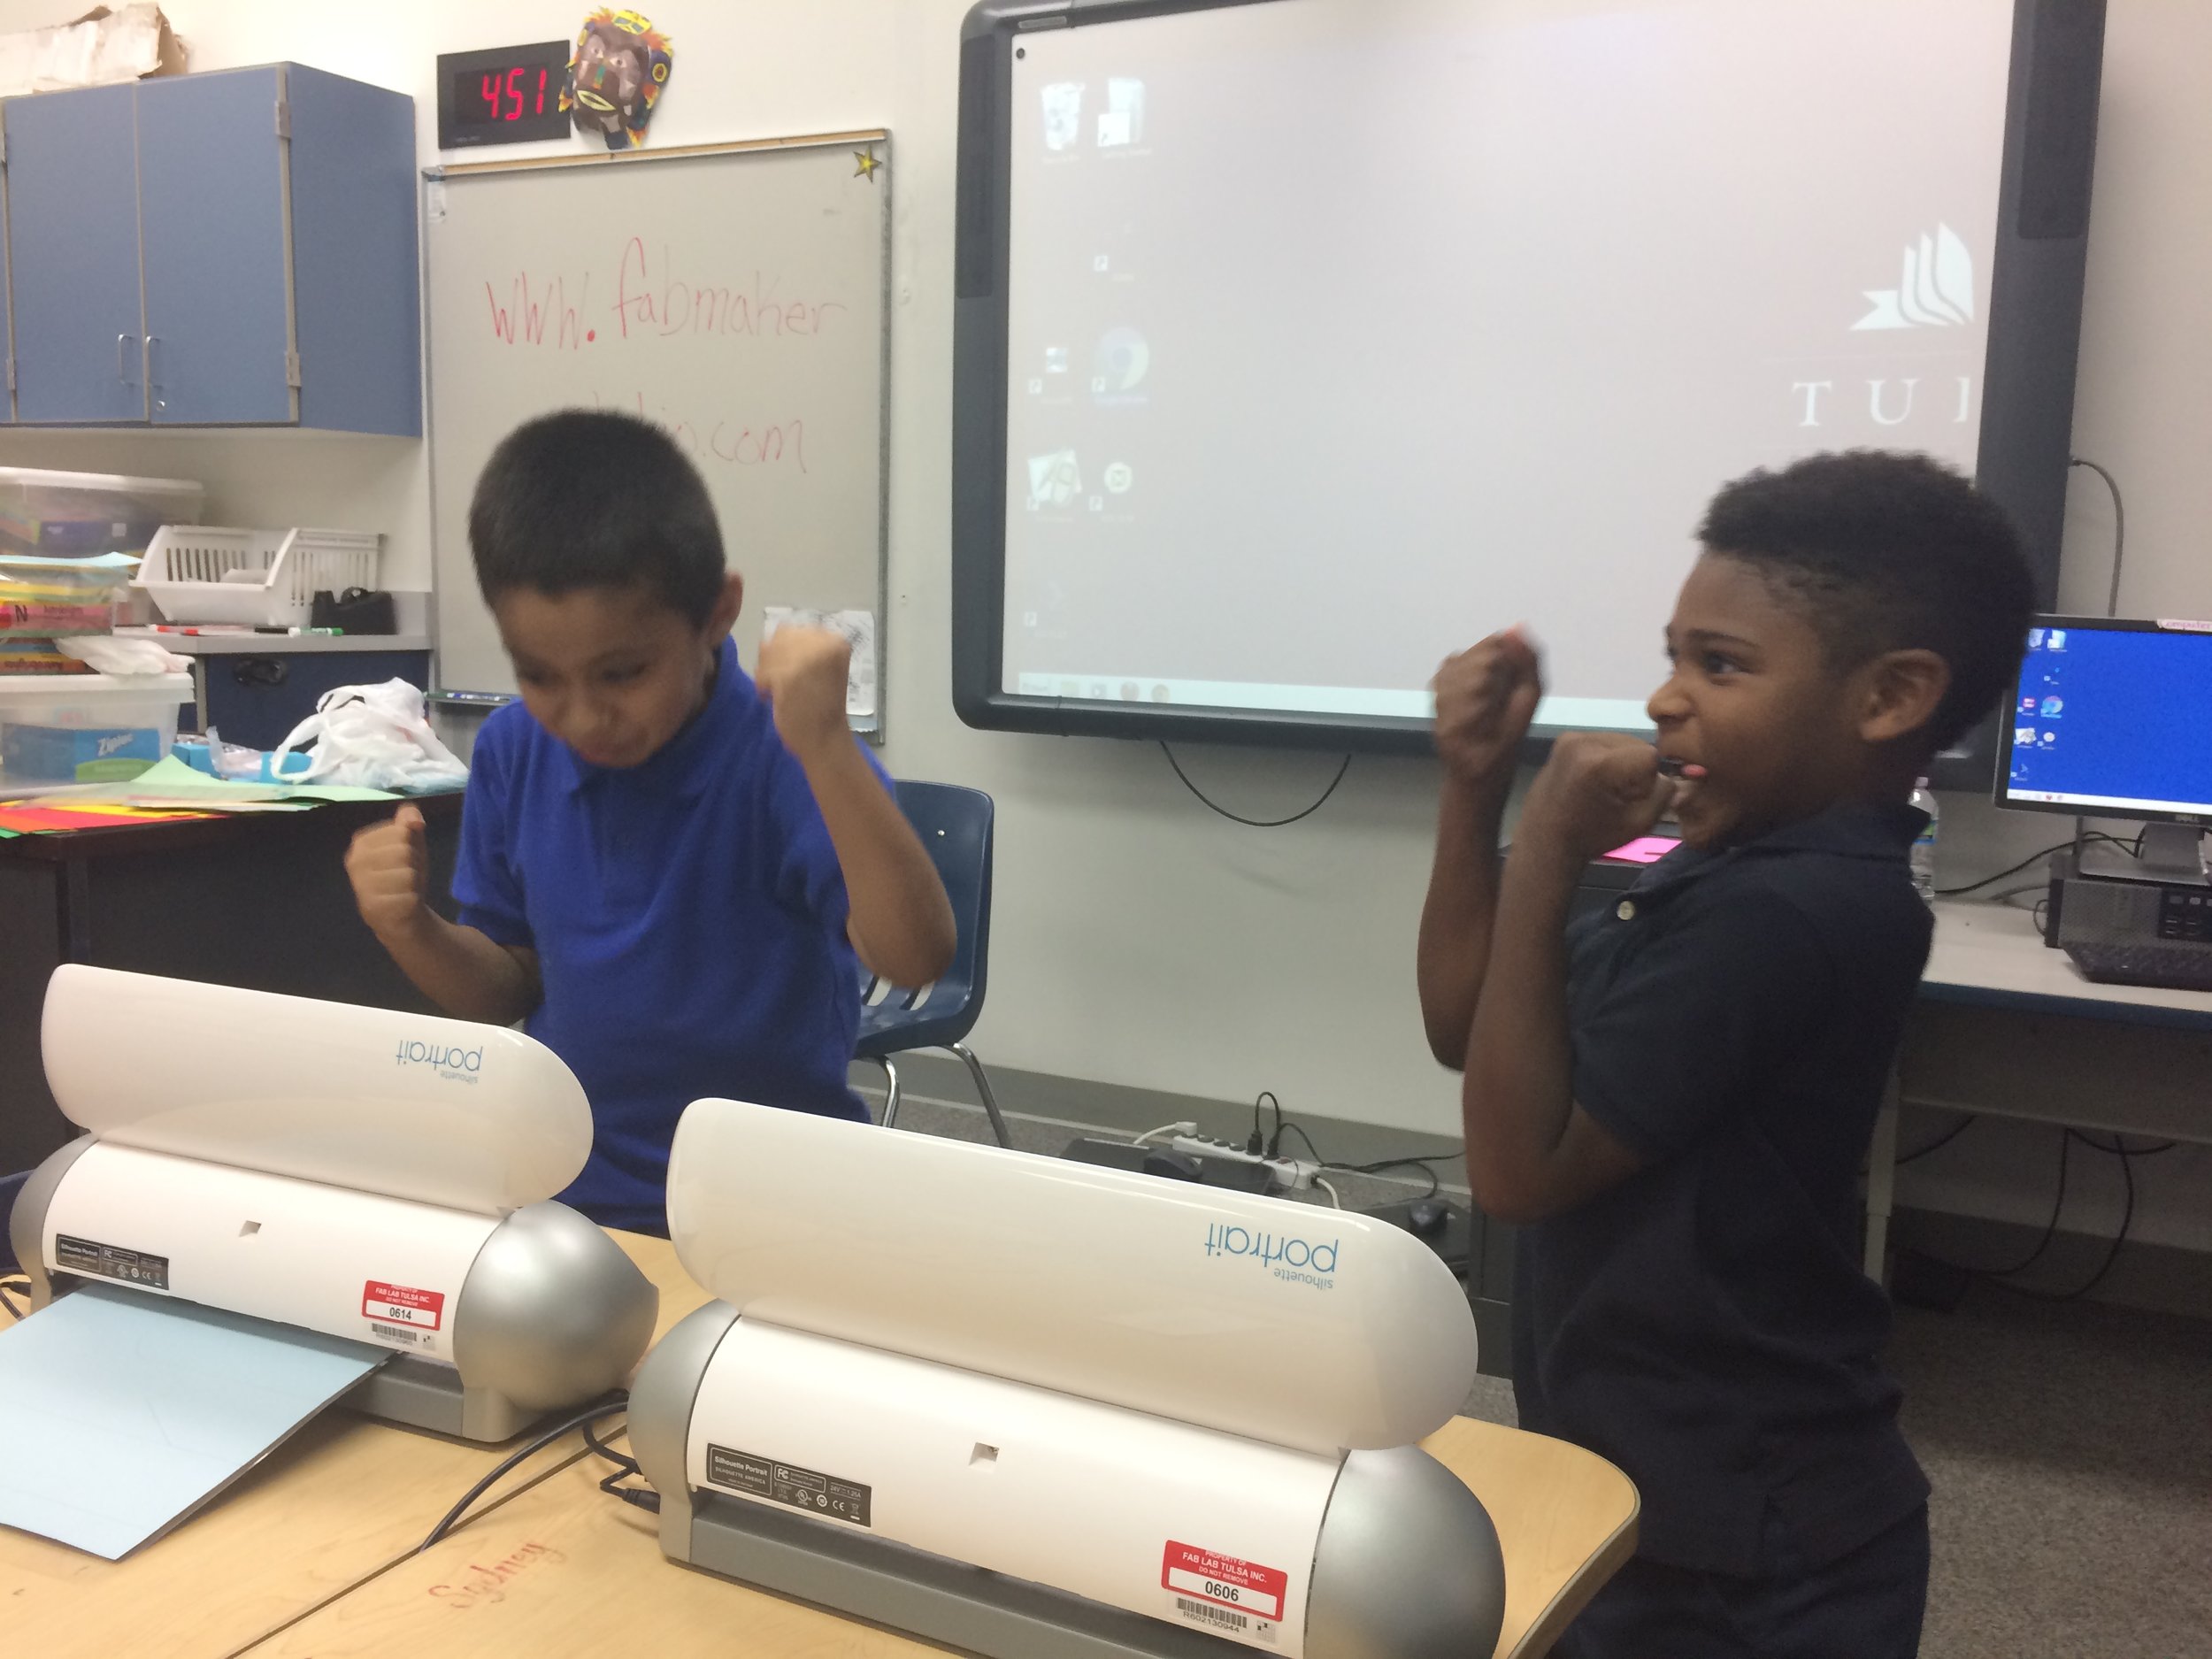
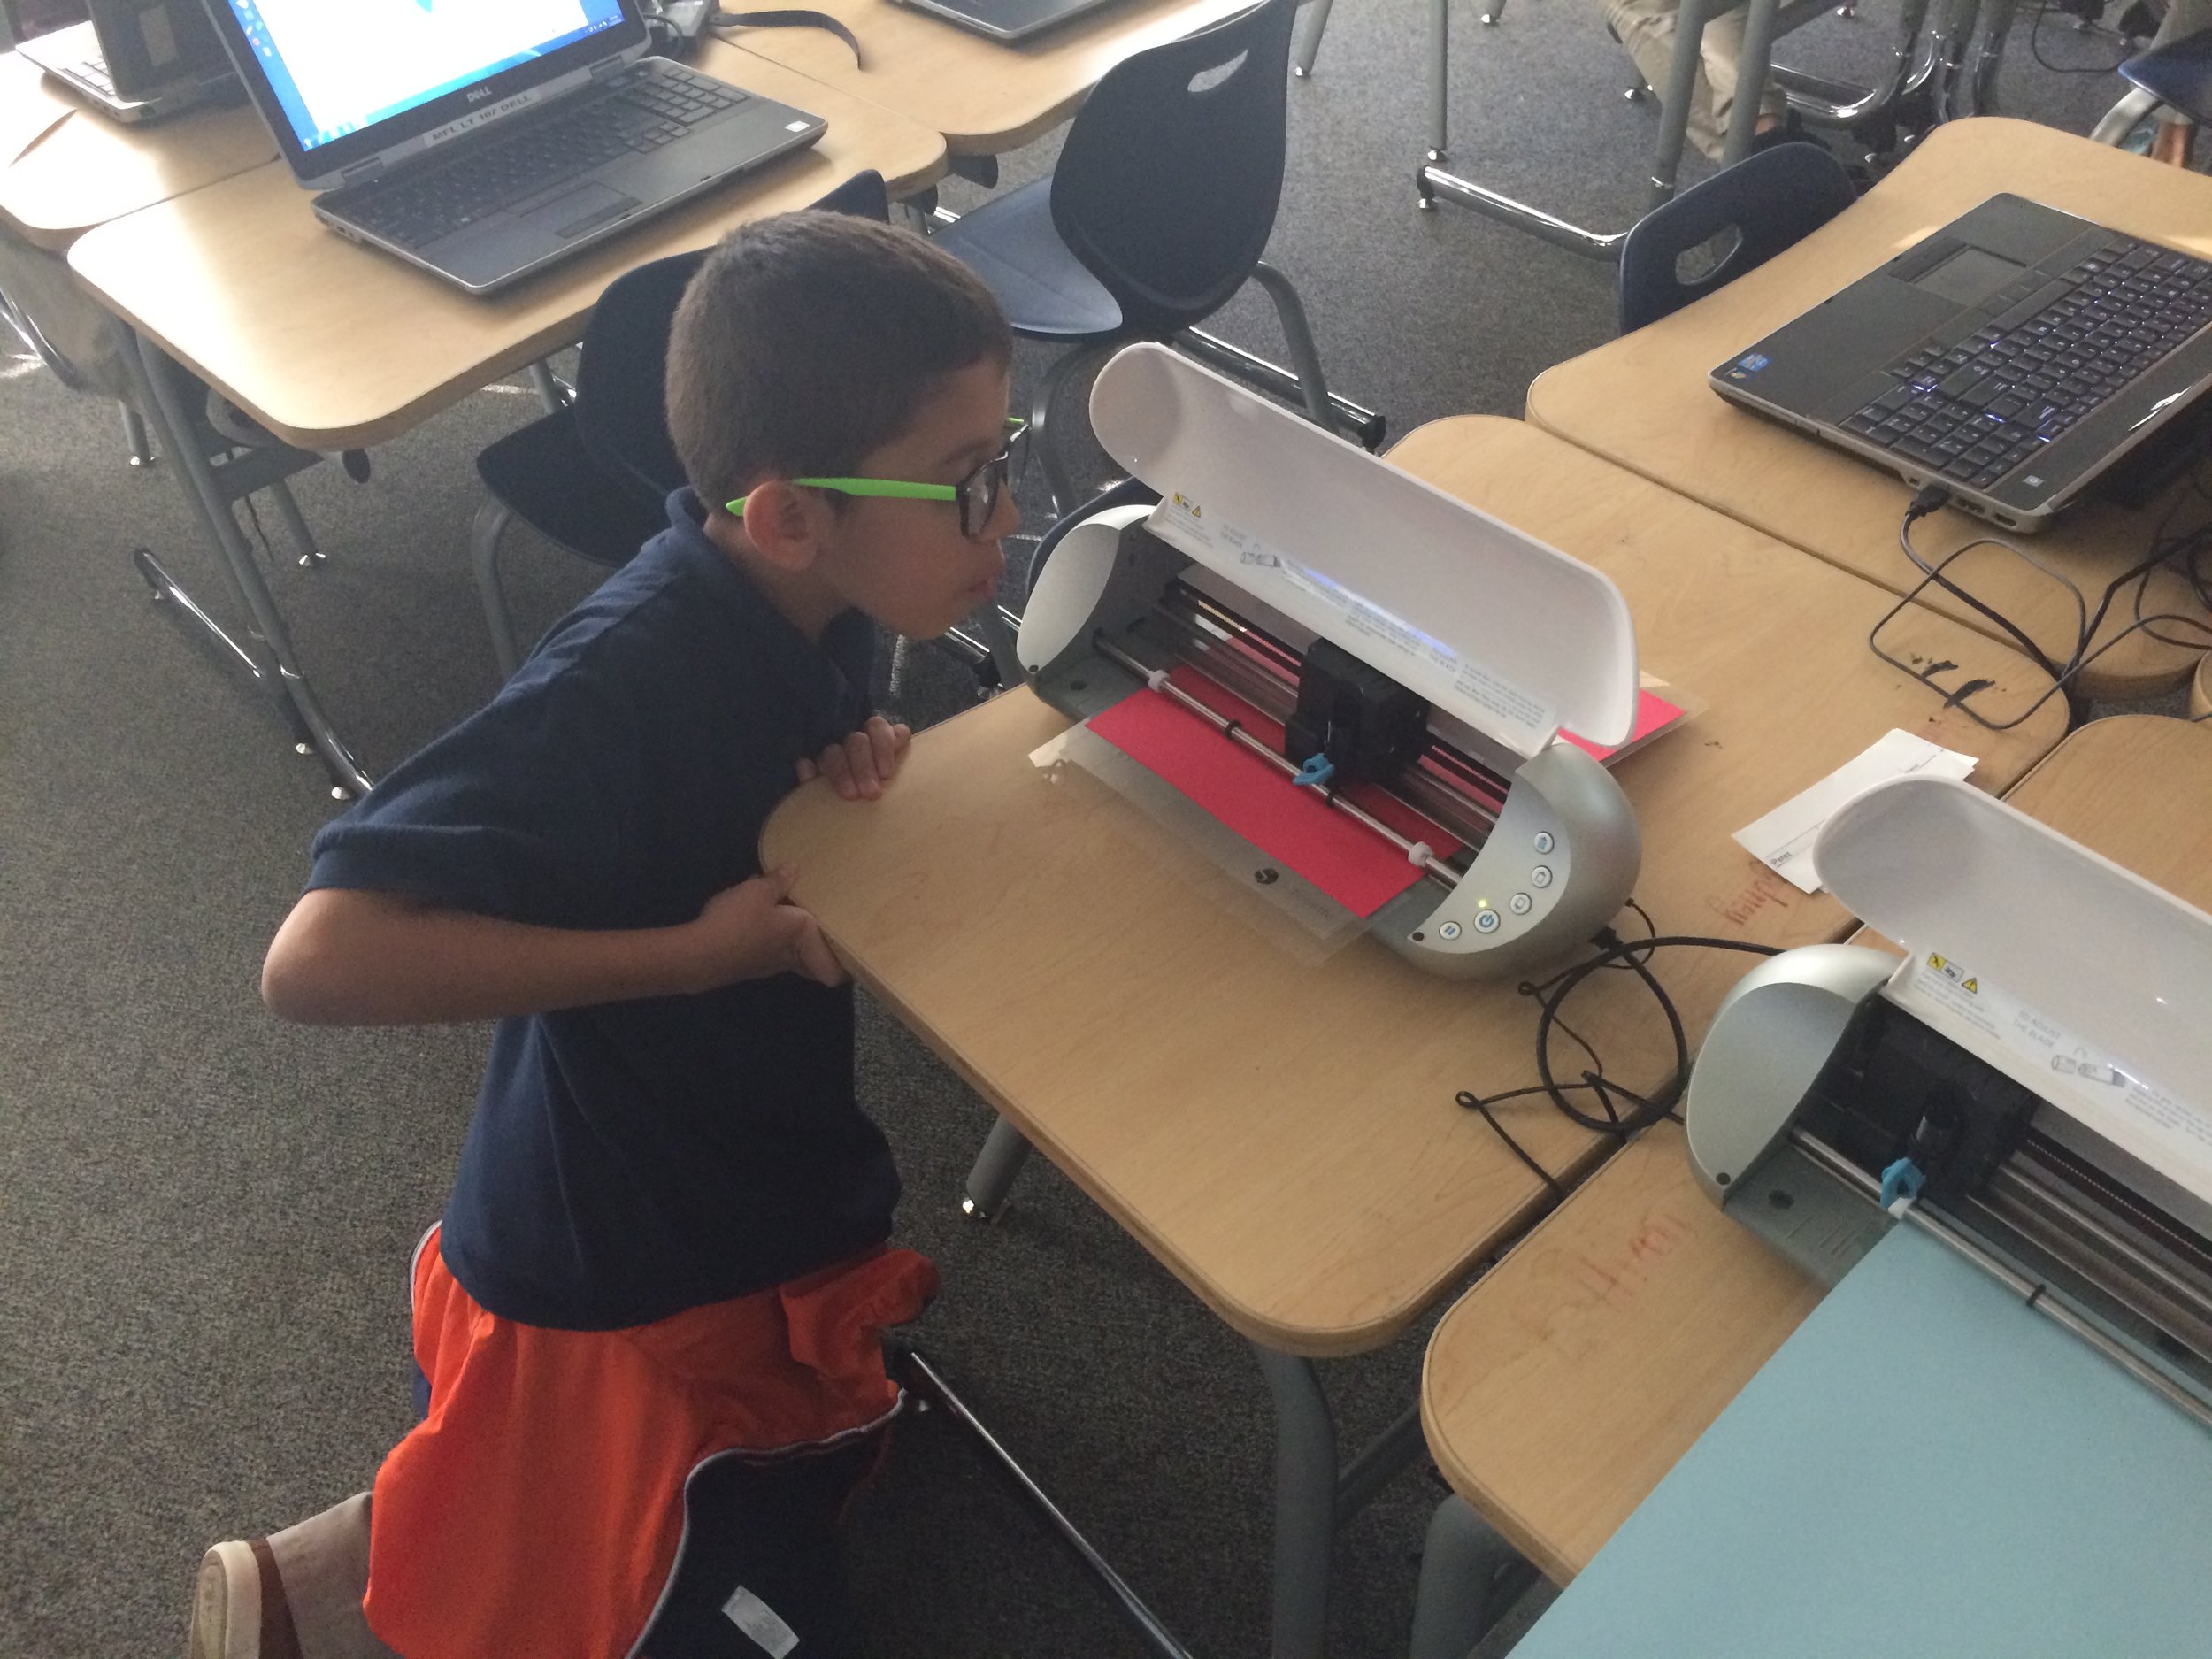
In November 2016, we spent two weeks teaching 72 young students in the afterschool program at Kendall-Whittier Elementary School. In keeping with our existing education program philosophy, the curriculum included digital fabrication using Fab@School Maker Studio and Silhouette Portrait paper cutters. We focused on teaching elements of the design process as defined in the Next Generation Science Standards, and we encouraged students to apply the skills they learned in a project-based assignment. Our objective was to evaluate both the software and cutters, as well as test the feasibility and value of introducing digital fabrication concepts and skills at an earlier age.
Each student received approximately 4 hours of instruction over multiple sessions. The 1st grade students focused on 2D design. They were introduced to the topic of design and shapes by reading and discussing the book “The Wing of a Flea” by Ed Emberley. This led to instruction on how to design basic 2D shapes and combine those shapes into more complex structures. Students used the cutters to create their physical model.
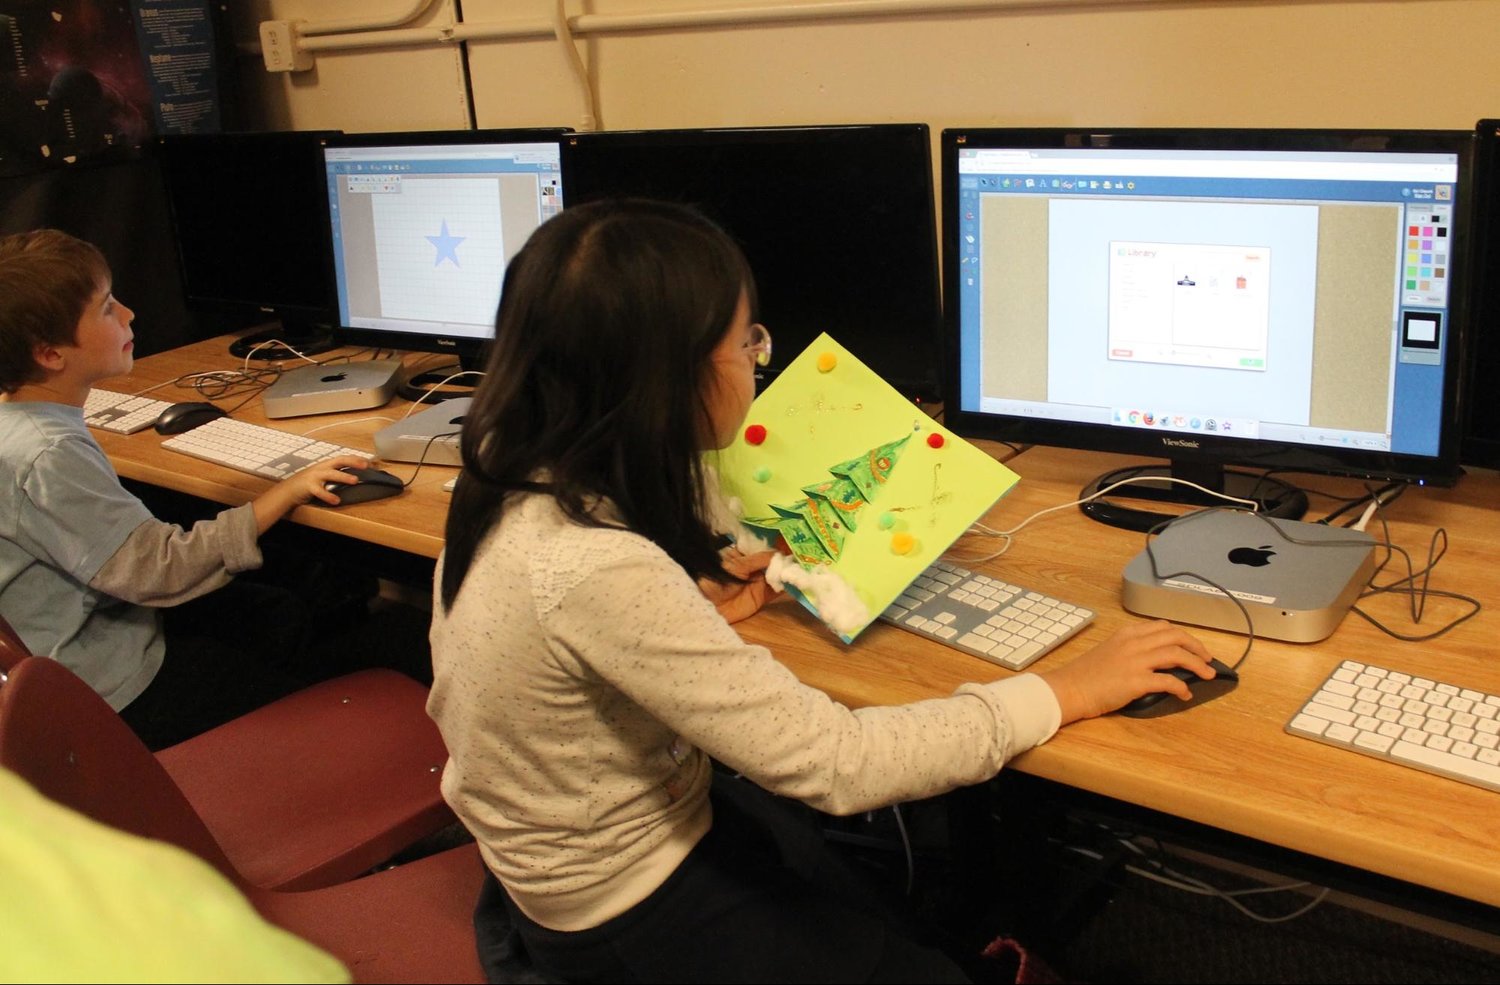
The older students began with the 2D design but quickly moved to designing 3D shapes. They were able to use the cutter to render their 3D design and then glue it when necessary. Some older students tried their hand at more advance design concepts like pop-ups, a design principle that’s tough but easier to handle when using the friendly interface of Fab@School Maker Studio.
In short, we were very happy and excited about the results of the pilot. While there is still considerable room for improvement in the lesson plans and teacher instruction, designing with the Maker Studio software was a simple and straightforward concept to learn for all three grade levels. In addition, the cutters proved faster and more efficient than was expected.
We had been concerned that students would lack the developmental milestones needed to be successful in design and fabrication. We were overjoyed when this did not show up in the trial. All students were successful in producing and cutting their 2D and 3D files and we would expect those skills to continue to improve as the students gained more experience.
Best of all, student engagement was very high and we observed a high level of student interest and growing self-confidence. We’re excited about the implications this base of knowledge will have in future grades, when we ask them to use more complex CNC equipment for larger projects.
How is your classroom using Fab@School Maker Studio? We'd love to share YOUR tips and ideas! For more FabFriday posts, click here. Try out some or all of these techniques in the Winter Design Challenge! Share your photos with us, Tweet them with the hashtag #FabMakerStudio for a chance to have them featured on the next FabFriday!
FabFriday: Engineer Your Sweet Valentine's Day Cards!
It’s that time of year again, the holiday to show others how much you care about them with the timeless gifts of cards… and candy!
Using their creative problem-solving skills - and the engineering design process - your students can invent and design engineered Valentine’s Day cards that hold different kinds of candy. This Fab@School Maker Studio activity encourages students to identify challenges and create models and prototypes to refine their ideas. And, of course there is candy!
The first step in the design process is to define the challenge. Here’s my challenge: Design two different kinds of card that incorporates candy of two different shapes. The first card will hold a lollipop by the stick, and the second to fold open to show a chocolate candy. With these challenges in mind, I can now collect the data.
There are times where I like to measure everything and use numbers to guide my design process, and other times where I’d rather just play around with no limitations. For this project, I am using a ruler because I want to know the size of the candy before determining how it will be “held” on the card.
The stick on my lollipop is 2 inches long, and the chocolate heart is 1 ⅜ inches wide and tall.
Using these measurements I will brainstorm my solution. My favorite way is to doodle with paper and scissors, making quick and simple tests for all sorts of ideas. This way, I can get a lot of simple ideas out quickly, and get a rough idea of what I am going to then design with the Fab@School Maker Studio design tool.
My first card will have two holes that I can poke the lollipop stick though. Based off my measurements, I know that the holes must be less than 2 inches apart so that the stick can fit through both of them to lock it in place. I cut out a simple paper rectangle with scissors and made two slits roughly one inch apart. I can then stick the lollipop into the slits to test my design. Looks like it works!
The second card is a lot of fun. I wanted a folding design with the chocolate inside, but the card couldn’t close completely because the chocolate candy was too thick. I solved this challenge by cutting a hole through the top half of the card, so the candy is visible when the card is both open and closed!
If your student’s don’t like their draft? That’s okay! They’ll learn something new with each prototype they make, so encourage them to have fun and create! When a student is ready, jump on over to Fab@School Maker Studio to create a digitally fabricated version.
Now it is time for the development work! Using the math tools found within Fab@School Maker Studio, I am able to accurately plan for scale, length, and size.
For the lollipop card, I’m starting with a 4 by 6 inch rectangle, which was created with the Shape Tool. I then place two circles for the holes that the stick will poke through. They are not positioned the exact same as my prototype, but I am placing the holes less than 2 inches apart, so it’s okay! I can now decorate the rest of my card with Library images and the Text tool. Done!
The folding card is created with two congruent rectangles that have been snapped together with the Magnetize Tool so that they create a fold in the middle. I then place a heart shape with the Shape Tool and size it so that the 1 ⅜ inch wide chocolate can fit through when the card is folded. Once the design has been decorated, it’s ready to print and fabricate!
This activity is a fun way for your students to experience the engineering design process - more specifically working with prototypes. Encourage your students to share their engineering solutions with the rest of the class! What kinds of cards can you and your students create? Tweet your photos at @FableLearn using the hashtag #FabMakerStudio.
But wait, there's more! This Fab@School Maker Studio activity is aligned to the Next Generation Science Standards. This activity reinforces the standards K-2-ETS1-1, K-2-ETS1-2, and 3-5 ETS1-1, highlighting the process of defining and designing for challenges, and refining ideas through drafts, models, and prototypes.
How is your classroom using Fab@School Maker Studio? We'd love to share YOUR tips and ideas! For more FabFriday posts, click here. Send your photos to info@FableVisionLearning.com or Tweet them with the hashtag #FabMakerStudio for a chance to have them featured on the next FabFriday!
FabFriday: From Snow Forts to Bees, First Graders Design with Fab@School Maker Studio
Welcome to FabFriday, a blog series that highlights Fab@School Maker Studio in the classroom. For this week's FabFriday we meet Karen Wolff's first grade class at the Boyden School in Walpole, Ma. This post first appeared on Mrs. Wolff's blog, The Wolff Den.
What a fun week we had building a snow fort! The idea started by exploring with Fab@School Maker Studio software on our Chromebooks. We experimented with different shapes and connected them. From there, we learned how to make 3-D solids. We were going to create a snow village with our solids, but instead decided to build a snow fort! We started by creating cubes with the Fab@School Maker Studio, but found that they were too small to build with. We even tried gluing magnets in the cubes to make they stick together, but in the end decided on choosing another solid – rectangular prisms. We went back to the Chromebooks and figured out how to create them and then built our snow fort!
We also created snowflakes to use with the Bee-Bots.
Speaking of bees, we read a story about Honey Bees this week. We learned about the long “u” sound and the two sounds “y” can make at the end of a word. For example, in the word “sunny,” the “y” sound like an “e," but in the word, “fly,” the “y” sounds like an “i.” We also talked about the life cycle of honey bees. We diagramed the bee life cycle using Kid Pix and learned about the anatomy of a bee by creating them with the Fab@School Maker Studio.
In math, we are working with fact families. We learned that all fact families have three numbers. We can make two addition sentences and two subtraction sentences with the same three numbers.
In social studies we’ve been learning about oceans and continents. We know there are different kinds of land, like plains and mountains and different types of water, like rivers and lakes. We also talked about natural resources like water and wood.
How is your classroom using Fab@School Maker Studio? We'd love to share YOUR tips and ideas! For more FabFriday posts, click here. Send your photos to info@FableVisionLearning.com for a chance to have them featured on the next FabFriday!


