FableVision Learning Spotlight Blog
Categories
- Animation-ish 42
- Books 21
- Civics! 2
- Classroom Spotlight 17
- Conferences and Events 20
- Creative Educator 3
- Creativity 25
- Distance Learning 13
- Dot Day 22
- FabClassroom 28
- FabFriday 19
- FabMaker Studio 66
- FabMaker Studio Classroom 13
- FableFive 7
- FableVision Games 3
- Free Educator Resources 36
- HUTCH 1
- Home Activities 5
- In the Classroom 34
- In the News 11
- International Dot Day 23
- Ish 1
- Library 1
- Mapping the World by Heart 7
- Paul Reynolds 10
- Peter H. Reynolds 54
- Professional Development 9
- STEM/STEAM 20
- Storybook Academy 2
- Teacher Spotlight 14
- The Dot 17
- The North Star 2
- Words and Their Stories 1
- Zoombinis 3

South Carolina Teacher Takes Classroom to Next Level With FableVision’s Creative Educator Certification Course

The following blog post was written by Tyler Stott, an intern at FableVision Learning.
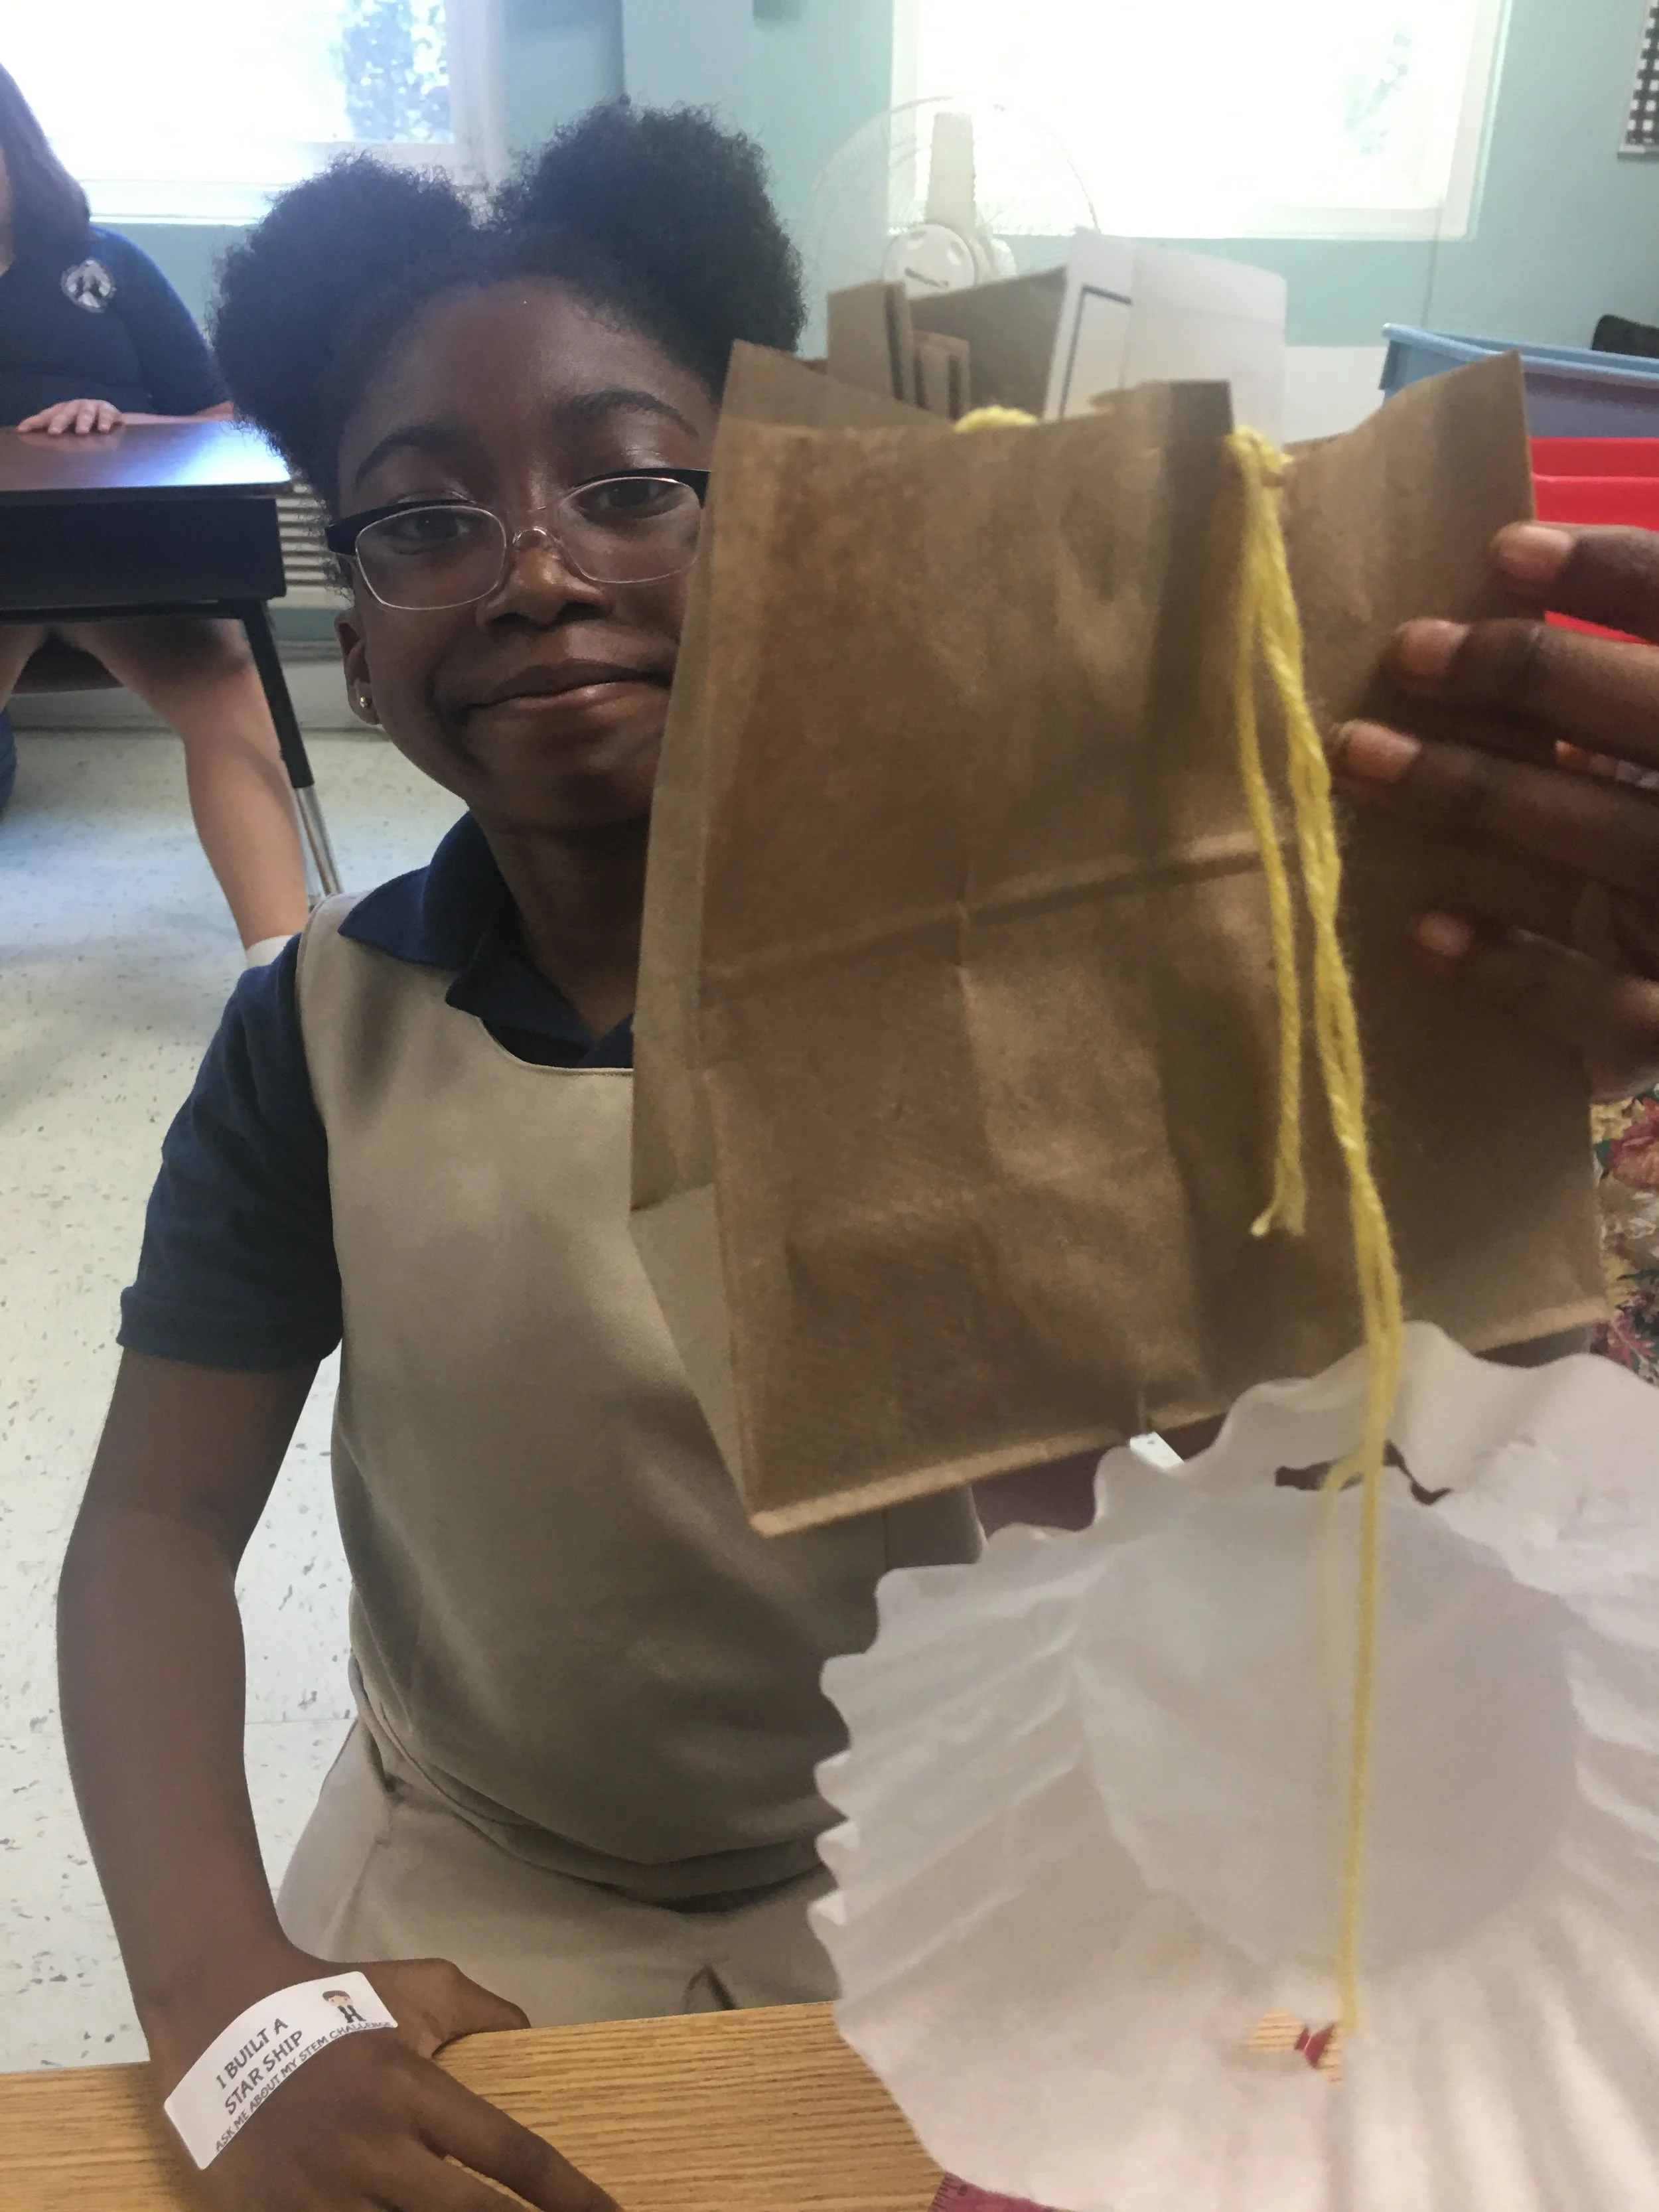
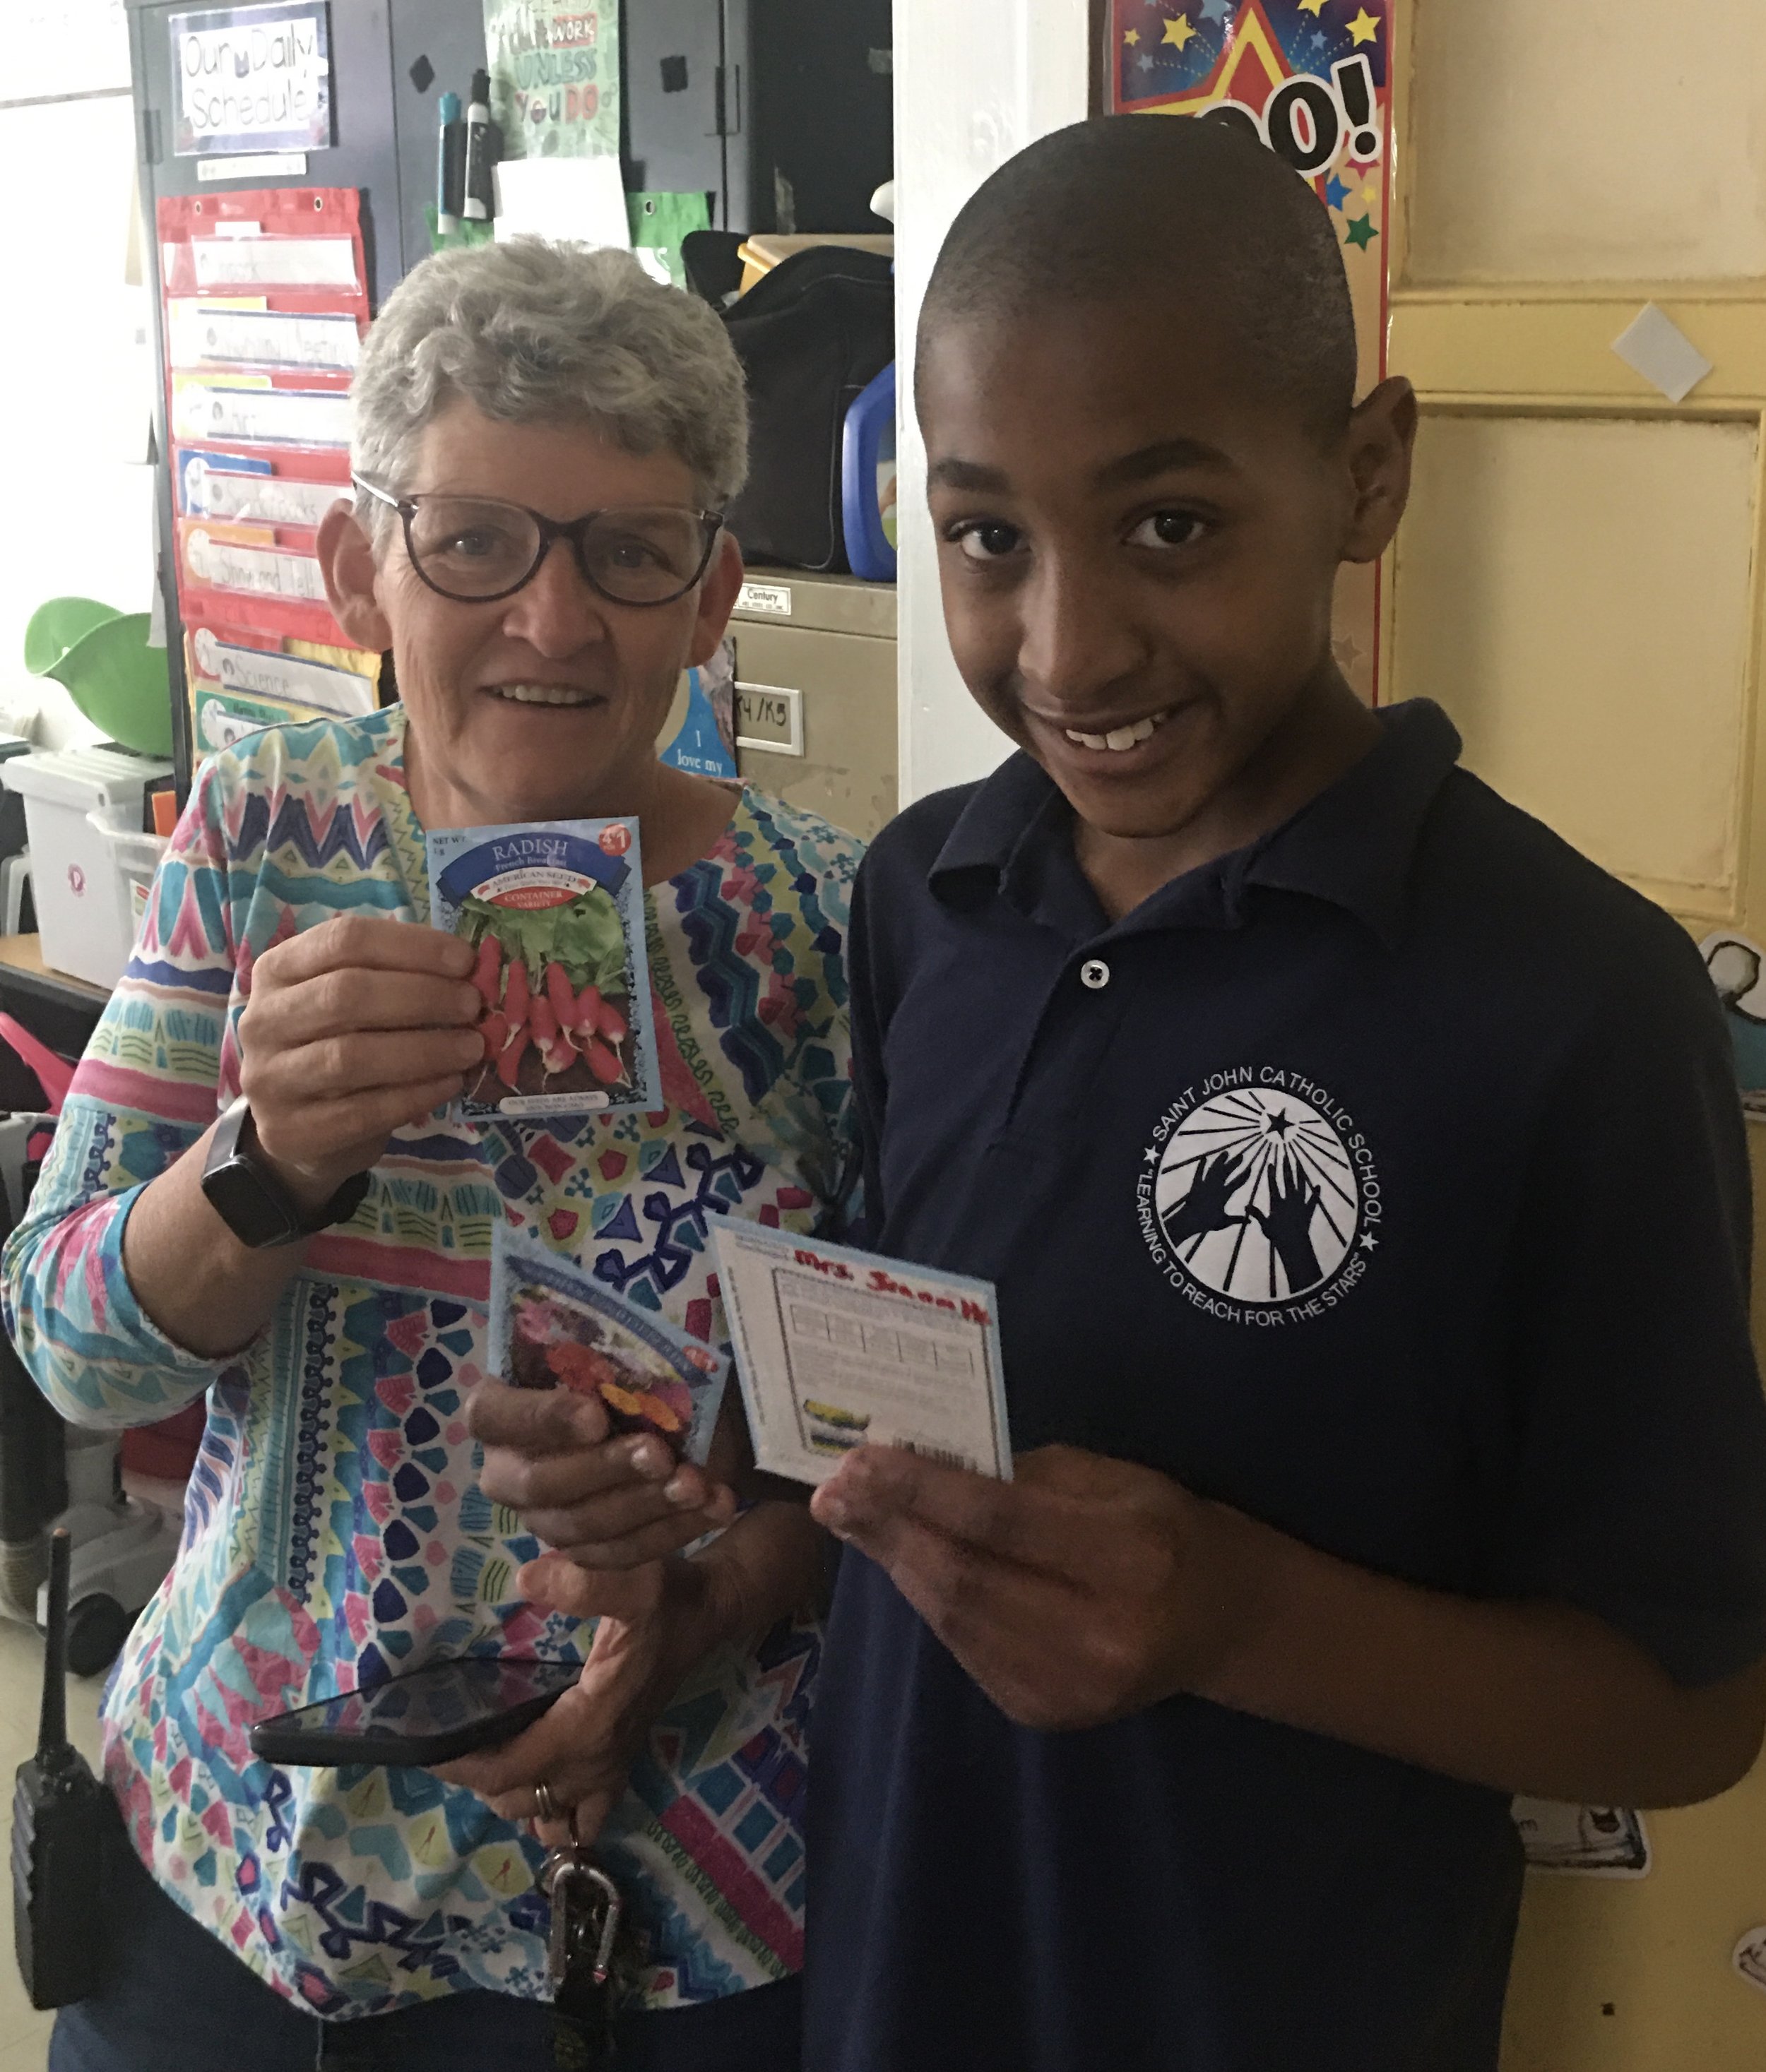
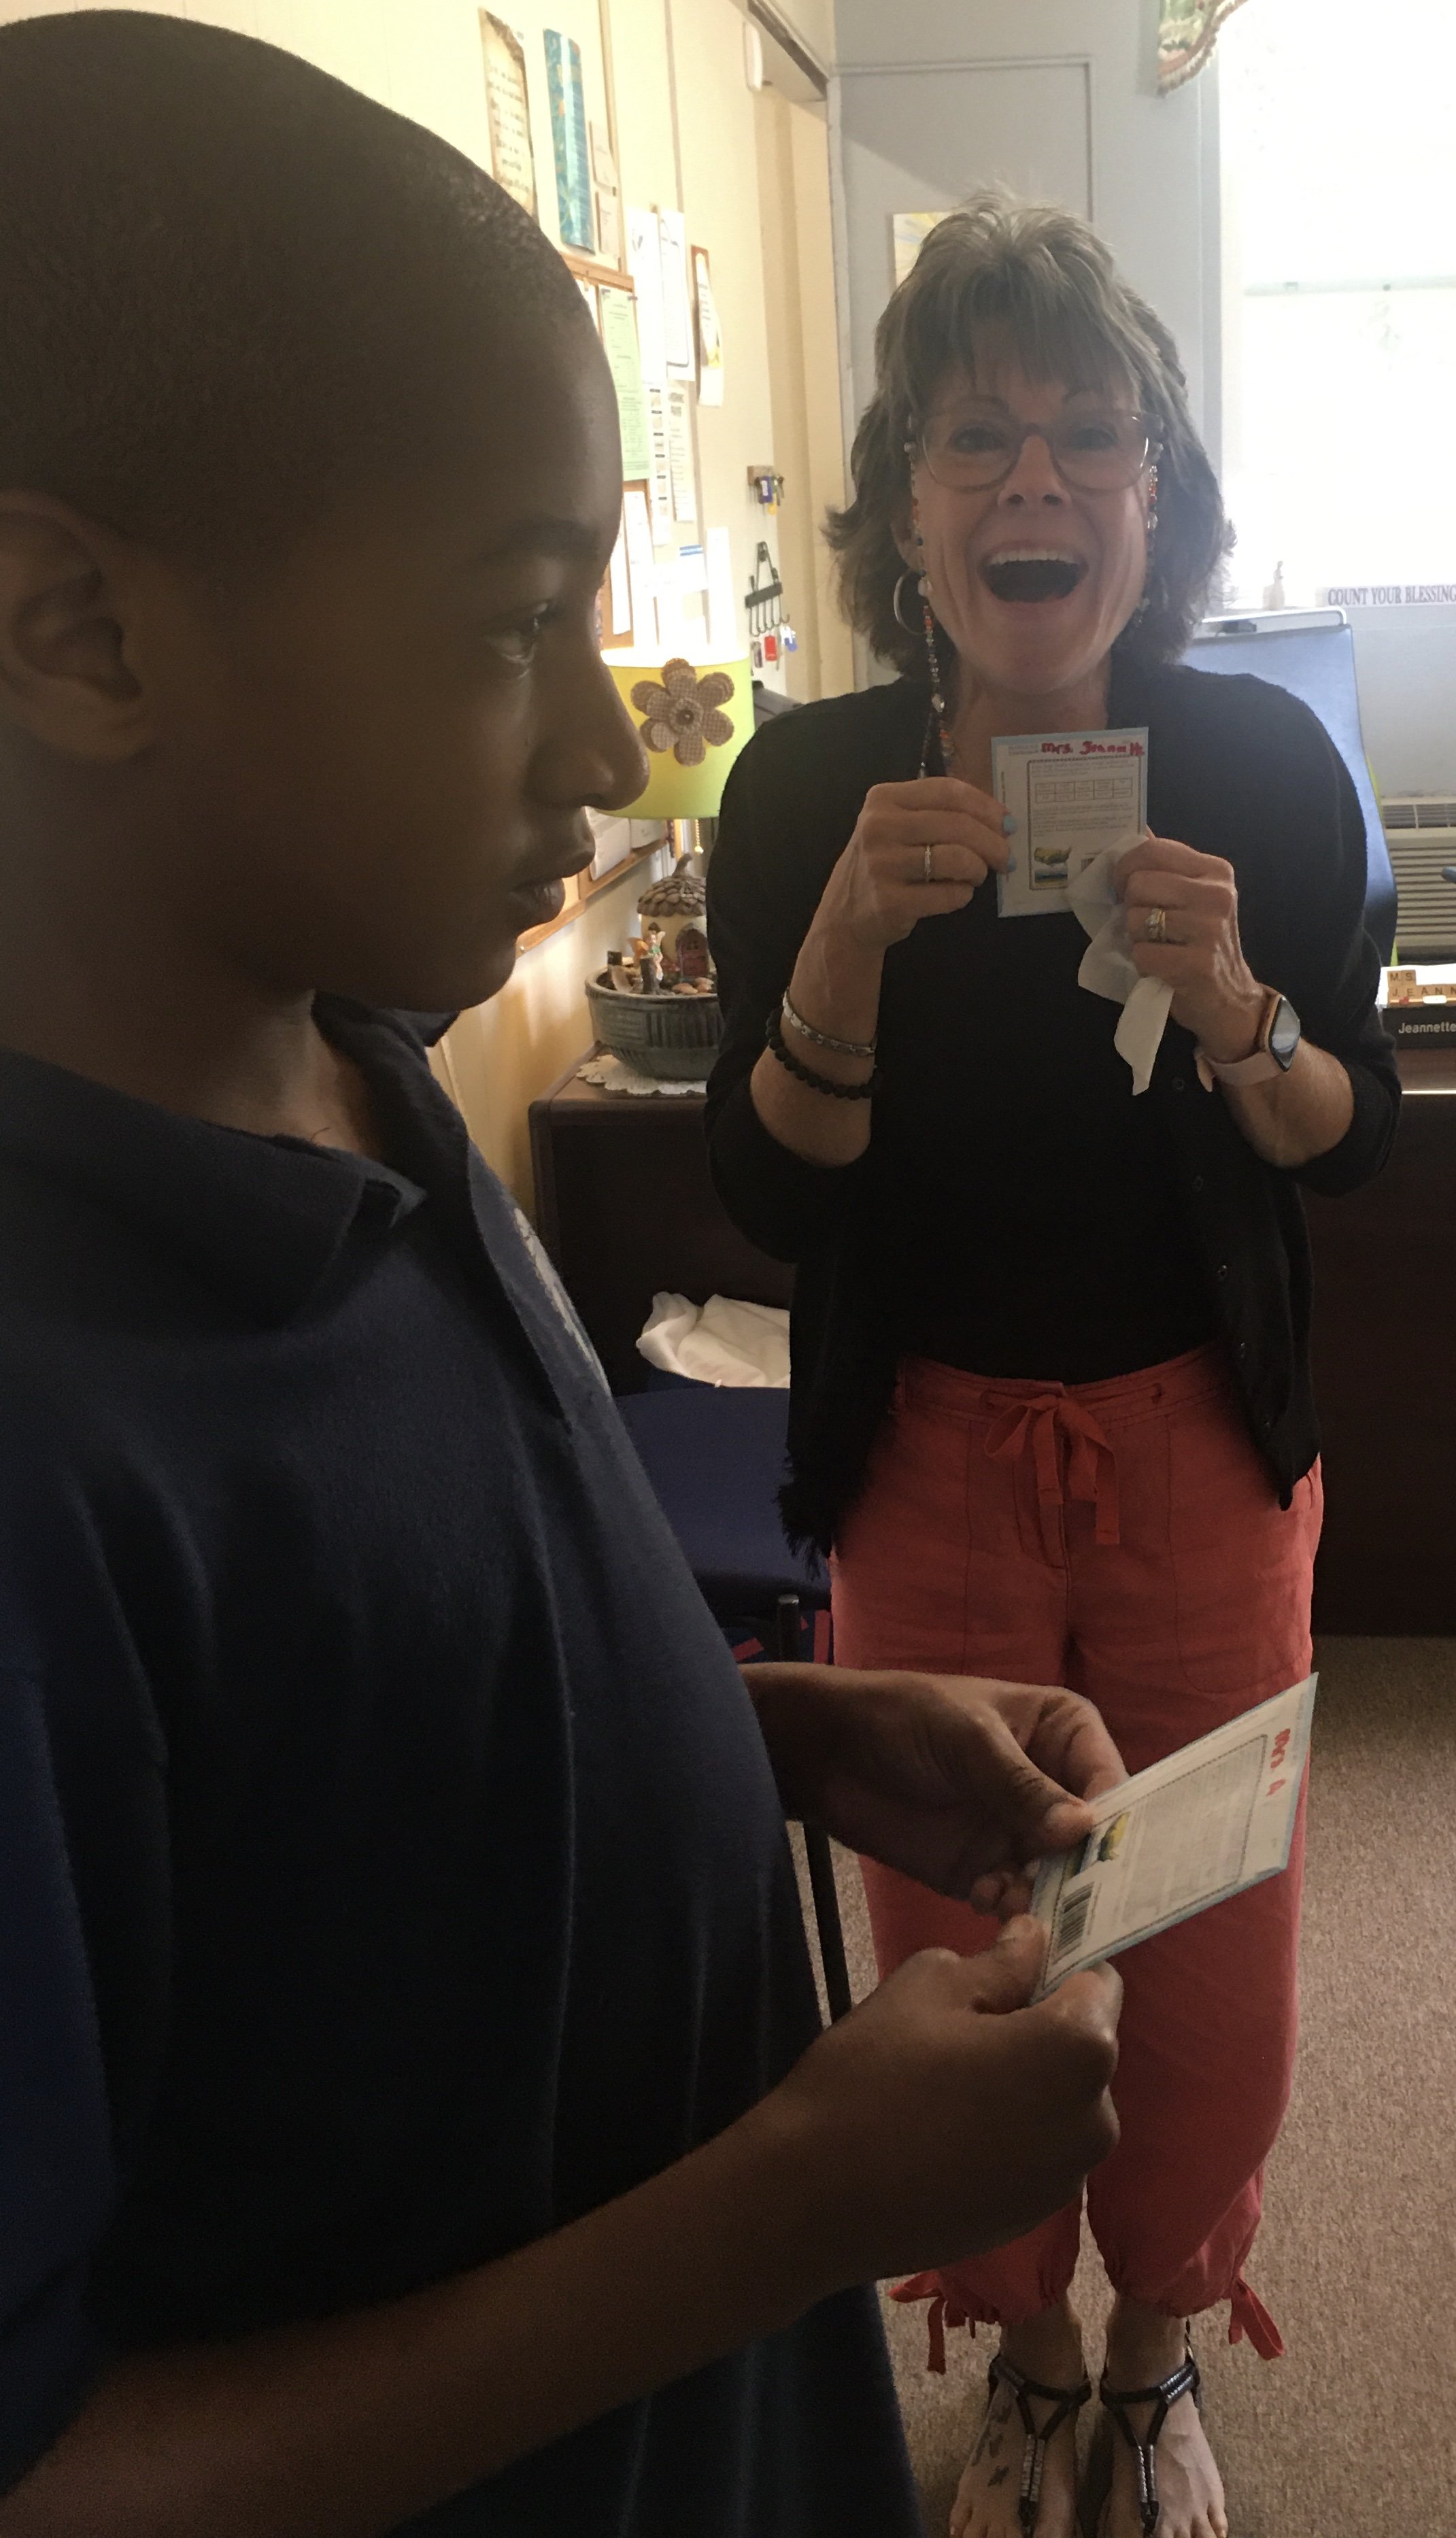
Molly Myer, a teacher at Saint John Catholic School, in South Carolina, has taken her teaching to the next level with FableVision Learning’s Creative Educator Certification Course. Myers shared that this course is helping her learn more about creative learning as has also been using Animation-ish and FabMaker Studio.
“The Certified Educator Course has been a lot of fun to work on. It is helping me to think more outside of the box. It ties in beautifully with my students’ Passion Projects which they are starting to work on. The student creativity guidebooks provided are an excellent tool to help my students come up with their Passion Projects topics. I love the self reflection that they are doing in these guidebooks,” Myer said.
Not only has the course provided her classroom with a lot of fun STEM activities, Myer says that it has changed her approach to teaching.
“The course offers such a great opportunity to go through it at my own pace and come back to materials. It is helping me to be more reflective as a teacher and to take my time, “she explained and added, “It has helped me to come up with ideas on how to best help and motivate a child who might be hesitant about trying.”
Students of Myer create their own original ideas and projects on applications such as FabMaker Studio and Animation-Ish, which are provided by FableVision Learning. Myer has loved watching every moment of it.
“The students love (the programs). It is so neat to see even the most hesitant student comfortably navigate this amazing tool. The creativity I have gotten out of my students using these amazing tools has been life changing,” she shared.
Check out the photos from her classroom.


Footbridge Students Tackle "Going Places" STEAM Challenge at BridgeWater State University
This blog post was written by Katie Hurwitz, an intern at FableVision Learning. Katie is entering her senior year at the University of Rochester. She is studying World Music, Creative Writing & World Literature, Childhood Education, and TESOL.
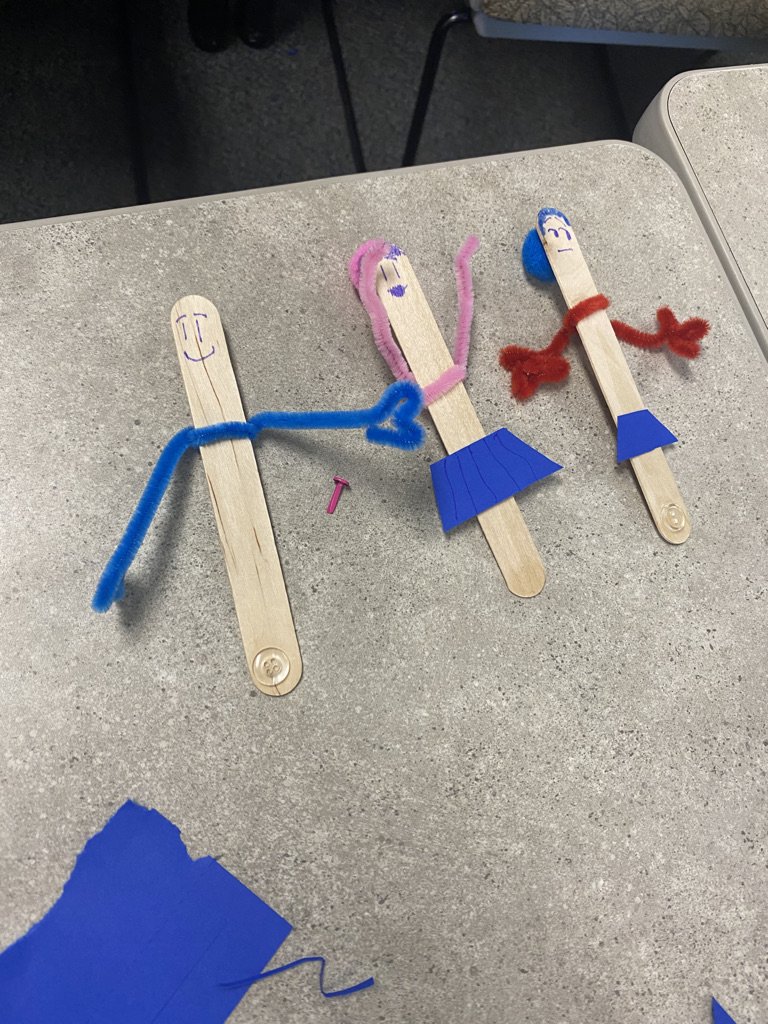
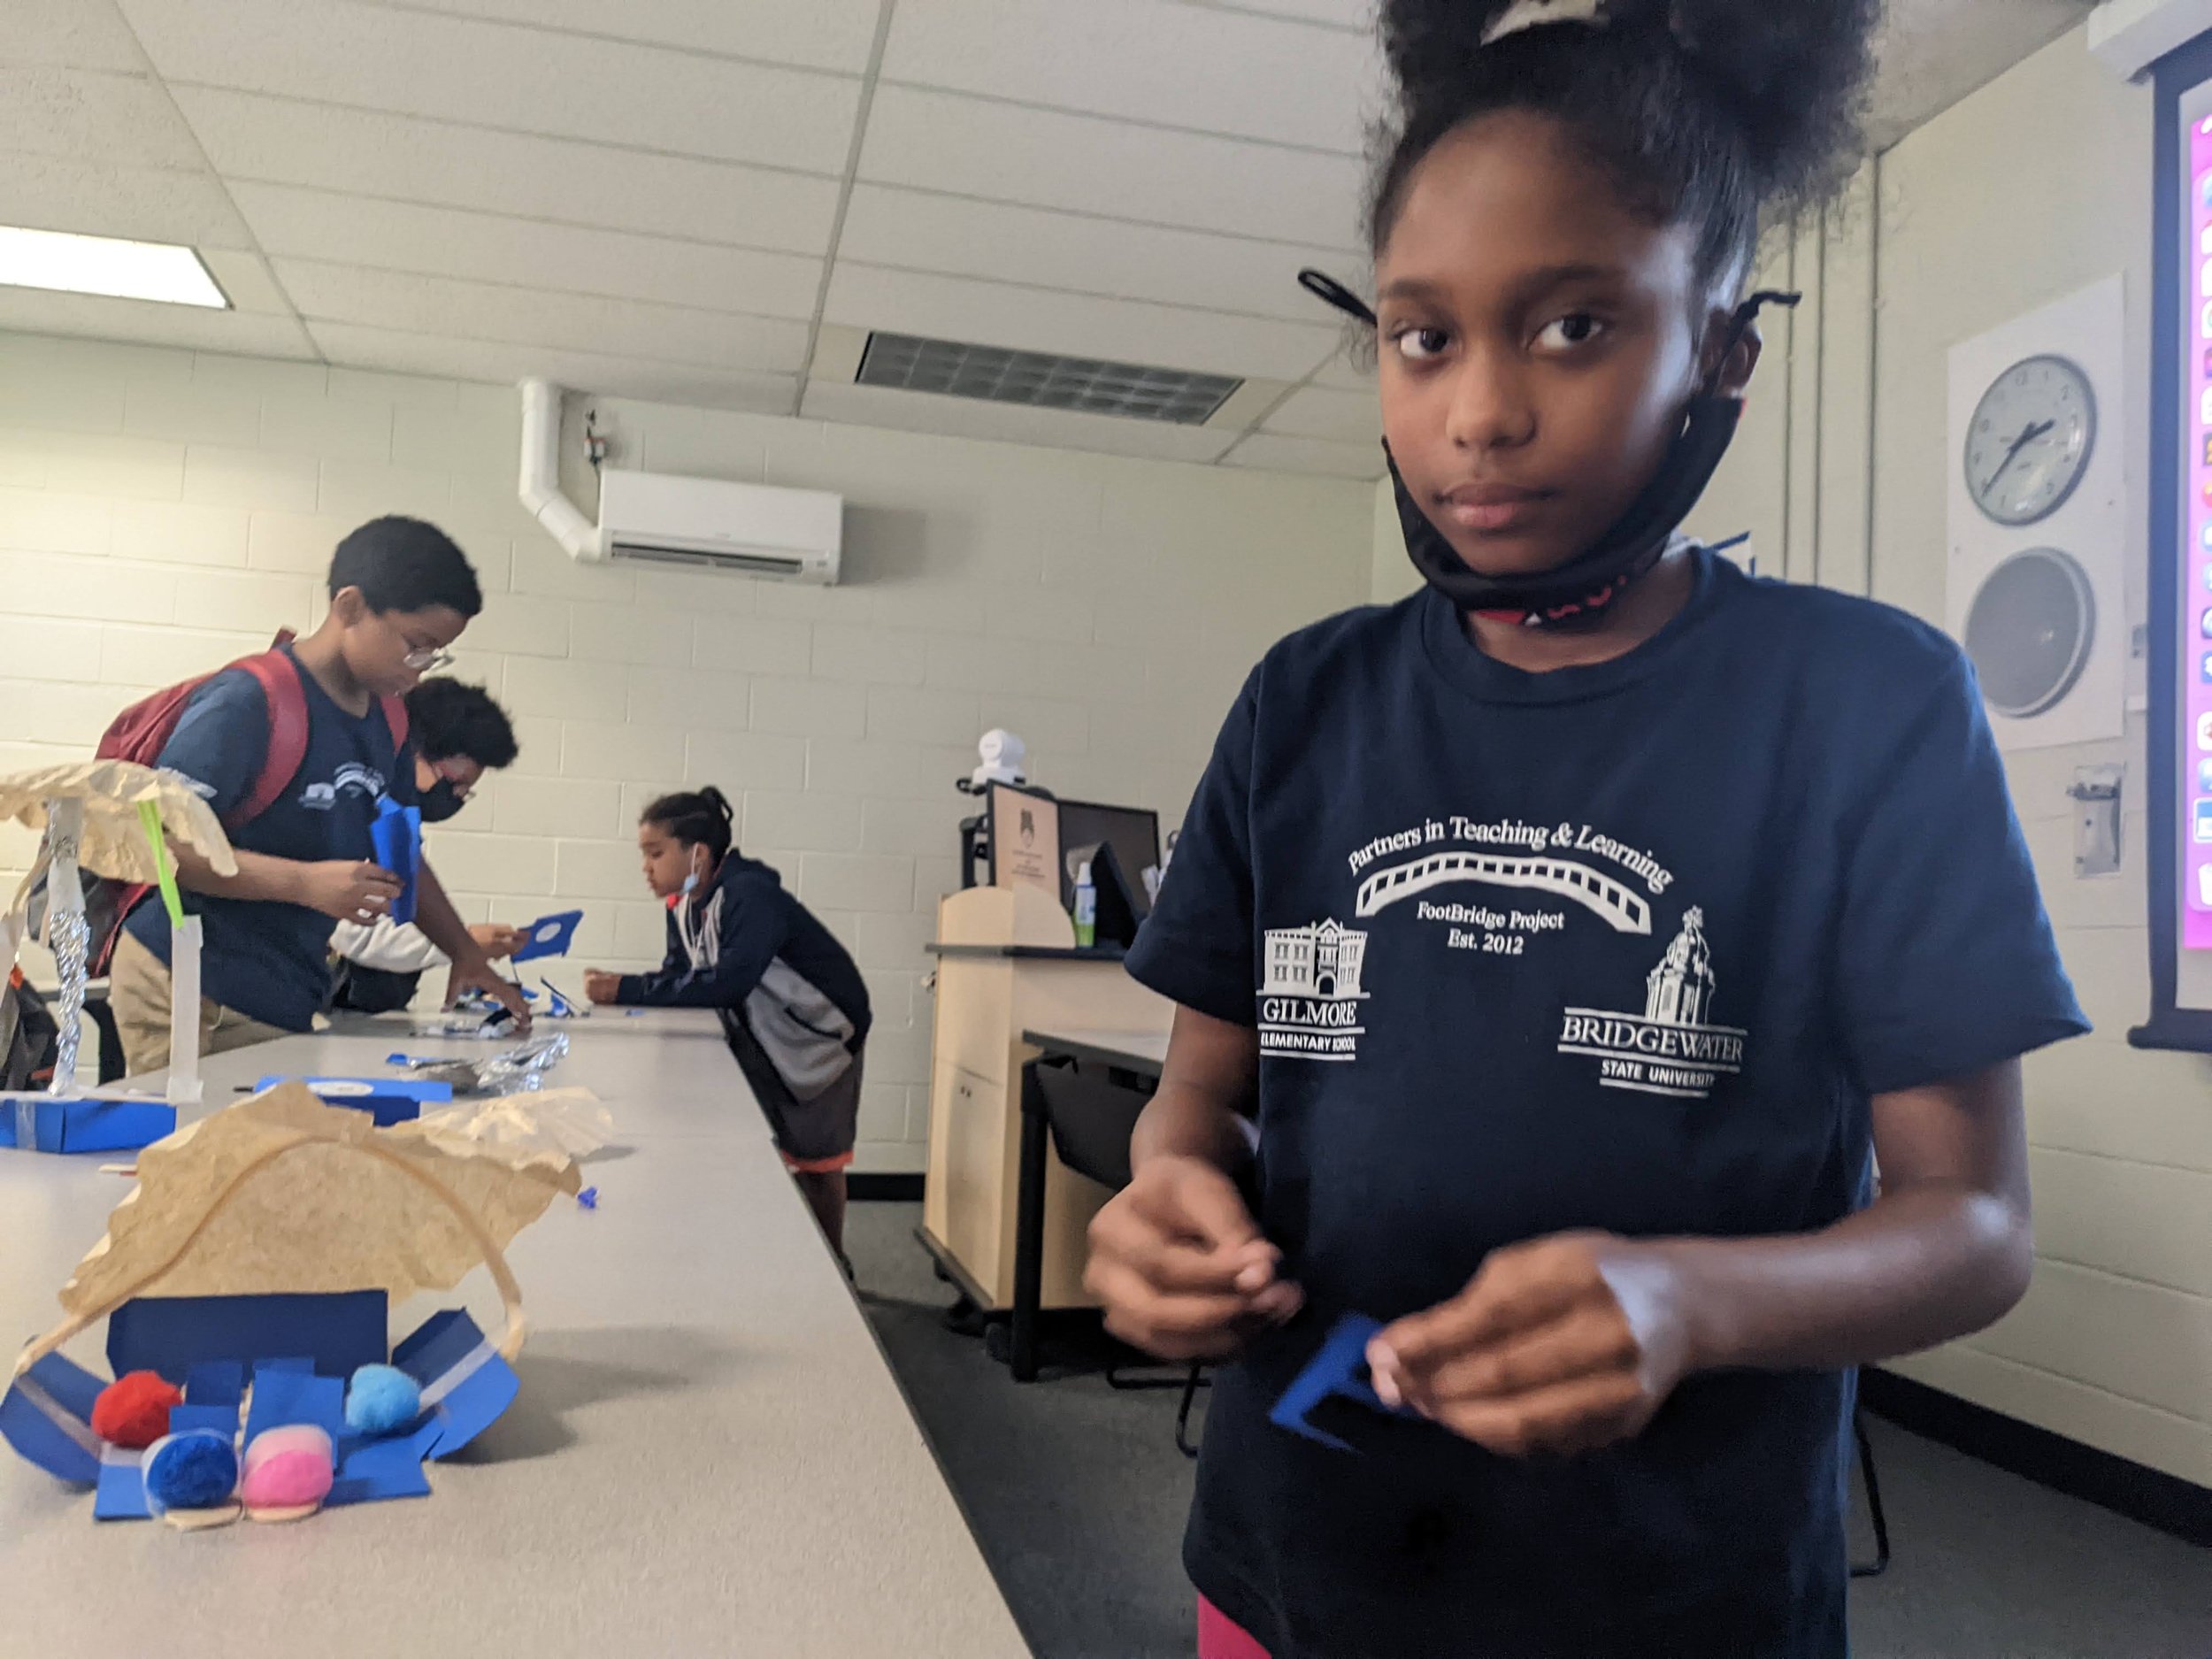
Walking around the Bridgewater State University classroom, I saw a plethora of innovations. Some students were thinking collectively; some, individually. And some…forky? Yes, some students had taken the popsicle sticks from their “Going Places Kits” (which I’ll explain in a bit), made arms out of pipe cleaners, dressed them up with clothes made from the boxes themselves, and drew very characteristic faces on them. “Wait a minute,” I asked the group of friends working together. “Is that Forky from ‘Toy Story 4?’” They smiled at me, made their own forkies dance, and humored me as I took a picture of their creations.
Growing up, I have always been friends with “the STEM kids.” STEM—meaning science, technology, engineering, and math—has never been my forte…at least that’s what I perpetually told myself. Priding myself in my interdisciplinary studies of the arts and humanities, I’ve shied away from STEM. This all changed when I started my internship with FableVision Learning and learned that STEM and art are not binary. In fact, they can be combined, simply by adding an A for “arts” into STEM to become STEAM.
Because I aspire to enter a career in elementary education after college, I am now fueled to utilize the concept of STEAM as a core part of my pedagogy. I recently had the experiential-learning opportunity to teach STEAM by helping to run a workshop for the Footbridge Program at Bridgewater State University in Massachusetts.

The Footbridge Program, run by Bridgewater State University’s College of Education and Allied Studies, is a two-week summer program focused on STEAM education and enrichment for Brockton Public Schools fourth and fifth grade students.
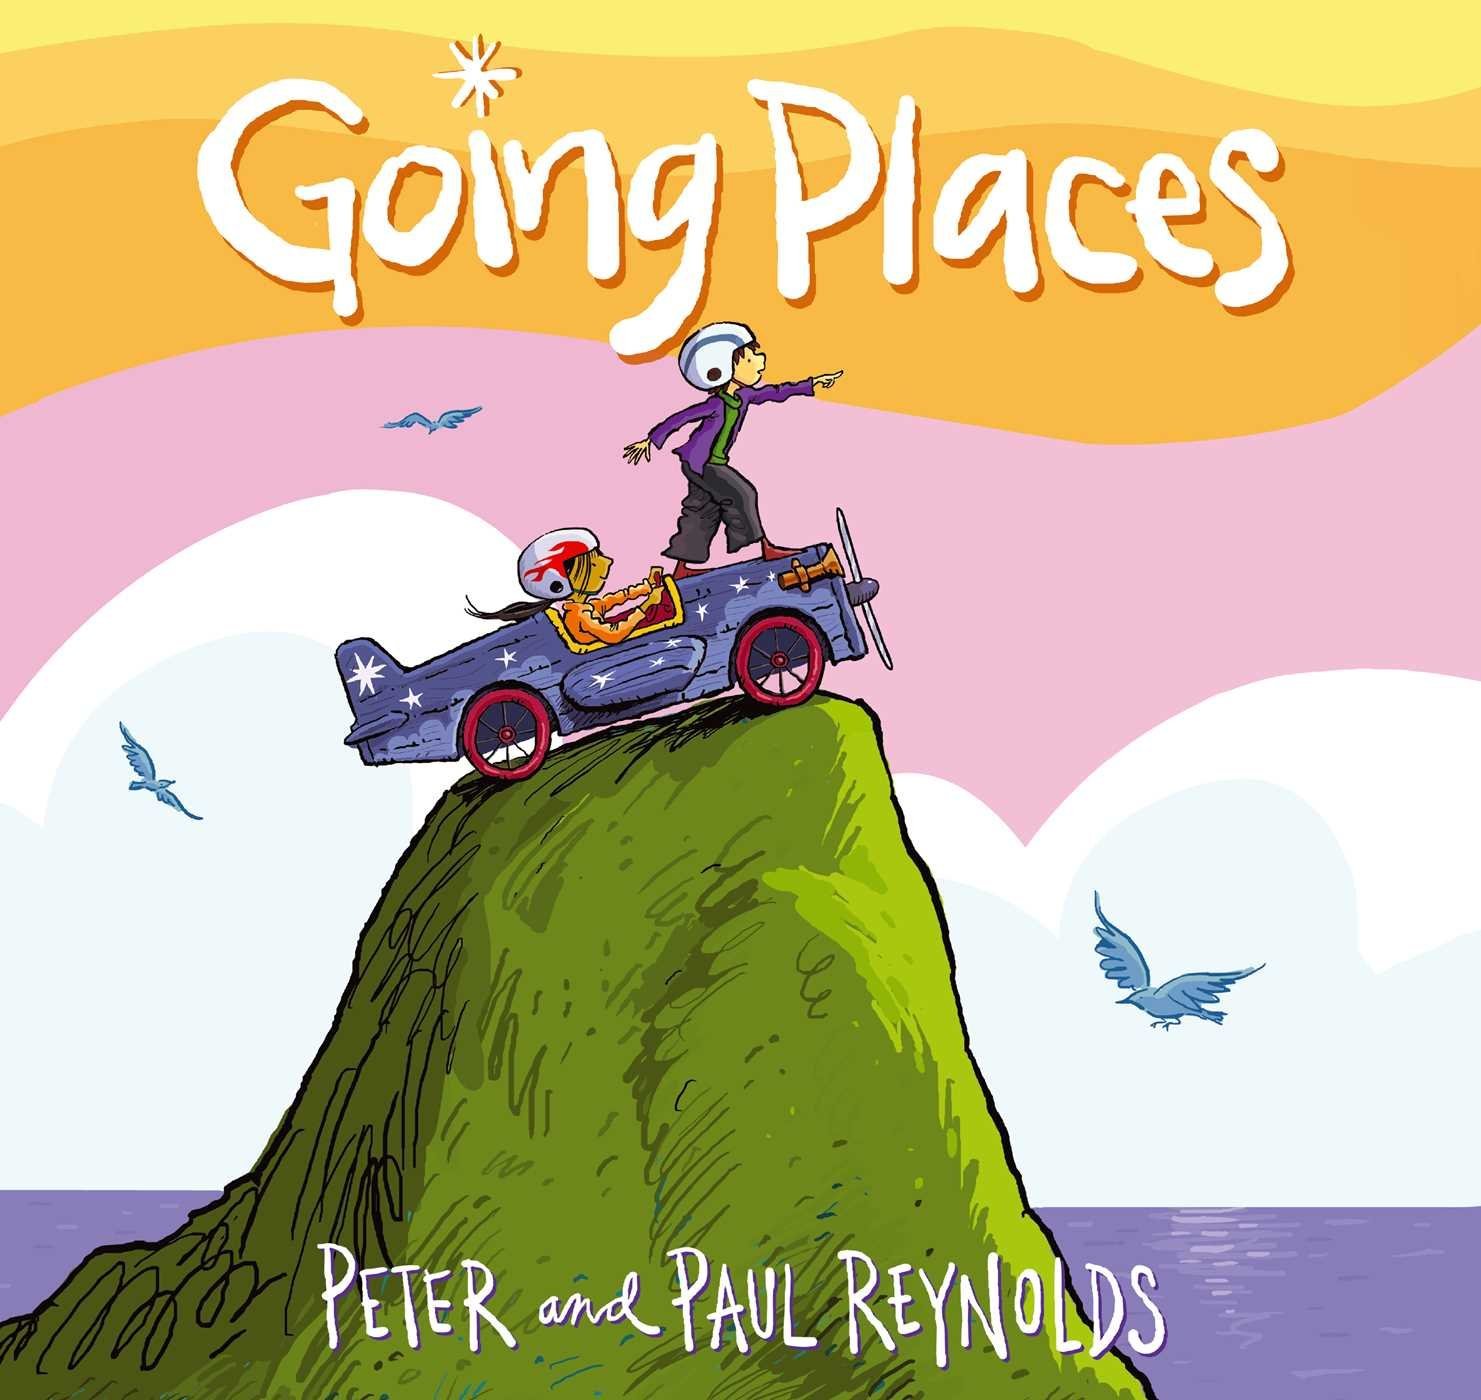
With the forty students who attended the program on Thursday, July 14, we worked on “Going Places Kits.” First, we read the award-winning book “Going Places,” by Paul and Peter H. Reynolds. Encouraging students to assume the role of Maya or Raphael, we passed out the kits to all the students and gave them one simple instruction: “Make something that moves.”
The other interns and I had previously assembled these kits. We fabricated each of these small, blue cereal-box-shaped boxes using FabMaker Studio—and inside each of the boxes we stuffed materials including buttons, brads, paper clips, pom poms, pipe cleaners, coffee filters, popsicle sticks, and aluminum foil. Back when we were putting these kits together at the FableVision Learning office, I could have never fathomed what kinds of “things that move” that the students would end up engineering.
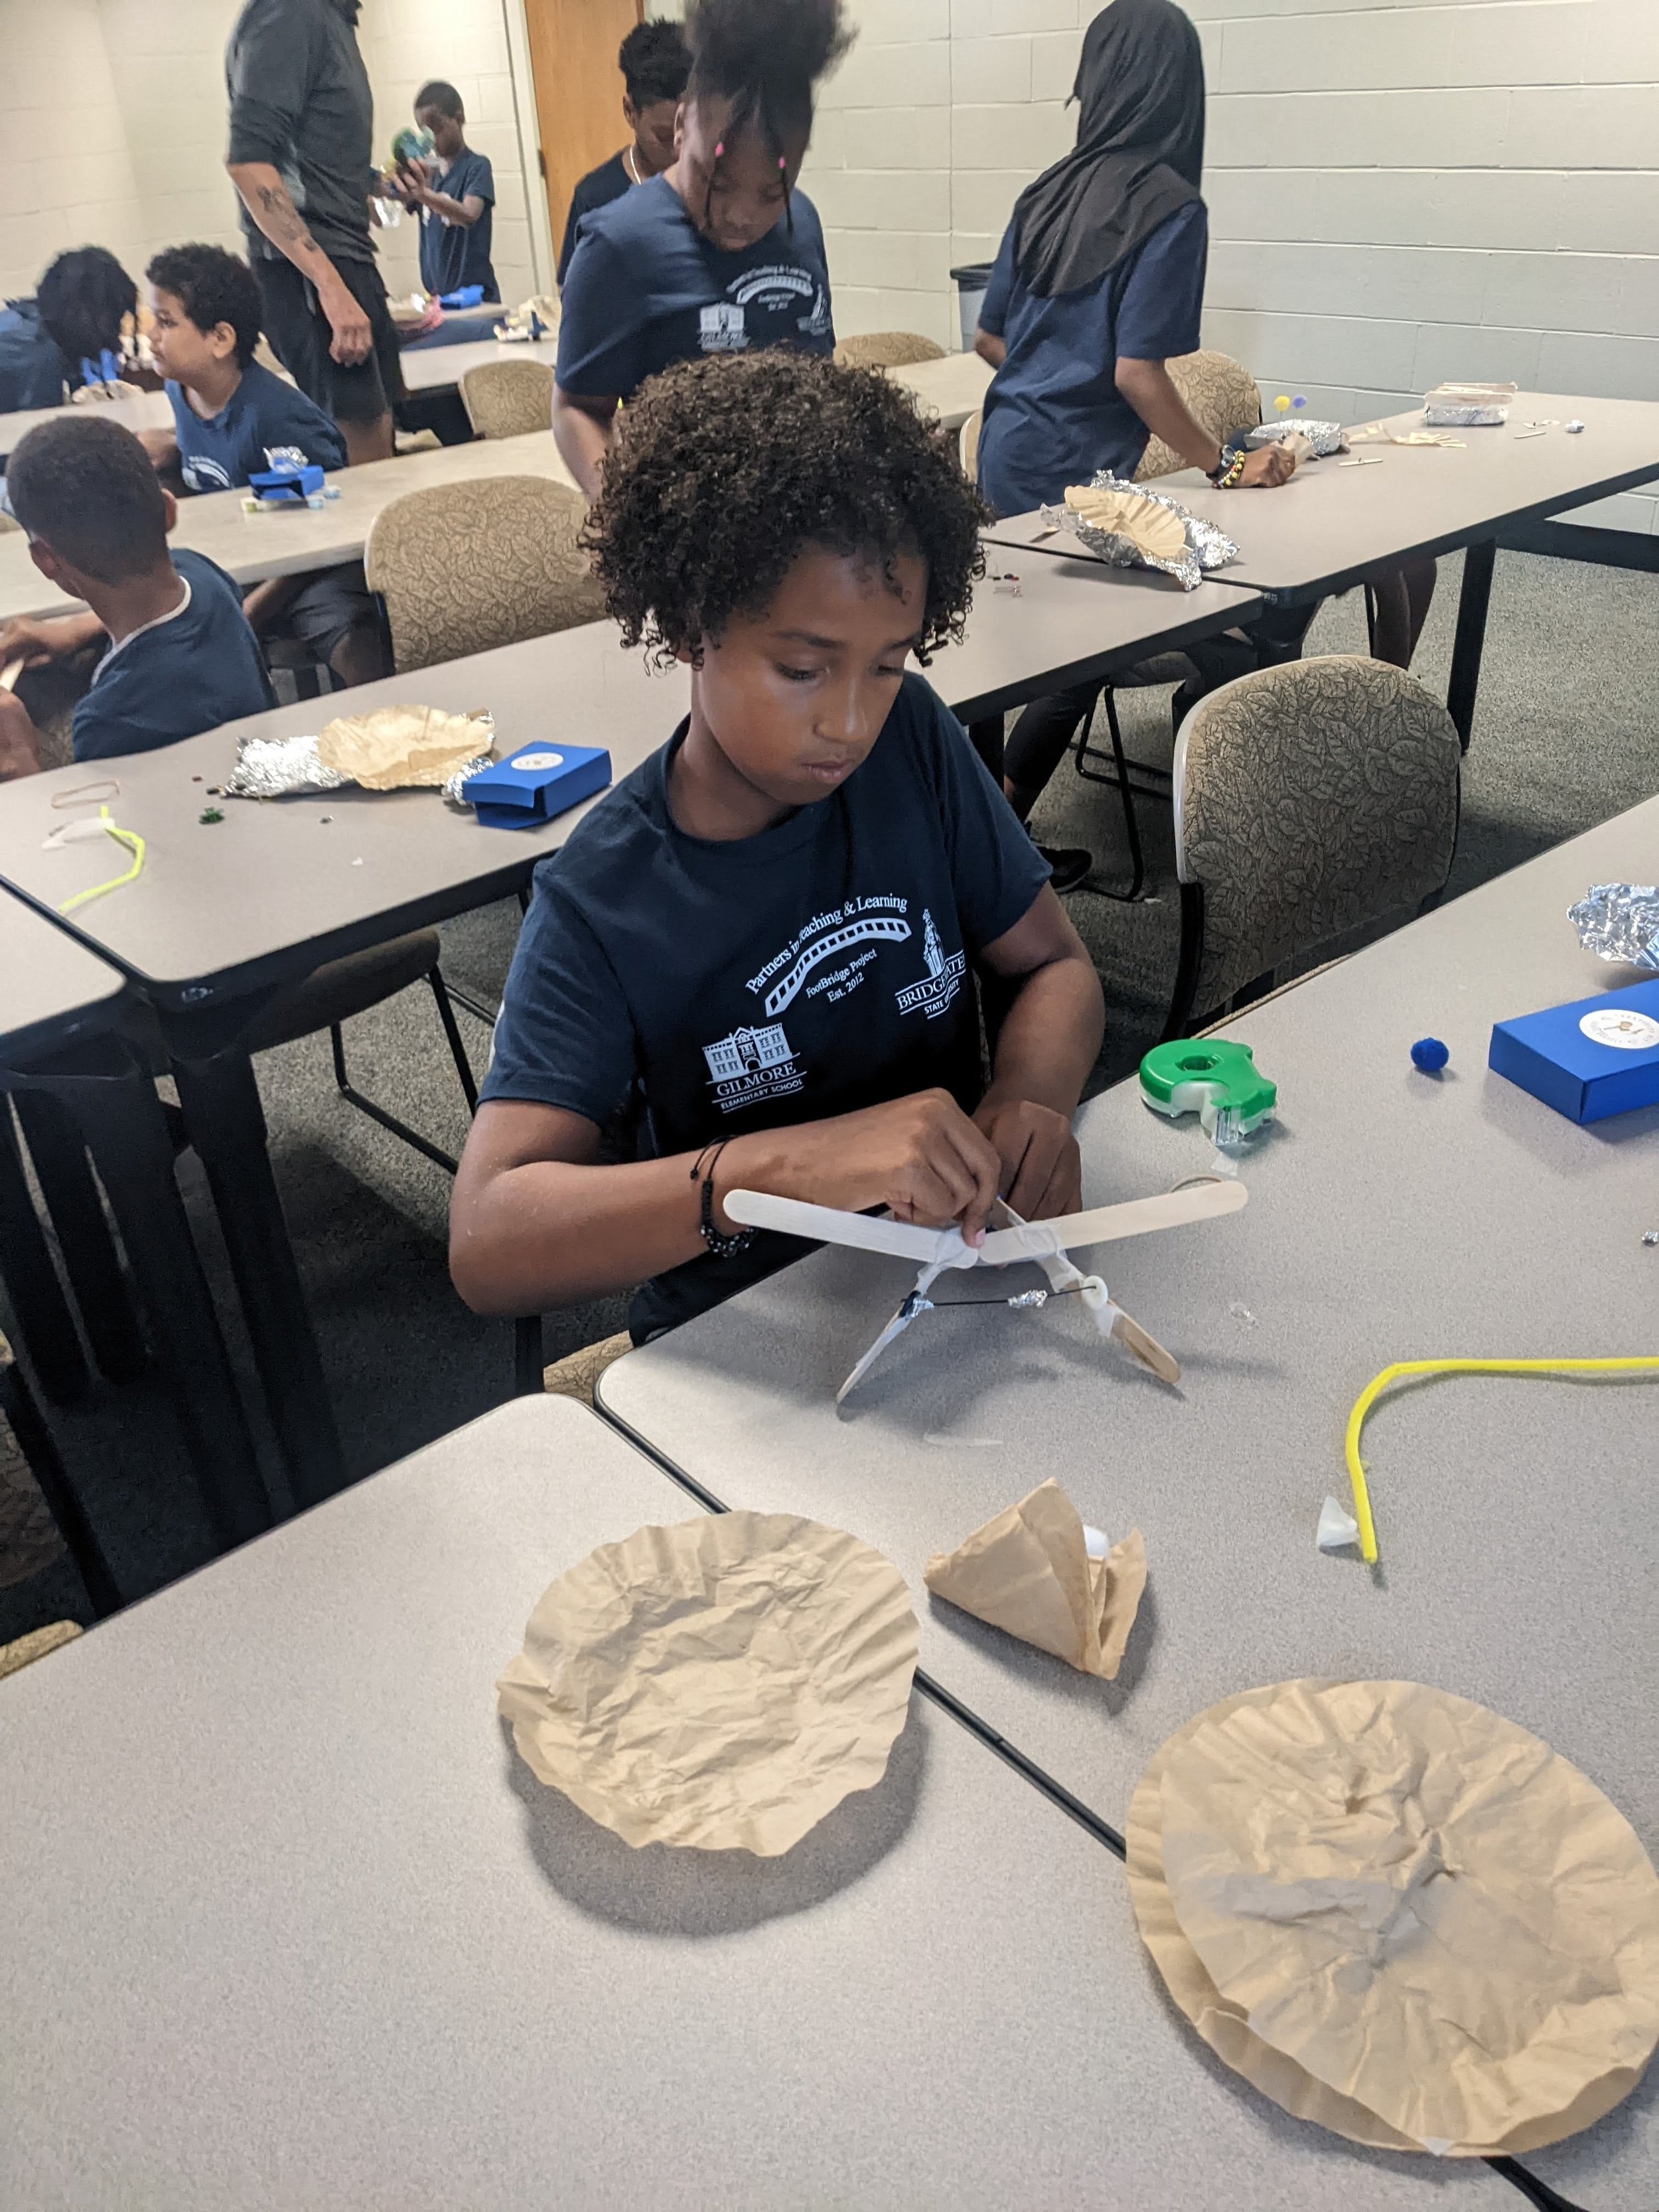
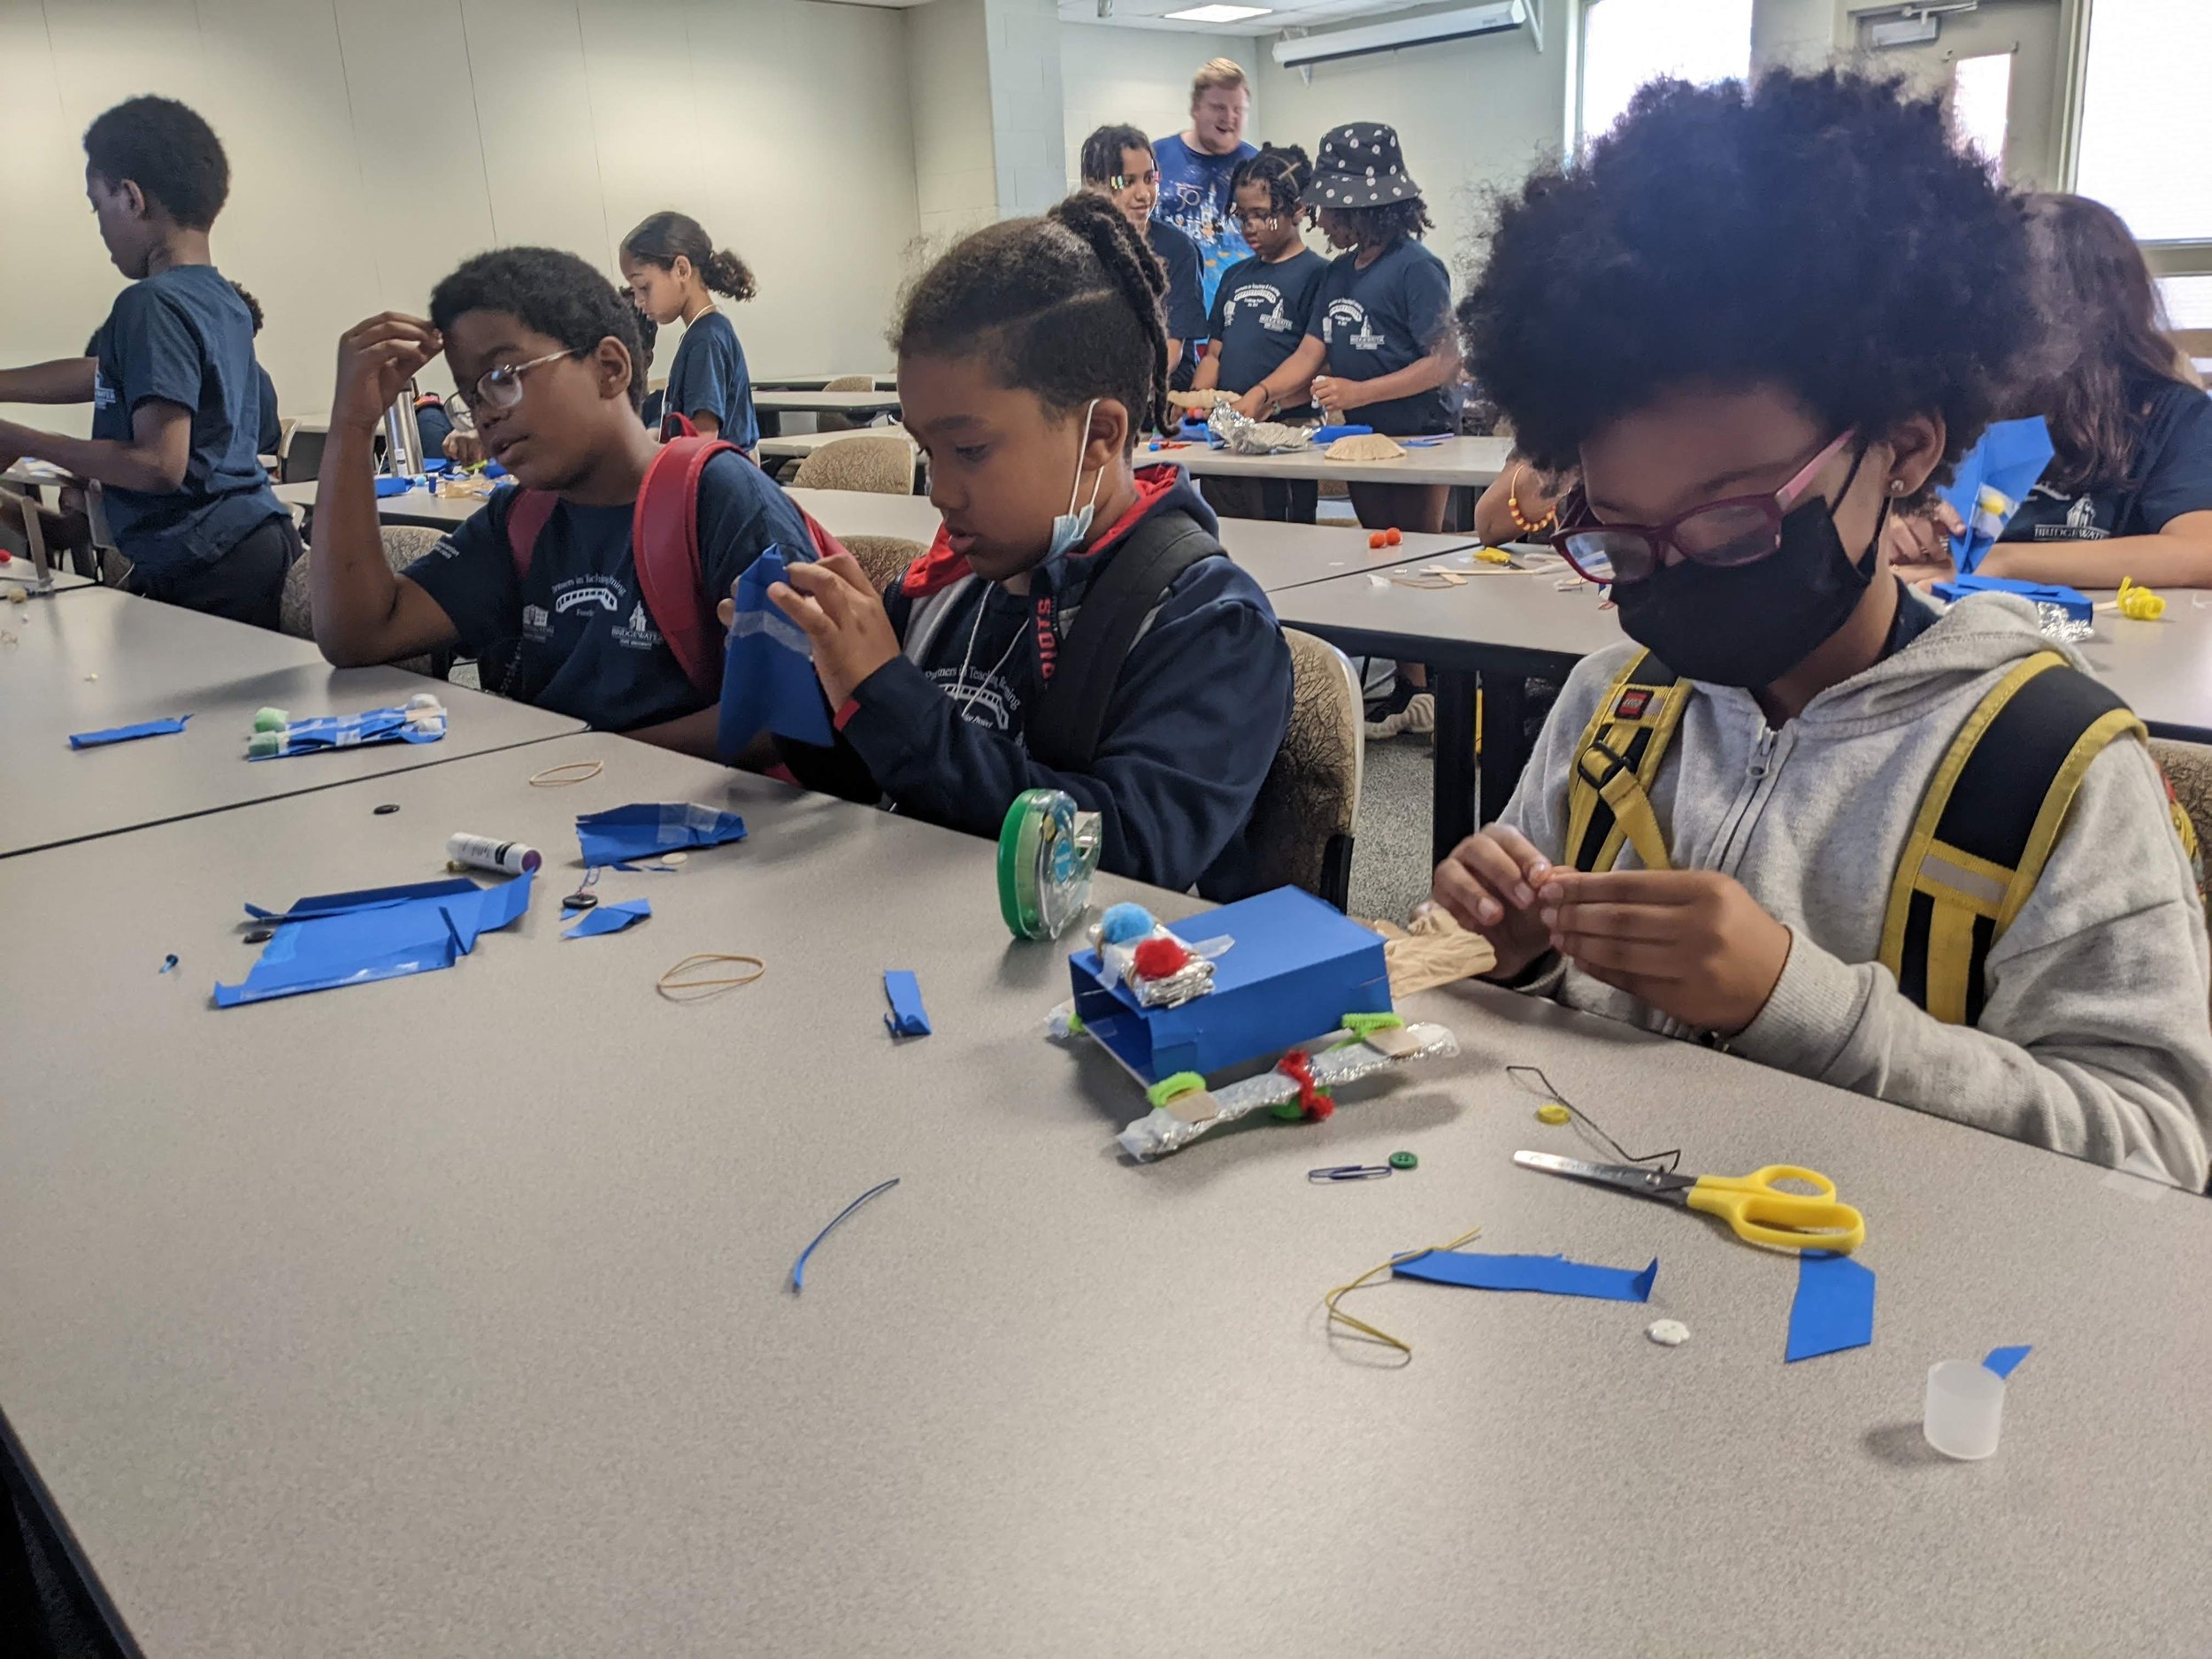
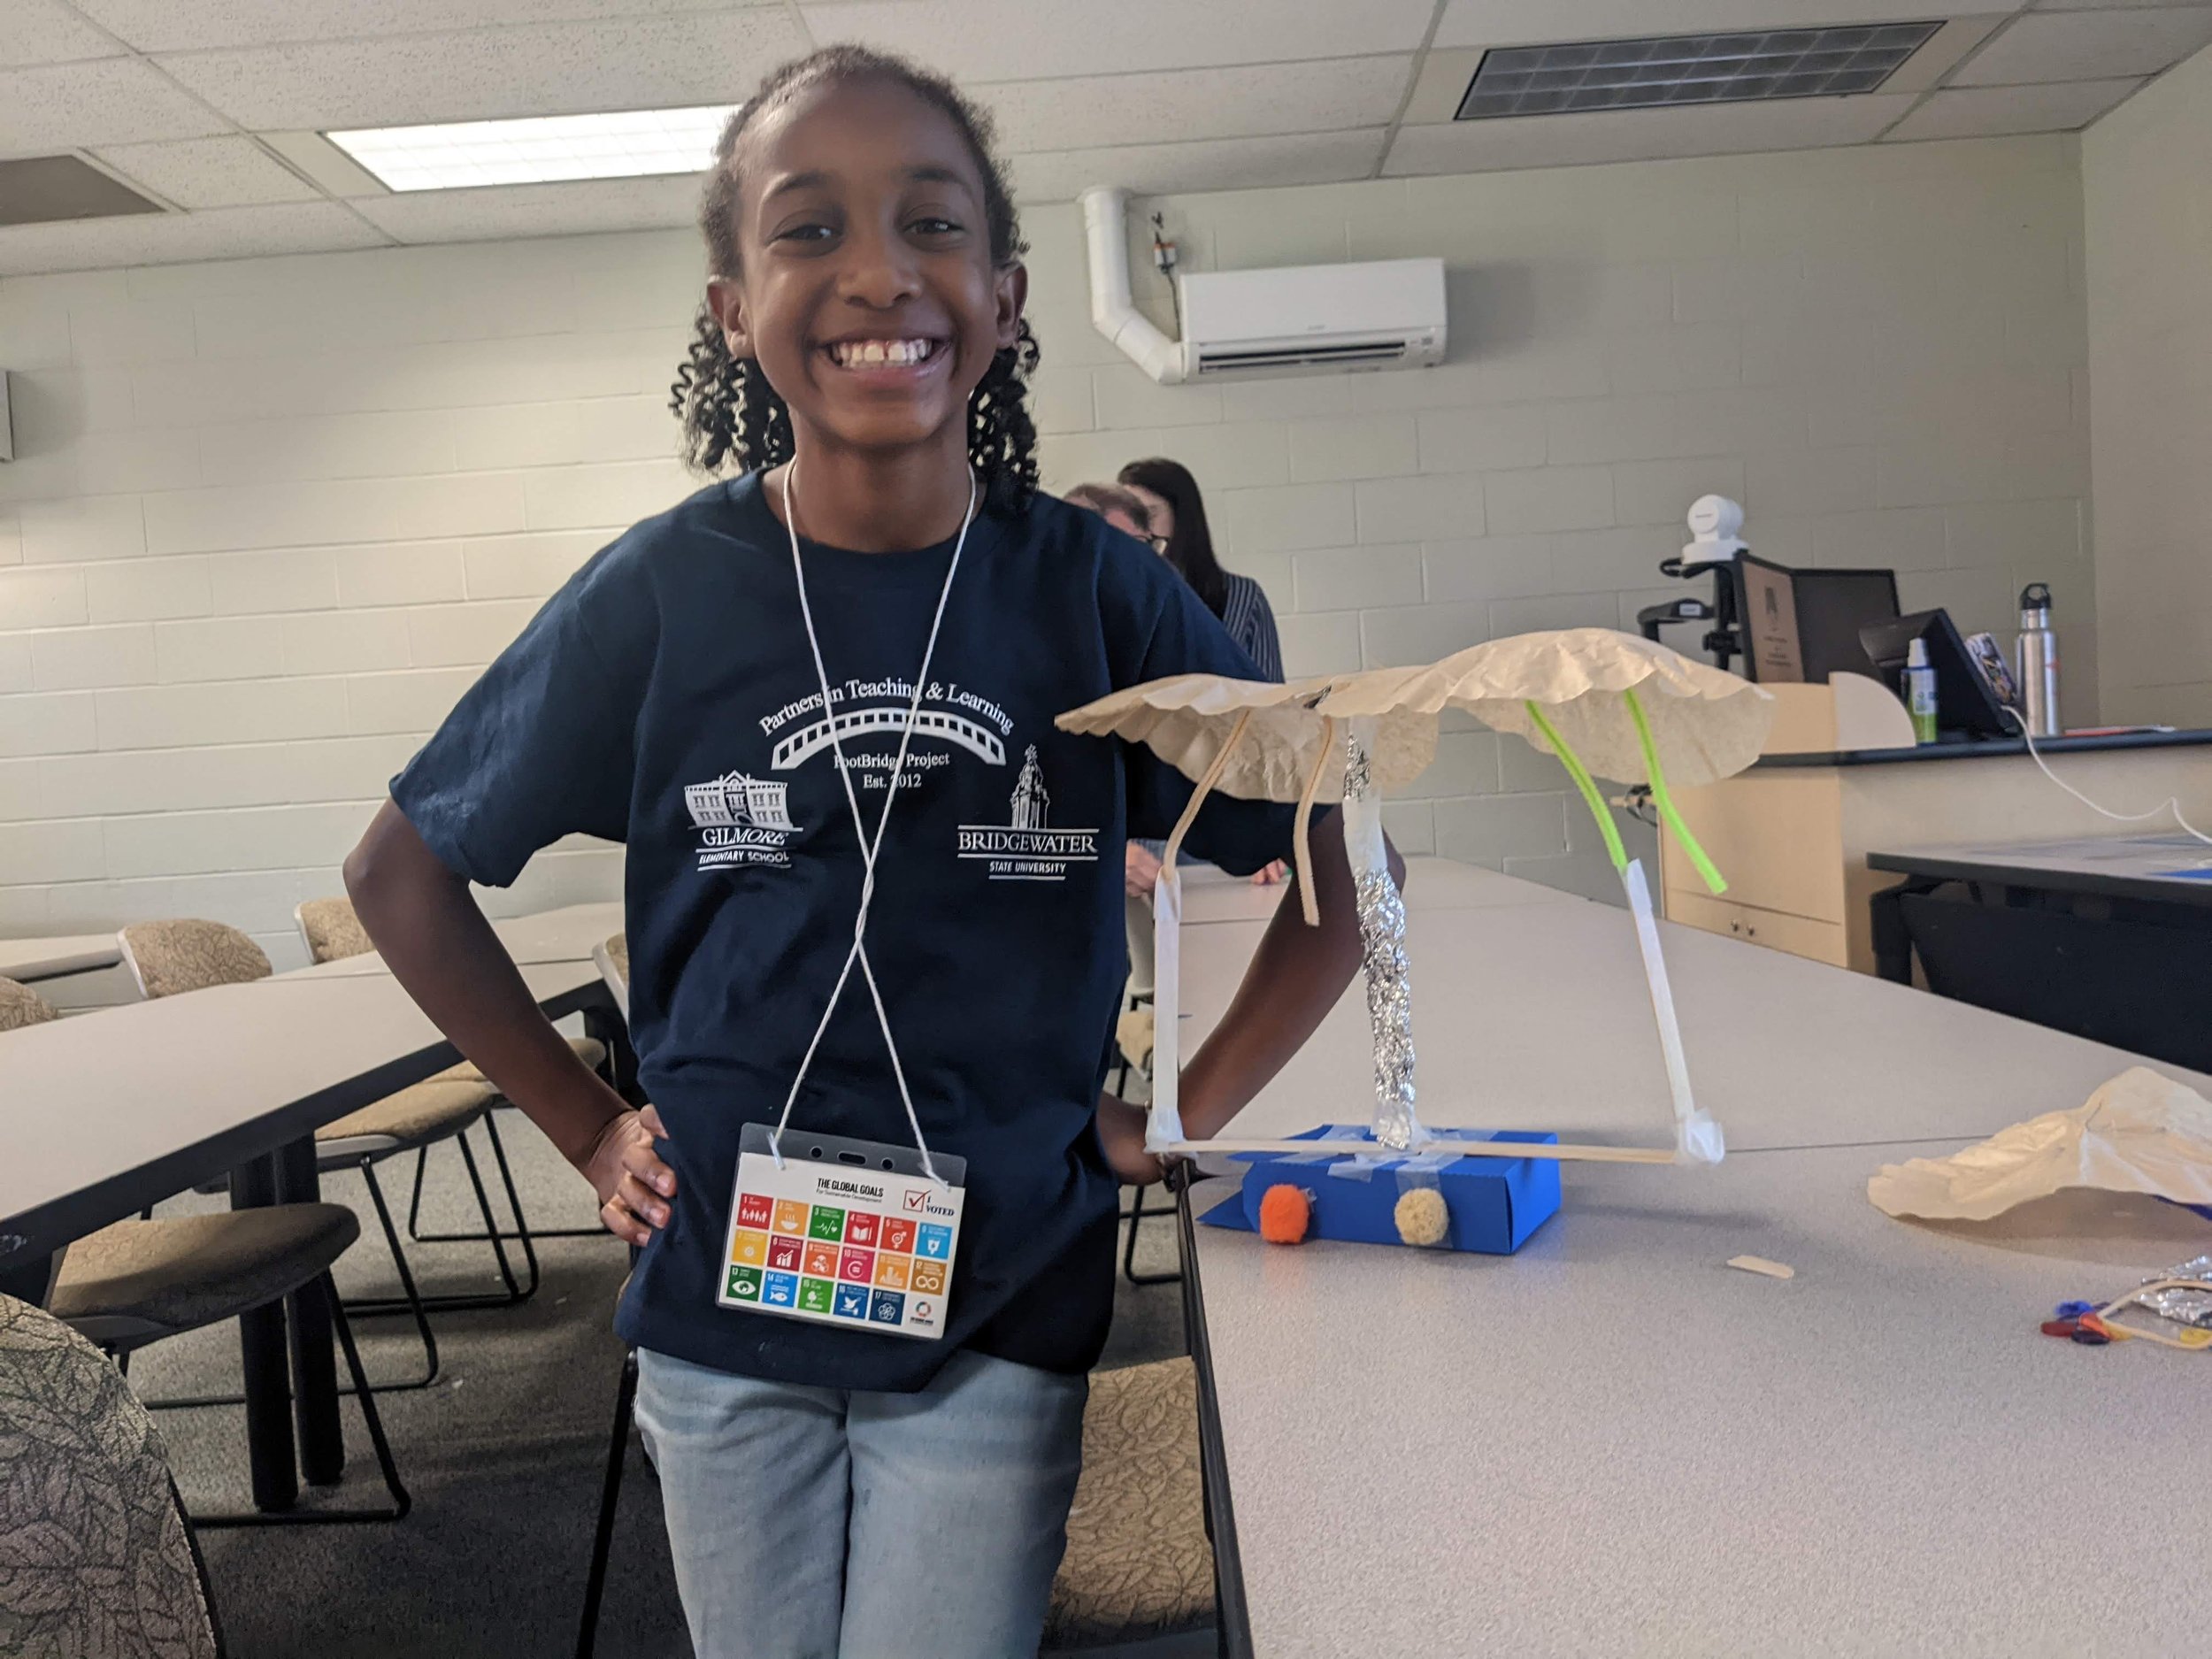
On the day, some students emptied out their boxes and glued four buttons to the sides. Bam! They made cars. Other students used the coffee filters to make parachutes. There were a few kids who had an inkling towards aviation (since they learned all about airplanes during another part of the program), so they decided to fold the aluminum foil into an airplane. A couple of the creations truly exhibited divergent thinking. For instance, one of the students used a popsicle stick to create a skateboard.
There were no rules for this project, other than “make something that moves.” Thus, the students could become dreamers like Maya and think outside the box! We demonstrated FabMaker Studio, and students that did not have all the parts they needed inside their box could design new parts themselves. To me, this calibration of creativity certainly encompasses the A for “art” in STEAM. At the same time, it covers the E for “engineering.” Needless to say, the arts and humanities and STEM are not mutually exclusive.


Celebrate Earth Day with FableVision Learning
The following blog post is by Tyler Stott.
Held every year on April 22, Earth Day is an opportunity for people around the world to celebrate our beautiful Earth.
Earth Day is a reminder that we must protect our planet if we want it to remain beautiful for generations to come. We can do this in small ways by recycling, conserving electricity, and not littering. We can also do this in bigger ways by supporting global efforts to reduce harm and increase protection of our natural resources. We only have one Earth!
Looking for a way to begin celebrating Earth Day? Explore these classroom activities:
Animation-Ish Earth Day Activity
One way to celebrate Earth Day is by creating an animated message.
Here are a few Earth Day animations made in Animation-ish to inspire you.
Earth Day ROCKS!

Begin by reading “Rose’s Garden” by Peter H. Reynolds. This book explores the beauty of nature and the power of imagination. “Rose’s Garden” also shows how nature can make our world a much more colorful place.
For this activity, break students into small groups but allow each student to have their own rock. Give your students some time to paint their rock with an inspiring message tied to nature or kindness. Have students share their rock designs and messages with their small group. Once you have given them some time to finish, instruct them to return to their groups and share what they have made! Invite everyone to go around and say one nice thing about someone else's rock. Once the sharing is complete, have your students go outside and place the rocks next to something like a tree or a garden!
When your students are done with this project, we encourage you to do a reflection time. Ask your students: What did you decide to paint and why? When else during the week do you get the chance to be creative? What is your favorite thing about nature?
Click here to download the Earth Day Challenge Card: Earth Day Rocks!
Trash vs. Recycling:

Begin by reading “Sydney and Simon: Go Green!” by Paul and Peter H. Reynolds, a book about the dangers of pollution and the power of recycling. In this book, Sydney and Simon meet a sea turtle who has been harmed by garbage due to littering. This book will help show students the implications of littering and why it is necessary to start recycling.
For this activity, you will need to prepare kits for each group in your classroom. Each group will need a kit of different materials. These items could include: a plastic water bottle, a plastic straw, a plastic grocery bag, a glass bottle, a paper towel, a newspaper, and a piece of wrapping paper. Feel free to switch out for any items that you might not have, these are just some suggestions.
Working in teams, students will sort the items by what can go in a recycling bin. The team in the end who gets the most items correct is the winner. 1 point for each item in the correct spot! If you have enough different types of items, you can rotate them between groups.
Answer Key:
Plastic Water Bottle - recyclable
Plastic Straw- non-recyclable
Plastic grocery bag- recyclable-ish (Can be returned to grocery store for recycling)
Glass Bottle- recyclable
Paper Towel - non-recyclable
Newspaper- recyclable
Wrapping paper - non-recyclable
At the end of the activity we encourage you to do a reflection. Ask your students: What made this activity difficult? Were there any items you debated whether to recycle vs. throw out? Do your families recycle at home? At home do you ever struggle to know what to recycle vs. what to throw out?
Click here to download the Earth Day Challenge Card: Trash Vs. Recycling.
FabMaker Studio: Animal Masks
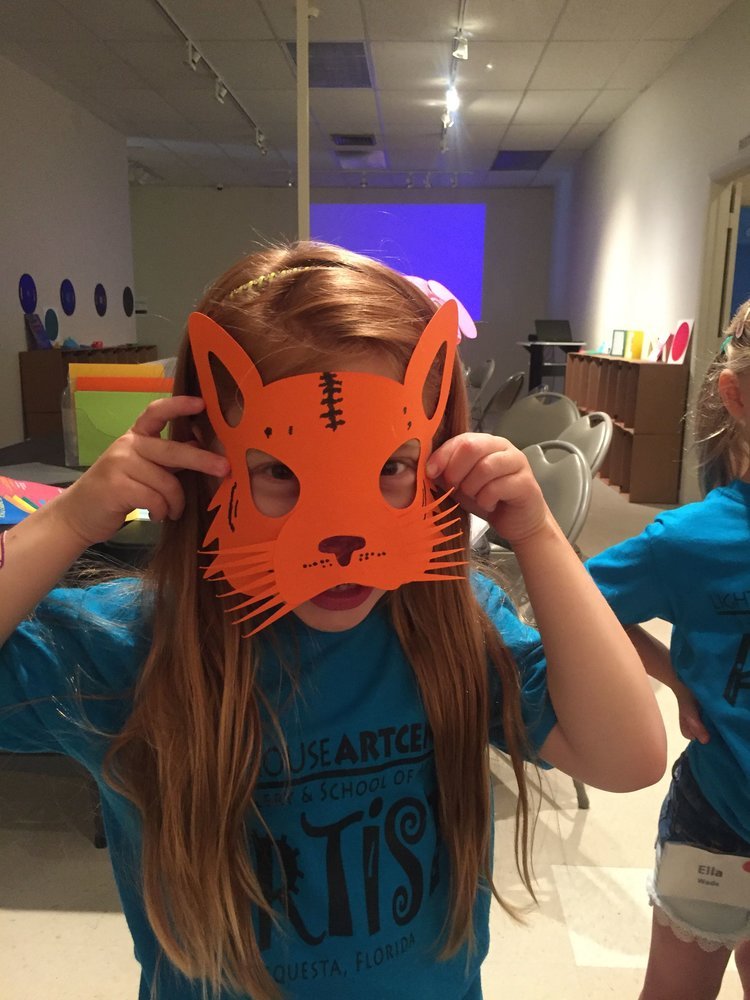
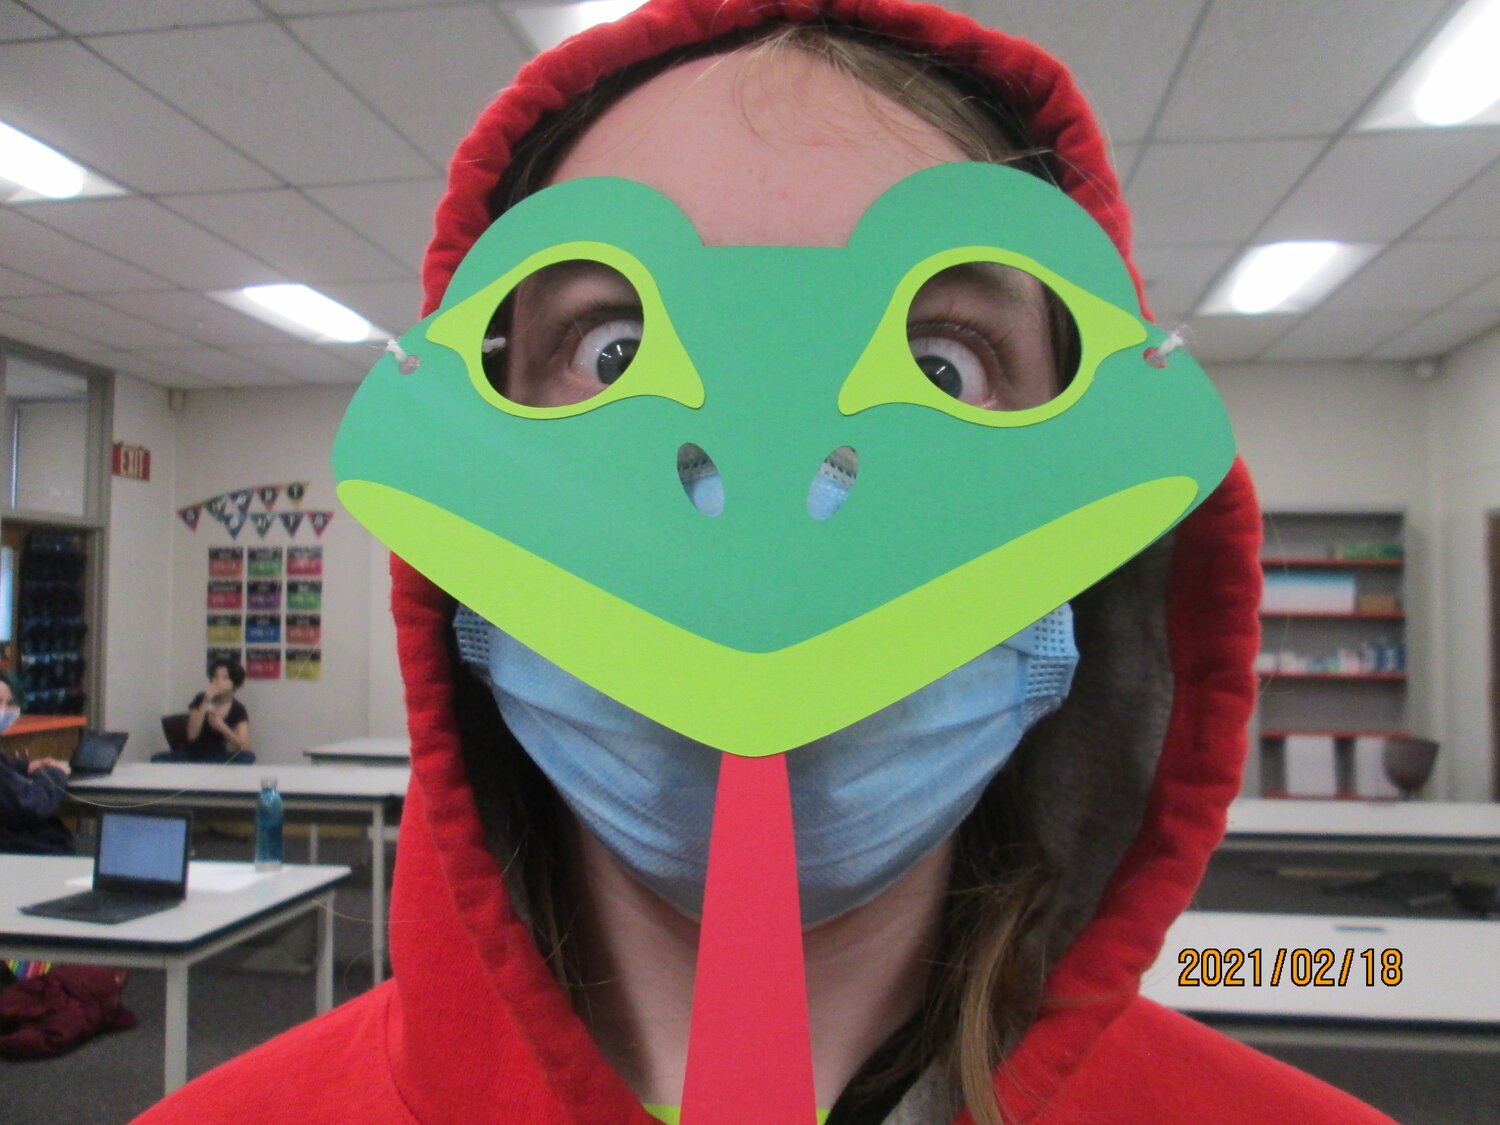
Lions, Tigers and Bears, Oh My! - This Earth Day create a classroom zoo using FabMaker Studio. Students can explore the 2D ready-made masks from within the program to fabricate and create their own animal masks. Encourage each student to create their own unique animal and research a bit about that creature and where they live.
There are so many different types of animals on our beautiful Earth! However, we must continue to protect our planet if we want to keep it this way. Scientists declared 22 species extinct in the year 2021 alone.
How will you celebrate Earth Day? Share your animations, rock gardens, and classroom zoos with us on social media. Use #EarthDay and #InvestInOurPlanet and tag us @FableLearn.

FabMaker Spotlight: Boston Students Use FabMaker Studio to Create Their Own Food Truck Festival!
The following blog post is by Tyler Stott.
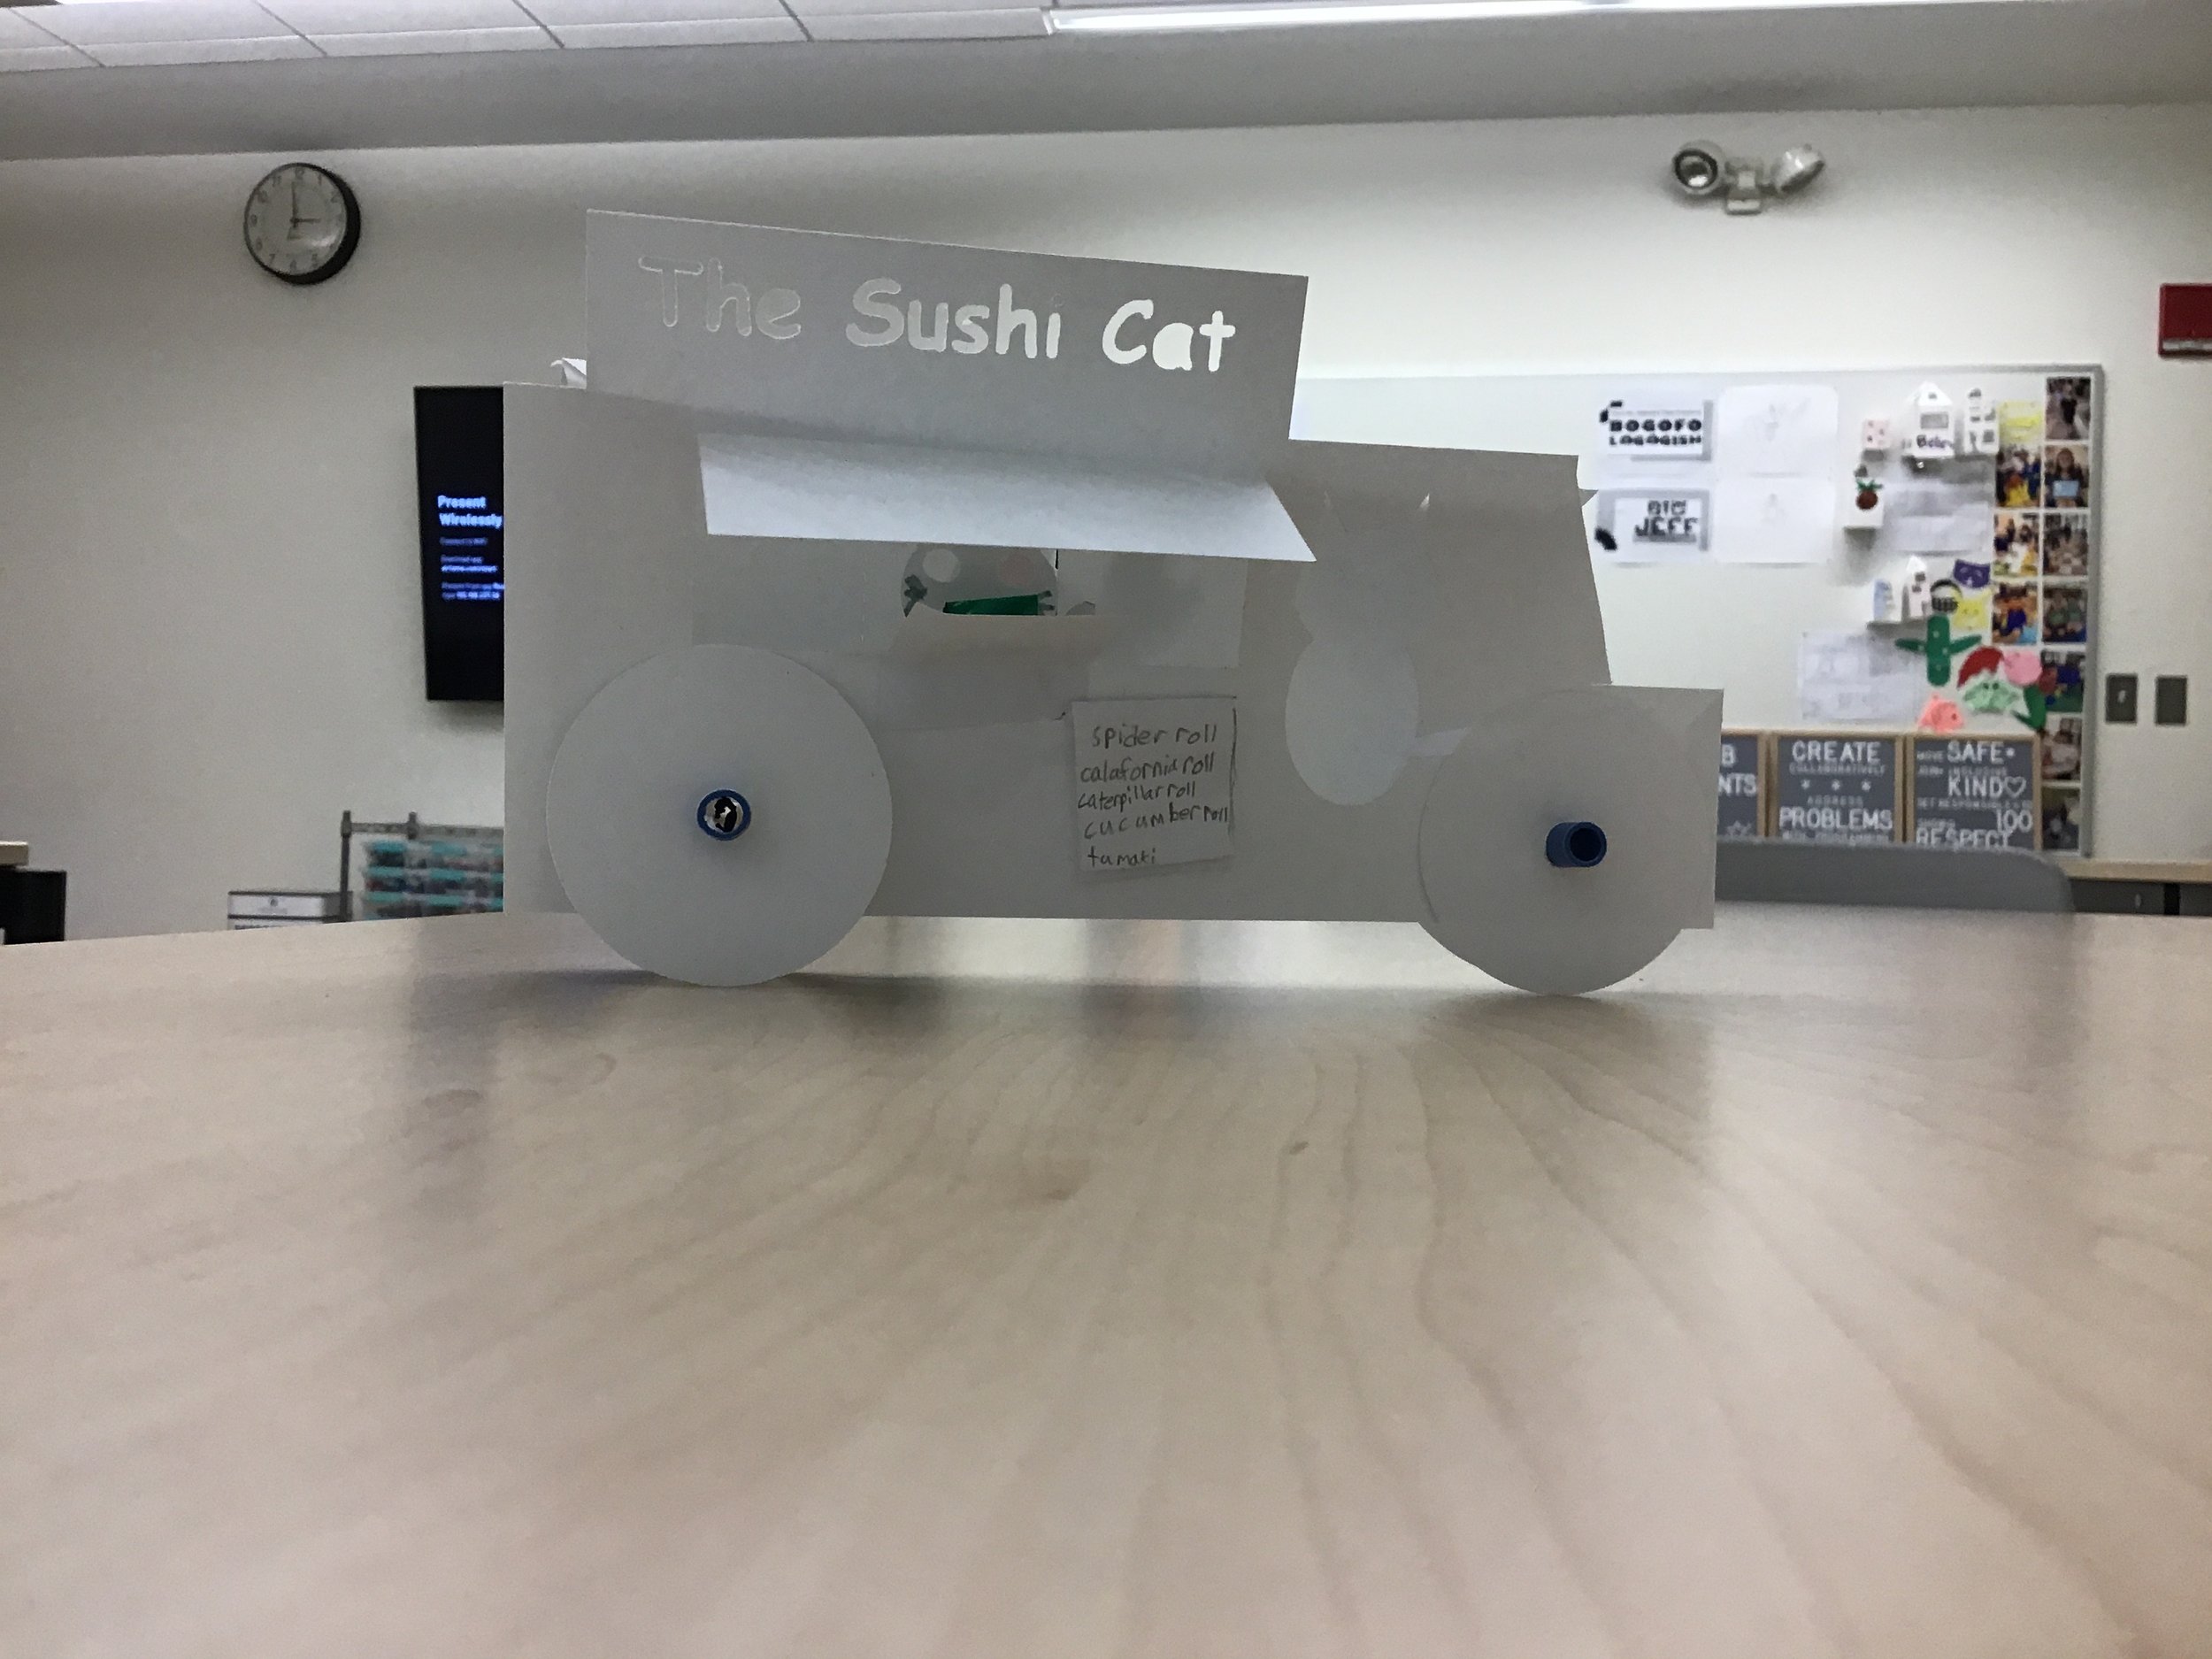
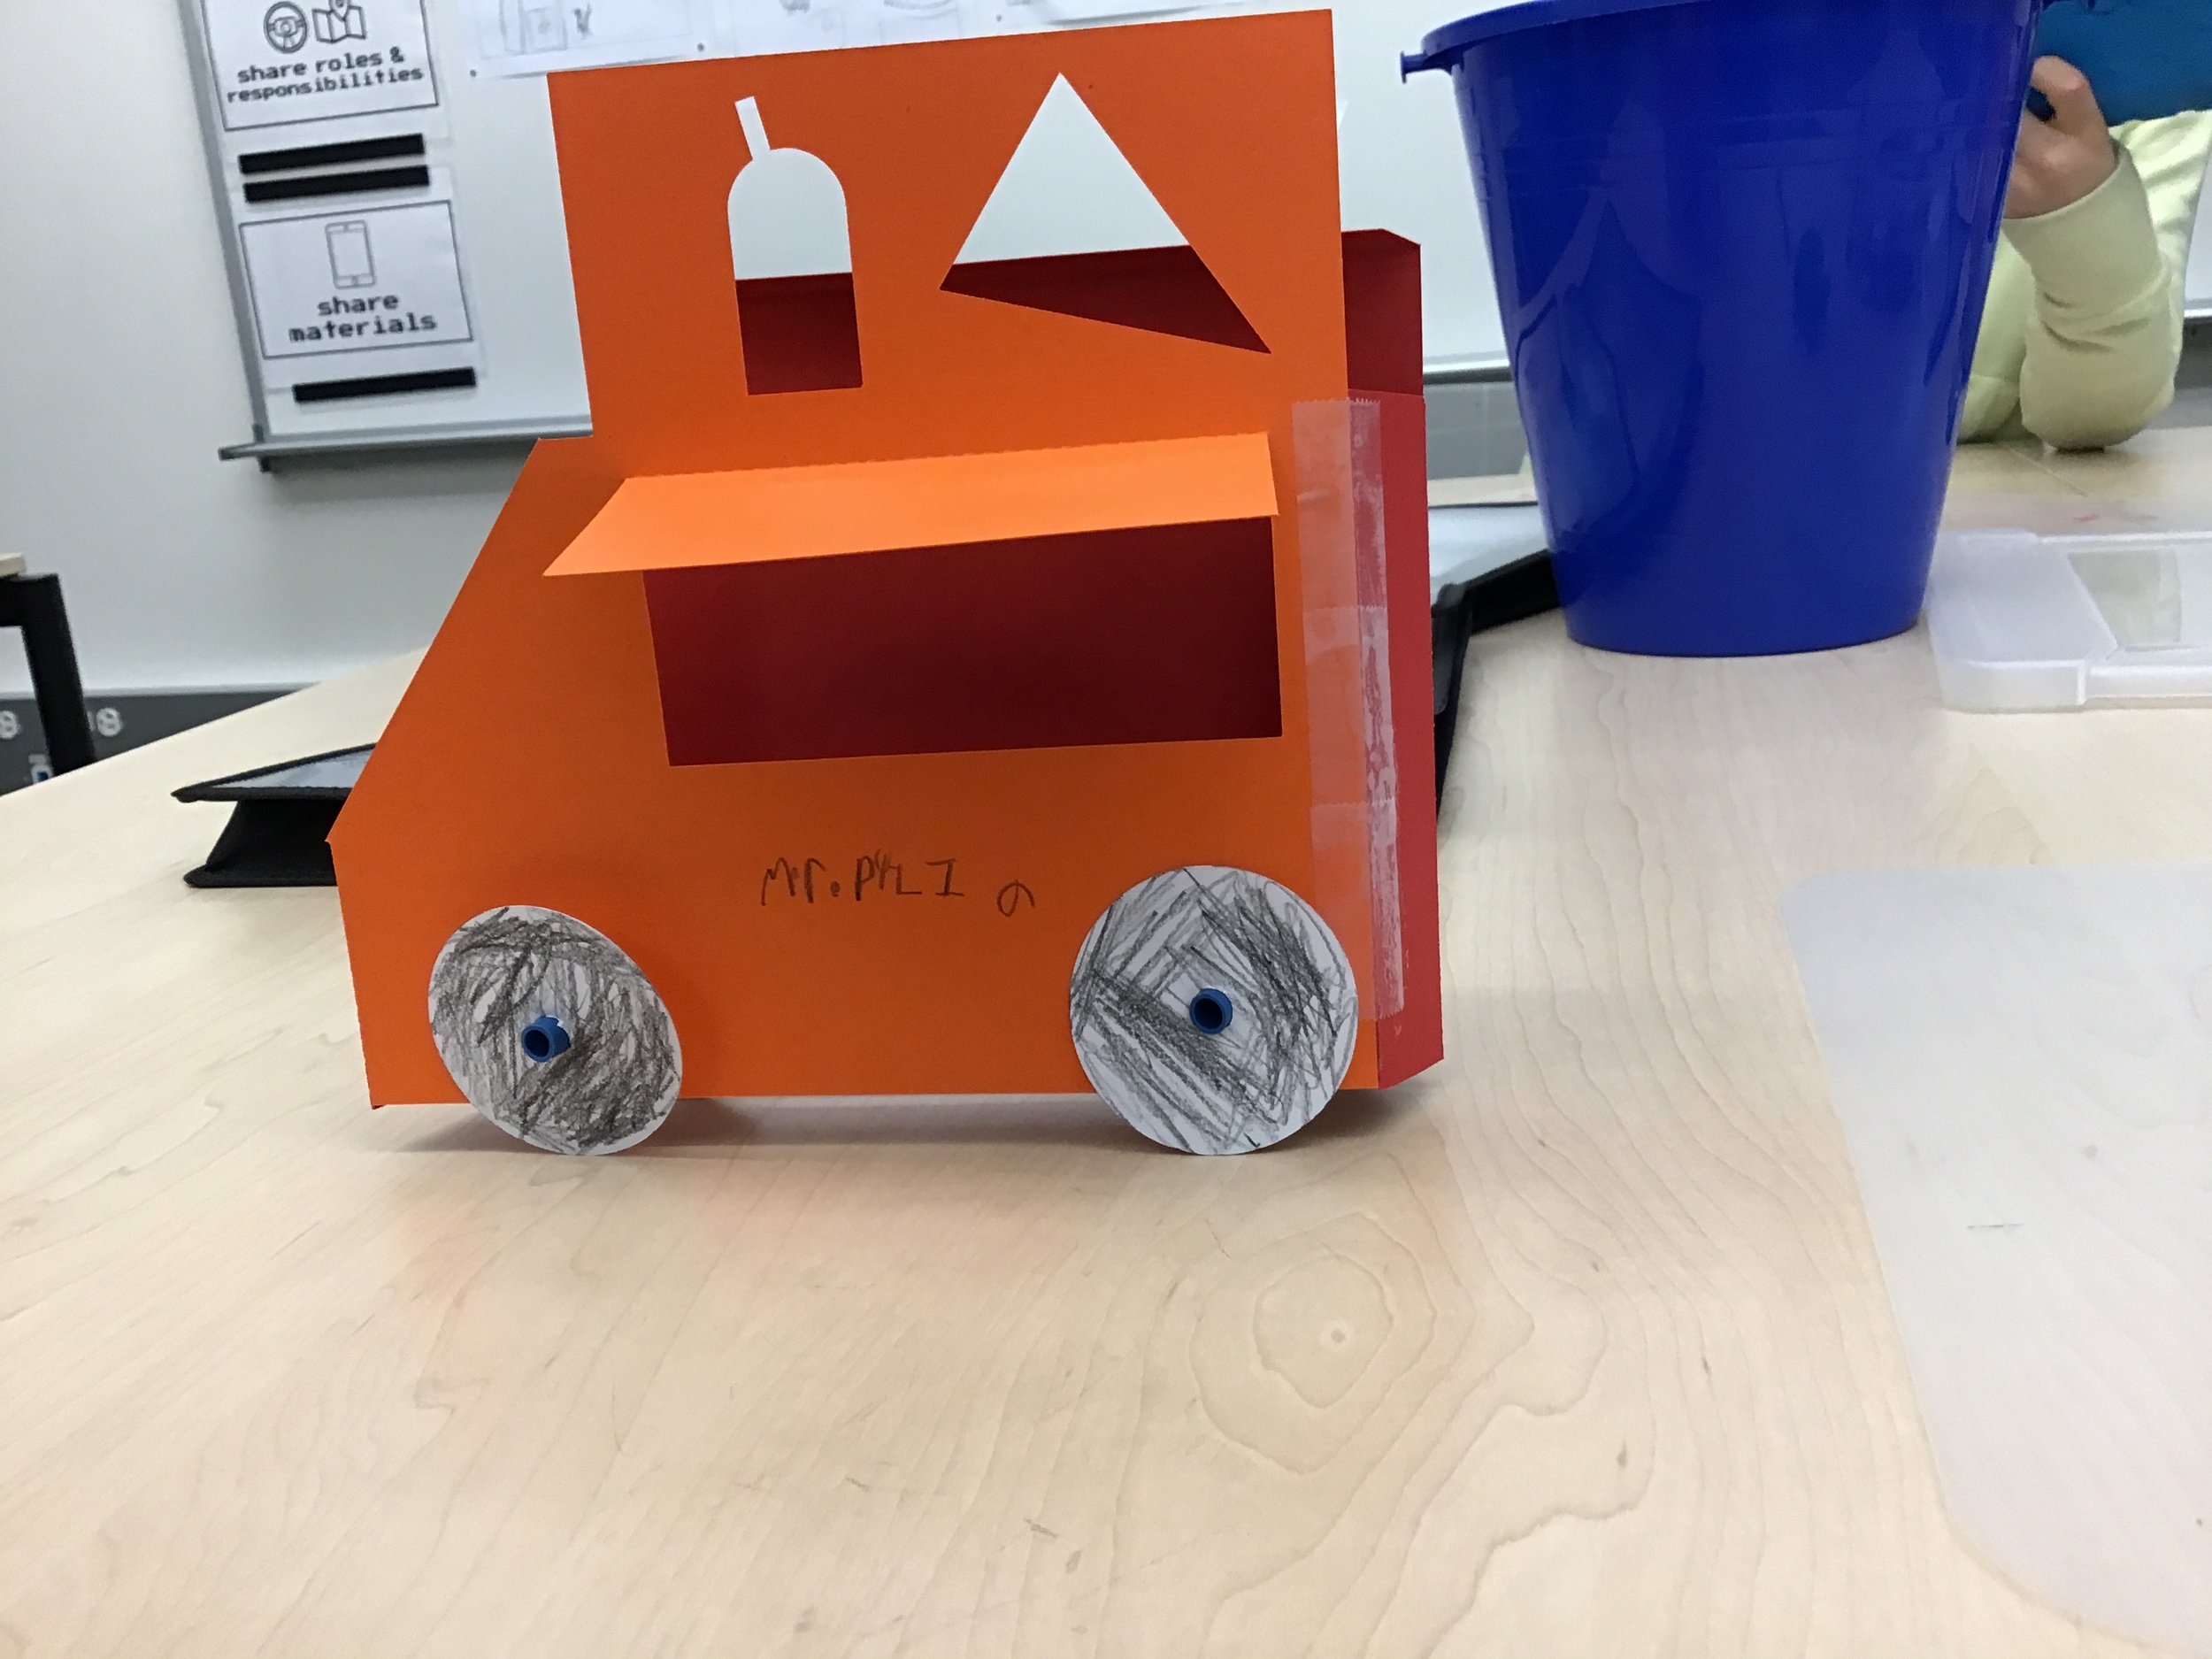
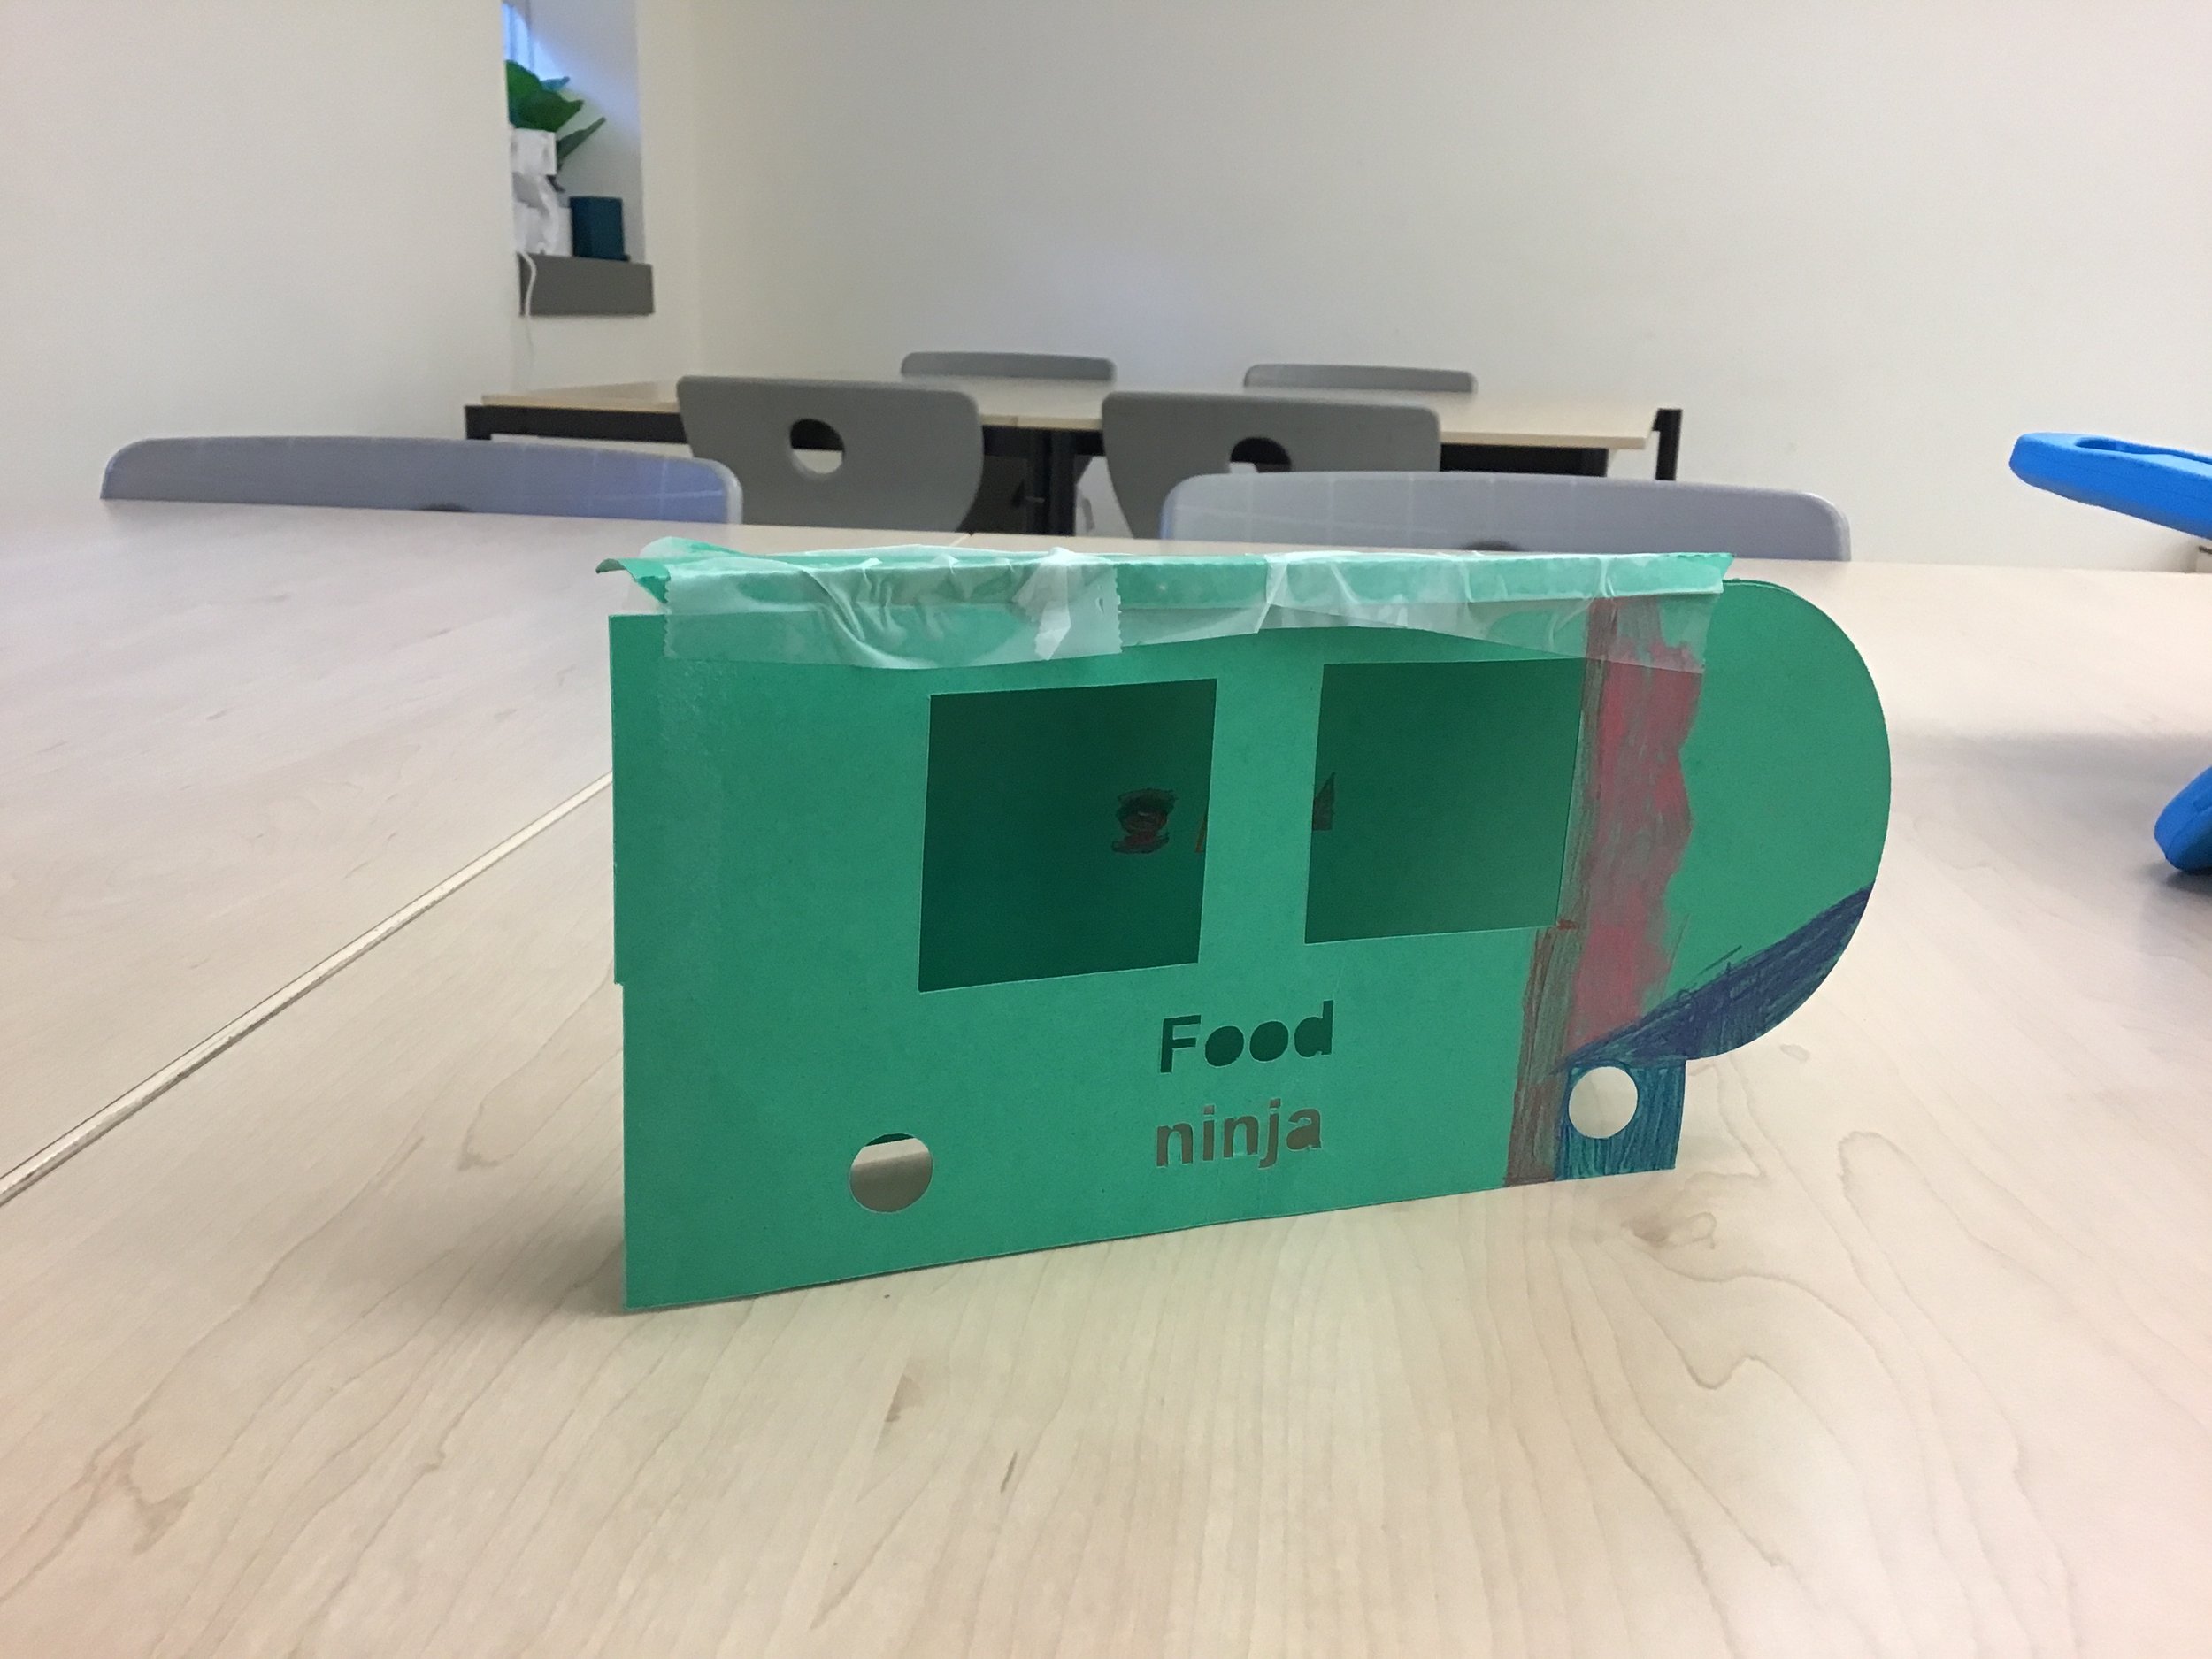
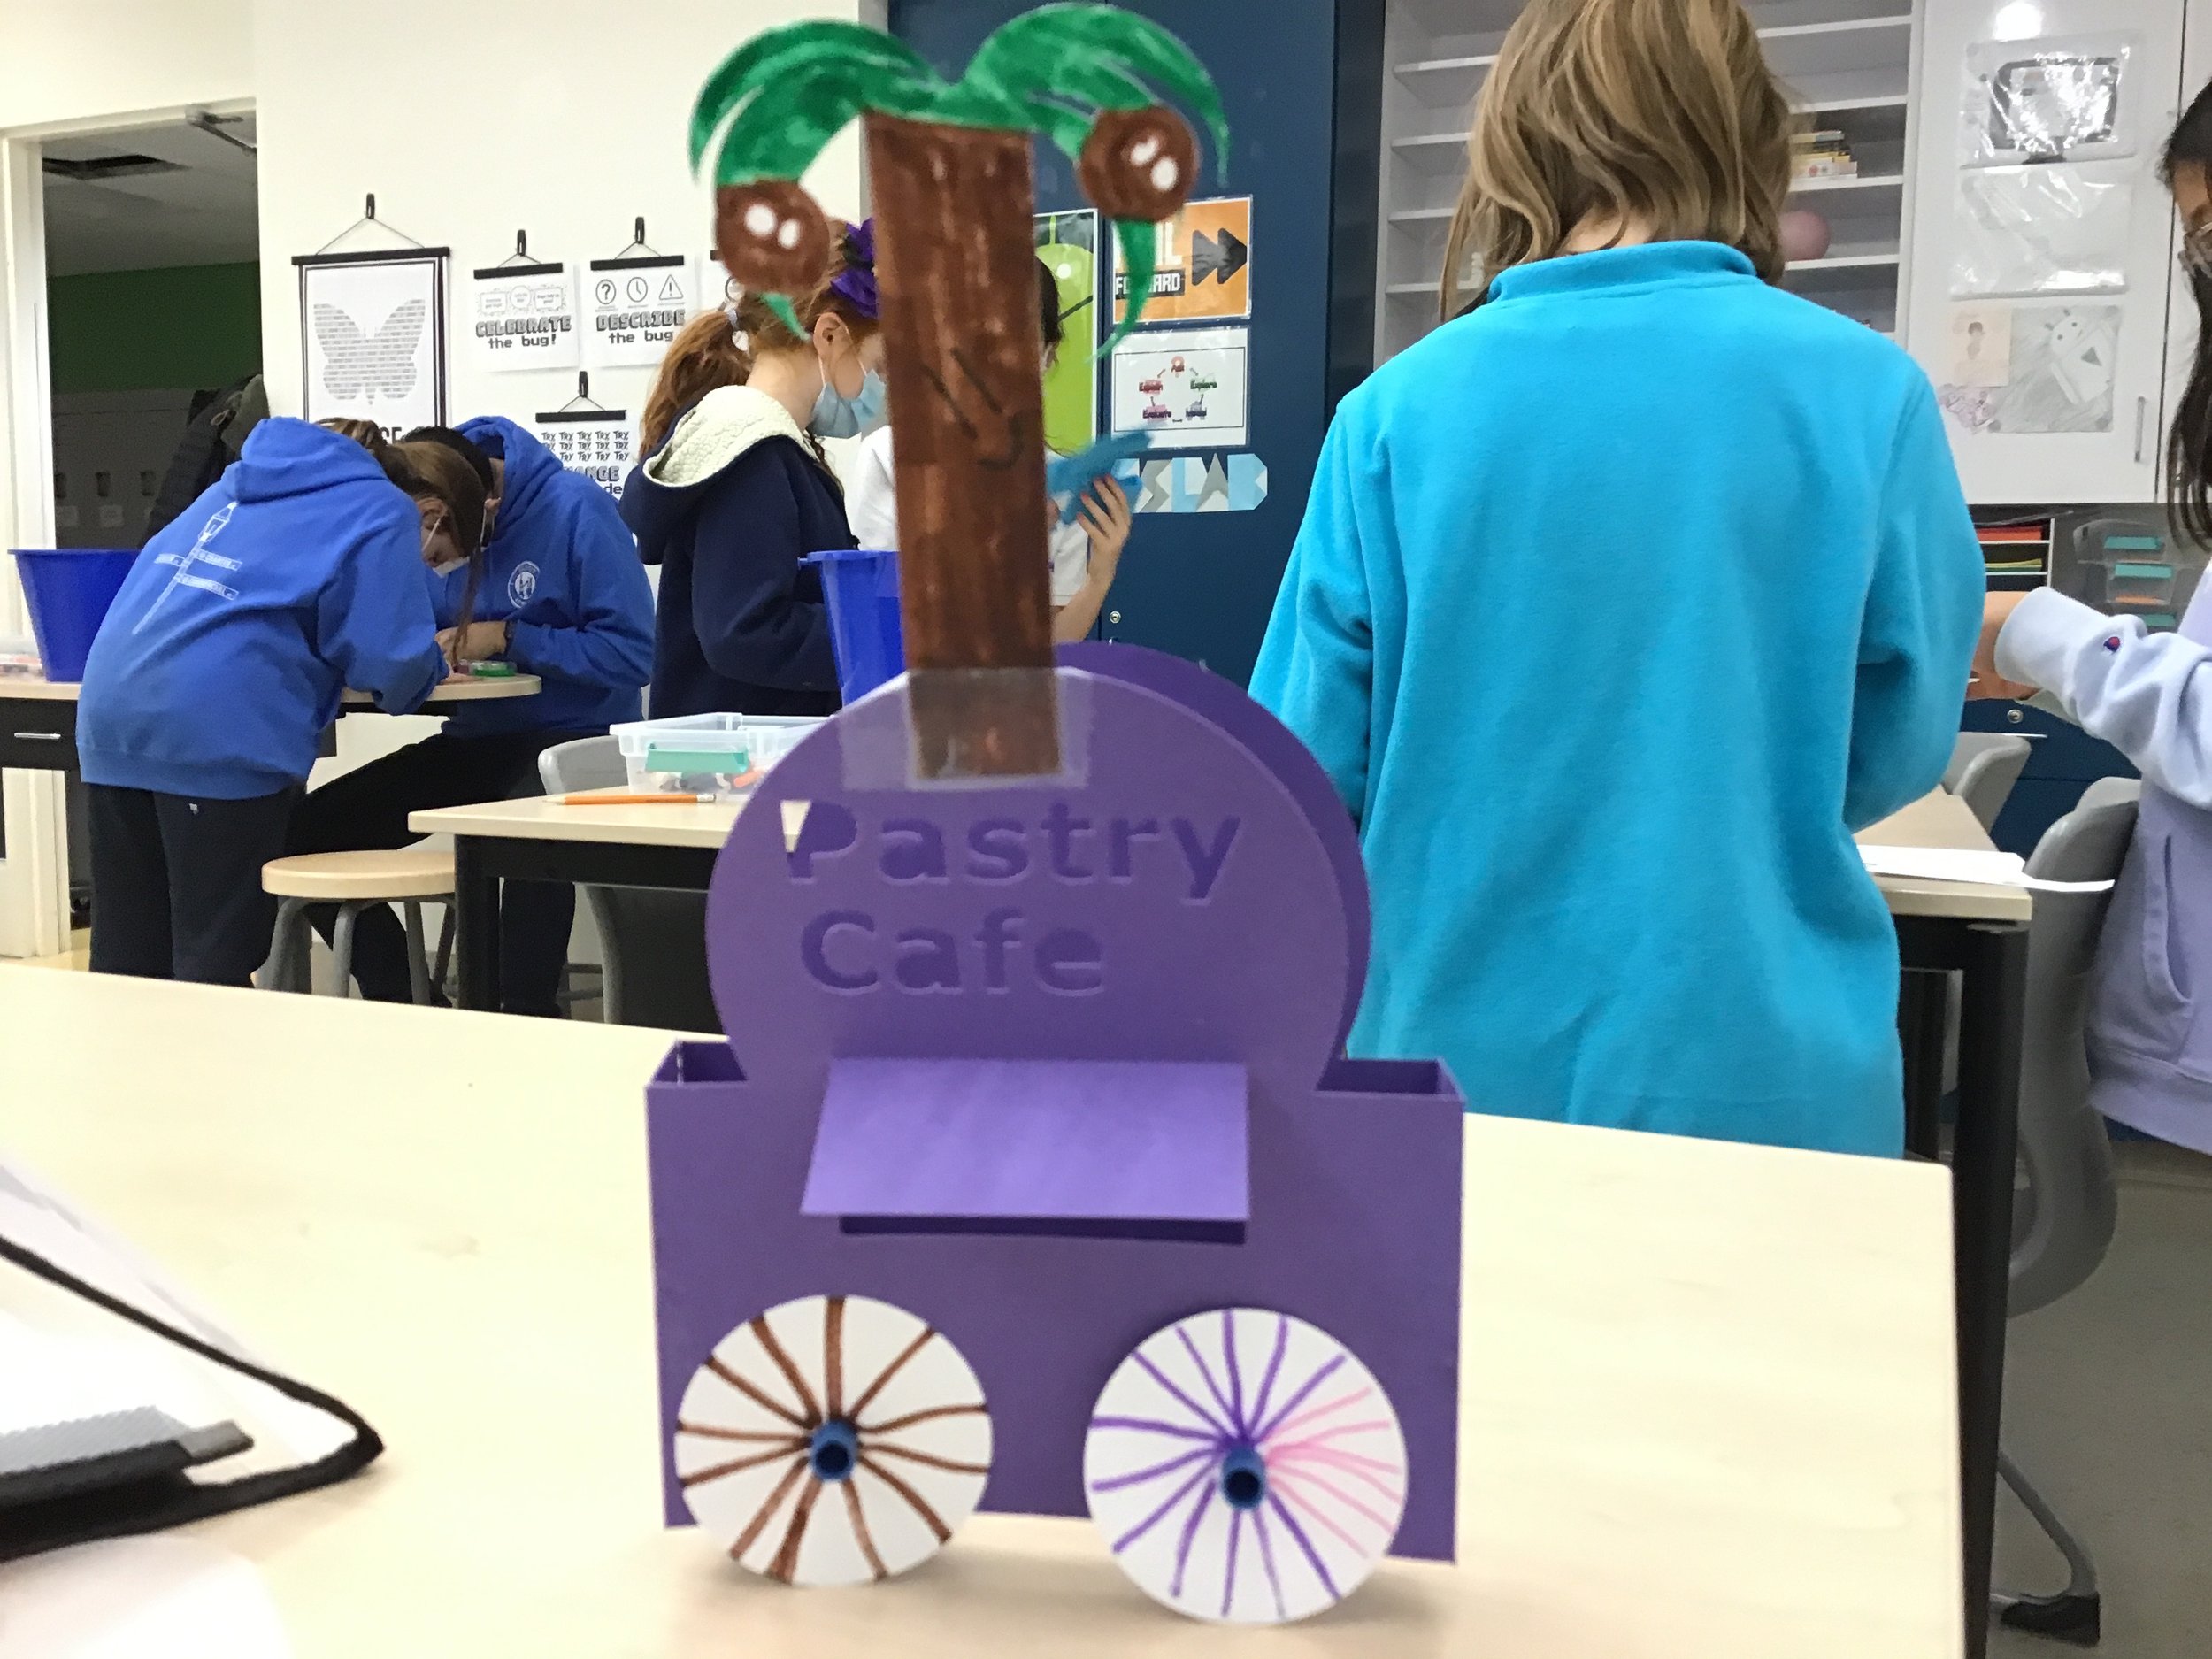
With a dash of creativity and splash of engineering, Mika Solo, a K1–3 Computer Science Specialist at The Eliot School of Fine & Applied Arts in Boston, encouraged her students to design their own food trucks using FabMaker Studio.
Each team of fourth-graders had the opportunity to design a food truck using the web-based design and fabrication software and watch it cut through the Silhouette Portrait.
Check out their projects!
The class also crafted city buildings that were illuminated with a few simple circuits!

When asked about how The Eliot School has incorporated the use of the FabMaker Studio, Solo responded, “We work in the Studio for a month-long session of 30-minute classes. The cycle goes by quick! We explore paper engineering with a bunch of activities and mini projects including: emojis, characters, 3D shapes, food trucks, and city buildings”
For Solo, one of the best parts about using FabMaker Studio has been seeing her students make their own creative designs. One example she mentioned was her students enjoyed using the weld tool to be able to make their own custom characters.
This program was part of a grant through the Dassault Systèmes US Foundation and The Reynolds Center for Teaching, Learning & Creativity that provided three elementary schools with curriculum, software and training.
As for what is next, Solo hopes to continue to teach the next generation of younger students more about FabMaker Studio and STEM.
Is your classroom a FabClassroom? We would love to highlight your school! To be featured in an upcoming post, send an email to andrea@fablevision.com. You can also tweet your photos with the hashtag #FabMakerStudio! For more posts featuring FabMaker Studio, click here.
For more information, contact us at info@fablevisionlearning.com. We invite you to join the conversation on Facebook the FabMaker Teacher Group.

FabMaker Project Idea: Gourd-geous Designs for the Table
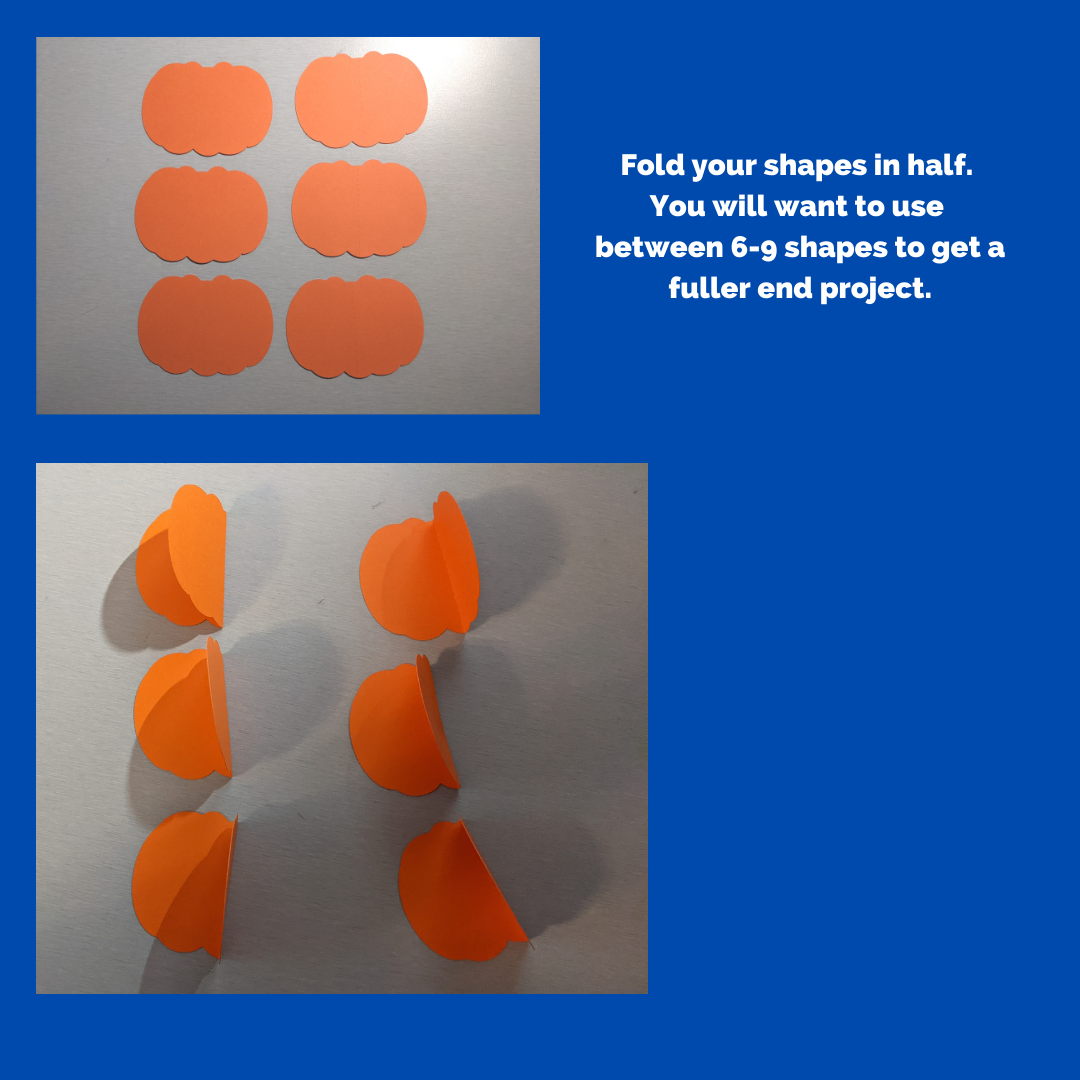
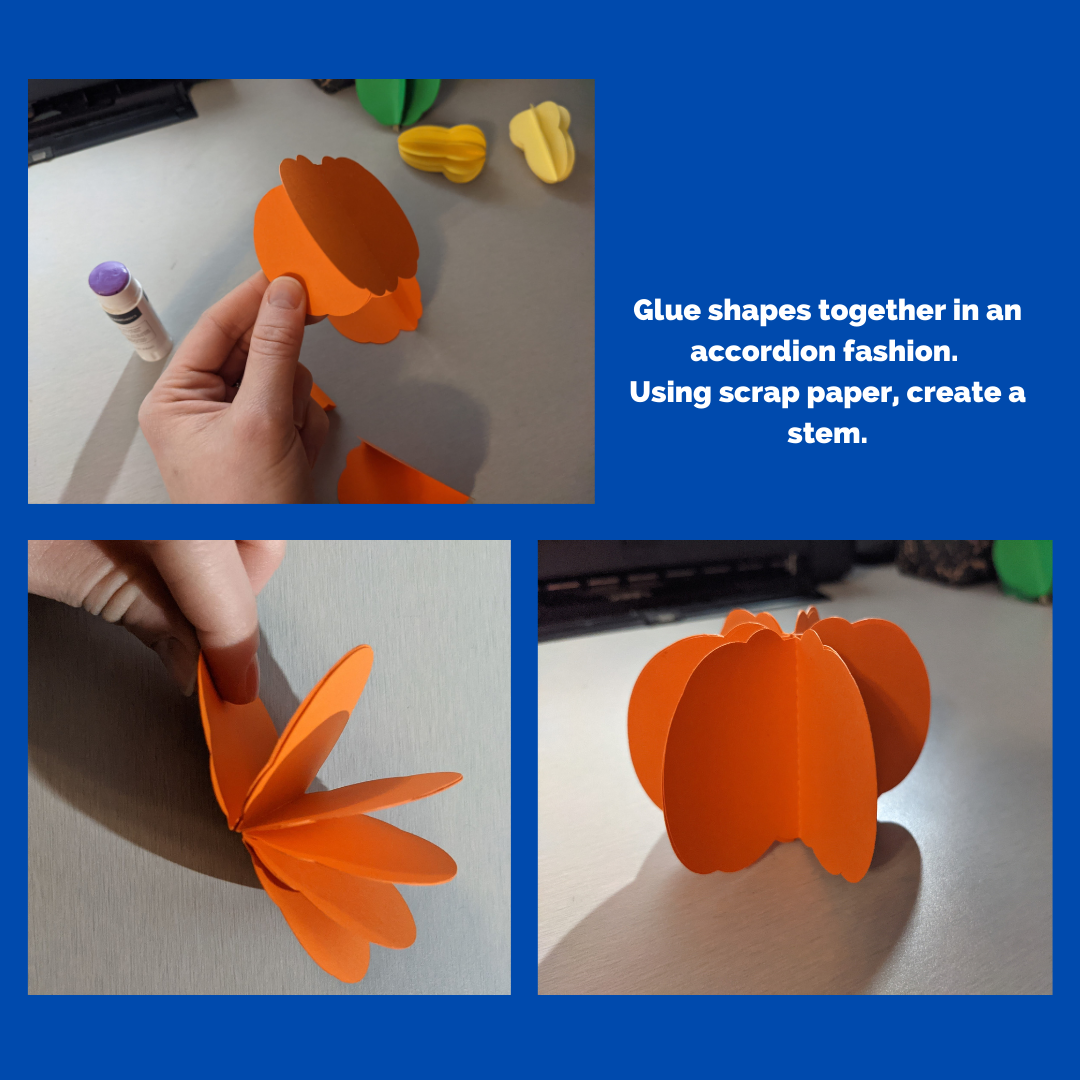
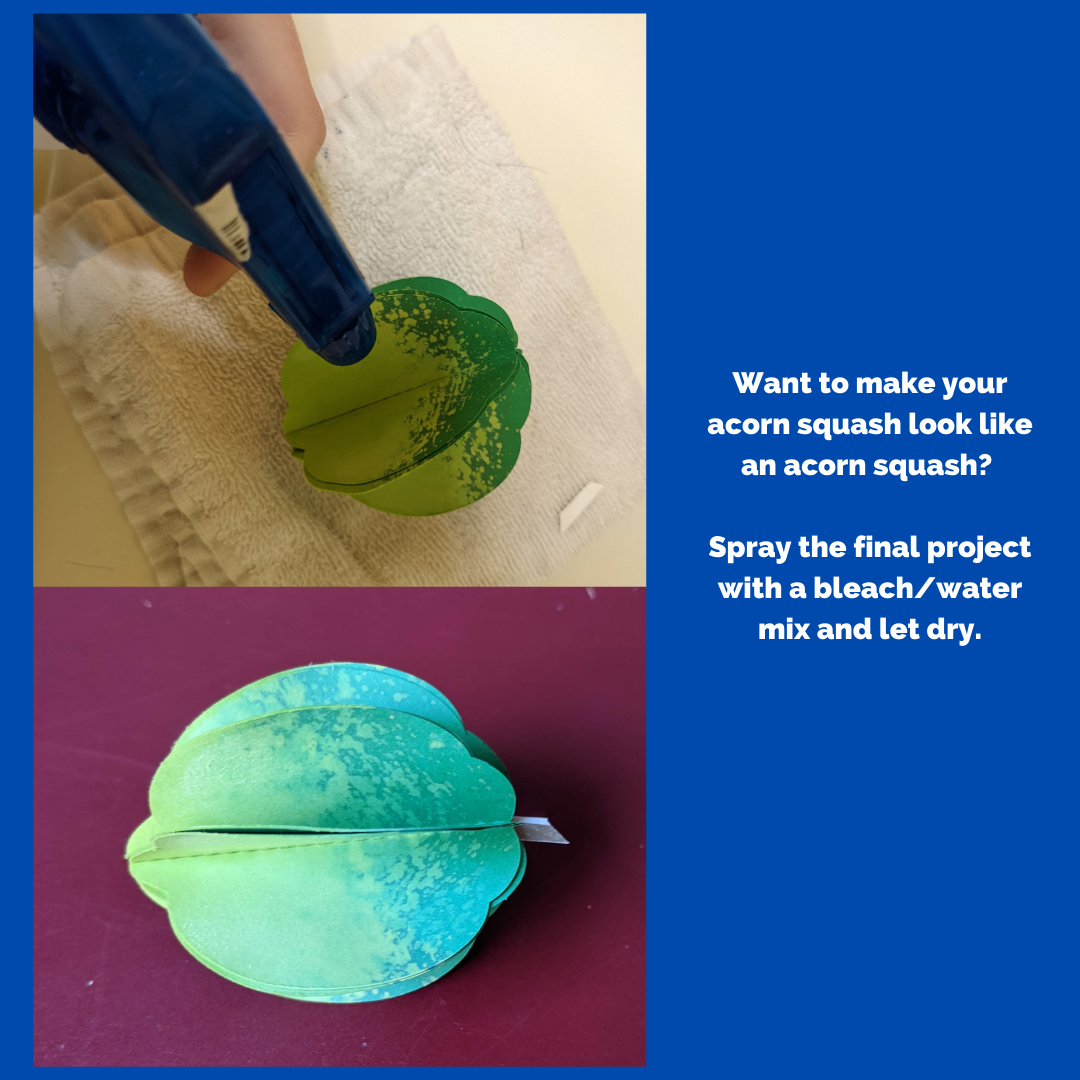
Join the FabMaker Fall Harvest Challenge! In FabMaker Studio, use the Shapes, Edit points, Weld , Lines, and the Cut, Fold, Tab tool to design a fall harvest. Before you begin, encourage your students to look at different gourds. Ask: What shapes are used to make that gourd? Consider the shapes in FabMaker Studio, what shapes can you combine using the Weld tool to make the final project?
Often a magazine cover inspires a “what if” moment. What if I bought that pair of shoes? What if I made that recipe for lunch? What if I took that cruise? What if I used FabMaker Studio to create paper gourds for Thanksgiving? A recent edition of “Better Homes & Gardens” sparked that last one and became a #FabMakerChallenge.
The Challenge: In FabMaker Studio, use the Shapes, Edit points, Weld, Lines, and the Cut, Fold, Tab tool to design a fall harvest. For inspiration, you can follow the steps below to create and assemble your designs.
Before you begin, encourage your students to look at different gourds. Ask: What shapes are used to make that gourd? Consider the shapes in FabMaker Studio, what shapes can you combine using the Weld tool to make the final project?

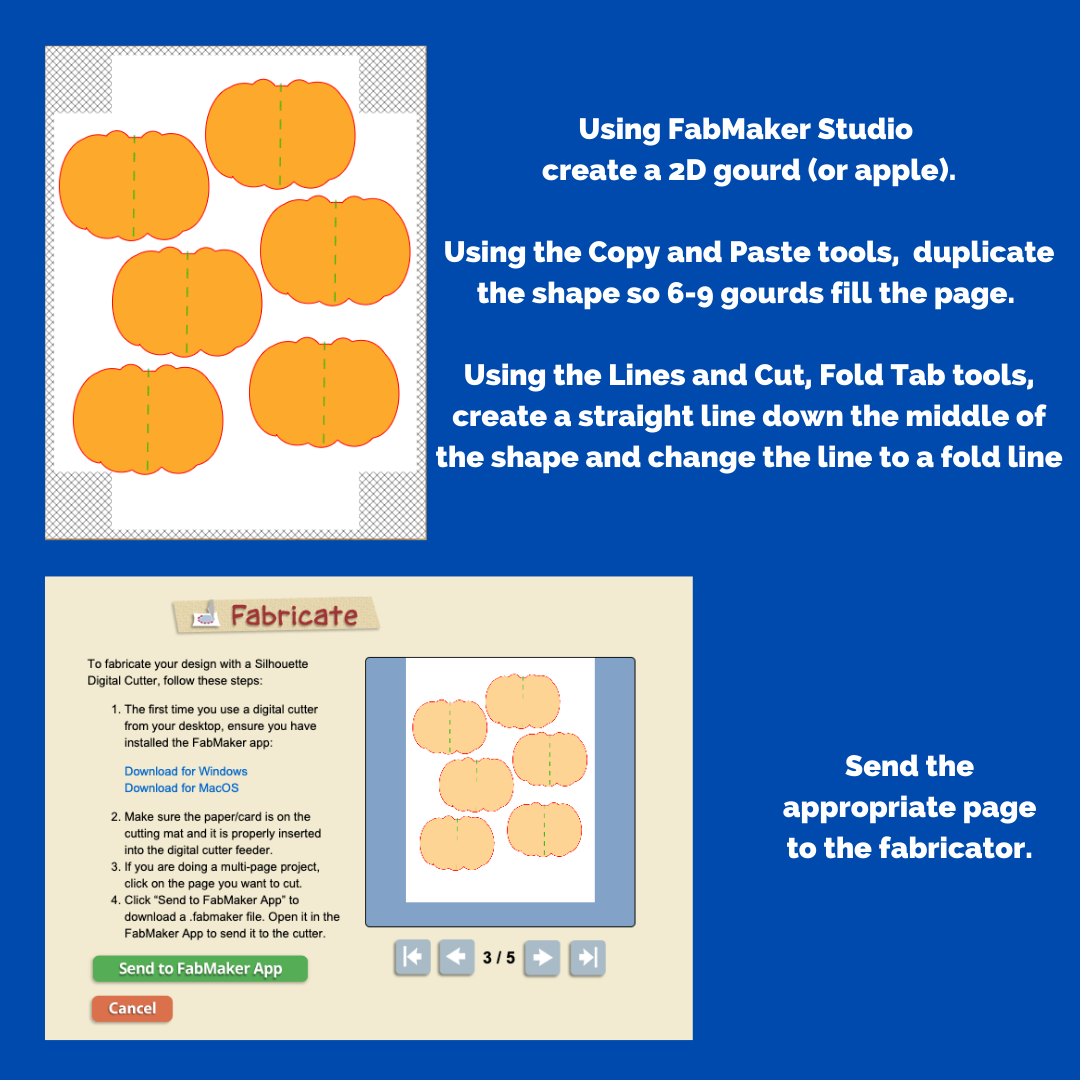
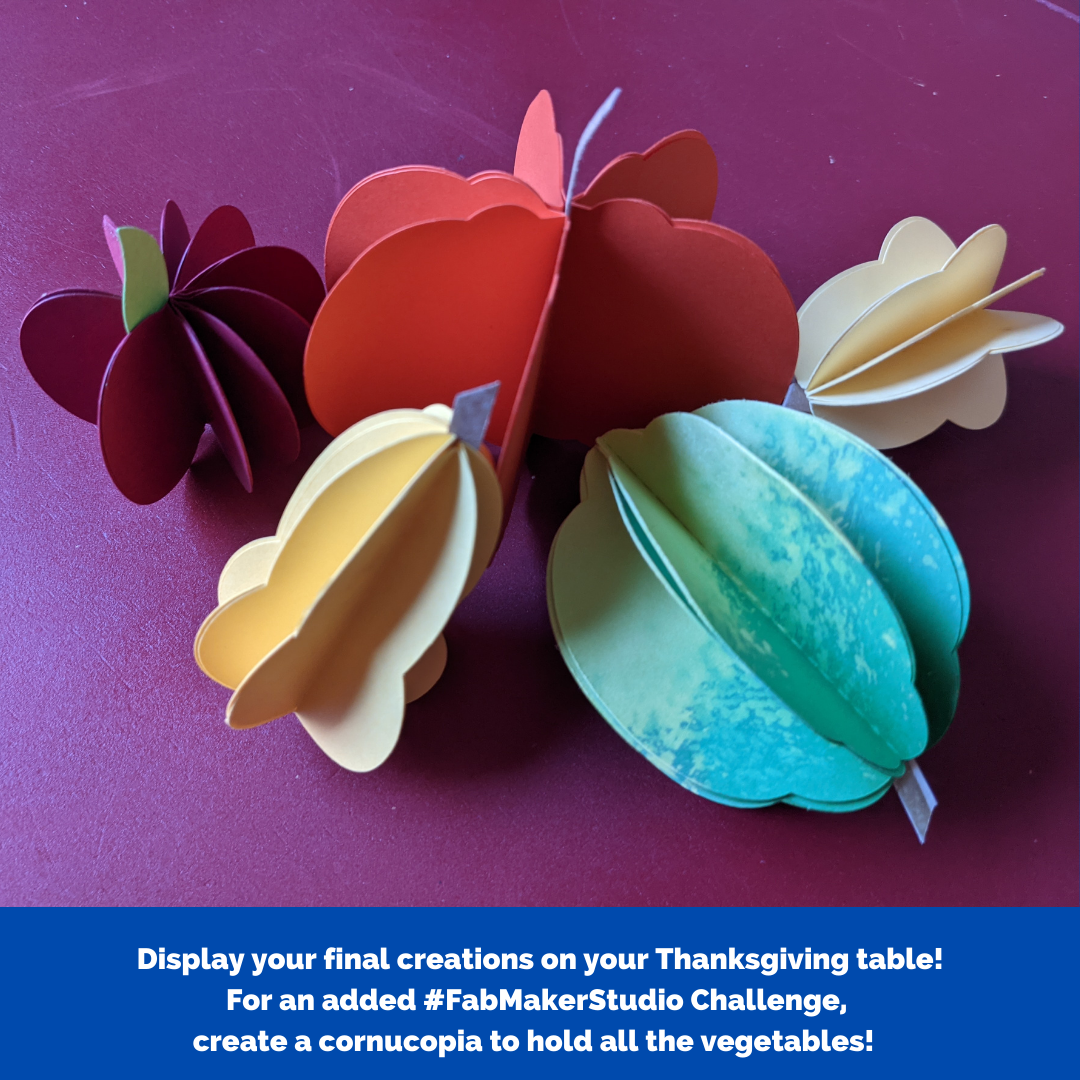
Still not sure where to start? Check out the FabMaker Studio Fall Foods Ready-Made Project found in 2D Stuff.
What’s Next? Share what your students made on social media, tag @fableLearn and use the hashtag #FabMakerStudio.

FABClassroom: Physics Club Engineers Solution to Safely Land Lizard

Located in the beautiful Sonoran Desert of Yuma, Arizona, Centennial Middle School is surrounded by colorful sunsets, warm winters and inspiring educators.
![IMG_0384[1].jpg](https://images.squarespace-cdn.com/content/v1/54a08126e4b038053fec29c3/1525981386025-ZPOUIDUGAPYWFGF3X3HC/IMG_0384%5B1%5D.jpg)
Science teacher Kaitlin McGill has been using FabMaker Studio with her Physics Club. She recently shared a bit about the parachute project that required her students to collaborate and design a parachute that can safely land a small plastic lizard on the ground.
How did you pose the parachute challenge to the students? Were there specific parameters?
I introduced them to Newton’s Laws of Motion. We favored the law “An object in motion stays in motion, unless an outside force acts on it”. So, I challenged them with the following: Create a parachute or something that will safely land a small plastic lizard to the ground.
What has been design process on the parachutes?
We have been following the engineering design process.
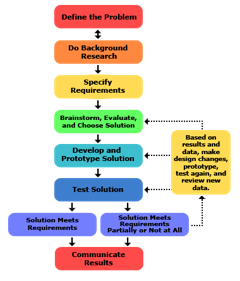
Problem: Safely get the little plastic lizard to the ground.
Background Research: Students used their iPads to look up what a parachute is and what various parachutes look like. Also, Newton’s Laws of Motion and principals of aerodynamics.
Specify Requirements: Students learned that they needed a parachute that is big enough to support the weight of the small lizard.
Develop and Prototype Solutions: Students made several prototypes, approximately ten. When it did not work, they went back to the drawing board and modified their designs in FabMaker Studio.
Test solutions: Students stood on a step stool or ladder to test the accuracy of their design.
Solutions Met Requirements: Students met the requirement after six weeks of failed attempts.
Communicate the Results: The students discussed why their parachute attempts failed or were successful.


What has been one “aha” moment working with students with Fab@School?
There would be times when the students would feel frustrated with their failing design. They learned that working collaboratively, instead of individually, can create a better design.
How have your students reacted to the program?
Students say “It was cool” “I am able to be creative.” Overall it has had a positive impact on my club.
What advice would you give to someone starting out with Fab@School?
If just starting with Fab@School, give yourself some time. The program is very intuitive; just take a little bit of time to play with it. Also trust your students, with very little instruction they can soar.
What’s next?
Physic’s club will be going off from science and more into history. The students are showing extreme interest in historical locations.

![IMG_0388[1].jpg](https://images.squarespace-cdn.com/content/v1/54a08126e4b038053fec29c3/1525981679008-QIZKQZNZ8PWUOD4P1U66/IMG_0388%5B1%5D.jpg)
Is your classroom a FabClassroom? We would love to feature your school! To be featured in an upcoming post, send an email to info@fablevisionlearning.com. You can also tweet your photos with the hashtag #FabMakerStudio! For more posts featuring FabMaker Studio, click here.

FABClassroom: Fabricating the City of Ember

For this week's FabClassroom we head over to Boyden Elementary School in Walpole, MA.
Cheryl Ivatts is a fourth grade teacher and her students recently embarked on a Fab@School Maker Studio journey mapping out the City of Ember.
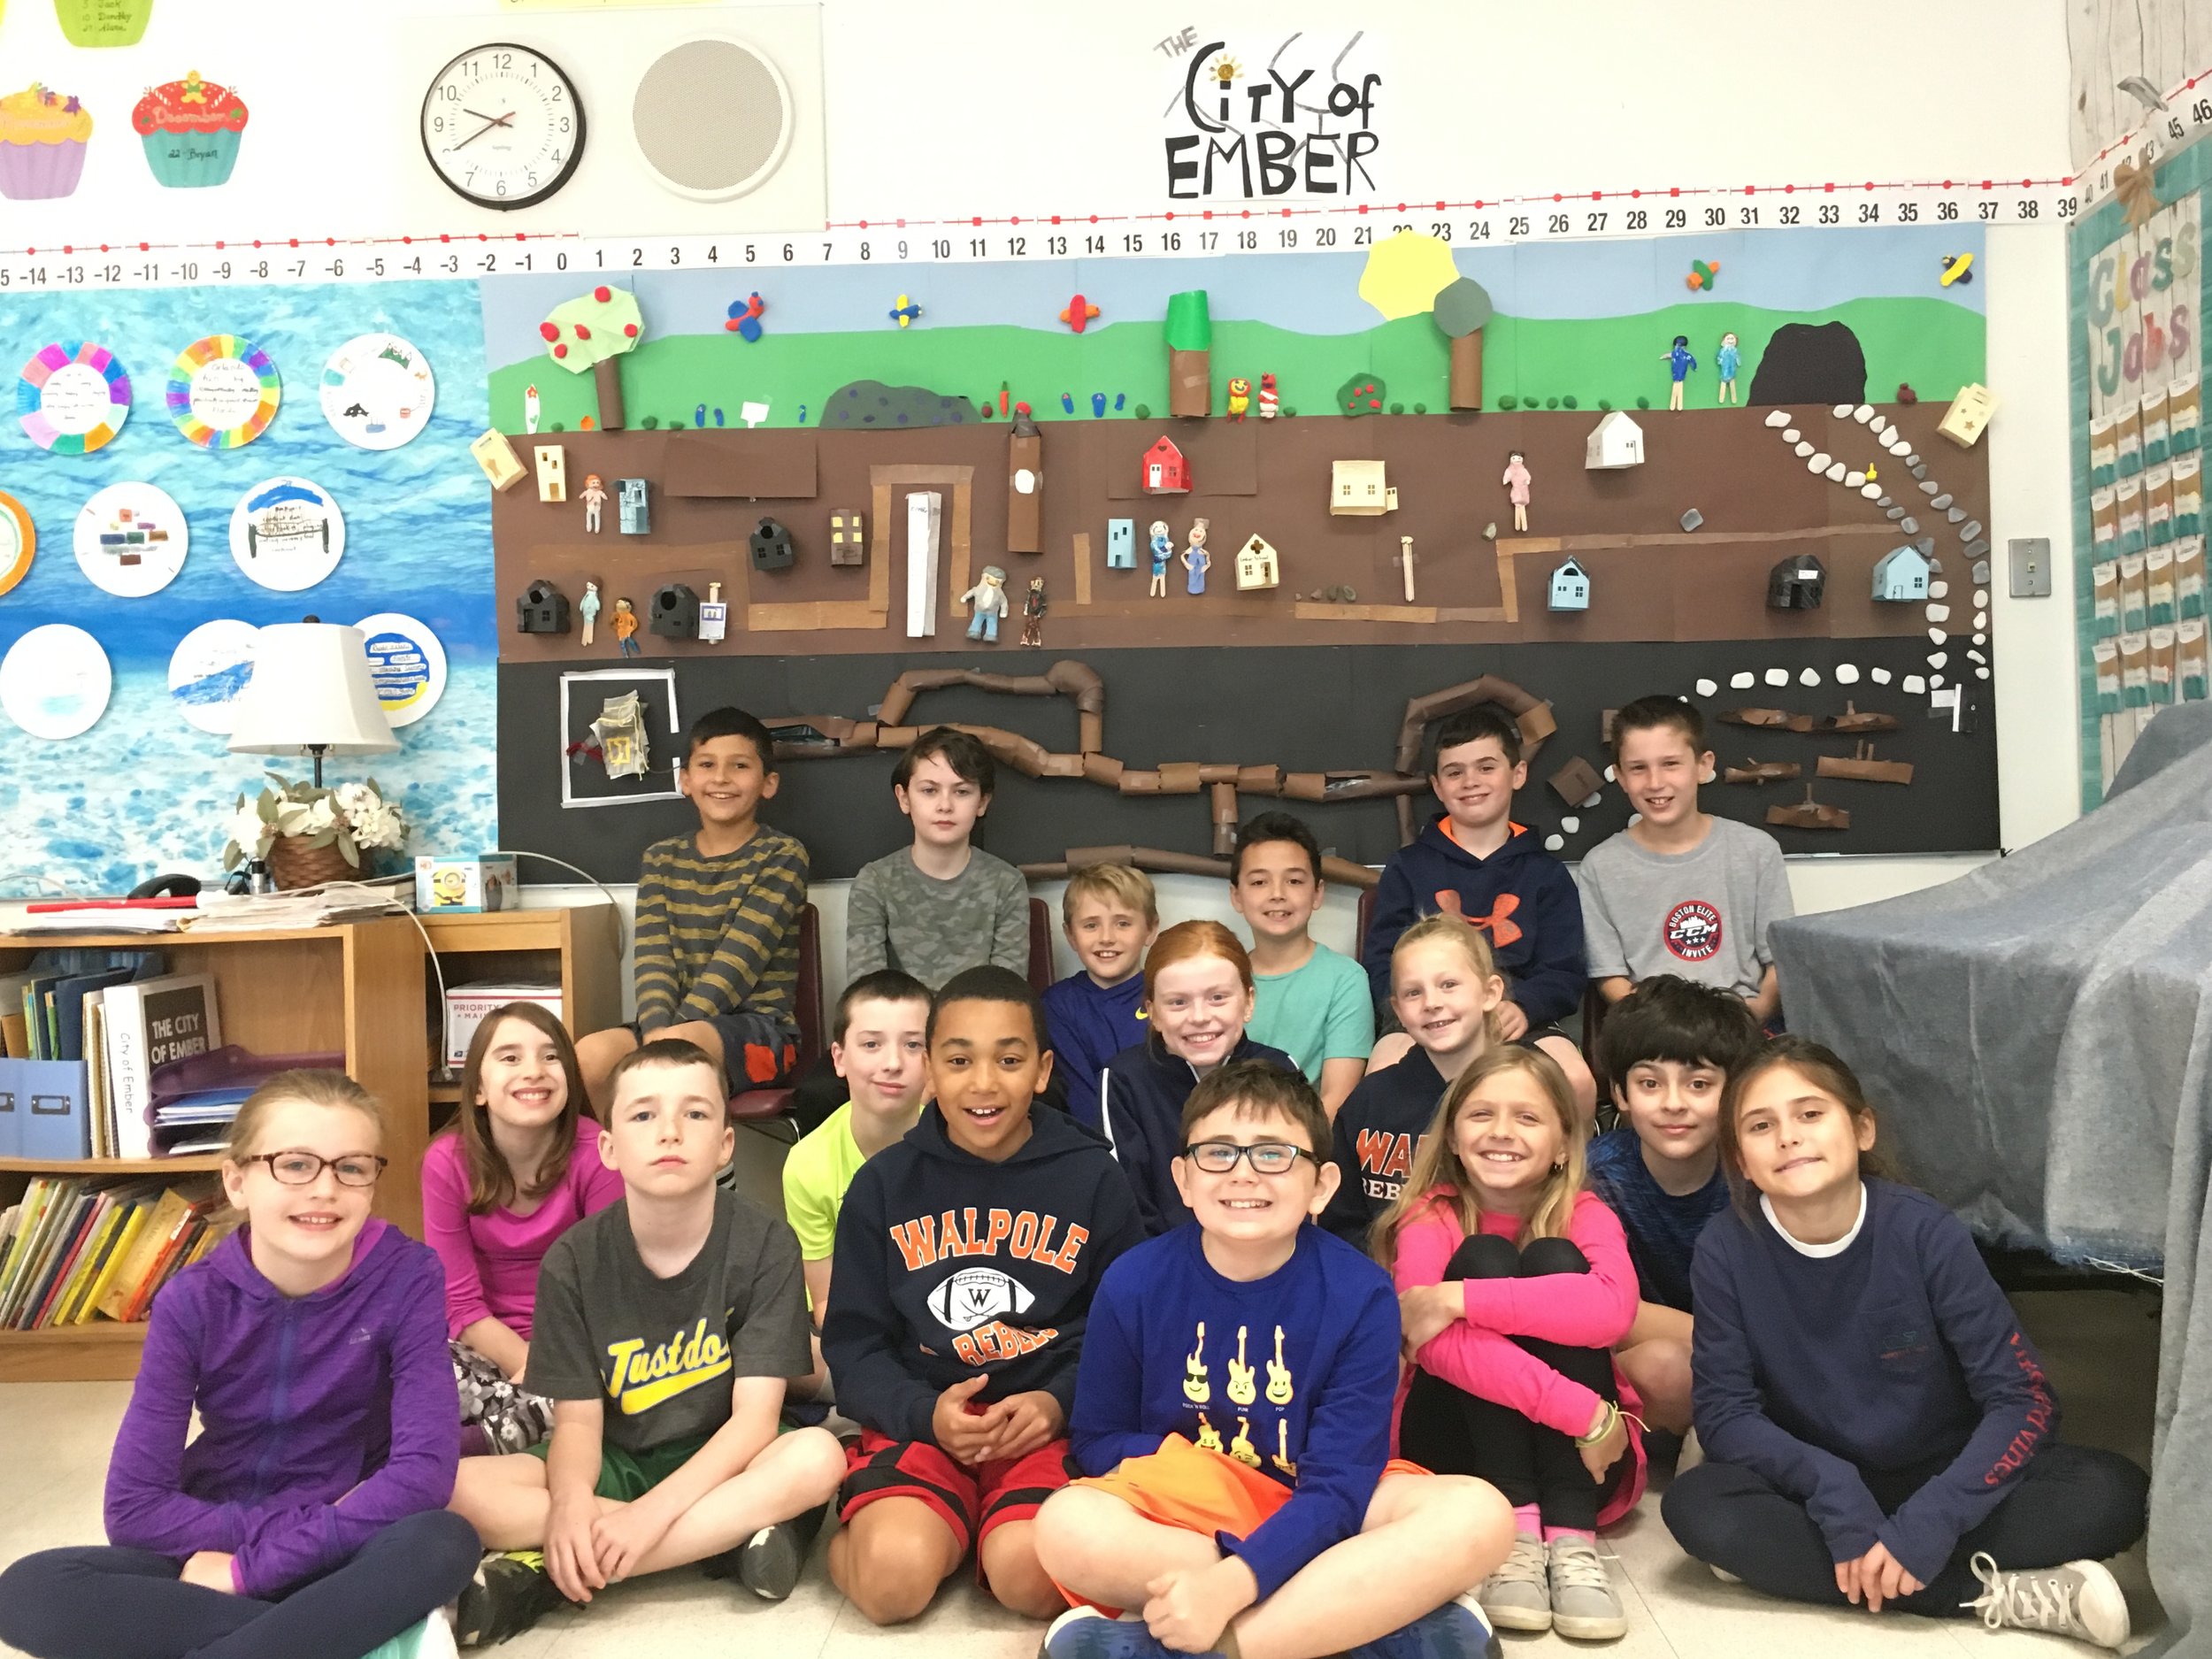
“We are an active, curious fourth grade classroom in Walpole, MA. Letting students create and explore on their own is a driving force in our daily routine. I read the book “City of Ember,” written by Jeanne Duprau as a read-aloud to the class a few months ago. The kids loved the book and were hanging on every word.
With none of the kids having read the book yet they were experiencing it together and trying to unlock the mystery in it. Realizing how much could be done with this story and wanting to let them show their vision I gave them free reign to design a bulletin board to match that vision.
They knew they needed buildings, roads and pipes. Having seen Fabmaker used in the school previously and with the help of Nancy Carroll, our Digital Learning Coach, the kids each designed a building to go on the board. Next they knew they needed lanterns so those were made using the Fabmaker also. The next thing was the pipeworks this was made using the cylinders and then the kids even were able to have blue colored water put in ziploc bags and placed in the pipes!
As I finished reading the book they begged for me to read the next in the series – “The People Of Sparks,” and when I said I would be reading a different book many went out and found the book on their own and read it. I do believe that the excitement around the bulletin board pushed many to read it because they were able to connect to the book on the next level.


One of the aha moments was when they were all working on parts of the board in groups chosen by them and working on building parts of the board thought out by them. Giving up control while showing them the resources available was the best way to unleash their creativity!”
Is your classroom a FabClassroom? We would love to feature your school! To be featured in an upcoming post, send an email to info@fablevisionlearning.com You can also tweet your photos with the hashtag #FabMakerStudio! For more posts featuring Fab@School Maker Studio, click here.

FABClassroom: Olympic Designs at Augustine F. Maloney Elementary

For this week's FabClassroom we head over to Augustine F. Maloney Elementary in Blackstone, MA. Monica Carty is an elementary technology teacher at Blackstone-Millville Regional School District. She has been using Fab@School Maker Studio in her after school STEM club. It has been so successful she will be launching an after-school club just for Fab@School! Monica shares how her students used FabMaker Studio to celebrate the olympics.

Learning about the Olympic sports is always entertaining. However, the question becomes how can it become more engaging? Well why not have the students develop their own Olympic symbols or create an argument for why one of the Fab@School Studio Maker ready-made project would make a better option.
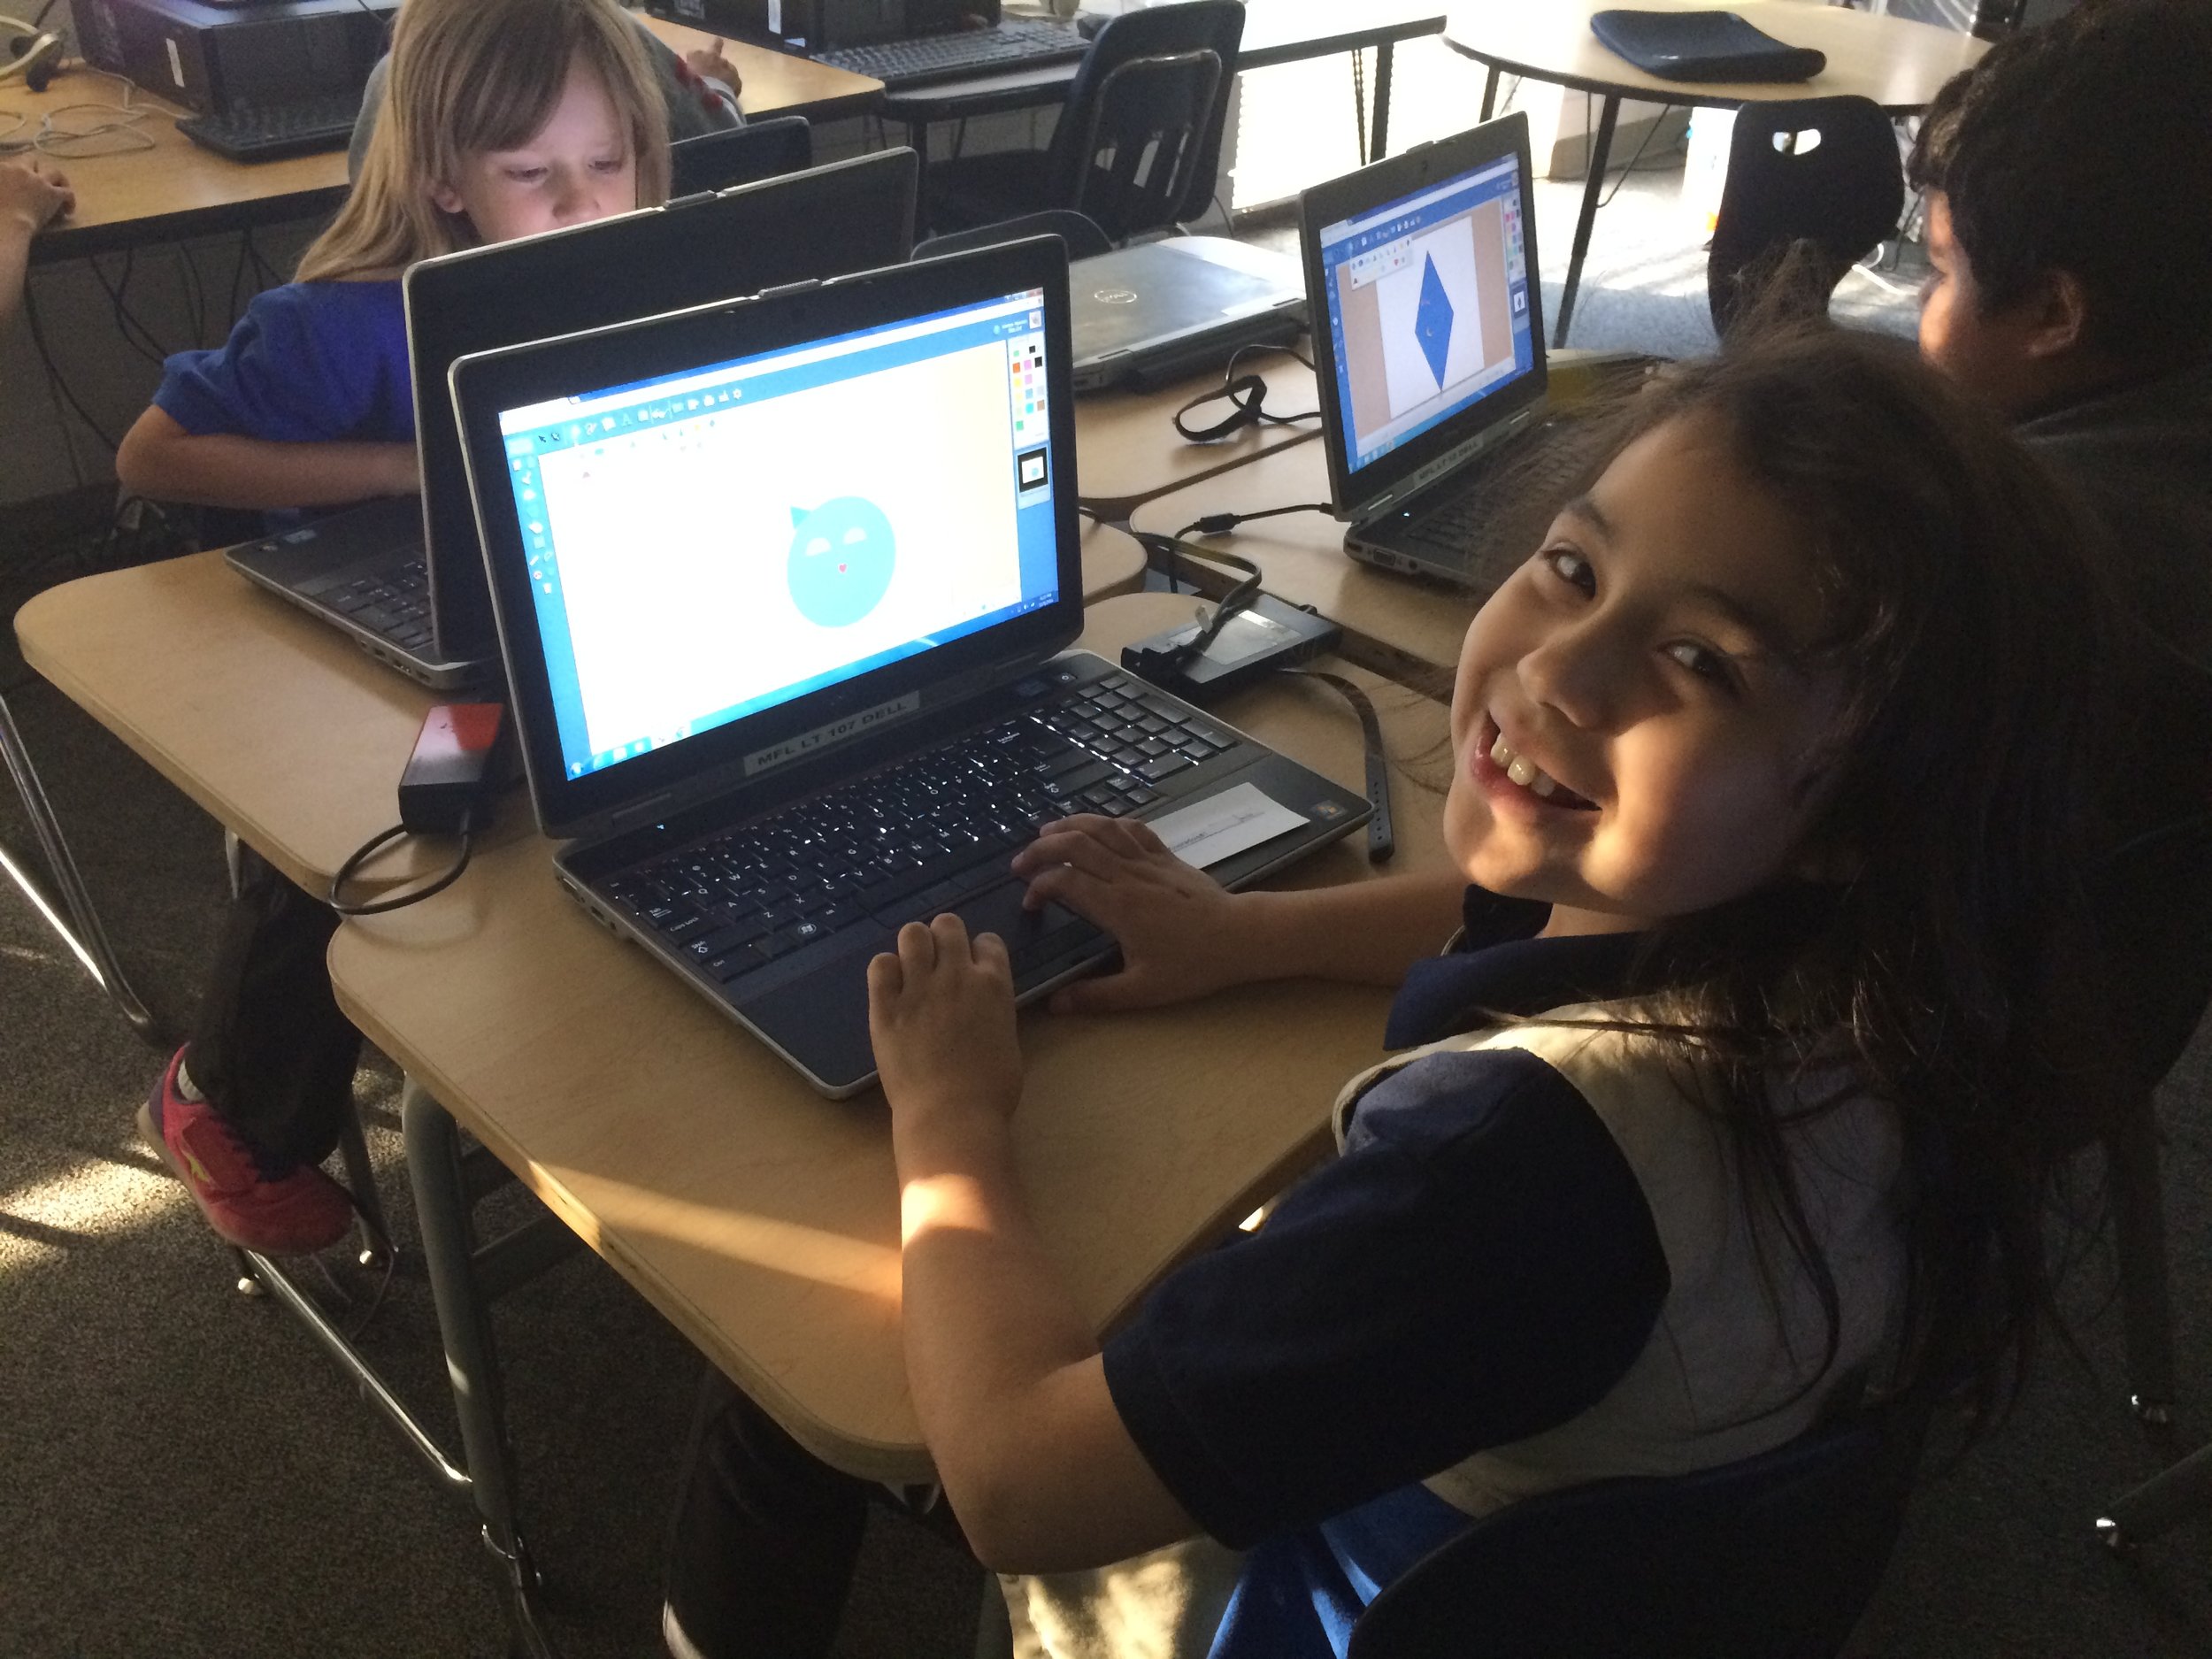
In my technology enrichment block I did just that with a group of third grade students. In their homeroom classes they study all about the Olympic games and the history of the Olympics. Then when they came to the computer lab the review several ready-made projects and choose one to be the next Olympic symbol.


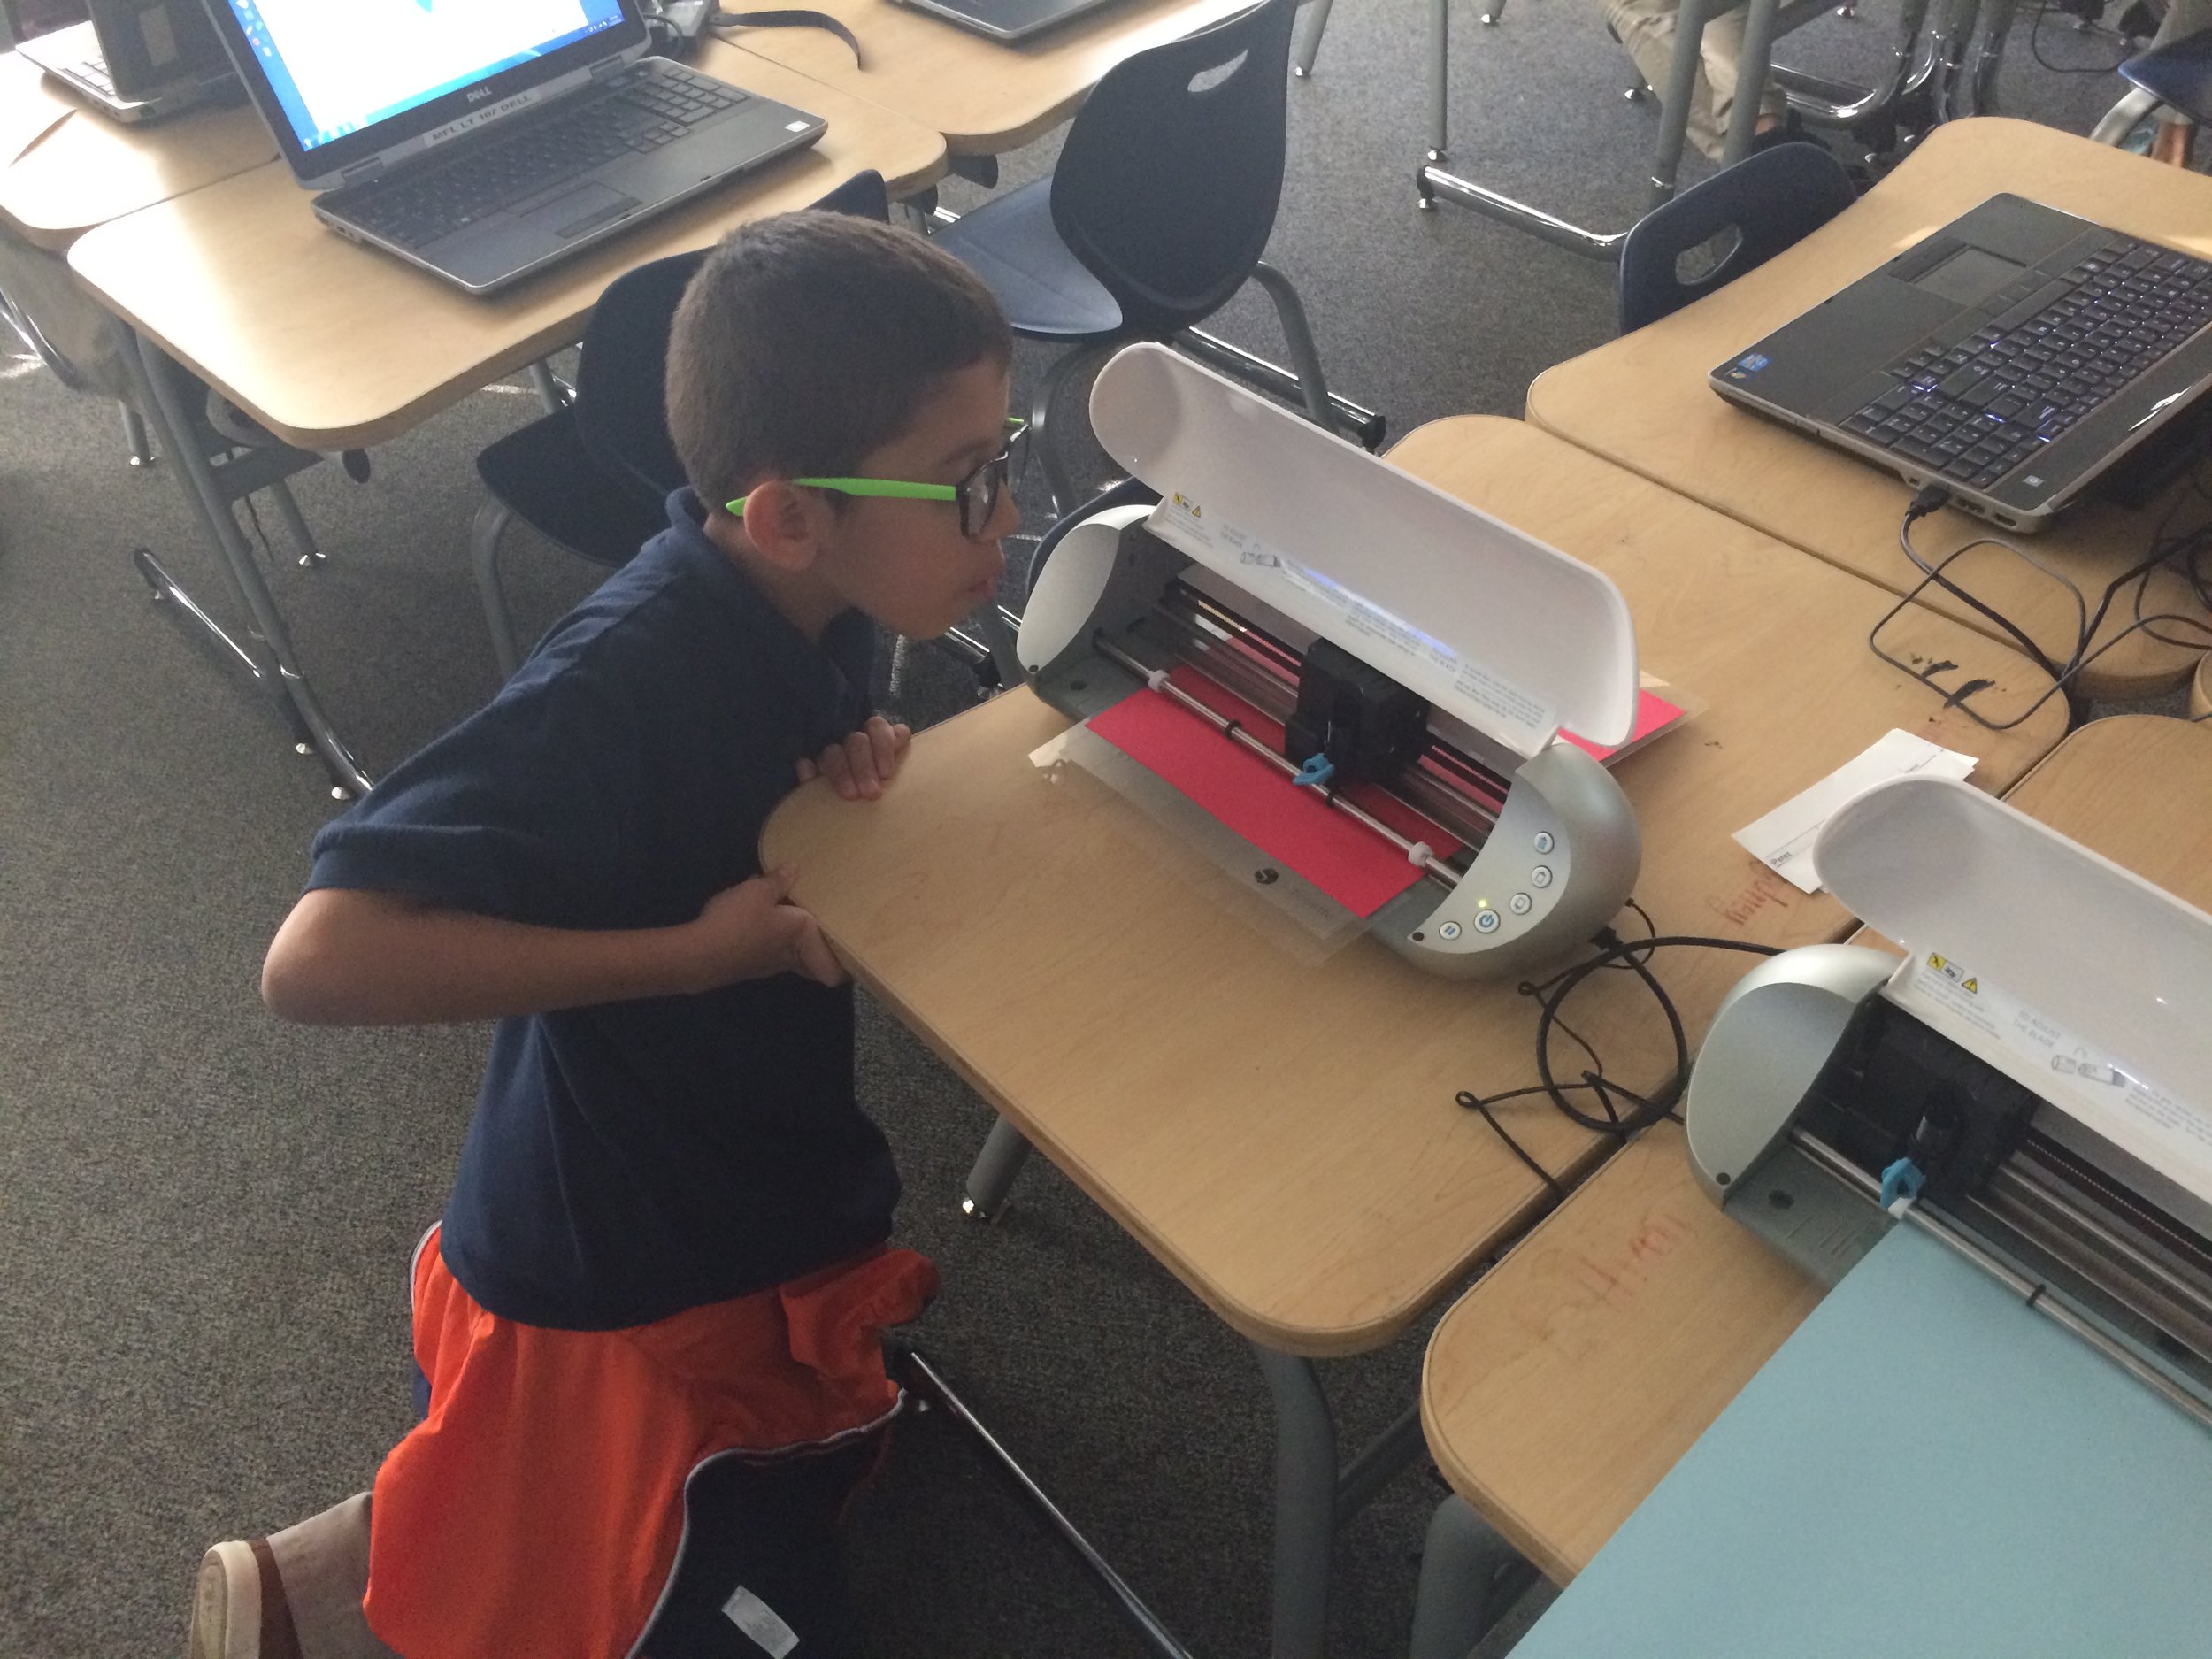
Once they sent it to the cutter some decided to add more colors or features to meet their visions. The only requirement we game the students was they had to be able to explain how it represented the Olympics.
Overall the creative connections the students made were unbelievable! It is amazing how far students will go when given the opportunity to be creative. Thank you Fab@School Maker Studio!
Is your classroom a FabClassroom? We would love to feature your school! To be featured in an upcoming post, send an email to info@fablevisionlearning.com. You can also tweet your photos with the hashtag #FabMakerStudio! For more posts featuring Fab@School Maker Studio, click here.

FABClassrooms Around the World: Part 2

Welcome to the continuation of our international FABClassroom adventure! This is the second of two blog posts highlighting the creativity of students using Fab@School Maker Studio in classrooms around the world to design, invent, and build their own geometric constructions and working machines - or anything else they can imagine. Take another peek at some more exciting projects below!

Burnham Brook School in Canterbury, NH

Students and educators at Burnham Brook School are both using Fab@School Maker Studio in creative and powerful ways. From sculptures in art class to paper masks for students who have dyslexia, Fab@School Maker Studio is empowering everyone to create bravely - even students who have a history of struggling with complex paper art projects. Kim Slayton of Burnham Brook School has even witnessed how Fab@School Maker Studio is empowering students first hand:
“I have a student who, due to birth complications, has only four fingers on one hand. This makes it especially difficult for her to use scissors. She was so excited and amazed when she came across the Fab@School Maker Studio program. She was able to plan and create a very complex paper art project without difficulty [and cut it out with the digital cutter]. It was a great “aha” experience when she finally saw her concept come to life."
Arrowwood Elementary in Highlands Ranch, CO
Arrowwood Elementary is a FABschool, applying and grappling with concepts creatively in order to deepen understanding. As part of this, the older students have been making prisms with Fab@School Maker Studio to be used as manipulatives by younger students, which reinforces both geometry concepts and school community!

Sir Charles Tupper School in Halifax, Nova Scotia
Laura Kennedy’s third grade students not only learned geometry and created bookmarks with Fab@School Maker Studio, but they also developed communication and collaboration skills and self-confidence along the way. Students loved creating projects and even expanded their learning with storytelling, poetry, and nonfiction facts about their design processes. To quote Ms. Kennedy, “Bookmarks might have been the task but confidence was the result.”


Wake County Public School System in Cary, NC
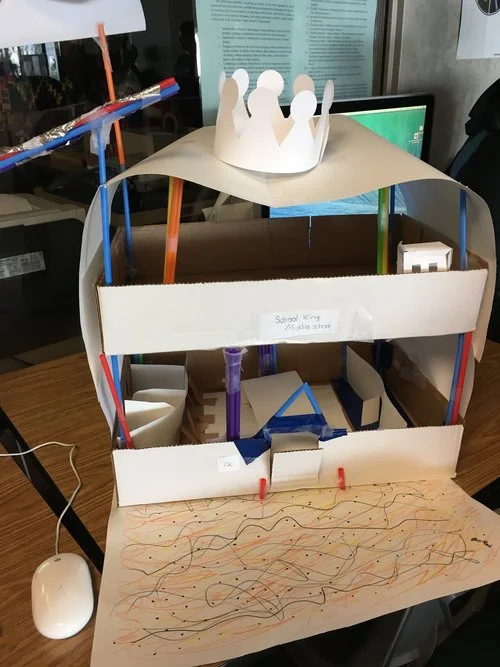
Wake County Public School System students have been busy making everything from story cubes to houses with Fab@School Maker Studio. Third graders have fabricated 3D story cube for writing and digital storytelling; other students created little houses to combine into town and city displays that demonstrate the difference between urban, suburban, and rural communities; and simply looking at pre-made projects with the 3D viewer in Fab@School Maker Studio has allowed students to better understand the difference between 2D and 3D. Even the principal joined in the fun one day with a bright orange crown that he fabricated and wore himself!


Salvation Army Boys & Girls Club of Yuma in Yuma, AZ
Lesson plans, display models, and curiosity abound at the Salvation Army Boys & Girls Club of Yuma, where Fab@School Maker Studio is so popular that two classes had to be established to meet demand! While many projects have been created so far, Program Director Tania Pavlak also noted that top spinners and a bee are two stand-out favorites.


Is your classroom a FabClassroom? We would love to feature your school in an blog post too! To be featured in an upcoming post, send an email to info@fablevisionlearning.com. You can also tweet your photos with the hashtag #FabMakerStudio! For more posts featuring Fab@School Maker Studio, click here.

FABClassrooms Around the World: Part 1

Fab@School Maker Studio is everywhere - from classrooms across the United States to classrooms across the globe in Canada and Saudi Arabia! Around the world, students of all ages are able to use Fab@School Maker Studio to design, invent, and build their own geometric constructions and working machines - or anything else they can imagine. In fact, there are so many creative FABClassrooms out there creating exciting projects that we had to make a two-part blog series to cover them all - take a look!

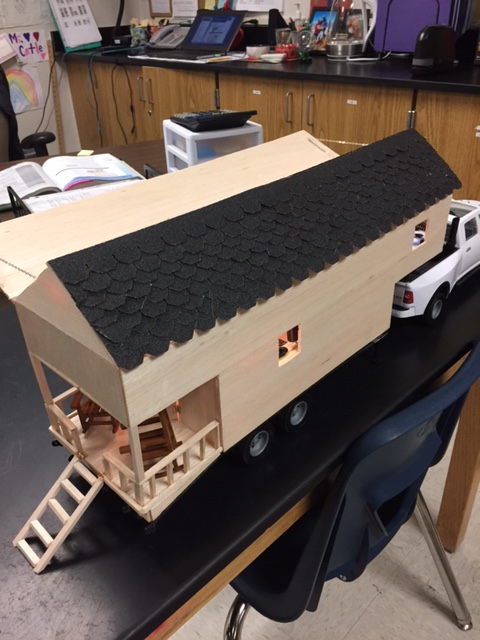
STEM Launch K-8 in Thornton, CO
Sixth graders used Fab@School Maker Studio to design tiny house models as part of their math Problem-Based Learning model, which allowed them to meet math standards while grappling with everyday problems. Students found Fab@School Maker Studio to be a perfect fit into their design process and had many positive things to say about working with it!
"FabMaker Studio is easy to use and understand. It's one of the best websites I've used for 3D printing! I love how if I needed a shape I could just grab it and move it. TinkerCad is too sensitive for me." — Logan S.
"This program helped us figure out the measurements and we determined how to scale it down by a third. We really liked the visual that the program gave us." — Eric D.
"I love the magnet tool. It really helped us construct our physical model." — Jeff D.


Boyden School in Walpole, MA
Karen Wolff’s first graders have used Fab@School School Maker to create snow forts and bees! The snow forts were made through experimenting with different types of shapes and prisms, both fabricated in Fab@School Maker Studio. Wolff’s students use the 3D viewer tool to see how different 3D cubes and rectangular prisms connect. The bees were fabricated as part of a lesson on honey bees that covered everything from the sounds in the word “honey” to the life cycle and anatomy of a honey bee!


International Schools Group Dammam in Dammam, Saudi Arabia

Digital Learning Coach Lorrie Cook is introducing students at International Schools Group Dammam to Imaginasium, the new and evolving STEAM lab. At Imaginasium, students are using Fab@School Maker Studio to create paper geometric constructions and working machines. According to Cook, students have clamored to create paper sculptures during their after school activities. One impressively savvy fourth grade girl even took the initiative to learn how to design with Fab@School Maker Studio all on her own!
Castle Rock Middle School in Castle Rock, CO

Students all across Castle Rock Middle School use Fab@School Maker Studio in classes ranging from World Cultures to Science. Eighth graders have designed tiny home interiors for a Sustainability Project, seventh graders have designed a school for a Mars Challenge, and World Cultures students have learned about Japanese culture and paper folding with Fab@School Maker Studio. School librarian Yvonne Miller says that, “The spatial awareness and critical thinking necessary to design a 3D project is challenging to say the least” and that when students use Fab@School Maker Studio “there is definitely a lot of metacognition and visible thinking going on.”


PROJECT EXTRA in Oceanside, NY
PROJECT EXTRA are excited to use Fab@School Maker Studio to participate in their annual Invention Convention at their local library in May. According to Angela Maria Abend, a teacher at PROJECT EXTRA, “This event is held annually and is attended by hundreds of people who share and celebrate the students' creative journey of innovation. Having this equipment in the classroom this year is a definite game changer!”

Is your classroom a FabClassroom? We would love to feature your school in an blog post too! To be featured in an upcoming post, send an email to info@fablevisionlearning.com. You can also tweet your photos with the hashtag #FabMakerStudio! For more posts featuring Fab@School Maker Studio, click here.

FABClassroom: Calculated Design for Costly Cards

For this week's FabClassroom we head over to Augustine F. Maloney Elementary in Blackstone, MA. Monica Carty is an elementary technology teacher at Blackstone-Millville Regional School District. She has been using Fab@School Maker Studio in her after school STEM club. It has been so successful she will be launching an after-school club just for Fab@School! Monica shares how she challenged her students to stick to a budget when designing Valentine's Day cards.

As time progress in the 21st century educational institutions become more and more focused on teaching the standards and mastering test taking skills and strategies. As a result, teachers often feel forced to limit or remove the fun activities from their elementary classrooms. However, it is time to take back the fun with Fab@School Maker Studio!
Calculated Design for Costly Cards new age Valentine’s Day lesson with integrates elements of mathematics, English language art, engineer, and technology all in one project! Using this lesson and Fab@School Maker Studio students can take on the role of a graphic designer who needs to stay on budget. While engaging students in a real world task it also stress the importance of engineering design process as students make prototypes of their cards.

Is your classroom a FabClassroom? We would love to feature your school! To be featured in an upcoming post, send an email to info@fablevisionlearning.com. You can also tweet your photos with the hashtag #FabMakerStudio! For more posts featuring Fab@School Maker Studio, click here.

Fab Lab Tulsa Pilots Early Elementary School Program Featuring Fab@School Maker Studio
The following blog post was written by the team at Fab Lab Tulsa about their Digital Fabrication pilot with early elementary school students.
At Fab Lab Tulsa, we’re used to working with digital design and fabrication tools. In fact, we consider ourselves to be experts at it, with over five years of experience teaching youth programs that target 5th through 9th graders. We’ve had some experience with younger students but we’ve wanted to find some way to get early learners engaged in the design process. After a ton of research we were able to locate the Fab@School Maker Studio platformer. We were super excited to pilot Fab@School Maker Studio to see if it could be used to expand our existing programs to students in the 1st to 3rd grades.

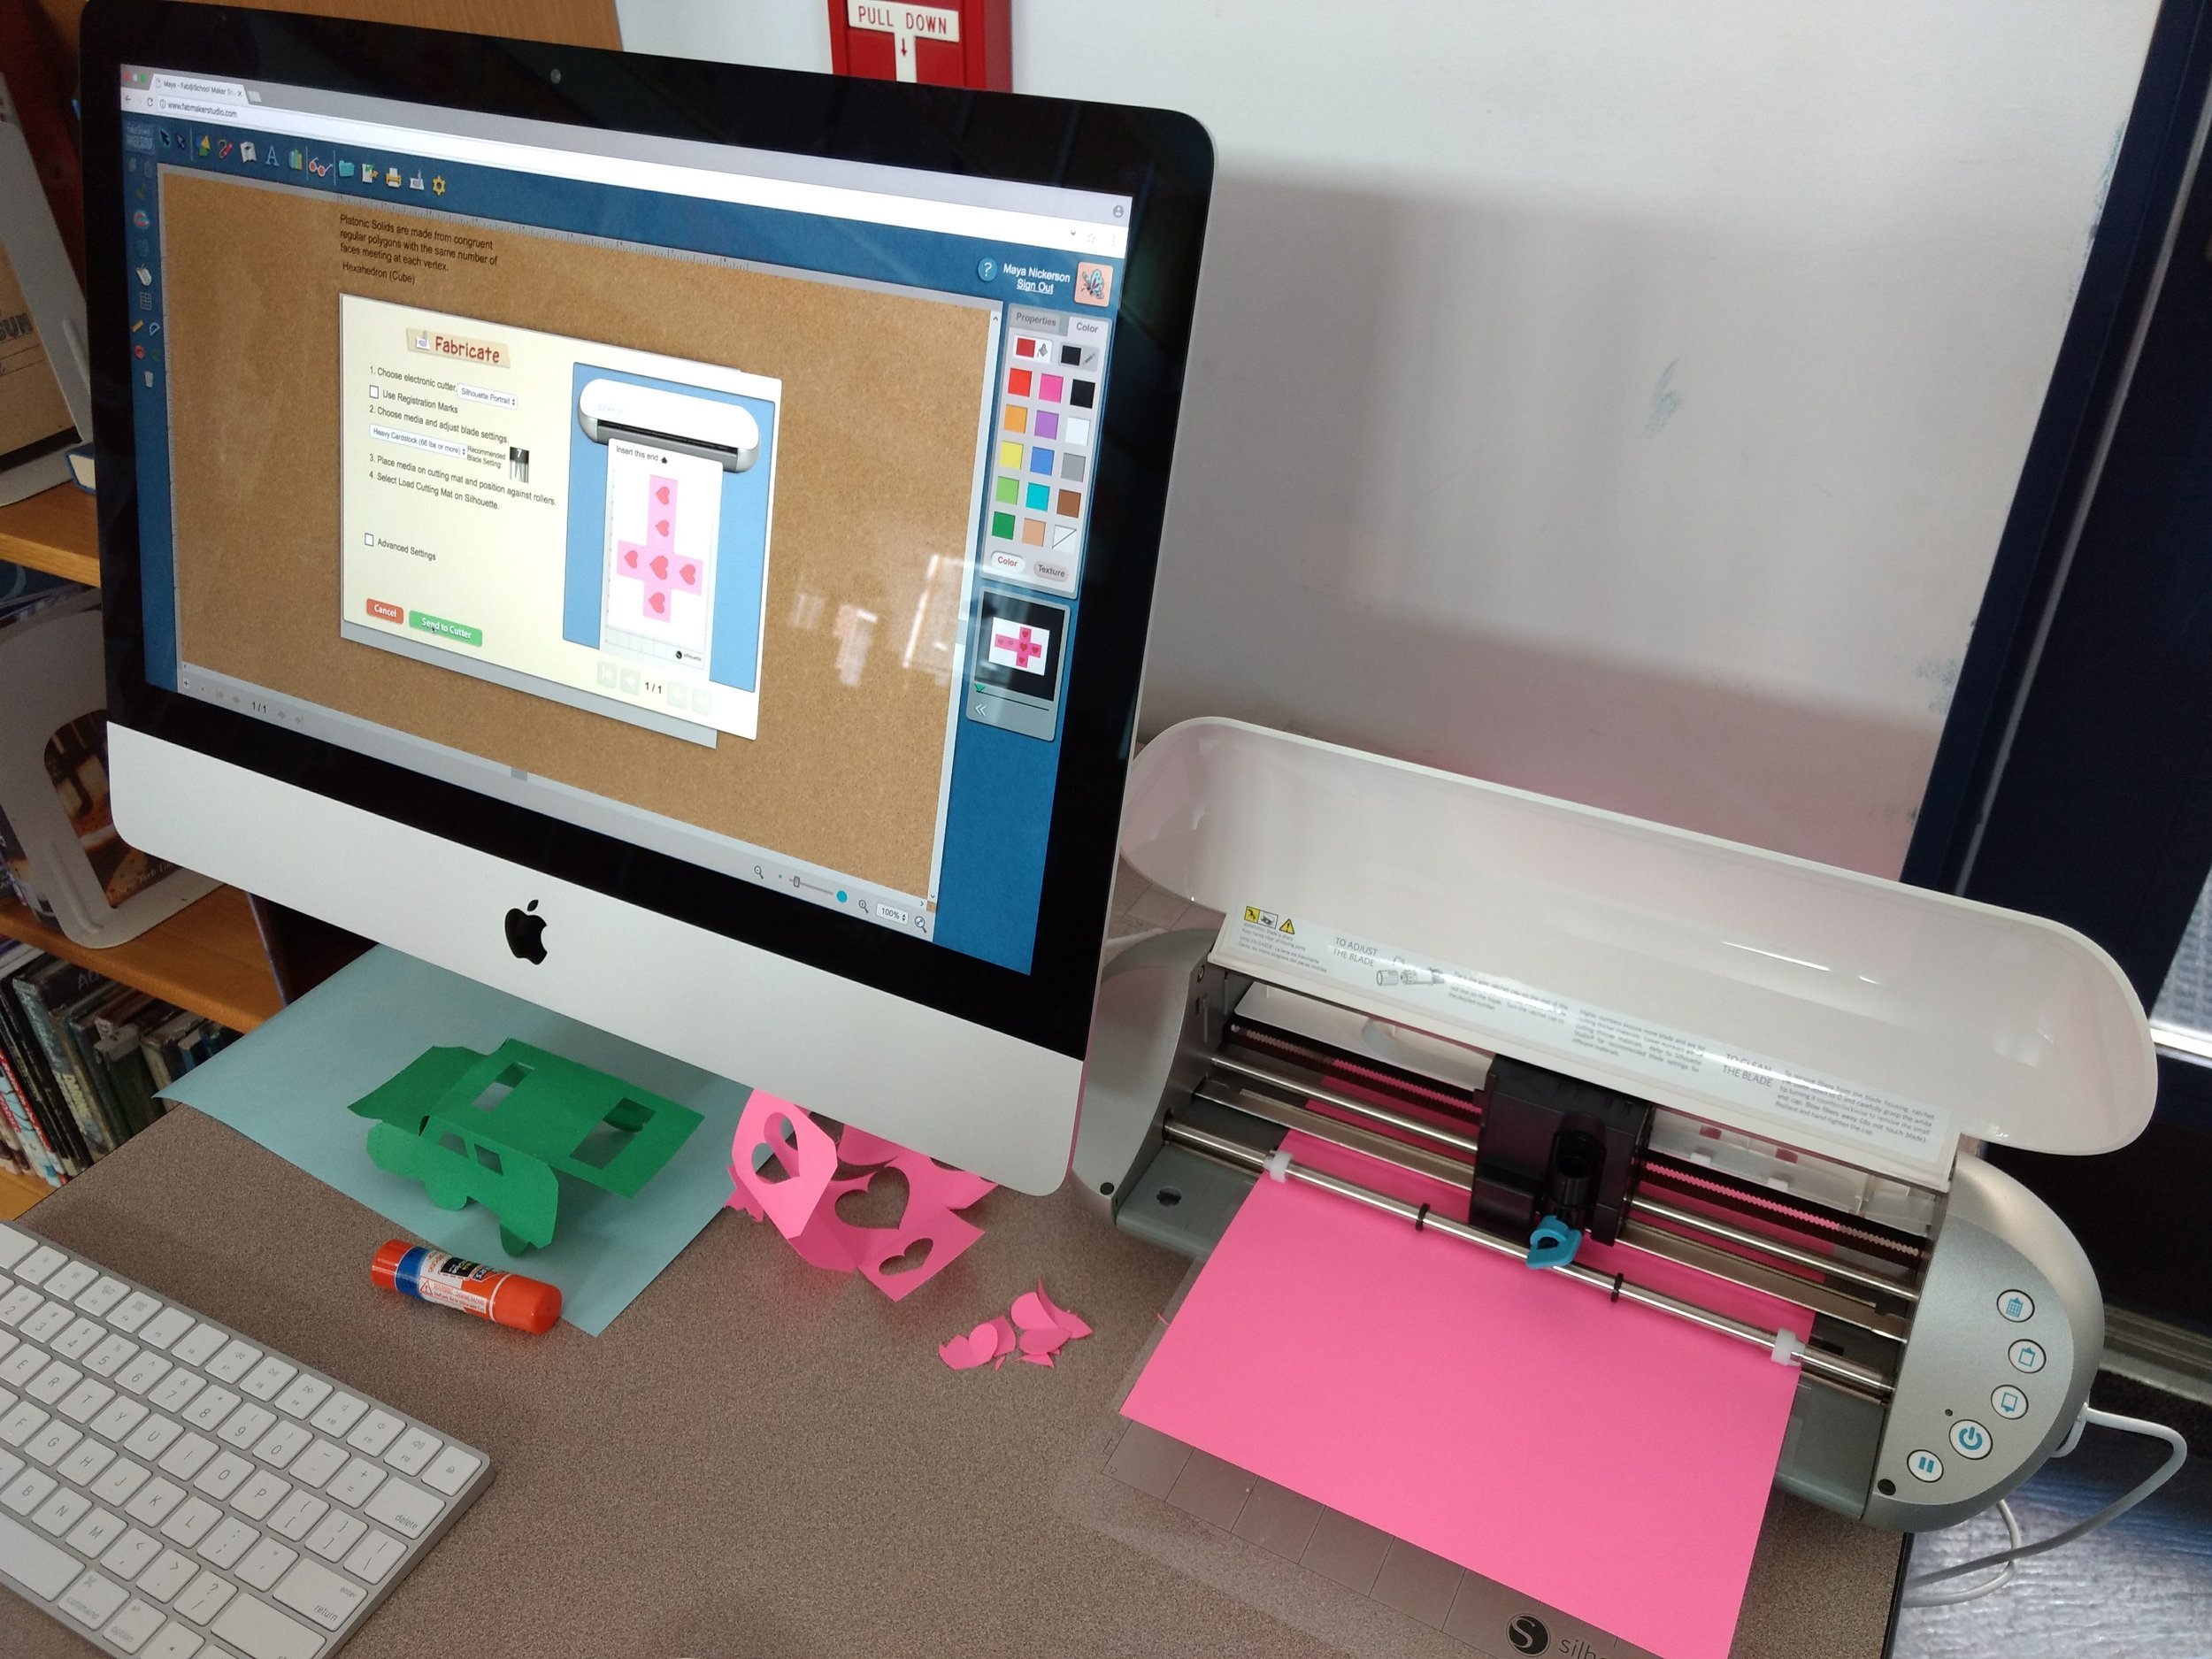
In November 2016, we spent two weeks teaching 72 young students in the afterschool program at Kendall-Whittier Elementary School. In keeping with our existing education program philosophy, the curriculum included digital fabrication using Fab@School Maker Studio and Silhouette Portrait paper cutters. We focused on teaching elements of the design process as defined in the Next Generation Science Standards, and we encouraged students to apply the skills they learned in a project-based assignment. Our objective was to evaluate both the software and cutters, as well as test the feasibility and value of introducing digital fabrication concepts and skills at an earlier age.

Each student received approximately 4 hours of instruction over multiple sessions. The 1st grade students focused on 2D design. They were introduced to the topic of design and shapes by reading and discussing the book “The Wing of a Flea” by Ed Emberley. This led to instruction on how to design basic 2D shapes and combine those shapes into more complex structures. Students used the cutters to create their physical model.
The older students began with the 2D design but quickly moved to designing 3D shapes. They were able to use the cutter to render their 3D design and then glue it when necessary. Some older students tried their hand at more advance design concepts like pop-ups, a design principle that’s tough but easier to handle when using the friendly interface of Fab@School Maker Studio.


In short, we were very happy and excited about the results of the pilot. While there is still considerable room for improvement in the lesson plans and teacher instruction, designing with the Maker Studio software was a simple and straightforward concept to learn for all three grade levels. In addition, the cutters proved faster and more efficient than was expected.
We had been concerned that students would lack the developmental milestones needed to be successful in design and fabrication. We were overjoyed when this did not show up in the trial. All students were successful in producing and cutting their 2D and 3D files and we would expect those skills to continue to improve as the students gained more experience.
Best of all, student engagement was very high and we observed a high level of student interest and growing self-confidence. We’re excited about the implications this base of knowledge will have in future grades, when we ask them to use more complex CNC equipment for larger projects.
How is your classroom using Fab@School Maker Studio? We'd love to share YOUR tips and ideas! For more FabFriday posts, click here. Try out some or all of these techniques in the Winter Design Challenge! Share your photos with us, Tweet them with the hashtag #FabMakerStudio for a chance to have them featured on the next FabFriday!