FableVision Learning Spotlight Blog
Categories
- Animation-ish 42
- Books 21
- Civics! 2
- Classroom Spotlight 17
- Conferences and Events 20
- Creative Educator 3
- Creativity 25
- Distance Learning 13
- Dot Day 22
- FabClassroom 28
- FabFriday 19
- FabMaker Studio 66
- FabMaker Studio Classroom 13
- FableFive 7
- FableVision Games 3
- Free Educator Resources 36
- HUTCH 1
- Home Activities 5
- In the Classroom 34
- In the News 11
- International Dot Day 23
- Ish 1
- Library 1
- Mapping the World by Heart 7
- Paul Reynolds 10
- Peter H. Reynolds 54
- Professional Development 9
- STEM/STEAM 20
- Storybook Academy 2
- Teacher Spotlight 14
- The Dot 17
- The North Star 2
- Words and Their Stories 1
- Zoombinis 3

Pennsylvania Fourth Graders “Go Places” with “Start with a Story” STEM Activities
The following blog post was written by Katie Hurwitz, an intern at FableVision Learning.
When it comes to teaching STEM literacy as educators, where do we start? Perhaps, it can be as simple as starting with a story. FableVision Learning’s “Start with a Story” program introduces students to the books of New York Times best-selling author/illustrator Peter H. Reynolds, posing a set of activities that correspond to each story.
Zooming into the Mifflin County Public School District in central Pennsylvania, fourth grade students embarked on a “Start with a Story” journey with Bailey Kibe at the helm.

Kibe is a fourth grade teacher who teaches Reading, Science, and Social Studies. She works as a team with another teacher—who teaches Math and Writing—as they both teach their respective homeroom classes of 25 and 21 students.

“For the past few years I have collaborated with the Tuscarora Intermediate Unit 11, specifically their Educational Technology department. Dr. Eric Yoder, Coordinator of Educational Technology, proposed the project of FabMaker Studio to me to pilot with my students,” Kibe said. “Since then, I have worked closely with Andrea Calvin from FableVision Learning to implement their ‘Start with a Story’ STEM Literacy unit.”
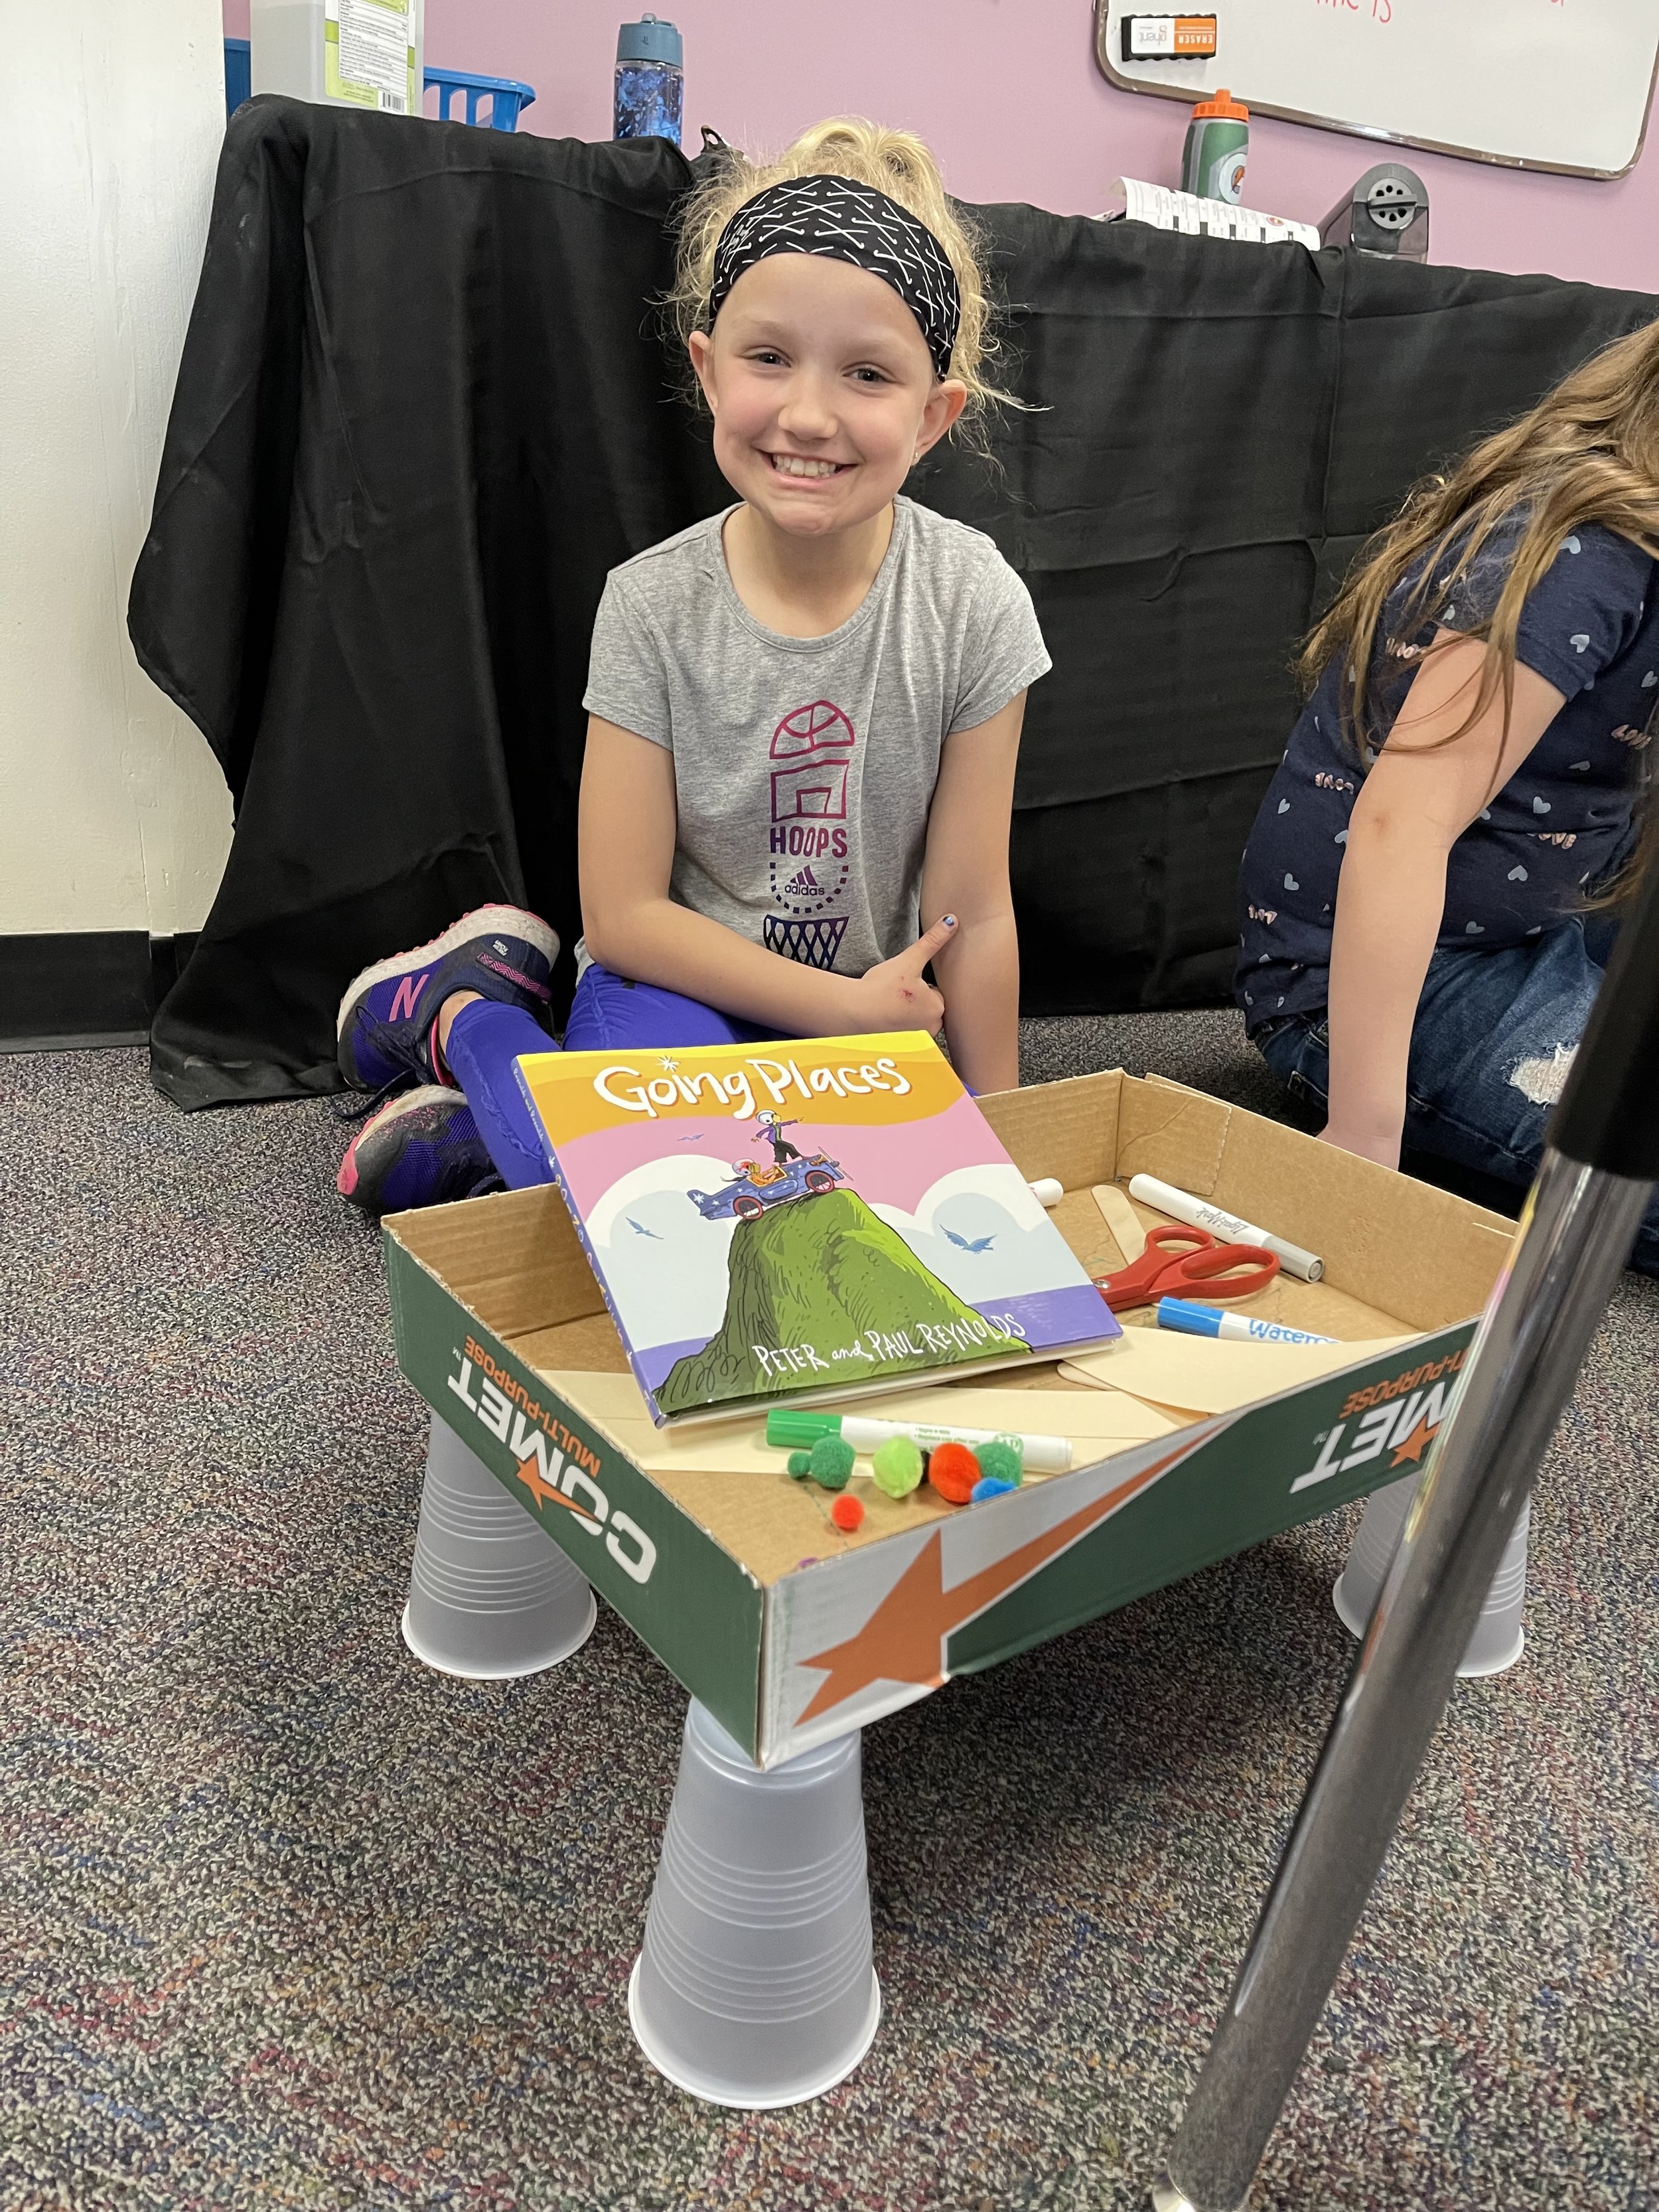
The specific book that Kibe used was Going Places by Peter H. and Paul A. Reynolds. In this story, the main character, Maya, inspires her friends to think outside the box even when a kit of instructions is provided. Encouraging her friend Rafael to realize all the possibilities that can be achieved through innovative thinking, Maya helps readers alike develop self-efficacy to transform ideas from their imagination into reality.
The “Start with a Story” activities for Going Places relate to the book’s themes of challenging the status-quo through connectivity and encouragement.
We recently connected with Kibe to discuss her experience of “starting with a story” to teach STEM literacy to her Mifflin County Public School District fourth graders. The following is our Q&A with Kibe. Read on to see how the story and its activities led her students to really “go places!”
You've been using the “Start with a Story: Going Places” activities. What has been the overall response from the students?
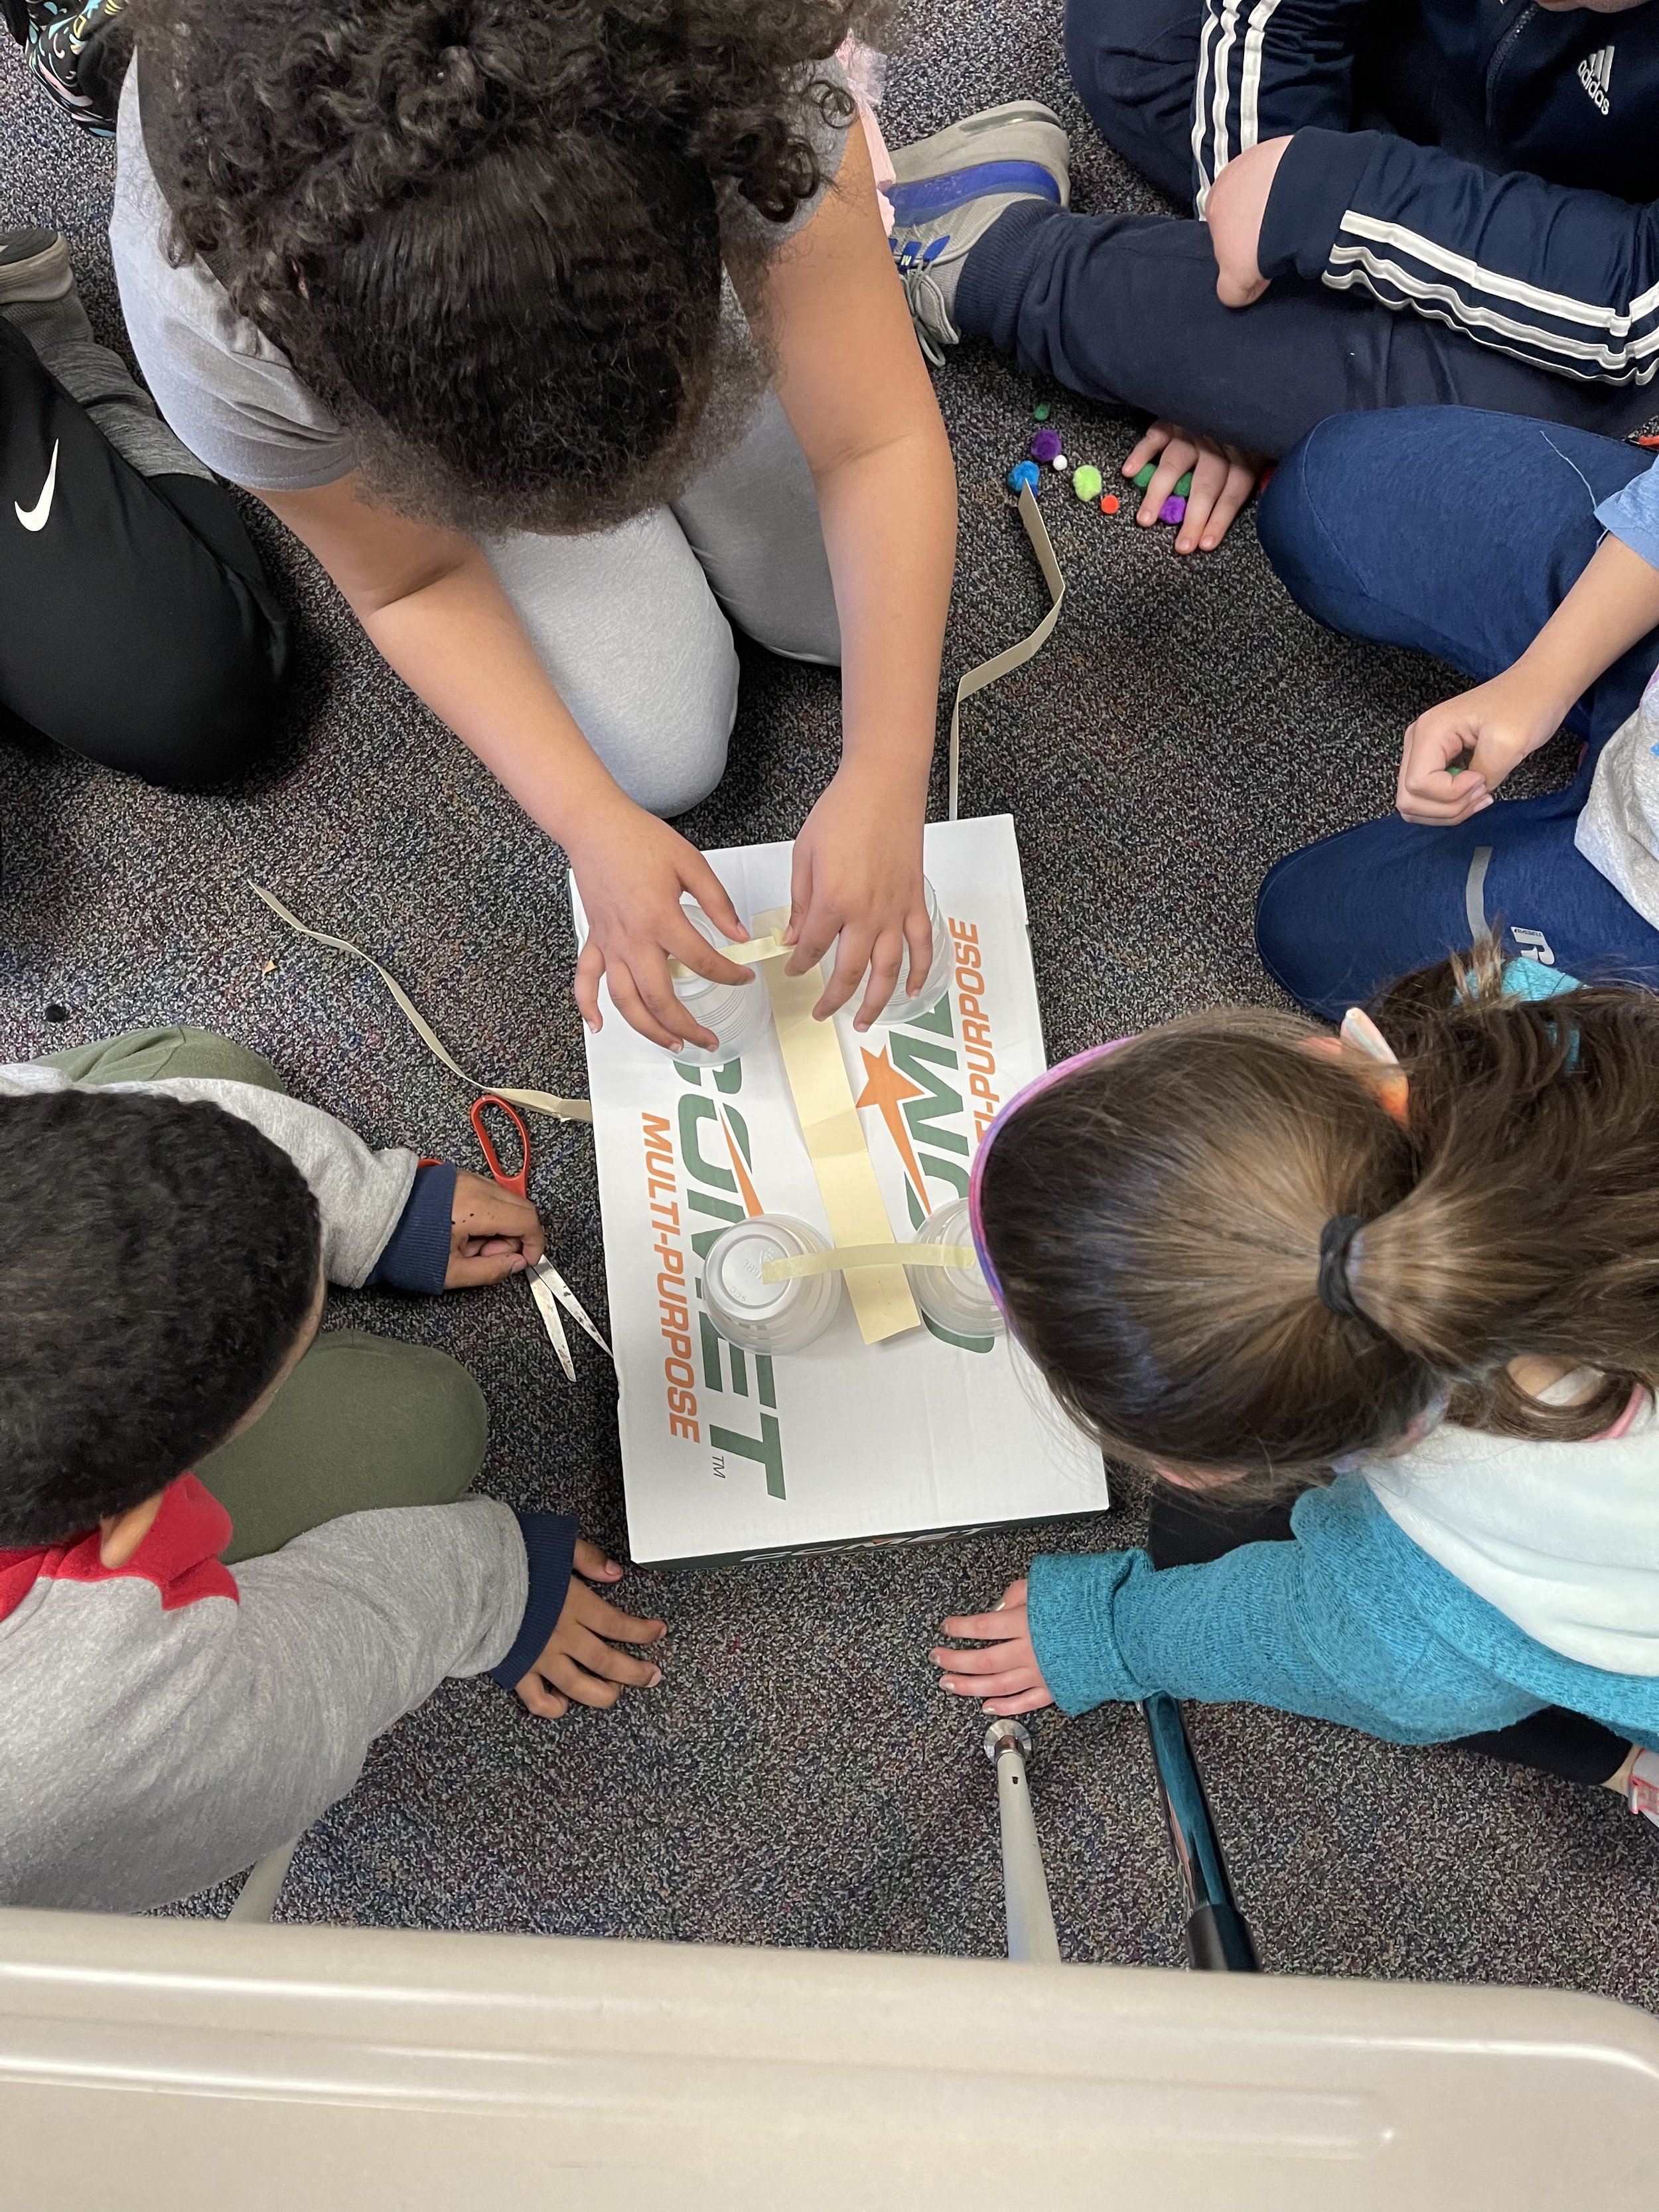
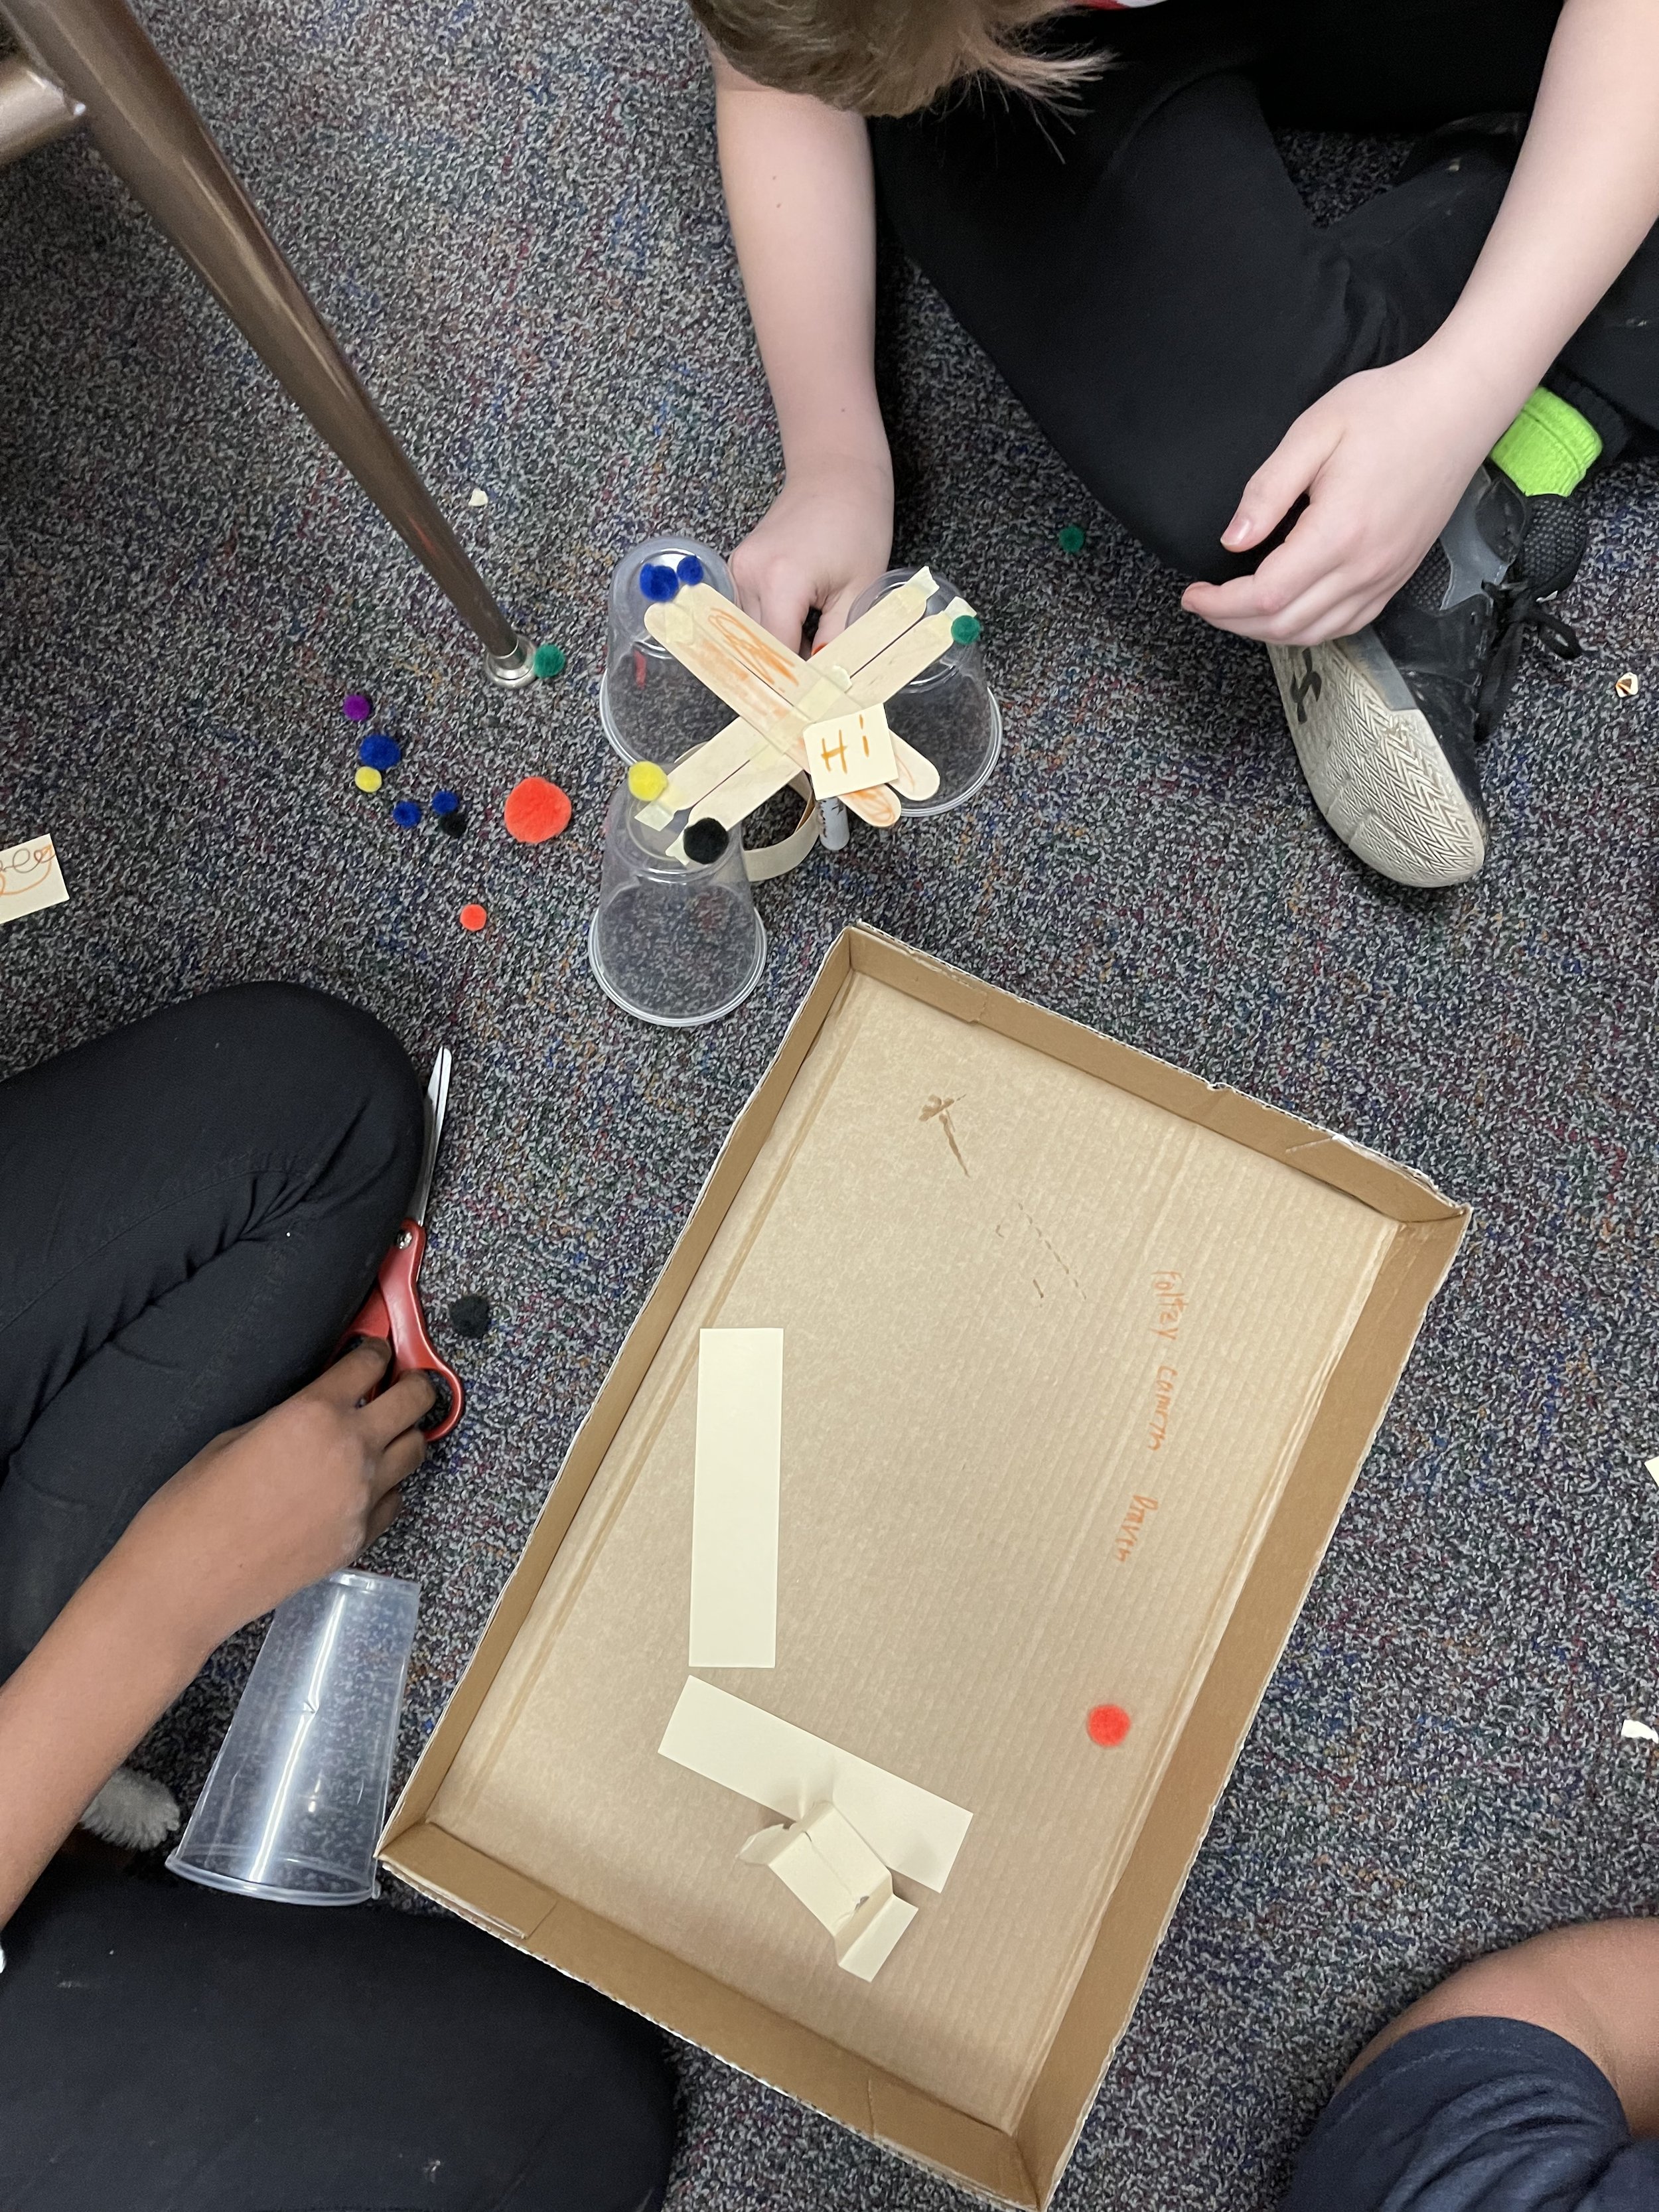
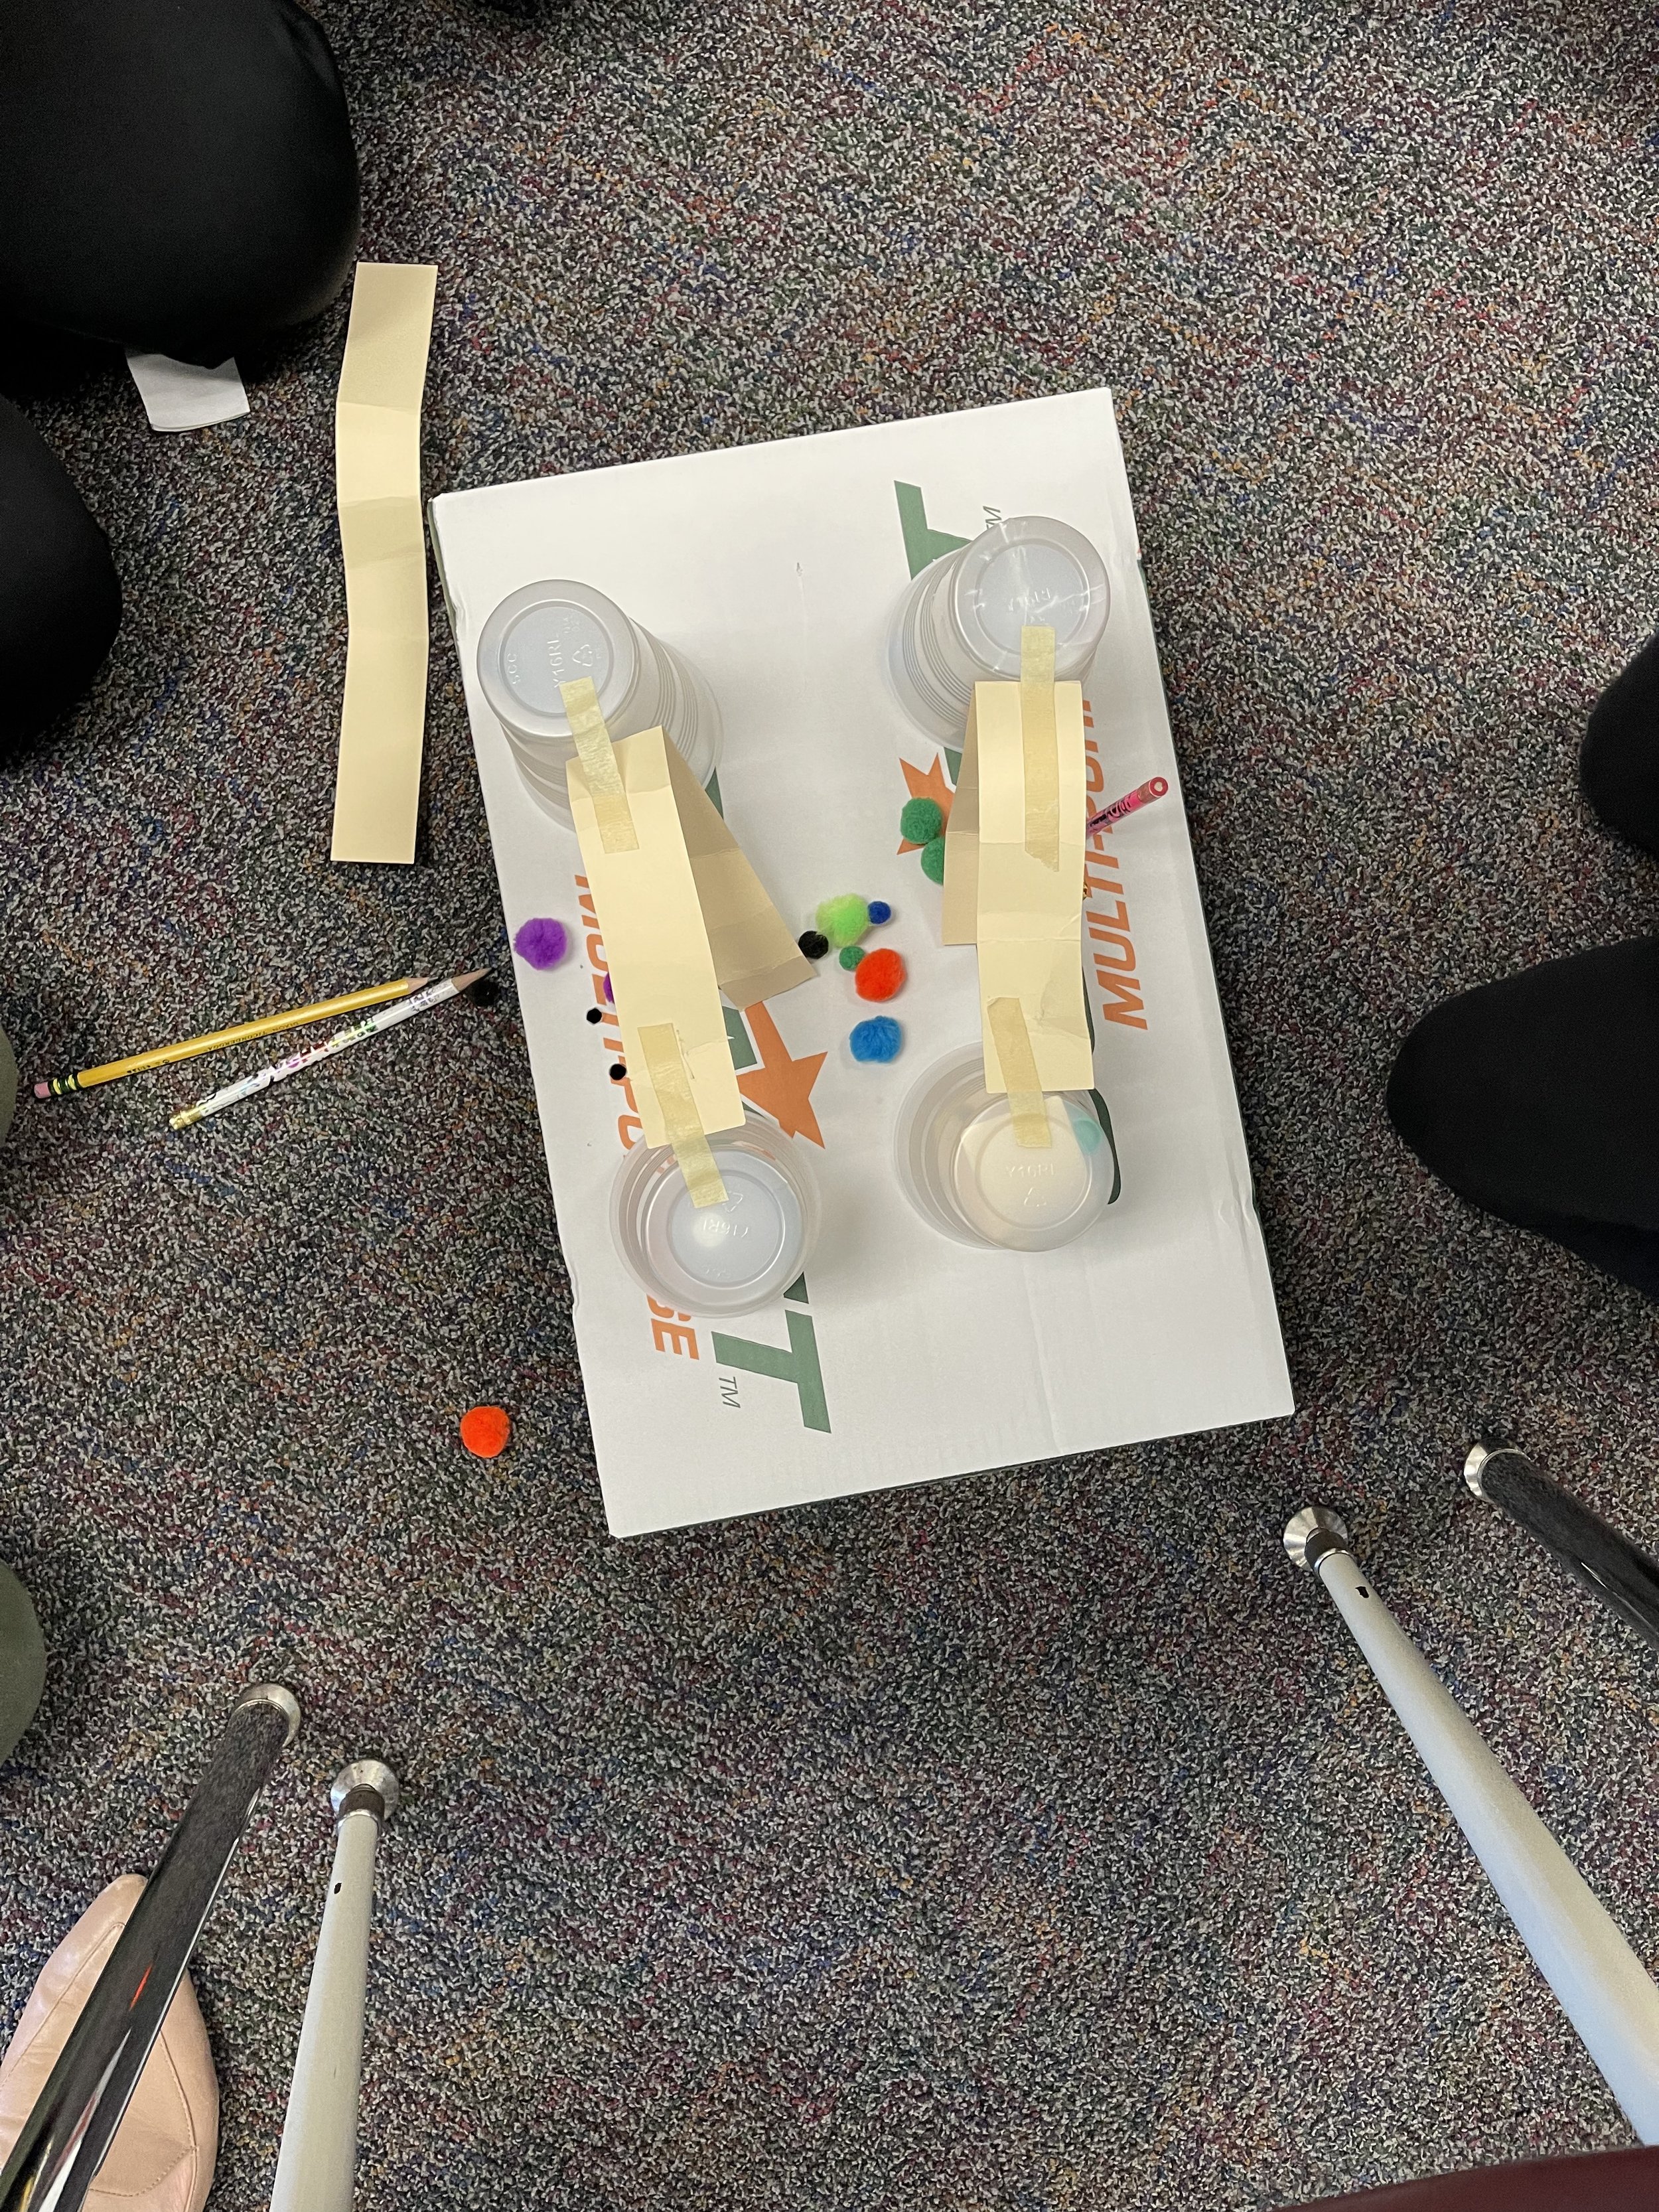
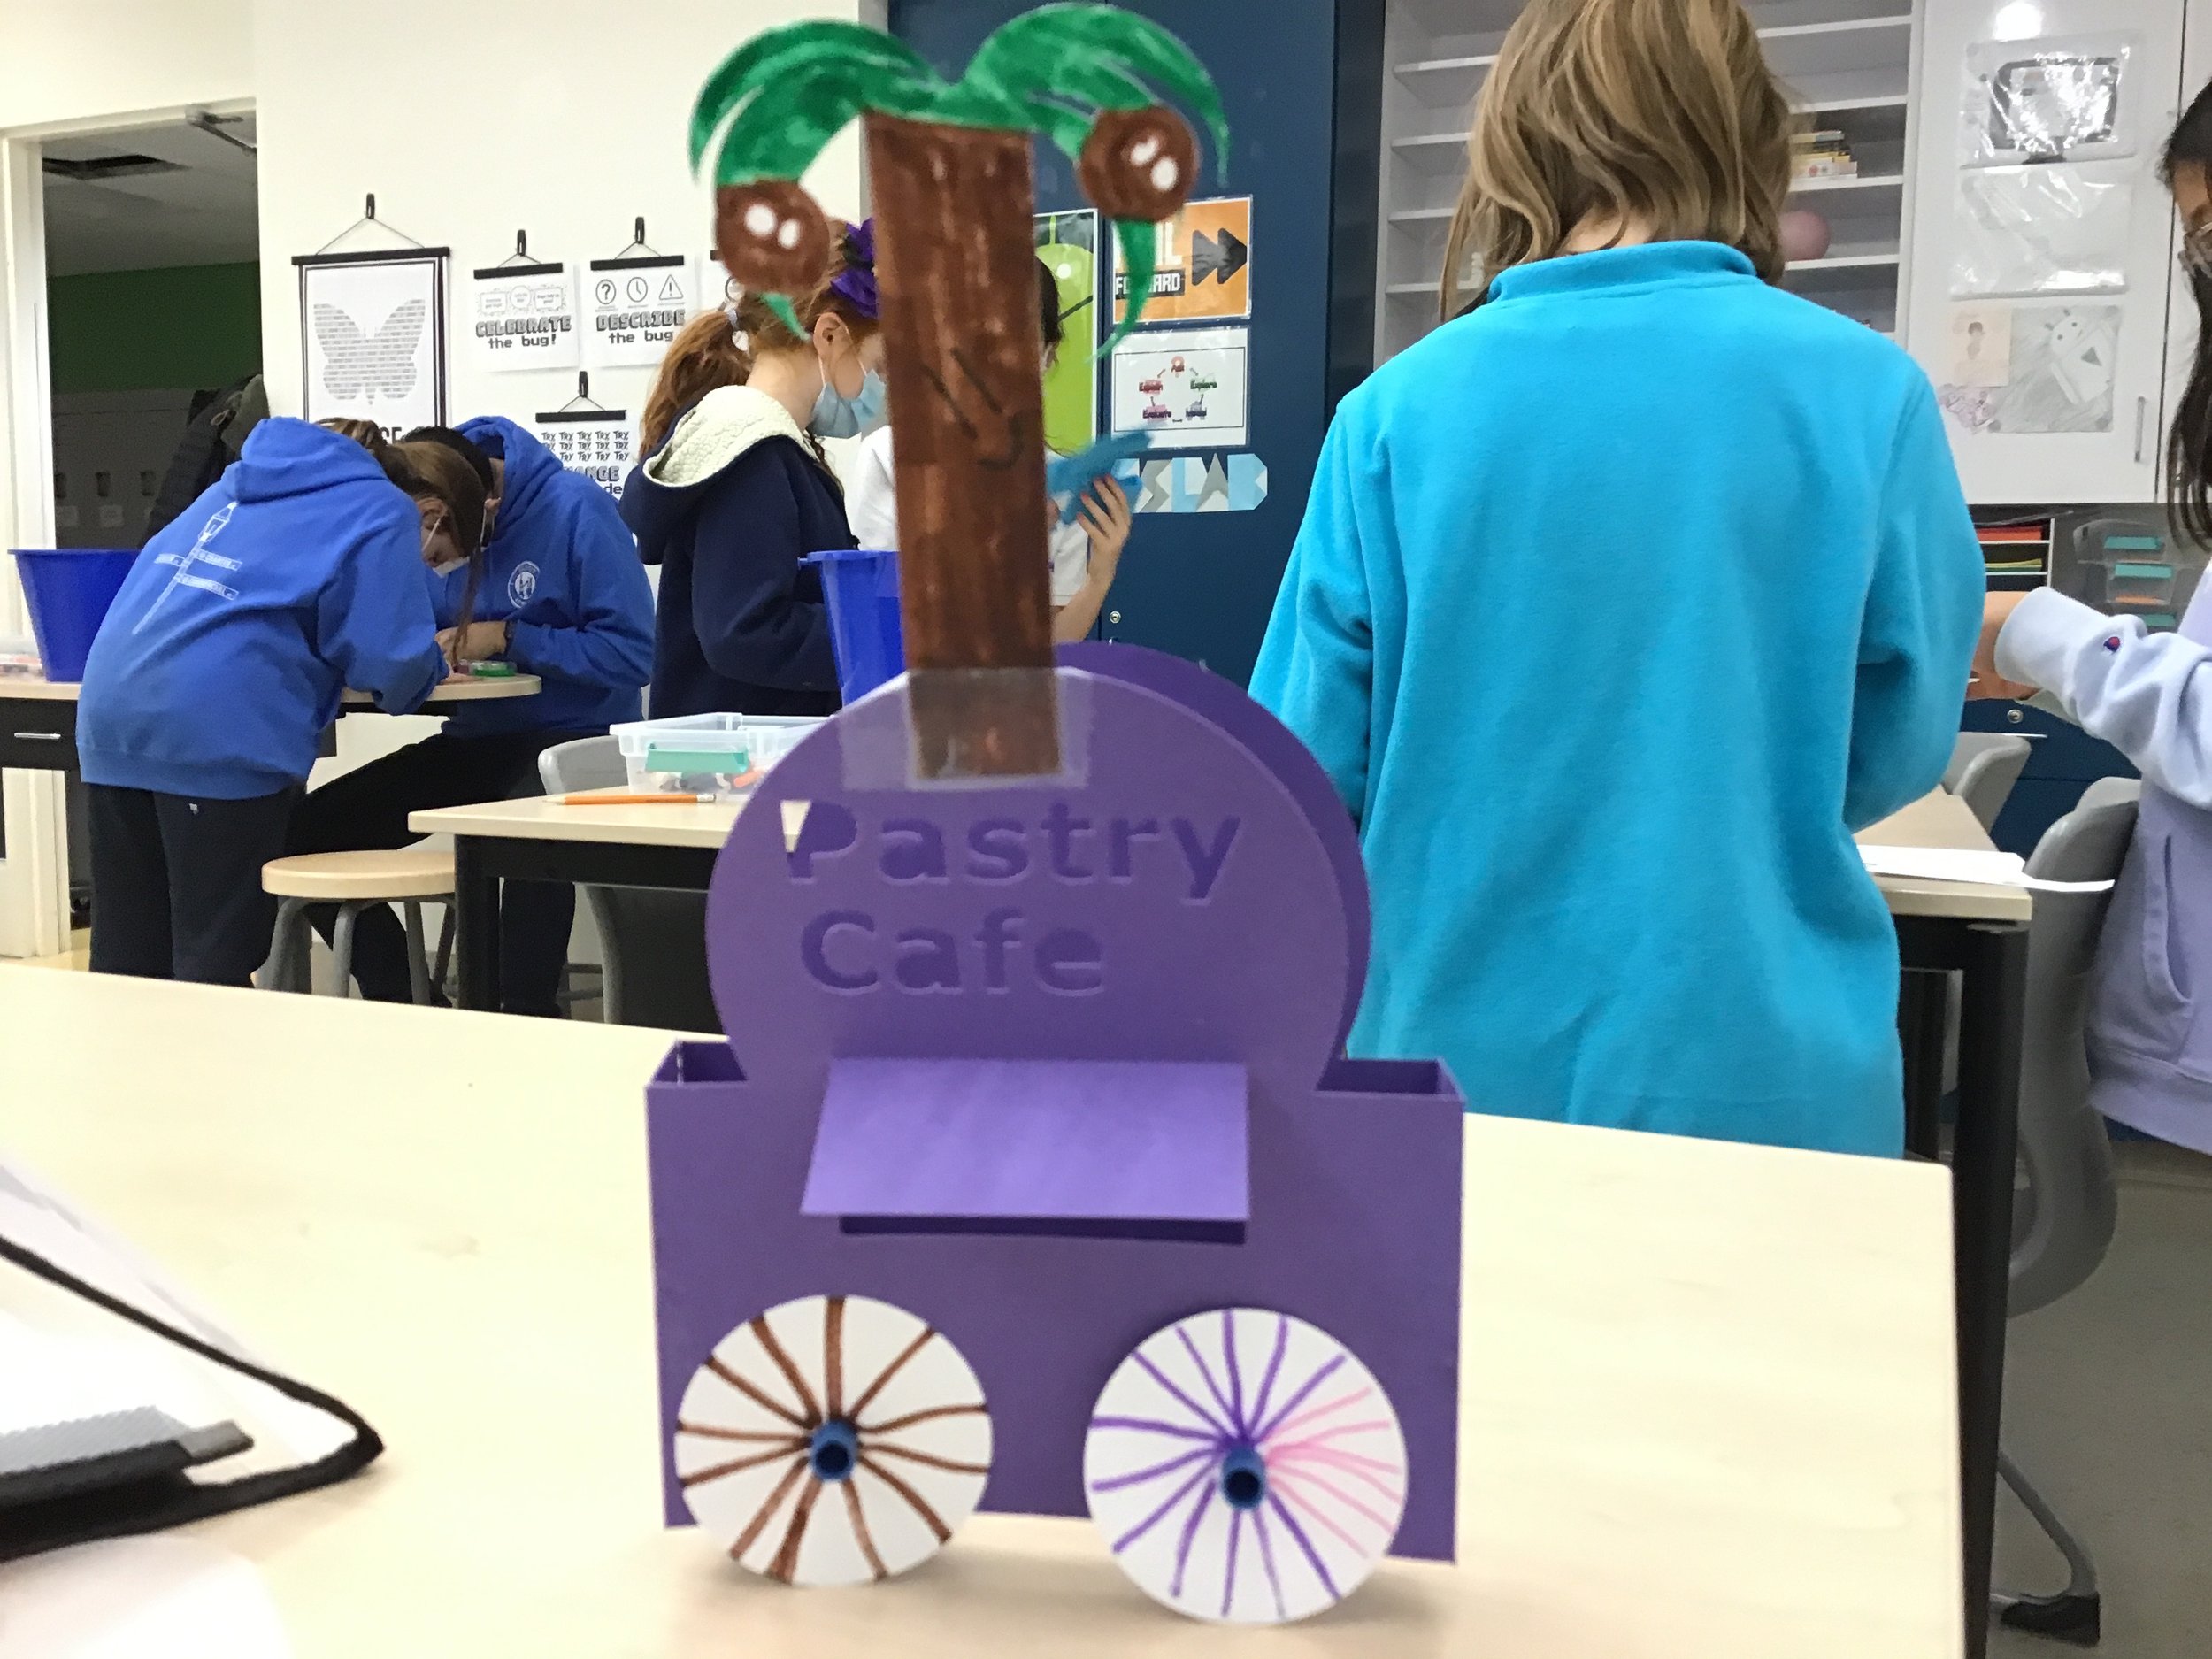
Kibe: Students have loved the activities! It has been a great experience overall. With each activity there is a problem-solving component that allows students to really collaborate and share perspectives to achieve their goal. Students also were able to work with peers that they may not typically work with, which allowed for team-building. The students especially enjoyed testing their “tables” to see if they held a book or even several books. Also, they loved turning the go-cart building activity into a friendly competition to see which cart went the fastest and the farthest.


What has been one aha moment?
Kibe: There have been several aha moments throughout the activities. The go-cart activity stands out the most. When we were building the carts, we first started with bottle cap wheels. The students experimented with the idea of friction and decided that the bottle caps created too much that it affected the performance of their carts. They then created wheels using the circle paper in the FabMaker document that was cut out using the Silhouette. After testing, the students had an aha moment that the paper wheels produced less friction and therefore increased the effectiveness of their creation.
Do you have any tips for teachers getting started?

Kibe: The key to success with STEM is collaboration. We want the students to collaborate effectively, and the same should be said for educators. This was a learning experience for all involved, and it was helpful to have extra teachers and staff supporting the project. So, don’t be afraid to invite others to join in on the activity!
What's next?
Kibe: My students will now start their projects using Animation-ish. I will also continue the “Start with a Story” unit next year with my next group of 4th graders. We will continue working through STEM-based and project-based activities in our classroom so the students can discover and explore all of the different components of the discipline.
Want to learn more about Start with a Story? Email the team at info@fablevisionlearning.com

Celebrate Earth Day with FableVision Learning
The following blog post is by Tyler Stott.
Held every year on April 22, Earth Day is an opportunity for people around the world to celebrate our beautiful Earth.
Earth Day is a reminder that we must protect our planet if we want it to remain beautiful for generations to come. We can do this in small ways by recycling, conserving electricity, and not littering. We can also do this in bigger ways by supporting global efforts to reduce harm and increase protection of our natural resources. We only have one Earth!
Looking for a way to begin celebrating Earth Day? Explore these classroom activities:
Animation-Ish Earth Day Activity
One way to celebrate Earth Day is by creating an animated message.
Here are a few Earth Day animations made in Animation-ish to inspire you.
Earth Day ROCKS!

Begin by reading “Rose’s Garden” by Peter H. Reynolds. This book explores the beauty of nature and the power of imagination. “Rose’s Garden” also shows how nature can make our world a much more colorful place.
For this activity, break students into small groups but allow each student to have their own rock. Give your students some time to paint their rock with an inspiring message tied to nature or kindness. Have students share their rock designs and messages with their small group. Once you have given them some time to finish, instruct them to return to their groups and share what they have made! Invite everyone to go around and say one nice thing about someone else's rock. Once the sharing is complete, have your students go outside and place the rocks next to something like a tree or a garden!
When your students are done with this project, we encourage you to do a reflection time. Ask your students: What did you decide to paint and why? When else during the week do you get the chance to be creative? What is your favorite thing about nature?
Click here to download the Earth Day Challenge Card: Earth Day Rocks!
Trash vs. Recycling:

Begin by reading “Sydney and Simon: Go Green!” by Paul and Peter H. Reynolds, a book about the dangers of pollution and the power of recycling. In this book, Sydney and Simon meet a sea turtle who has been harmed by garbage due to littering. This book will help show students the implications of littering and why it is necessary to start recycling.
For this activity, you will need to prepare kits for each group in your classroom. Each group will need a kit of different materials. These items could include: a plastic water bottle, a plastic straw, a plastic grocery bag, a glass bottle, a paper towel, a newspaper, and a piece of wrapping paper. Feel free to switch out for any items that you might not have, these are just some suggestions.
Working in teams, students will sort the items by what can go in a recycling bin. The team in the end who gets the most items correct is the winner. 1 point for each item in the correct spot! If you have enough different types of items, you can rotate them between groups.
Answer Key:
Plastic Water Bottle - recyclable
Plastic Straw- non-recyclable
Plastic grocery bag- recyclable-ish (Can be returned to grocery store for recycling)
Glass Bottle- recyclable
Paper Towel - non-recyclable
Newspaper- recyclable
Wrapping paper - non-recyclable
At the end of the activity we encourage you to do a reflection. Ask your students: What made this activity difficult? Were there any items you debated whether to recycle vs. throw out? Do your families recycle at home? At home do you ever struggle to know what to recycle vs. what to throw out?
Click here to download the Earth Day Challenge Card: Trash Vs. Recycling.
FabMaker Studio: Animal Masks
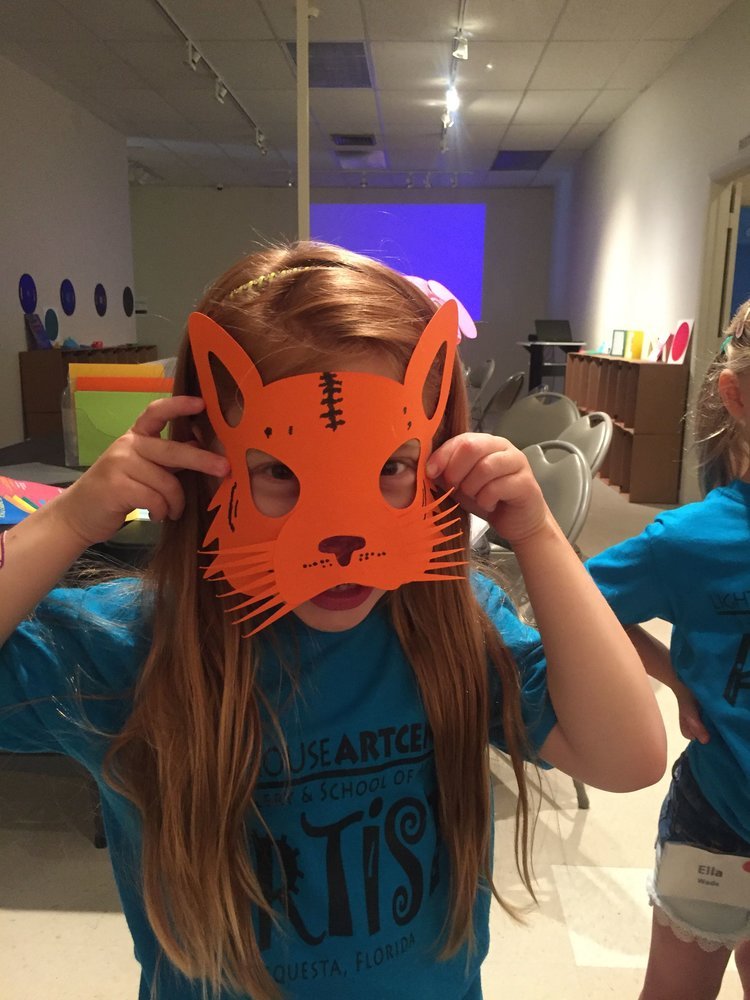
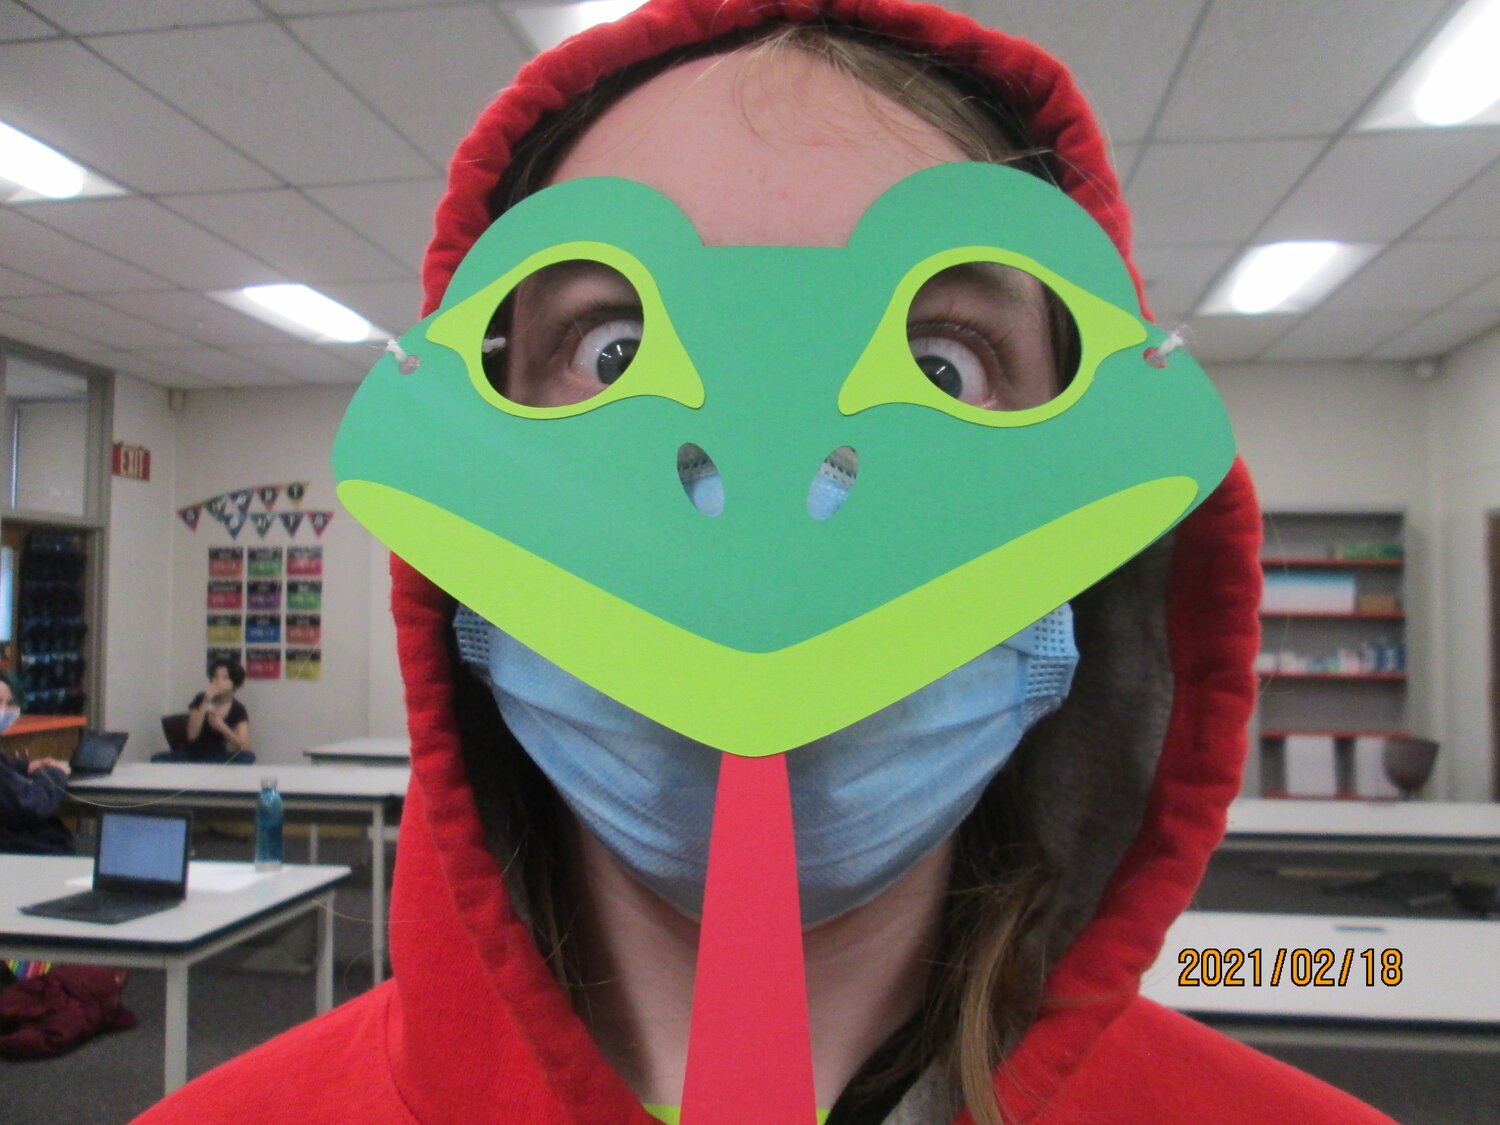
Lions, Tigers and Bears, Oh My! - This Earth Day create a classroom zoo using FabMaker Studio. Students can explore the 2D ready-made masks from within the program to fabricate and create their own animal masks. Encourage each student to create their own unique animal and research a bit about that creature and where they live.
There are so many different types of animals on our beautiful Earth! However, we must continue to protect our planet if we want to keep it this way. Scientists declared 22 species extinct in the year 2021 alone.
How will you celebrate Earth Day? Share your animations, rock gardens, and classroom zoos with us on social media. Use #EarthDay and #InvestInOurPlanet and tag us @FableLearn.

FabMaker Spotlight: Boston Students Use FabMaker Studio to Create Their Own Food Truck Festival!
The following blog post is by Tyler Stott.
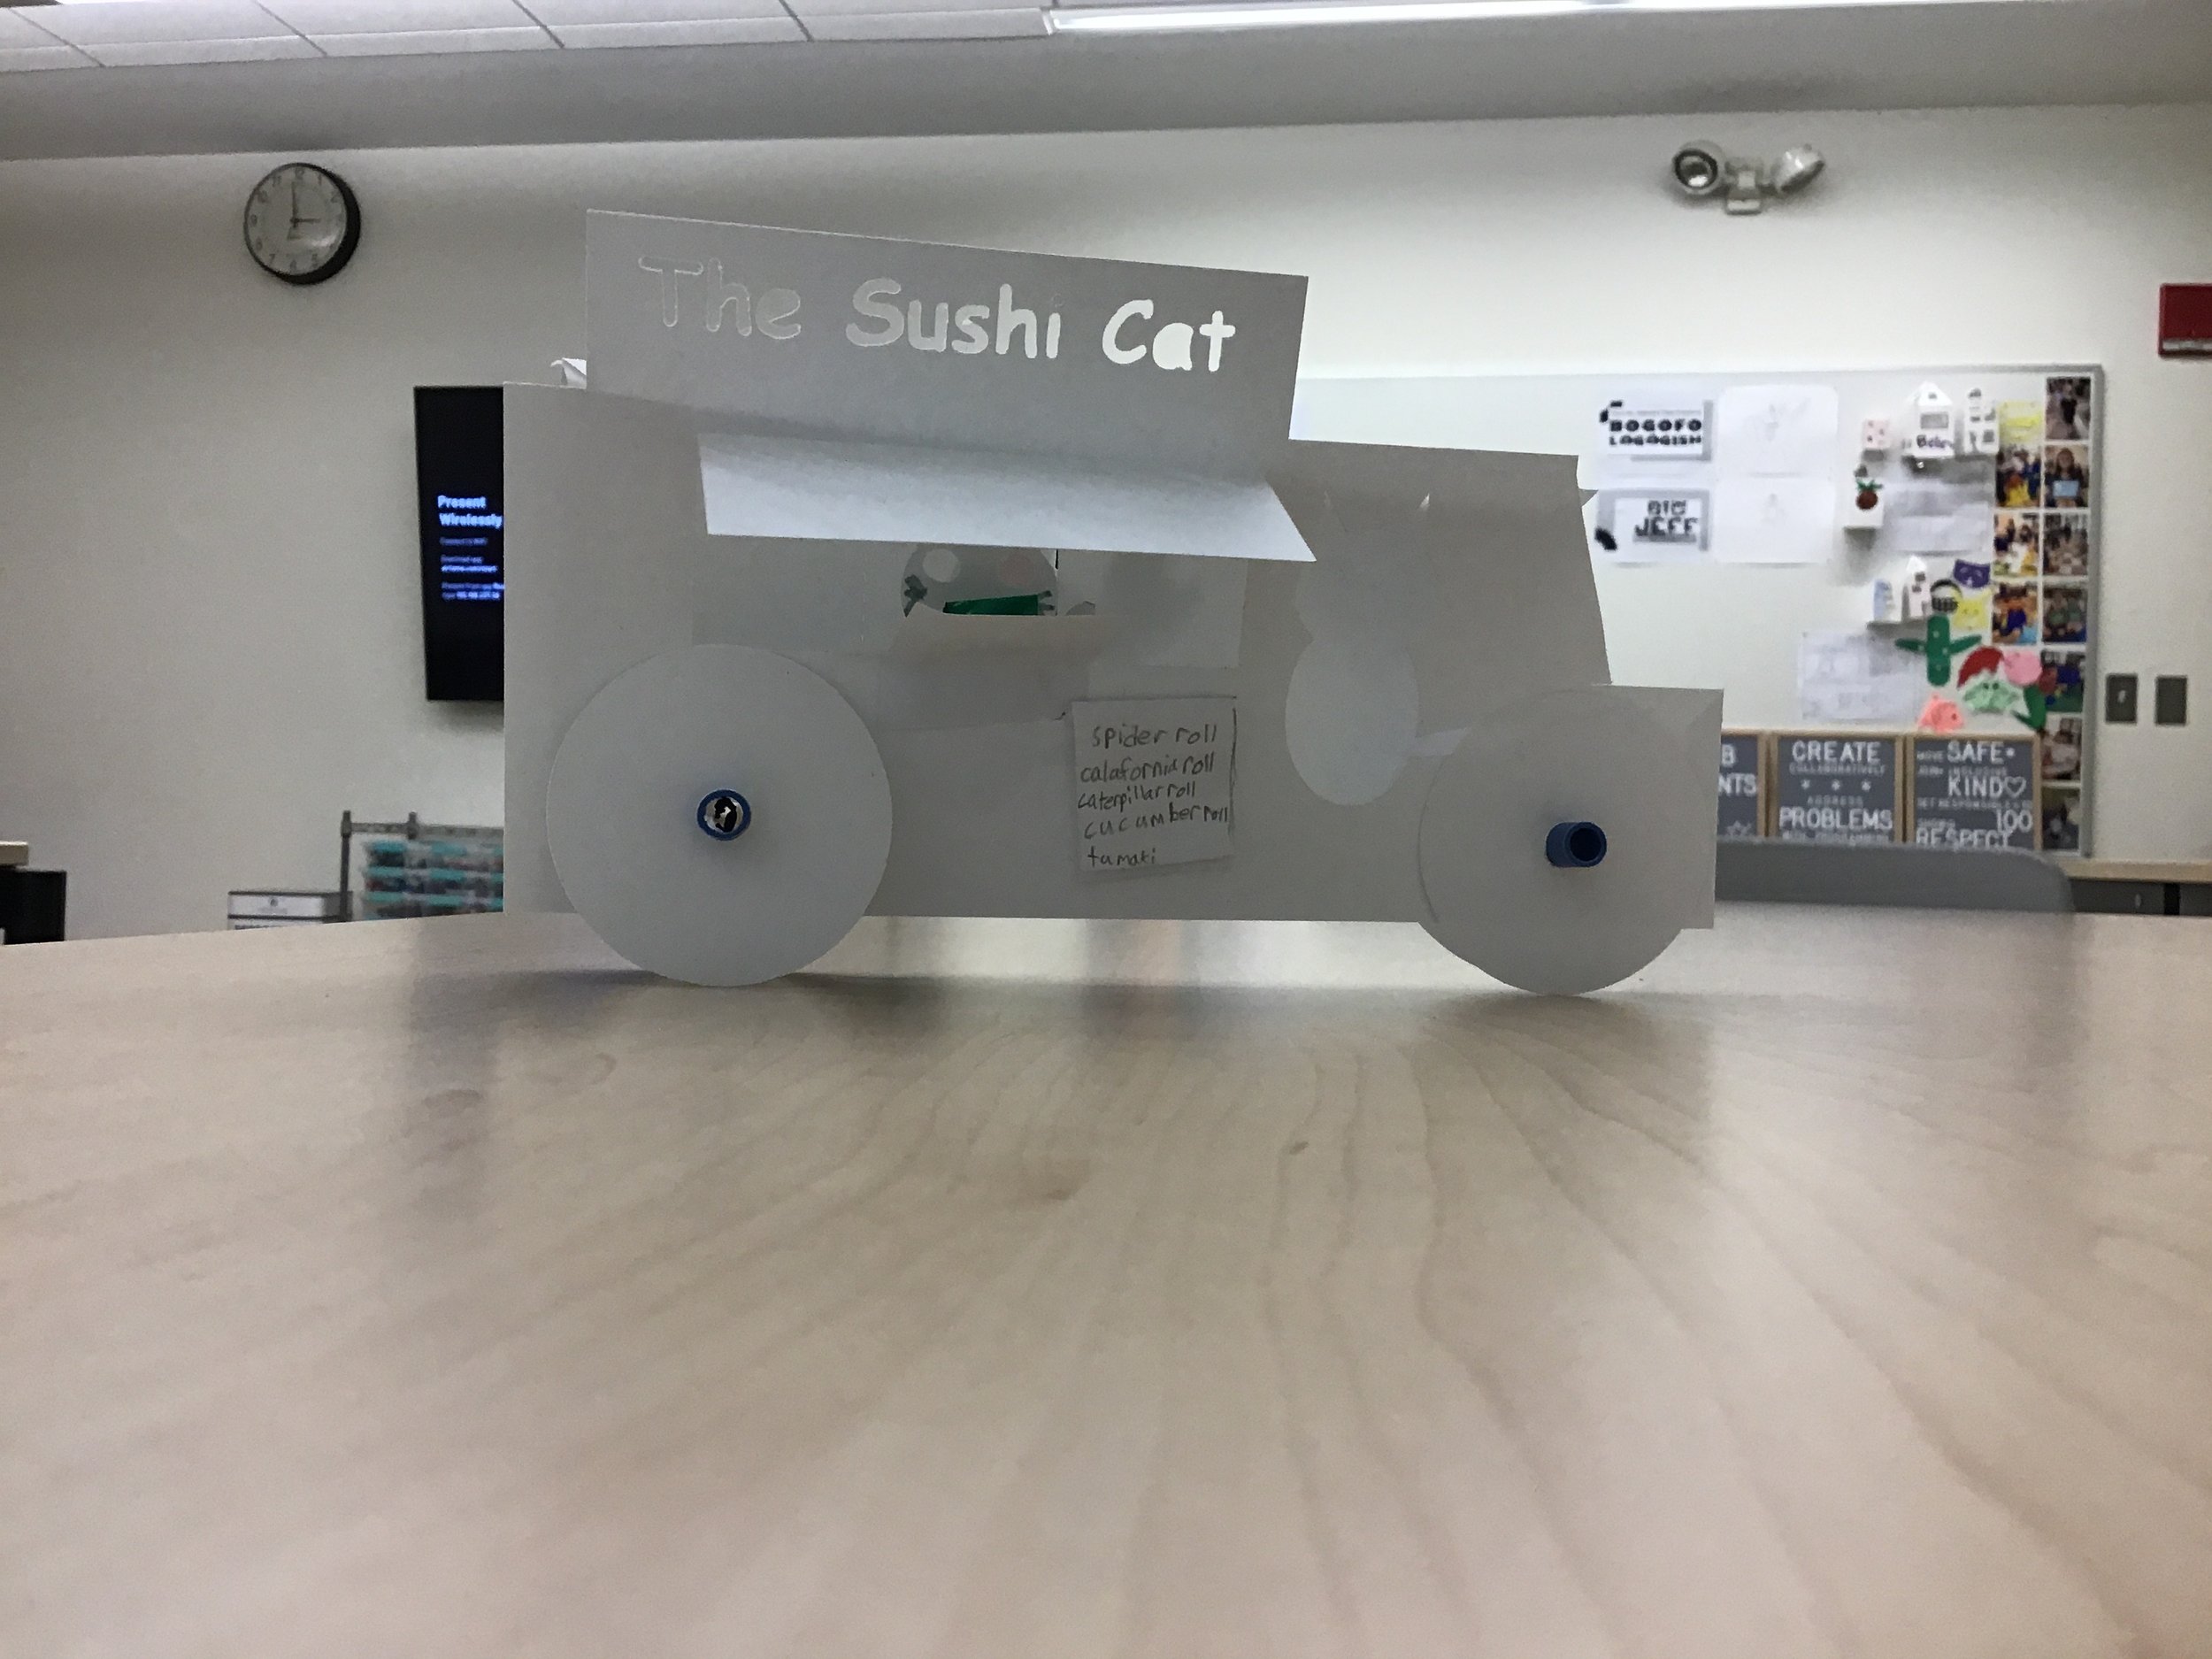
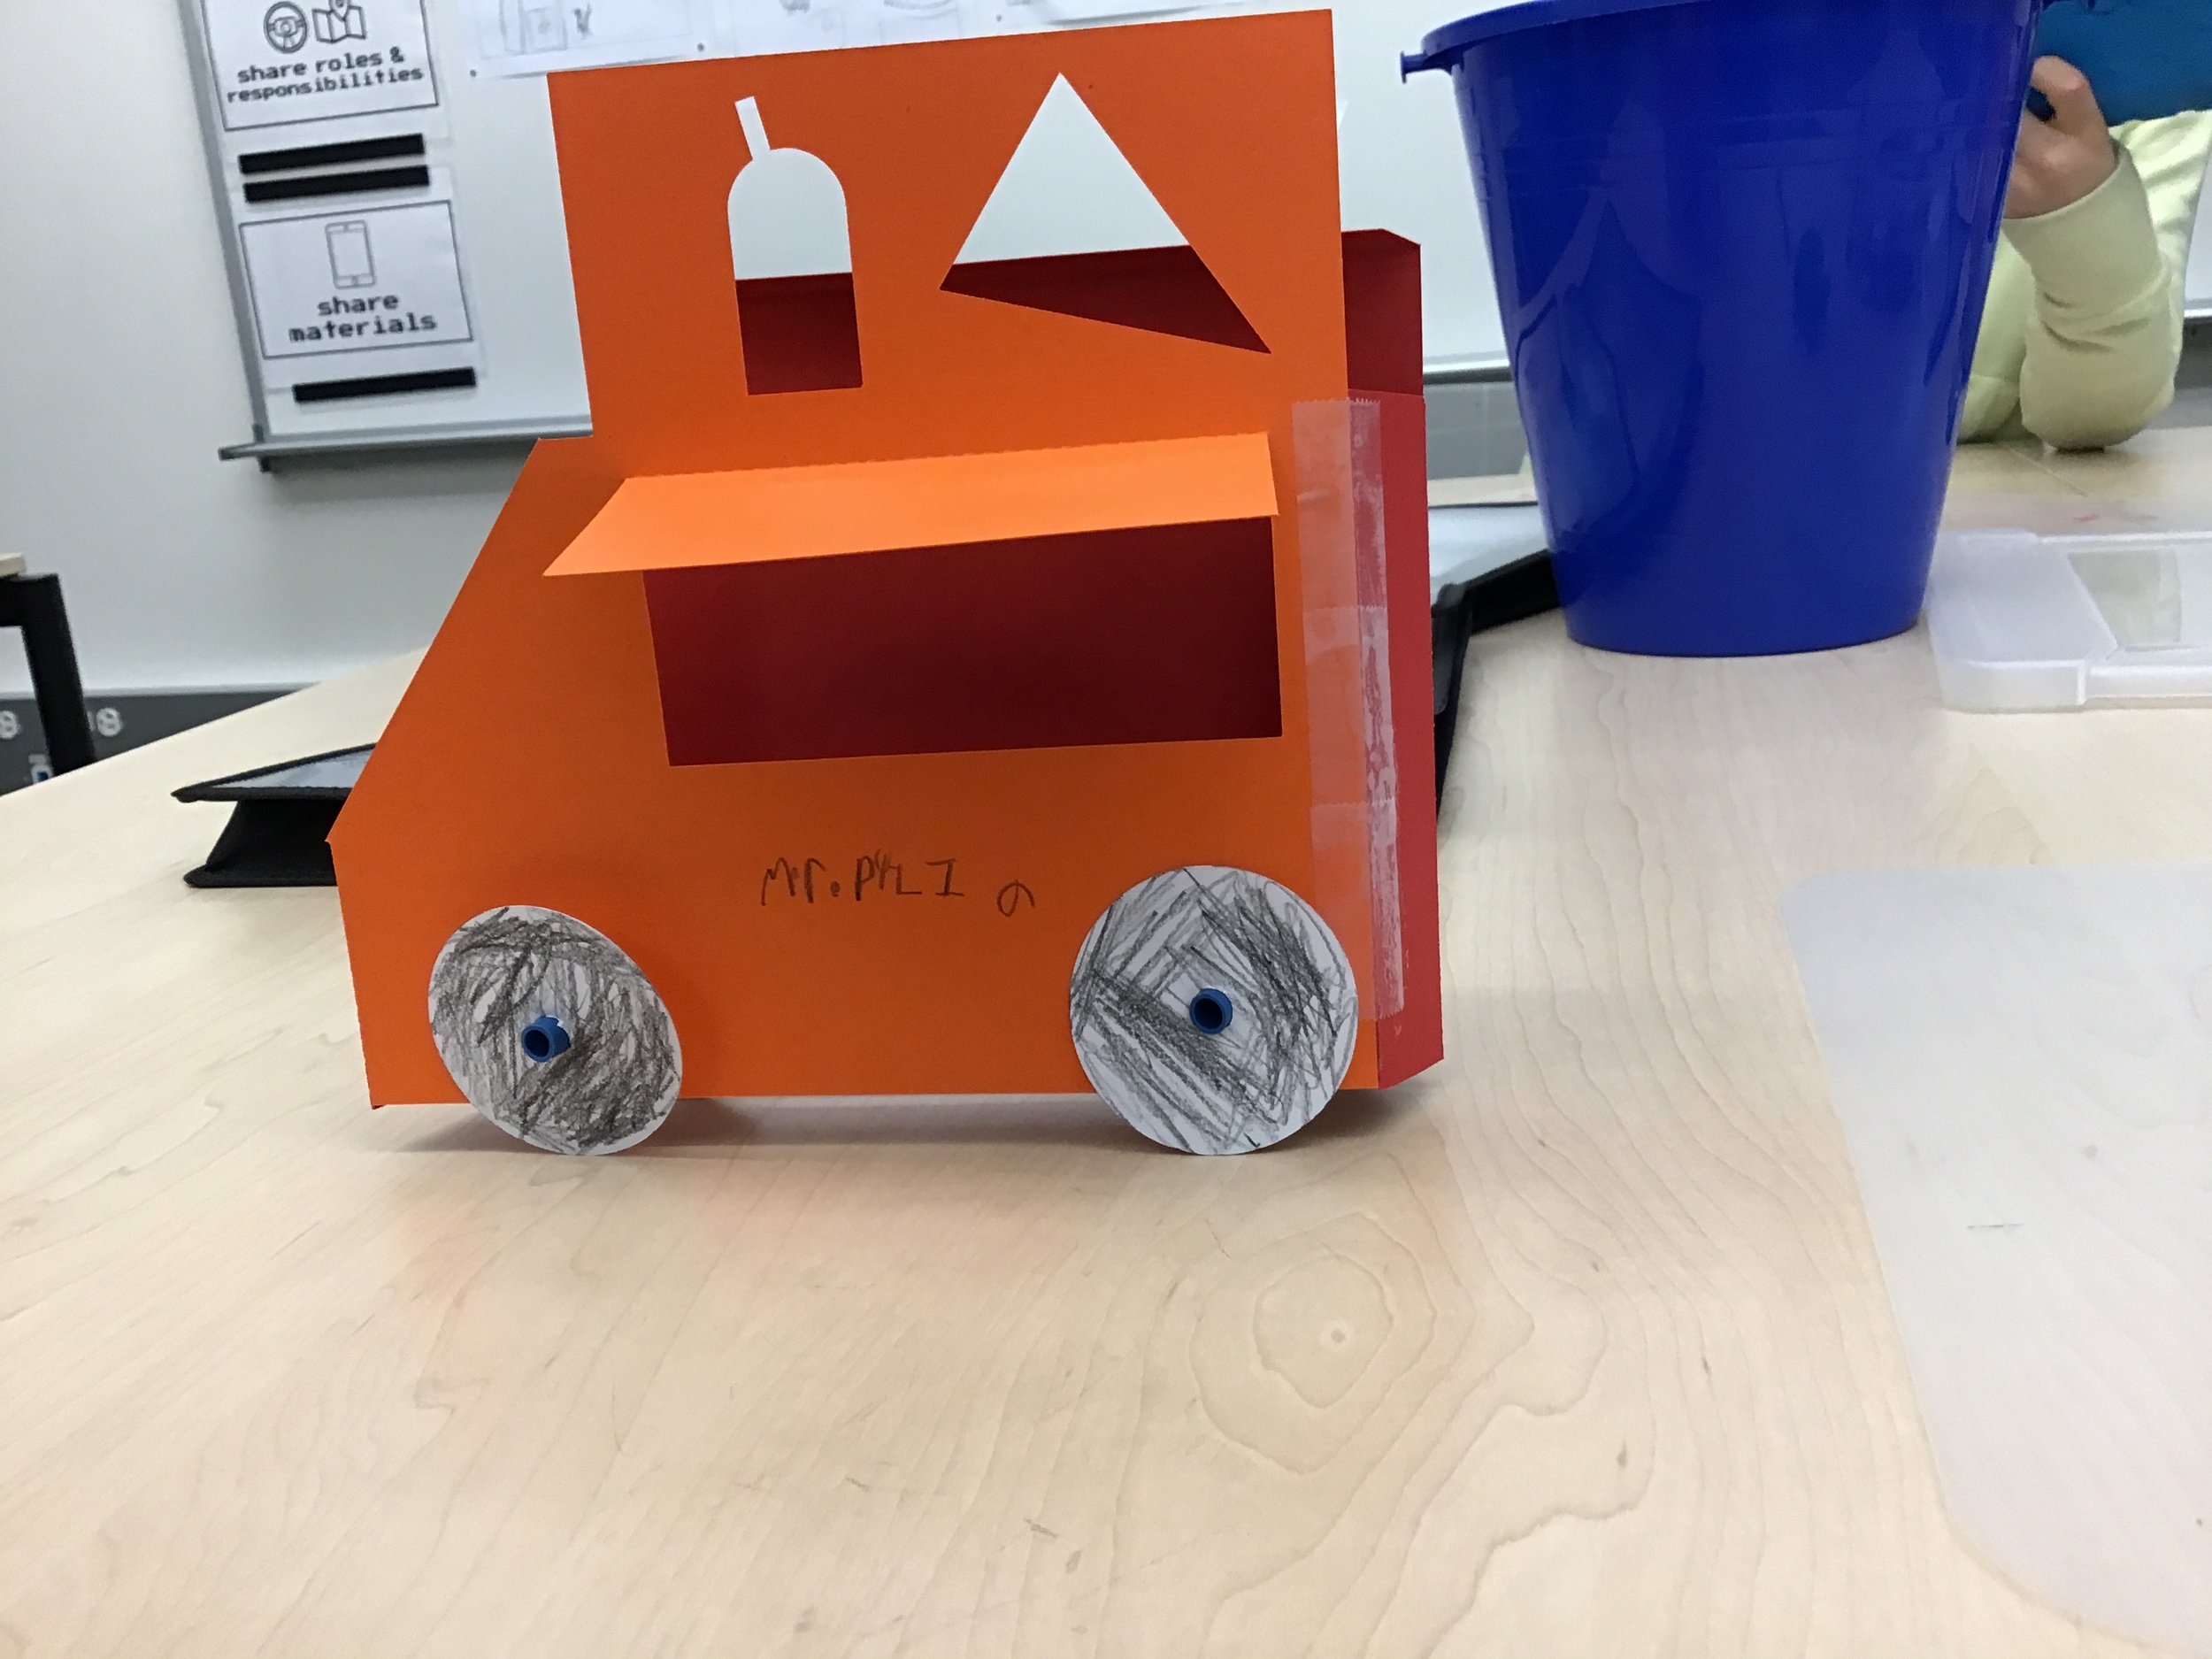
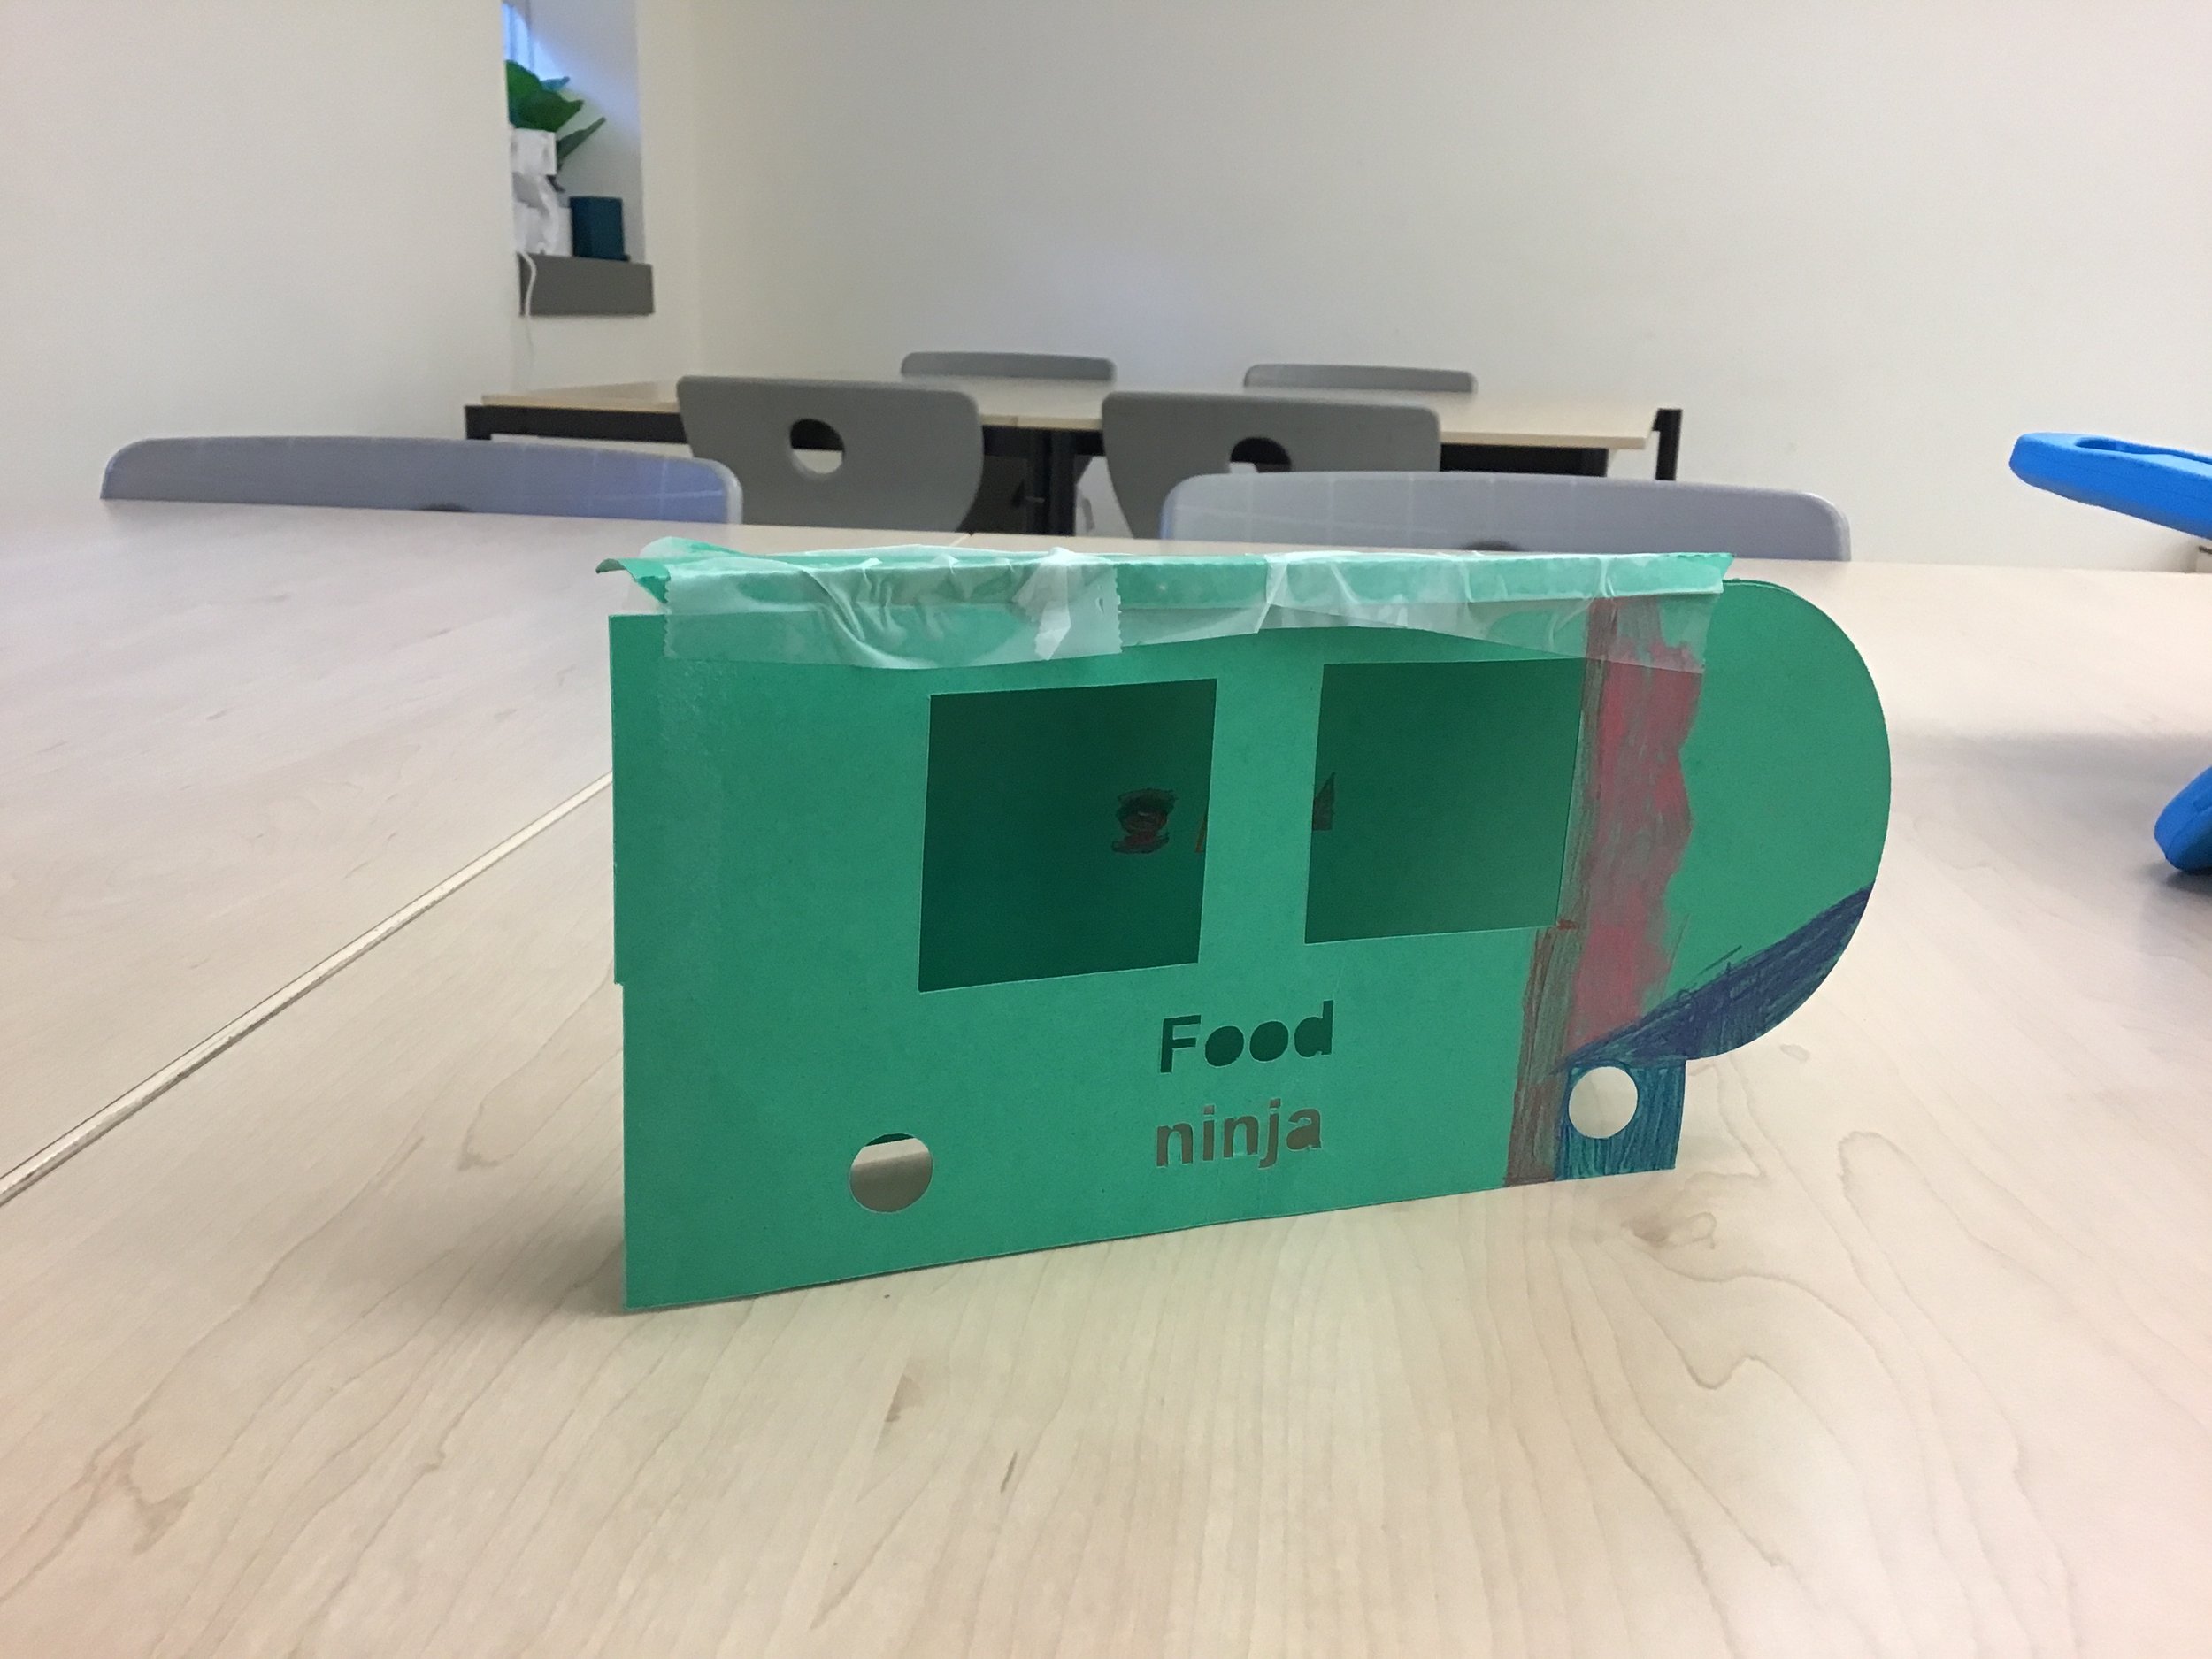
With a dash of creativity and splash of engineering, Mika Solo, a K1–3 Computer Science Specialist at The Eliot School of Fine & Applied Arts in Boston, encouraged her students to design their own food trucks using FabMaker Studio.
Each team of fourth-graders had the opportunity to design a food truck using the web-based design and fabrication software and watch it cut through the Silhouette Portrait.
Check out their projects!
The class also crafted city buildings that were illuminated with a few simple circuits!

When asked about how The Eliot School has incorporated the use of the FabMaker Studio, Solo responded, “We work in the Studio for a month-long session of 30-minute classes. The cycle goes by quick! We explore paper engineering with a bunch of activities and mini projects including: emojis, characters, 3D shapes, food trucks, and city buildings”
For Solo, one of the best parts about using FabMaker Studio has been seeing her students make their own creative designs. One example she mentioned was her students enjoyed using the weld tool to be able to make their own custom characters.
This program was part of a grant through the Dassault Systèmes US Foundation and The Reynolds Center for Teaching, Learning & Creativity that provided three elementary schools with curriculum, software and training.
As for what is next, Solo hopes to continue to teach the next generation of younger students more about FabMaker Studio and STEM.
Is your classroom a FabClassroom? We would love to highlight your school! To be featured in an upcoming post, send an email to andrea@fablevision.com. You can also tweet your photos with the hashtag #FabMakerStudio! For more posts featuring FabMaker Studio, click here.
For more information, contact us at info@fablevisionlearning.com. We invite you to join the conversation on Facebook the FabMaker Teacher Group.

FabMaker Project Idea: Gourd-geous Designs for the Table
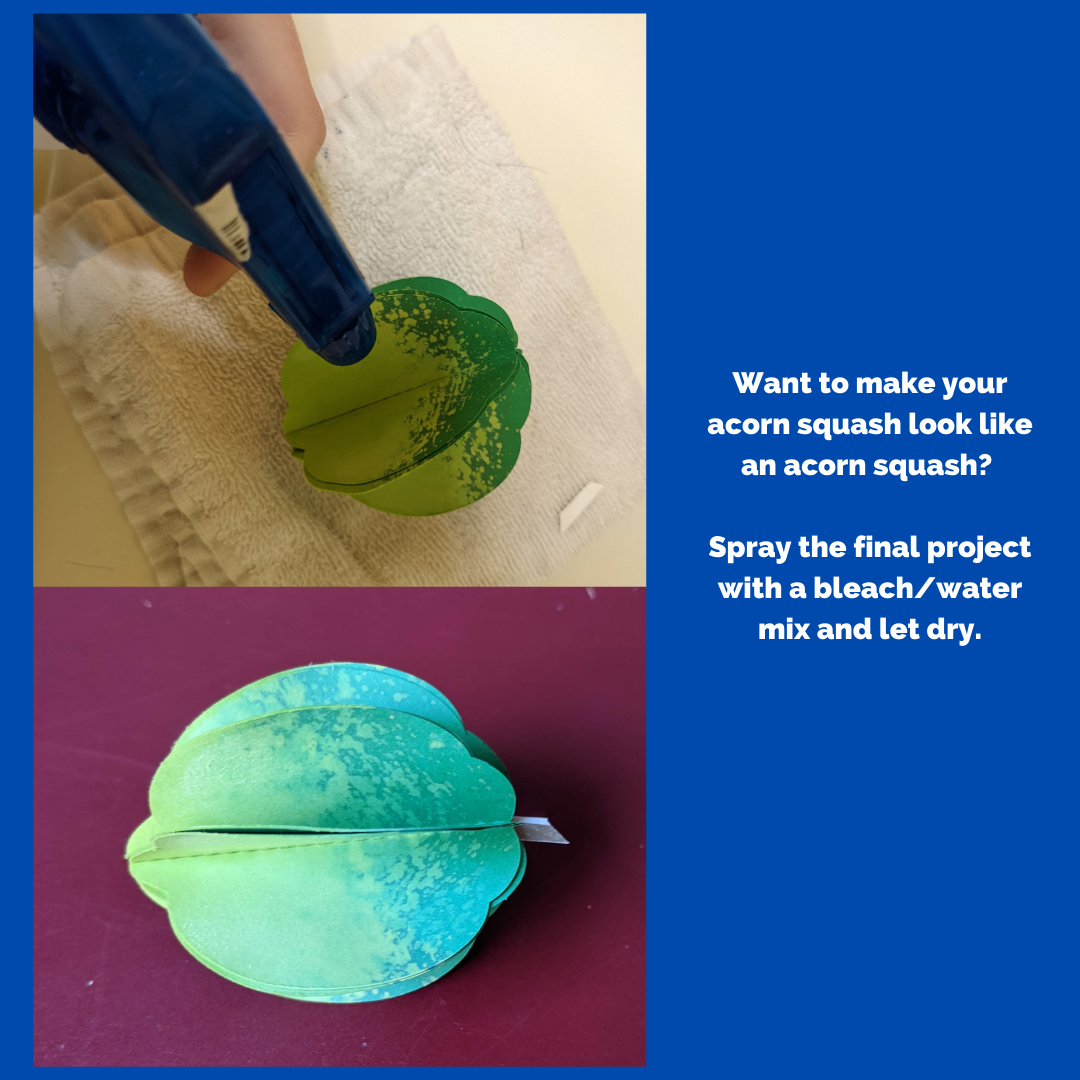
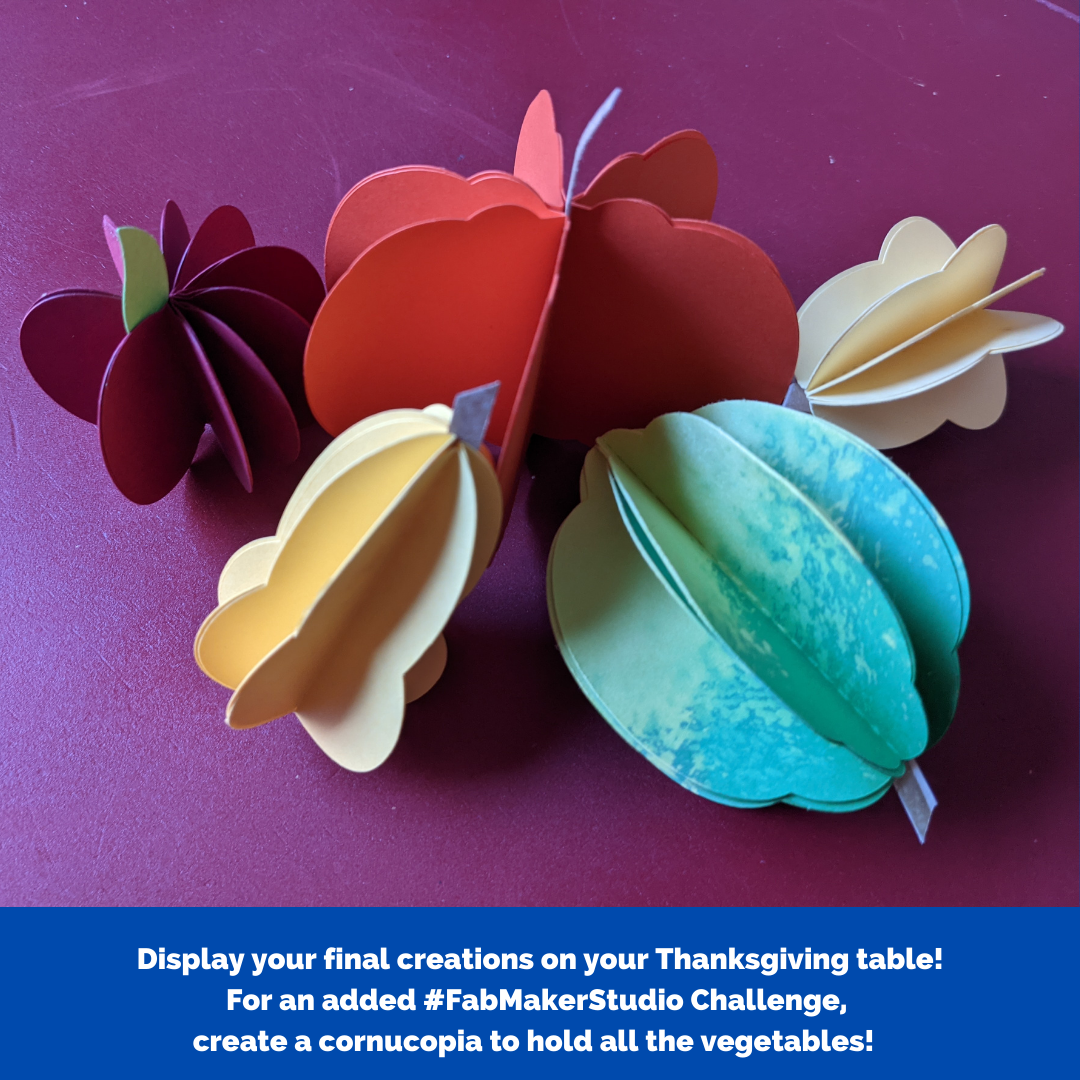
Join the FabMaker Fall Harvest Challenge! In FabMaker Studio, use the Shapes, Edit points, Weld , Lines, and the Cut, Fold, Tab tool to design a fall harvest. Before you begin, encourage your students to look at different gourds. Ask: What shapes are used to make that gourd? Consider the shapes in FabMaker Studio, what shapes can you combine using the Weld tool to make the final project?
Often a magazine cover inspires a “what if” moment. What if I bought that pair of shoes? What if I made that recipe for lunch? What if I took that cruise? What if I used FabMaker Studio to create paper gourds for Thanksgiving? A recent edition of “Better Homes & Gardens” sparked that last one and became a #FabMakerChallenge.
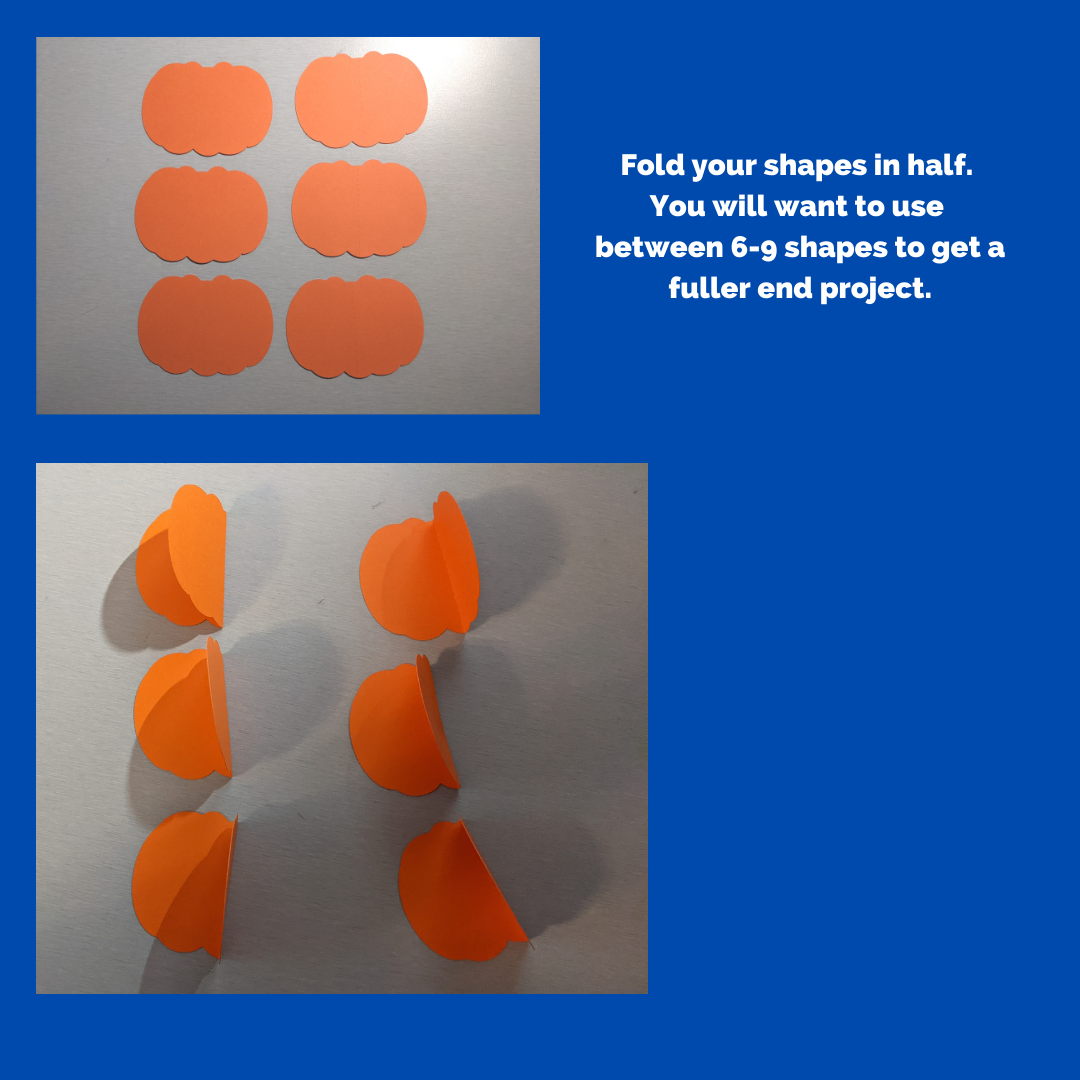
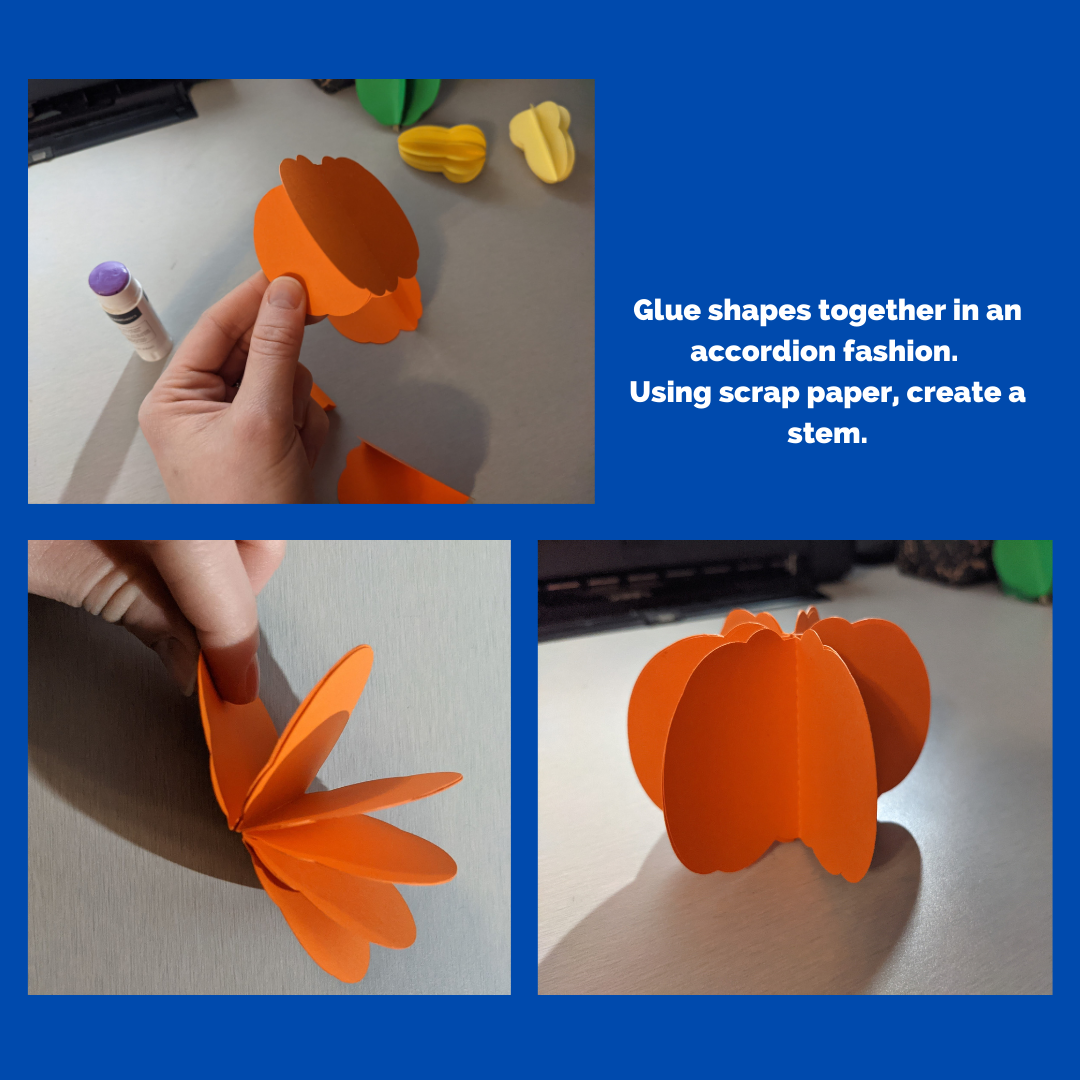
The Challenge: In FabMaker Studio, use the Shapes, Edit points, Weld, Lines, and the Cut, Fold, Tab tool to design a fall harvest. For inspiration, you can follow the steps below to create and assemble your designs.
Before you begin, encourage your students to look at different gourds. Ask: What shapes are used to make that gourd? Consider the shapes in FabMaker Studio, what shapes can you combine using the Weld tool to make the final project?

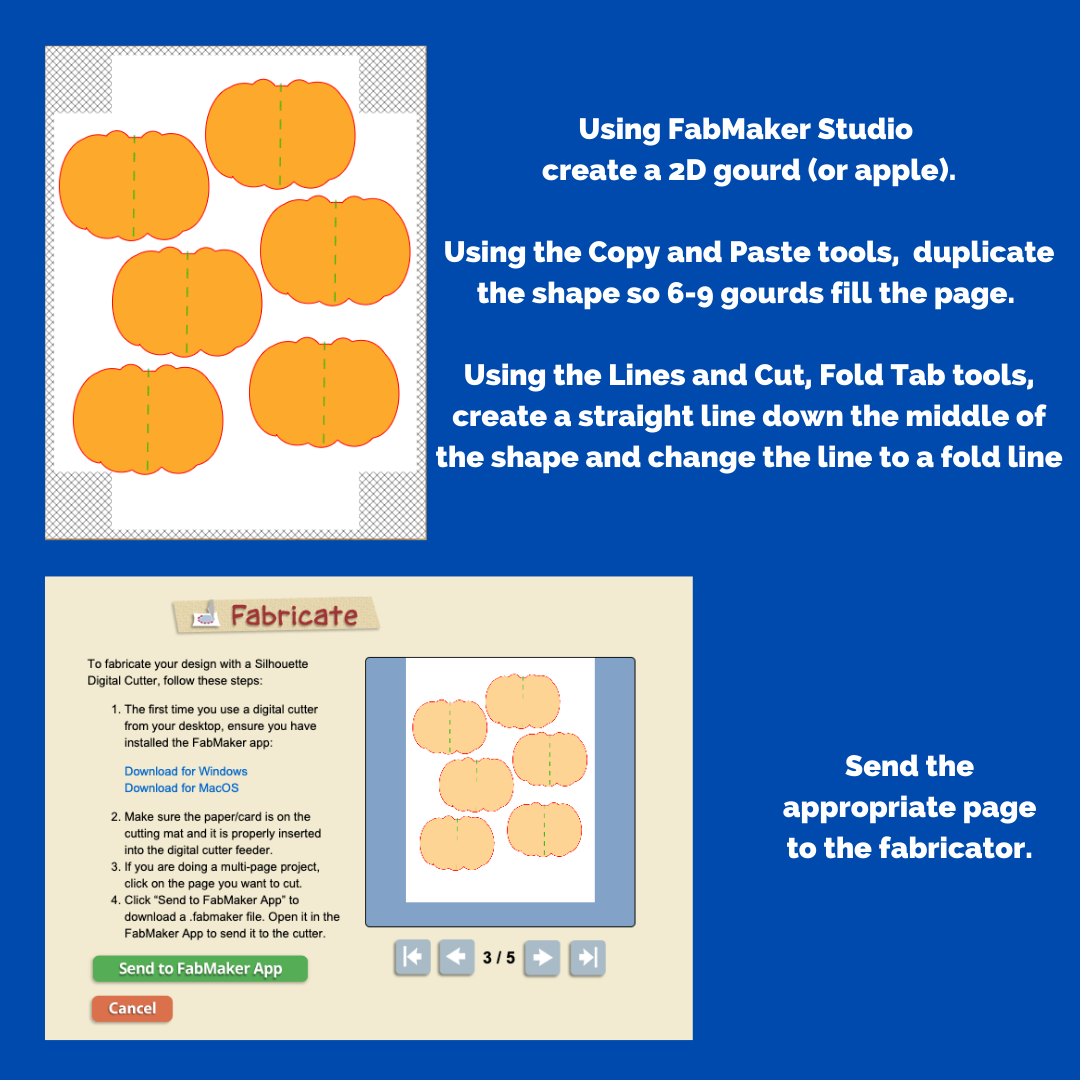
Still not sure where to start? Check out the FabMaker Studio Fall Foods Ready-Made Project found in 2D Stuff.
What’s Next? Share what your students made on social media, tag @fableLearn and use the hashtag #FabMakerStudio.

FabMaker Spotlight: Literature, Robots, Designing, Oh My!
This FabMaker Studio Spotlight is from Susan Spigelmire, a kindergarten teacher at Harvest Valley Elementary in California. She connected the dots with FableVision Learning through the Carly and Adam Elementary STEM Teachers Club.
It all started with a STEM literacy unit on the “Three Billy Goats Gruff” by Paul Galdone. A team of teachers and I got together and wrote a lesson in which Kindergarten students would build a bridge that the three goats (using three different sized blocks) would go over and under which a troll would fit.


We incorporated many Common Core State Standards, such as speaking and listening, writing, positional words, and geometry standards related to the 3D shapes used in the bridge design. We also incorporated NGSS standards in this lesson. Students had to sketch a design of their bridge and come up with a material list. Then as a group, they built the bridge, tested it with the goats, and made changes when necessary.


This lesson was a hit with our students. However, after attending Wonder Workshops webinars, I wanted to incorporate their Dash and Dot robots. Dot became the troll and Dash the Billy Goats. With this change, students need to construct a bridge that will be strong enough to support Dash. The robot is coded to go up, across, and back down the other side. Dot, the troll, has to fit under the bridge and be coded to talk when dash crosses the bridge. This lesson encourages students to think about designing the bridge and surrounding setting details. It also gets them to record their own sounds into Dot and Dash using language from the story and encourages them to retell the story in sequential order. This lesson will take a few days as there are a lot of details involved.
During my online research of STEM, I found Carly and Adam and their Facebook page “Elementary STEM Teachers Club,” where I attended a Facebook Live with Andrea Calvin. During this Facebook event, I learned about the fabulous Fabmaker Studio. So of course I signed up, bought a new digital craft cutter, and got busy designing.
My first designs were basic, but as I played with FabMaker Studio, my designs improved, including my goat and troll. From there I was inspired to design more storybook characters such as the three little pigs and the wolf, and the three bears.
I am currently writing lesson plans for those fairy tales. As my students get better at designing, they will use FabMaker Studio to design characters and setting details from other popular stories we read in class.


For more information, contact us at info@fablevisionlearning.com. We invite you to join the conversation on Facebook the FabMaker Teacher Group.

FabMaker Mystery Monsters: Math Shapes & Cool Tools for Imagineering
The following blog post is by Peggy Healy Stearns, Lead Software Designer, FabMaker Studio.
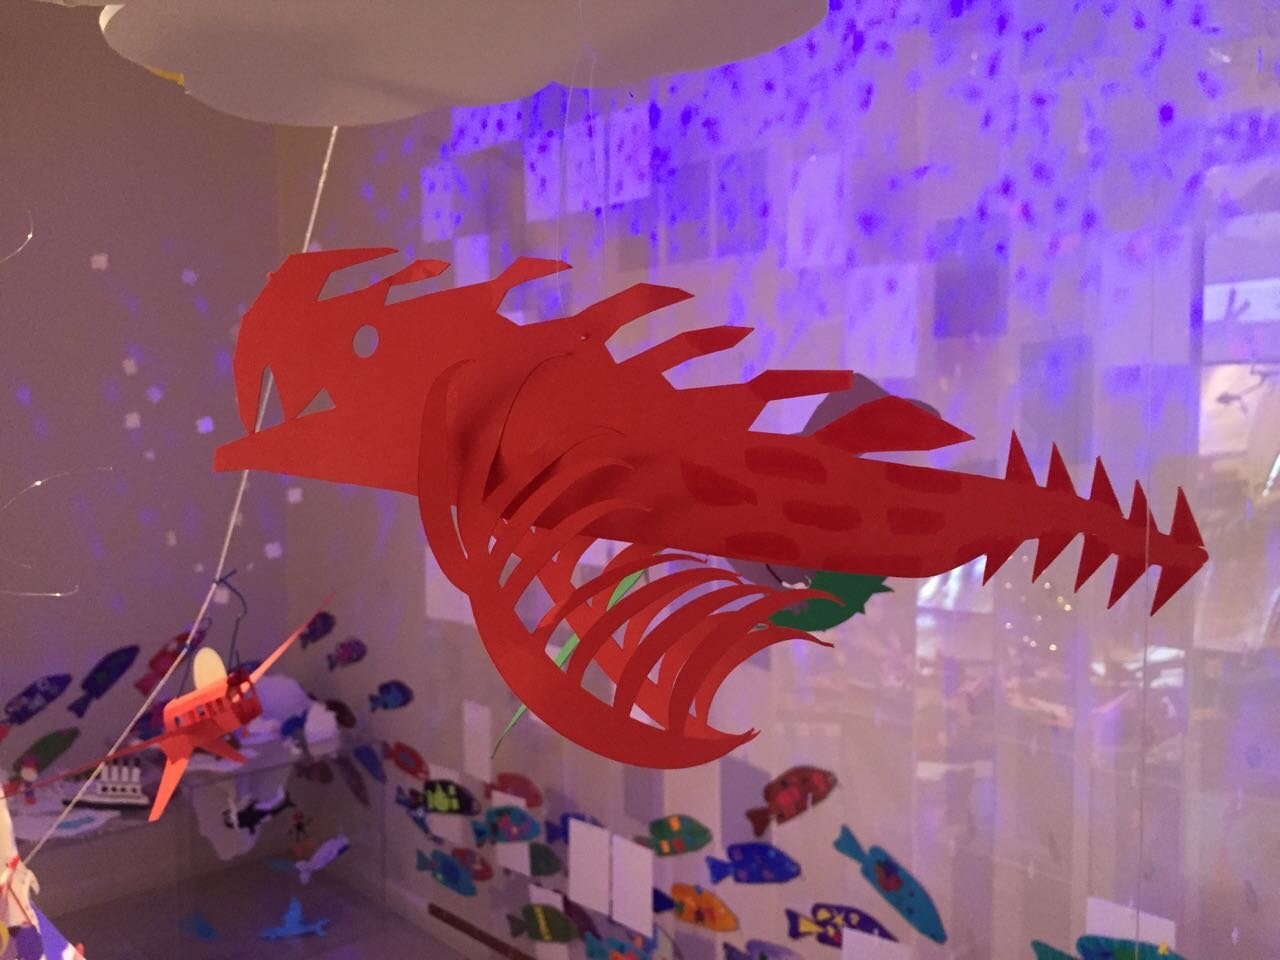
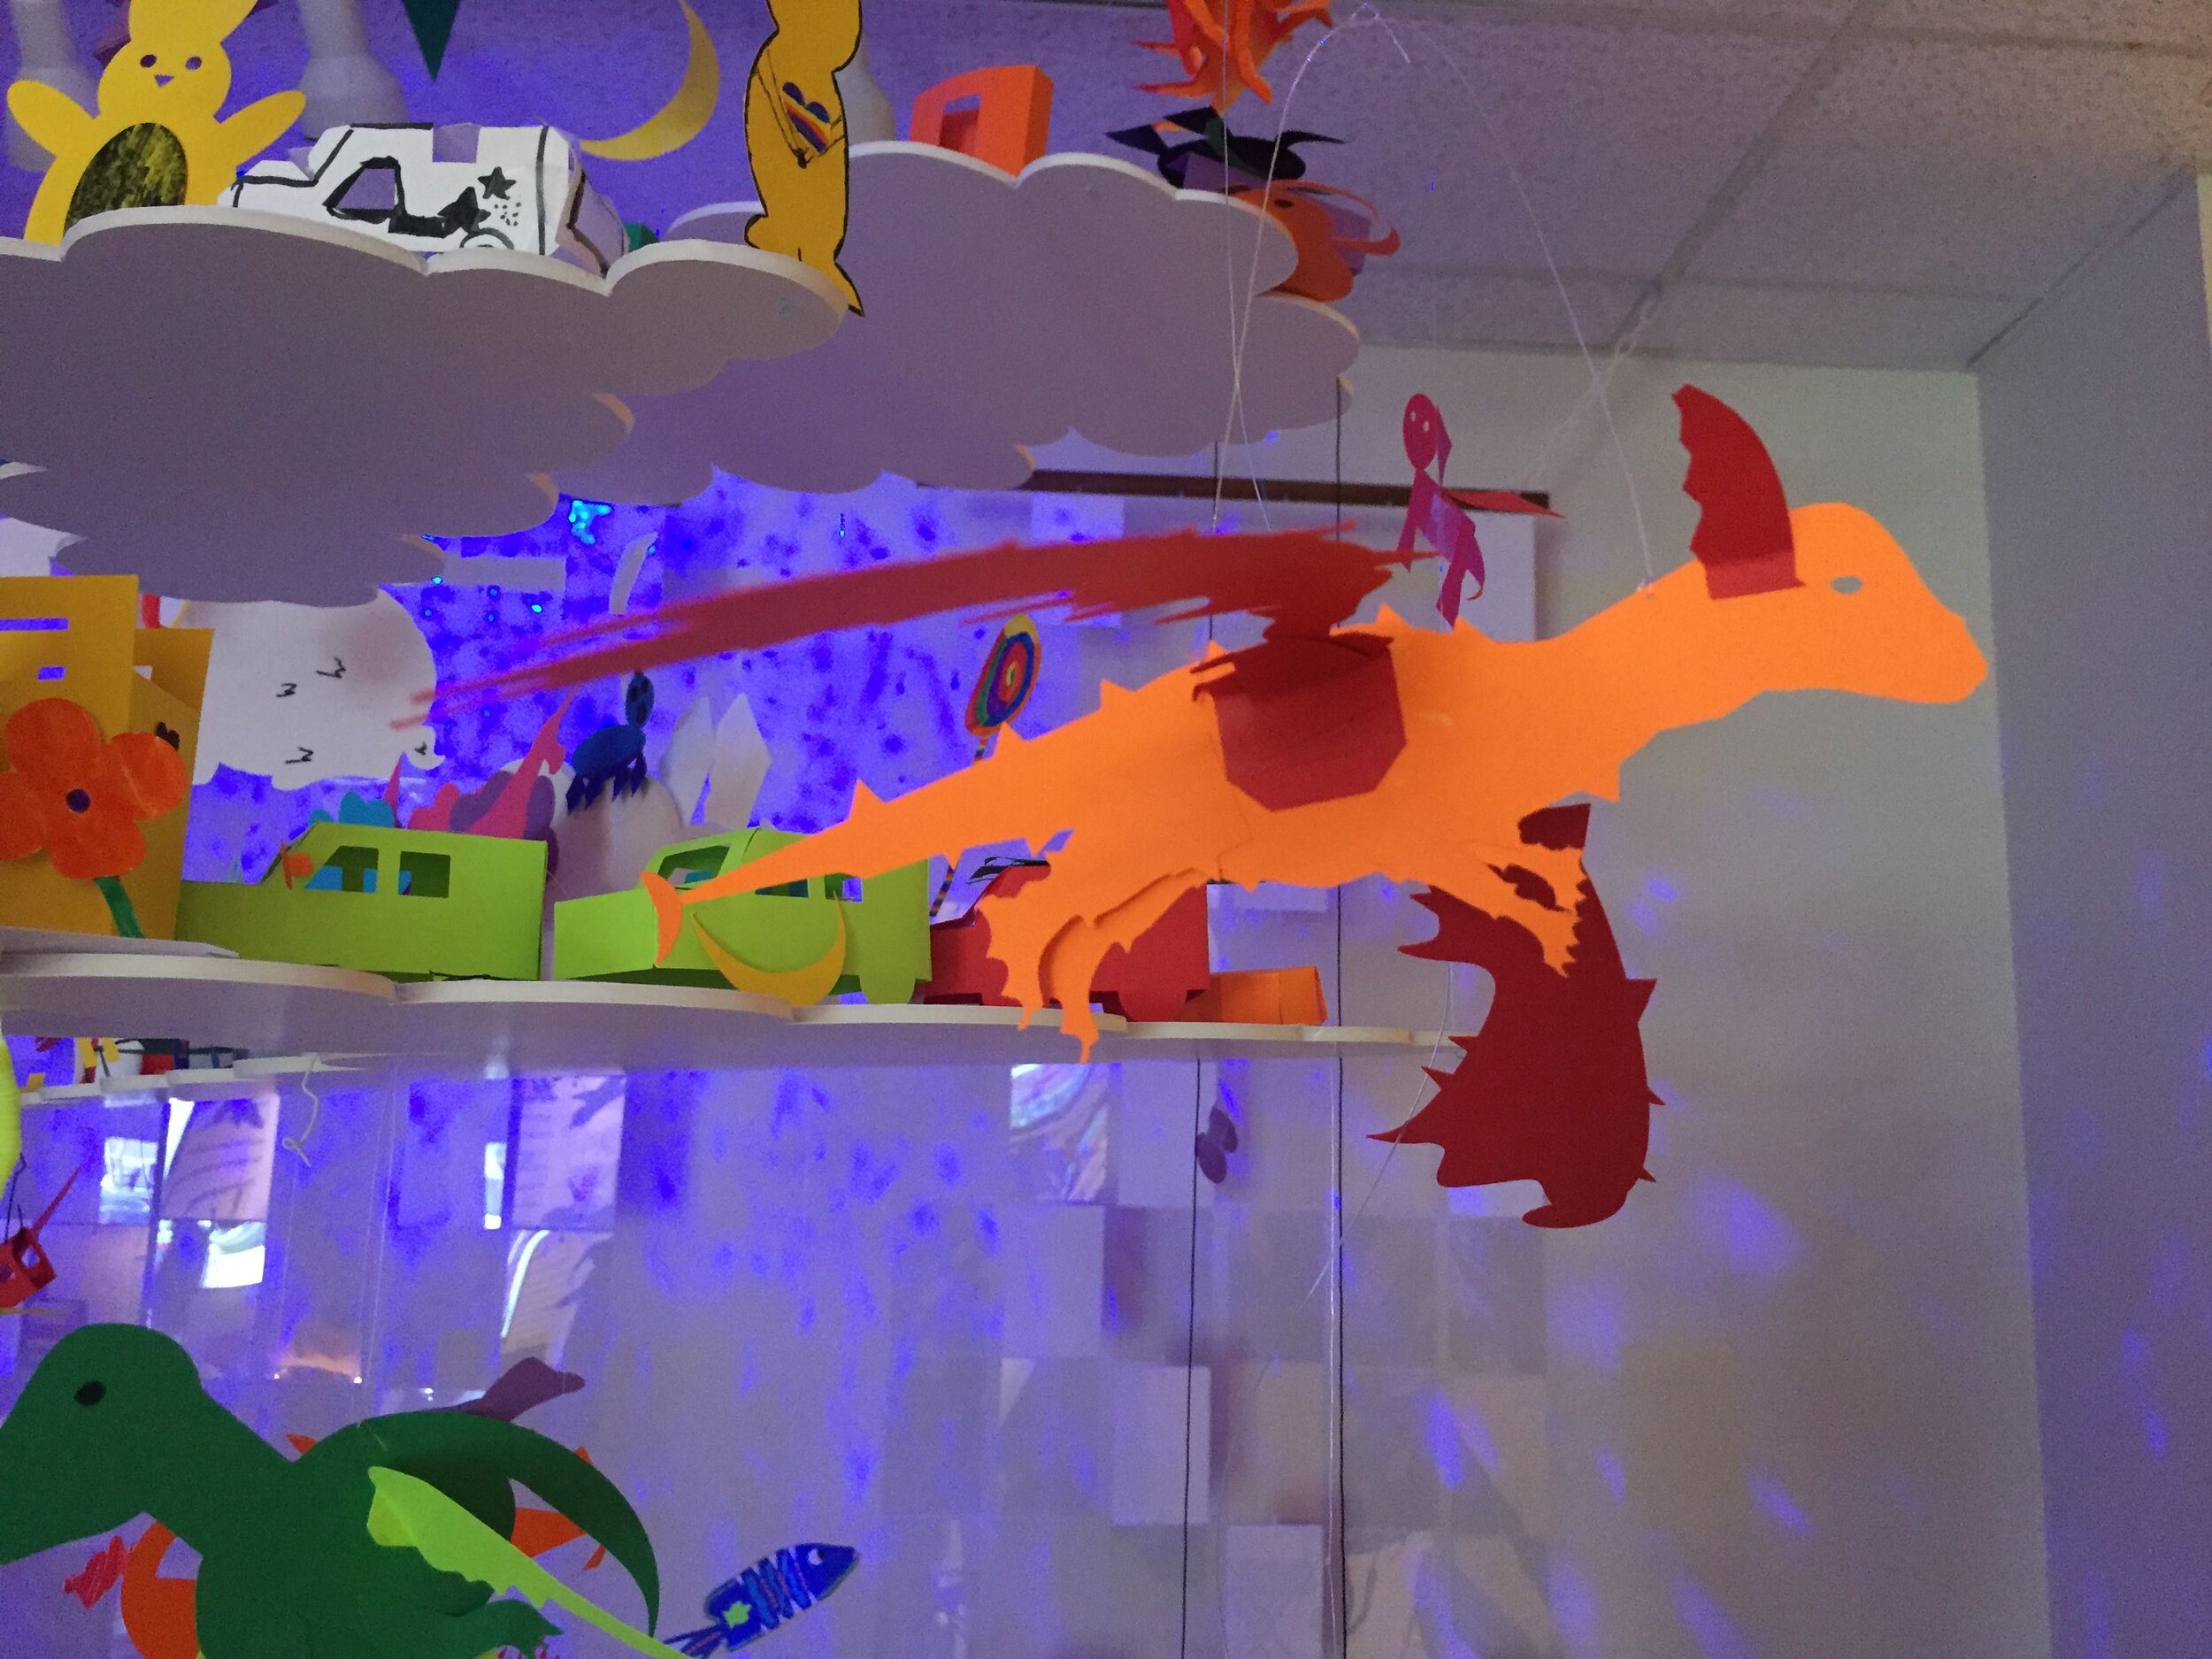
Create a 3D “Mystery Monster” with FabMaker Studio! Identify and combine shapes, weld shapes, and morph shapes. Add 3D wings, legs, ears and other body parts!
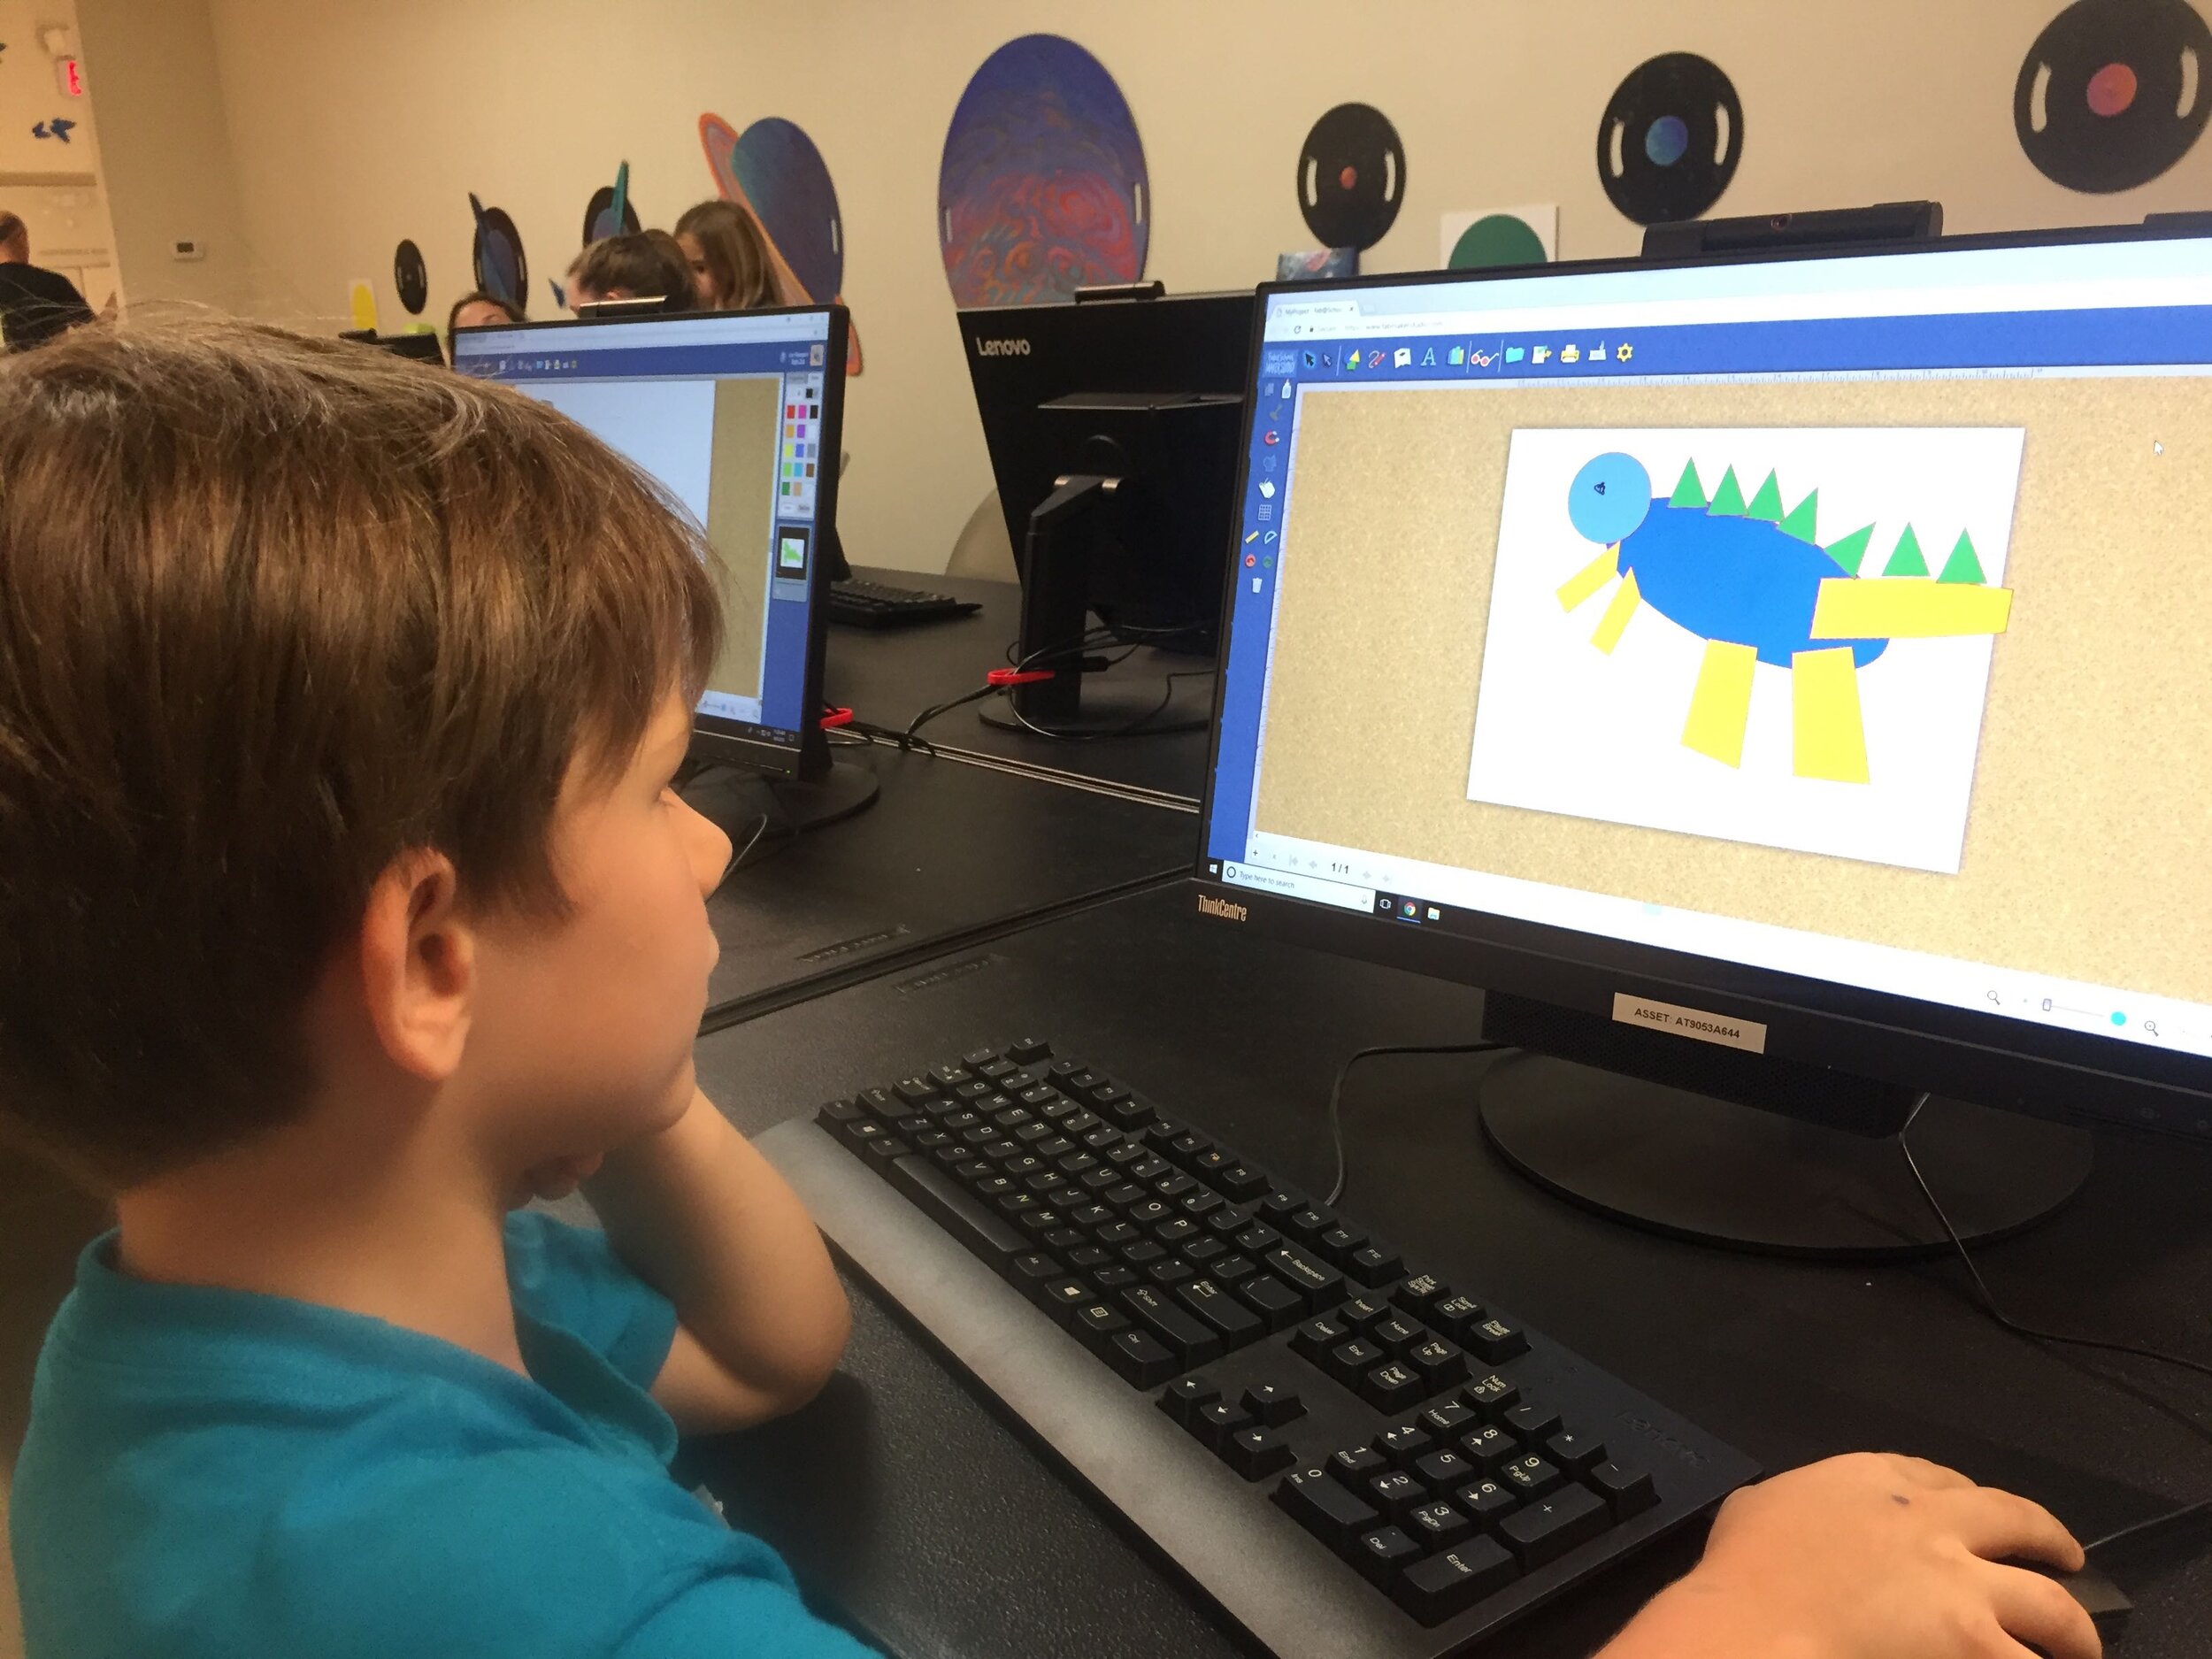
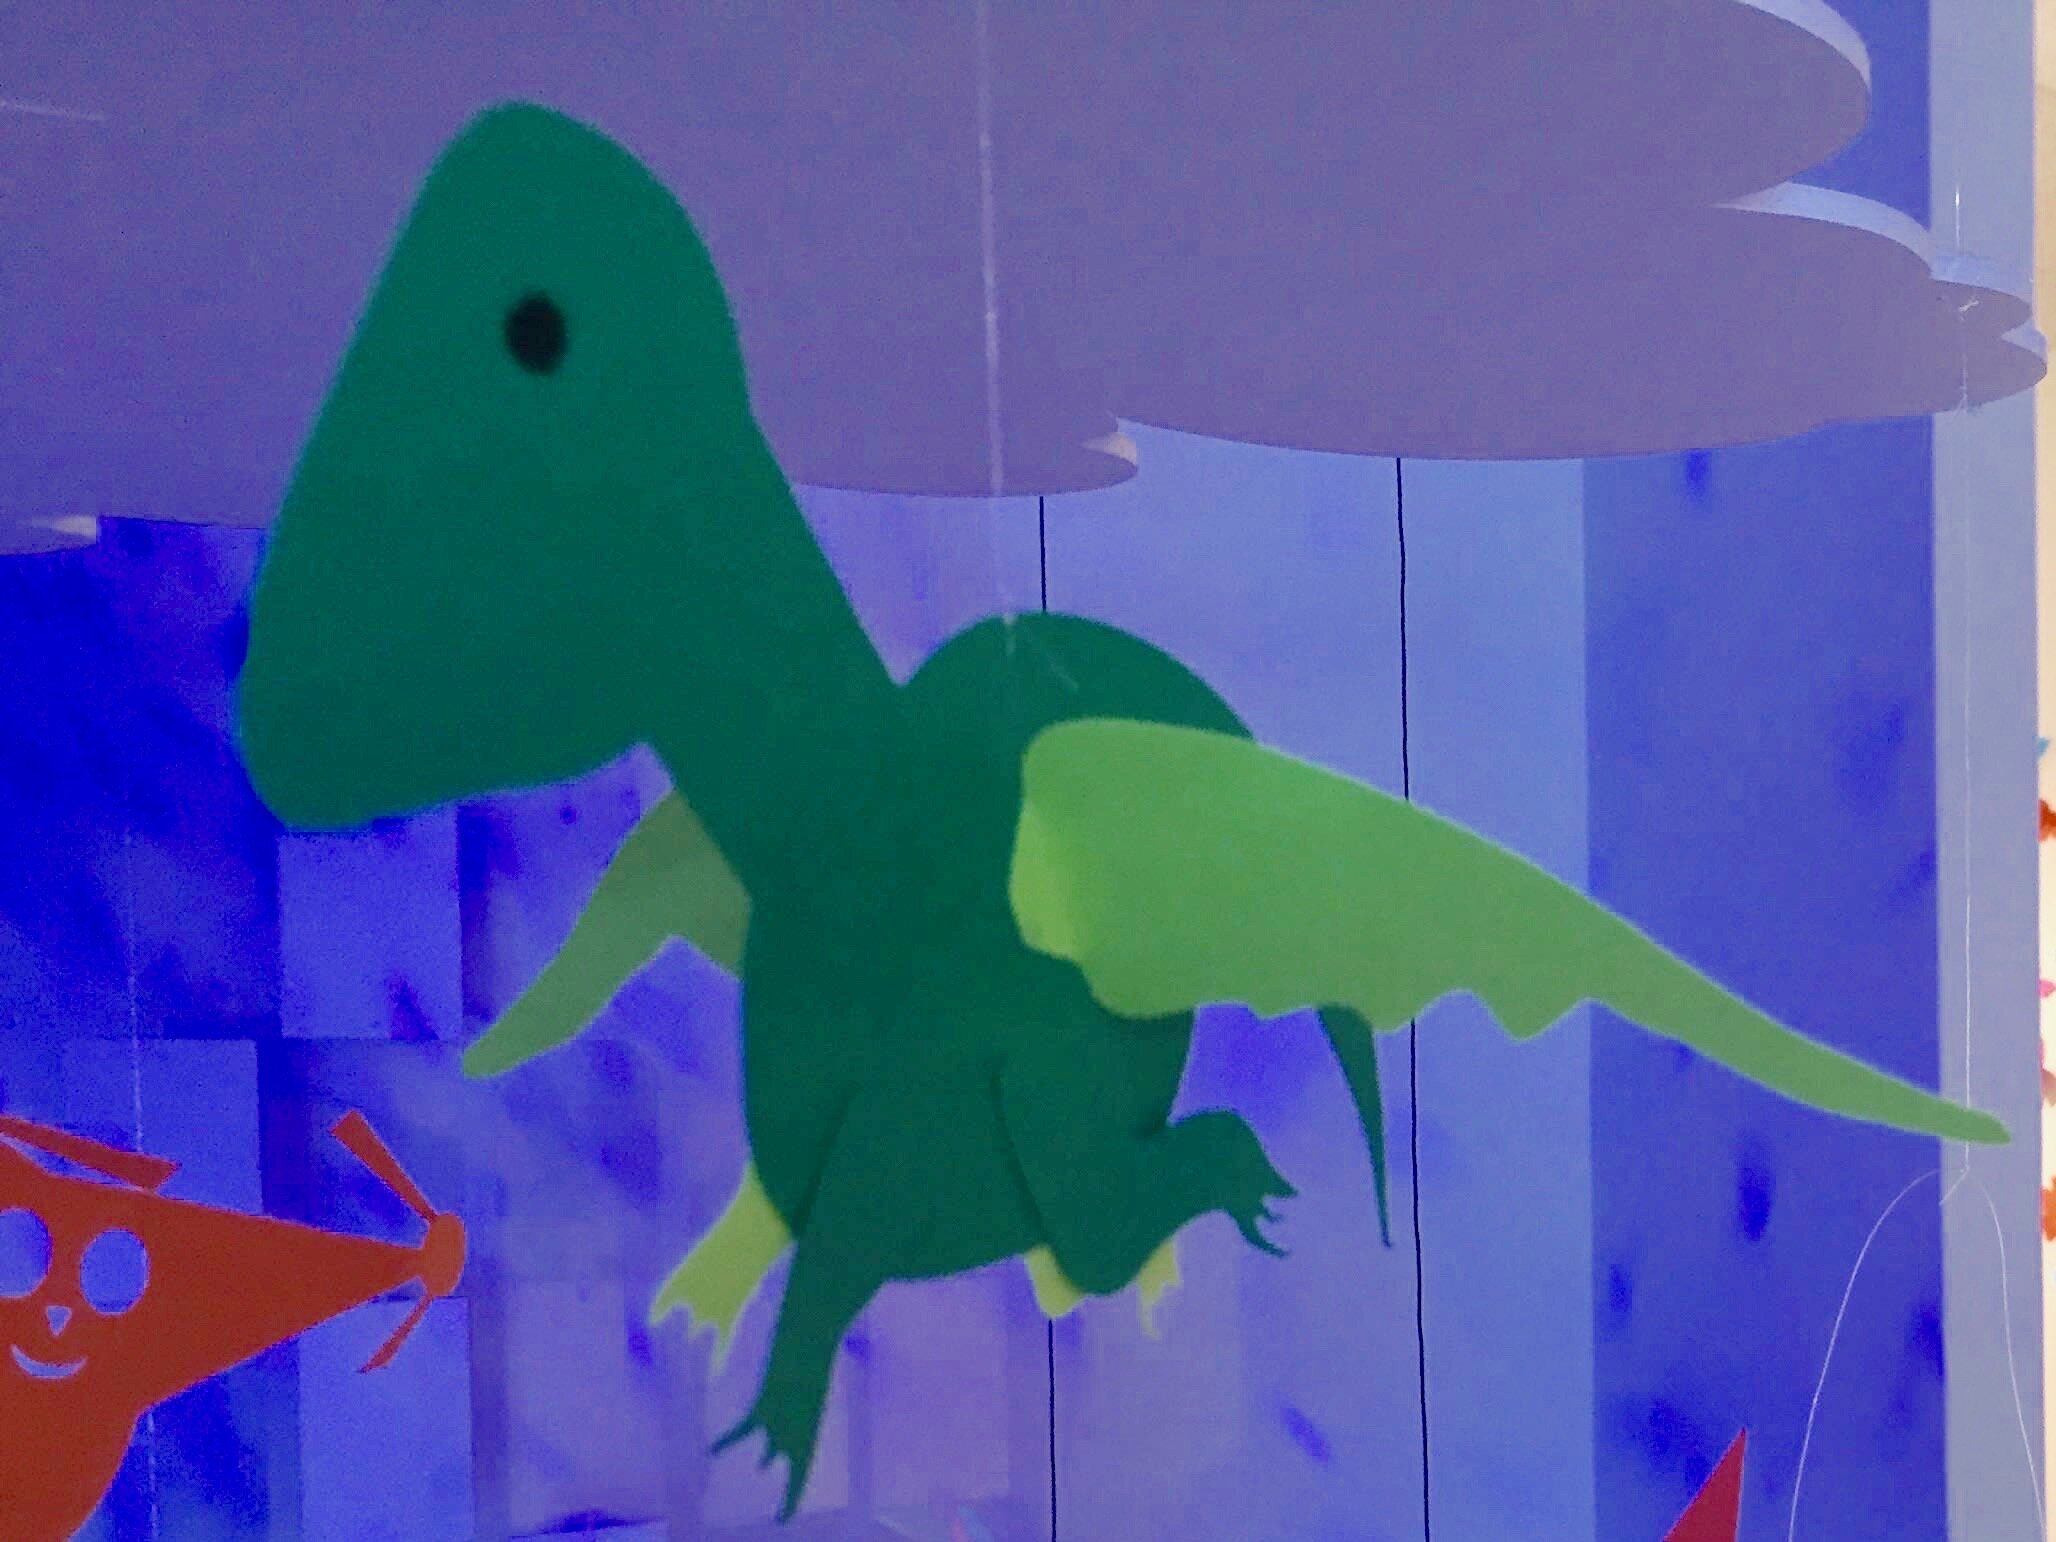
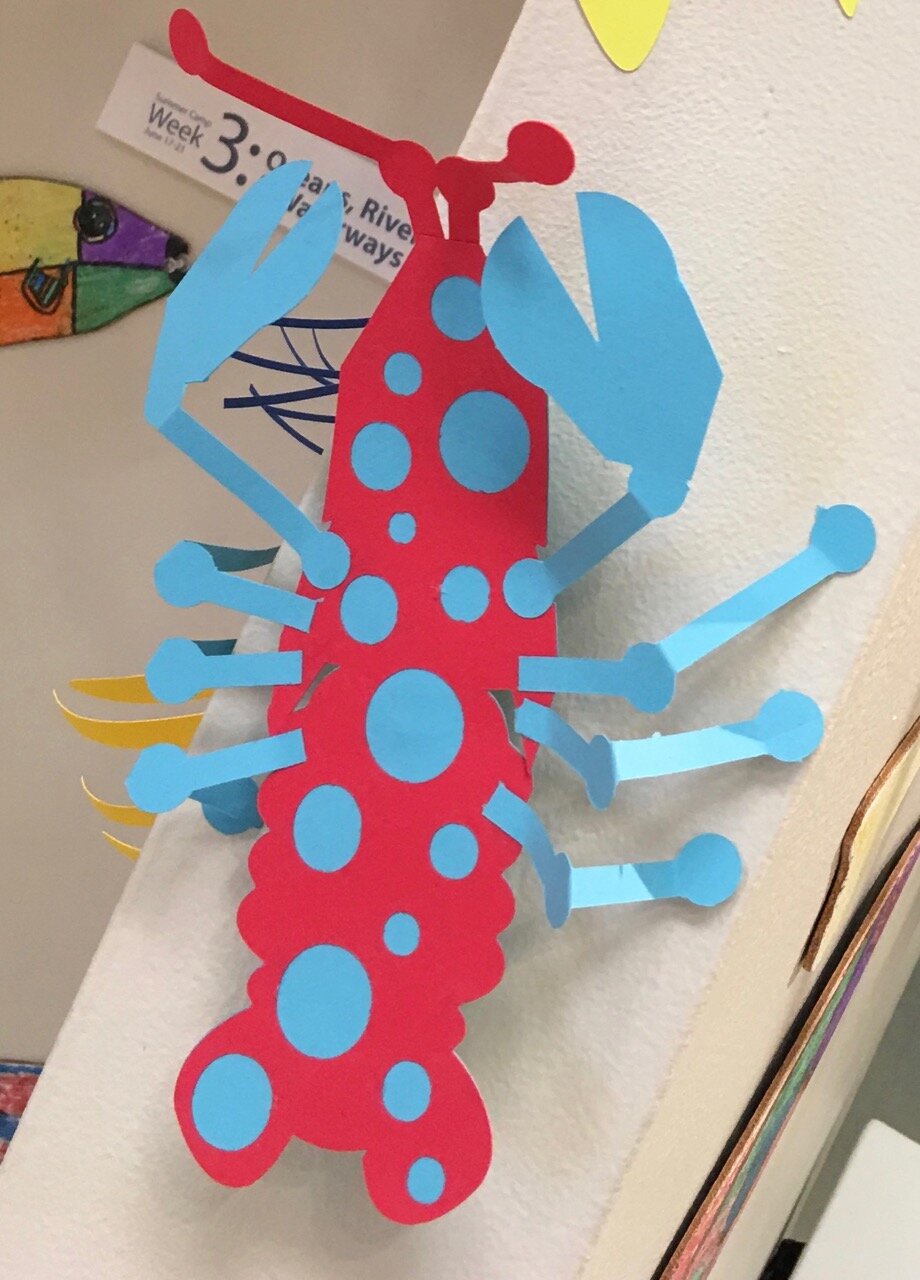
Designing “Mystery Monsters” is a motivating way to address foundational math standards and inspire meaningful writing prompts. In the process, students learn easy but powerful digital design tools they can use for years to come. This project can be simple or sophisticated. Follow the steps that work best for your makers and then print, cut and construct.
Make Your Monster
Watch this short video then follow the steps below.
Step 1: New Project Click here to go to FabMaker Studio. Sign in and go to New Project and click OK.
Step 2: Choose Shapes Open the Shapes tool at the top. Drag shapes onto the screen and arrange them to make your basic monster. To resize a shape, select it and drag handles.

Step 3: Weld Shapes Make sure your shapes touch or overlap. Then place your cursor and drag around all the shapes to select them. Choose the Weld button in the left toolbar to weld your shapes.

Tip: Be sure to drag far enough outside the shapes to select them all before welding.
Step 4: Rearrange If you want to rearrange your monster parts, you can Unweld. Select your monster and click the Weld button. This time, since your monster is already welded, it unwelds. Rearrange the shapes and then drag around to select them all and Weld again.
Tip: Make a mistake? Use the red Undo and green Redo buttons on the left above the Trash can.
Step 5: Save Go to the File button on the top toolbar and choose Save. Select “My Online Files” (or another location if desired), give your file a name, and click Save.

Tip: If you save your FabMaker Studio file to My Google Drive or My Computer, it can only be opened from within the FabMaker Studio software.
Morph Your Monster
Watch this video then follow the steps below.
Step 1: Turn on Edit points With your monster file open, choose the gray Edit Points cursor in the top left corner of your design. The edit points that anchor your design will appear.

Step 2: Drag Edit points Drag edit points to morph your mystery monster.
Step 3: Add new Edit points Click anywhere on the outline to add a new edit point, and then drag the new edit point to reshape. Edit points can be tricky -- sometimes it helps to zoom in. Play around. You can always Undo and Redo.

Step 4: Check your design Choose the standard cursor (black arrow) again to see your morphed monster.

Tip: If you Unweld after using Edit points, you’ll go back to your original shapes and lose all your morphing! Remember you can quickly Undo changes.
Step 5: Save Go to the File button on the top toolbar and choose Save or Save As.
Make Your Monster 3D
Watch this video then follow the steps below.
Step 1: Make a new body part Design wings, ears, legs, bigger tail or other parts to cut separately and attach to your monster. Check the photos for ideas. You can use the following tools.
A. Shapes Tool: Choose a shape and use the handles to resize and reshape it. If you want, combine two or more shapes, weld them, and the choose Edit Points to morph.
B. Lines Tool: Choose the Lines tool and then choose Straight Lines, Curved Lines, or Brush. To use Straight Lines or Curved Lines, click to place each point. Double-click to place the final point. To close a shape, place your final point at or near the beginning point. For more detail on the Lines tool, see the FabMaker Studio Lines tutorial.
Step 2: Save Go to the File button on the top toolbar and choose Save or Save As.
Step 3: Print, cut and construct
To cut by hand: Click the Print button at the top. If you want to color by hand or use color paper, select “Print Cut & Fold Lines” and “Remove Color Fill” on the Print Preview page. Then select Save to PDF and print.
To cut with a Silhouette: If you want to color by hand or use color paper, you can send directly to the cutter. Click the Fabricate button at the top and follow instructions. Tip: Shapes have automatic cut lines, but objects created with the Lines tool do not. To define the outlines of these objects as cut lines, see the “Cut Fold Tab” tutorial or the FabMaker Studio User Guide for details.

What To Do With a Mystery Monster?
Write about your mystery monster. How big is it? How does it move? Where does it live? What does it eat? Does it have any enemies?
Tell a story about your mystery monster.
Now that you’ve honed your design skills, create a herd or flock or an entire habitat complete with flora and fauna.
Share your mystery monster. Post a PDF or picture of your monster. For more share options, see the FabMaker Studio User Guide.
For more information, contact us at info@fablevisionlearning.com. We invite you to join the conversation on Facebook the FabMaker Teacher Group.

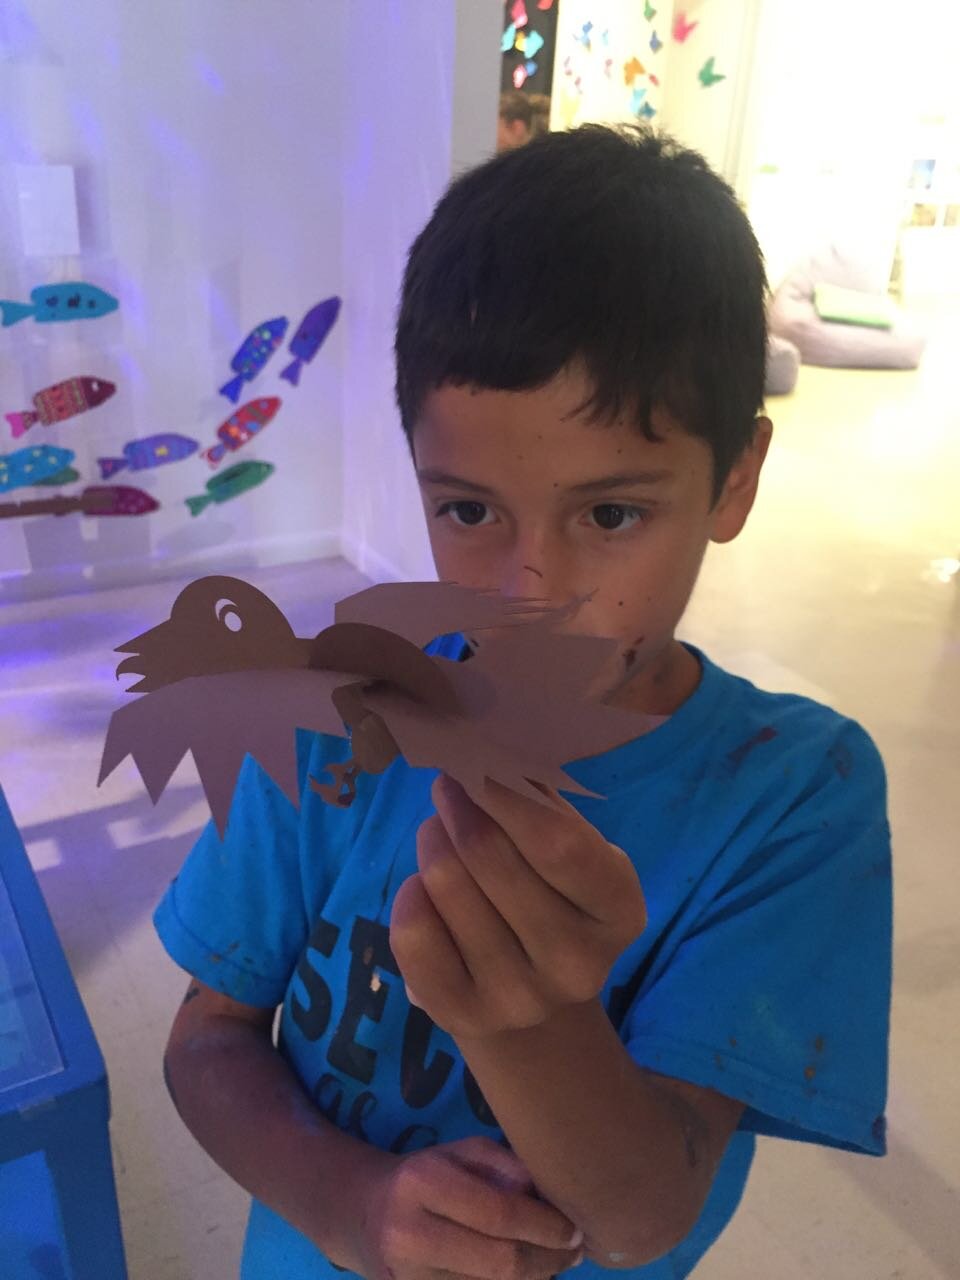
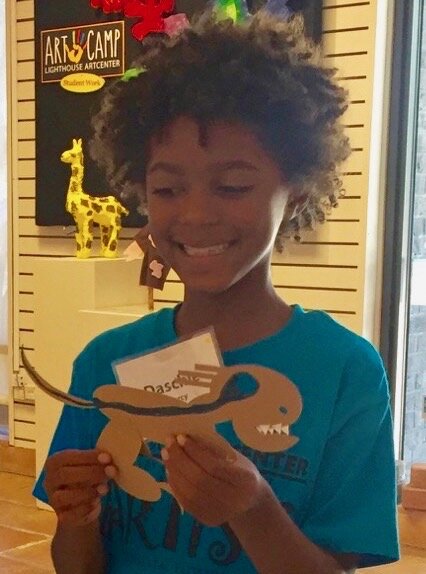
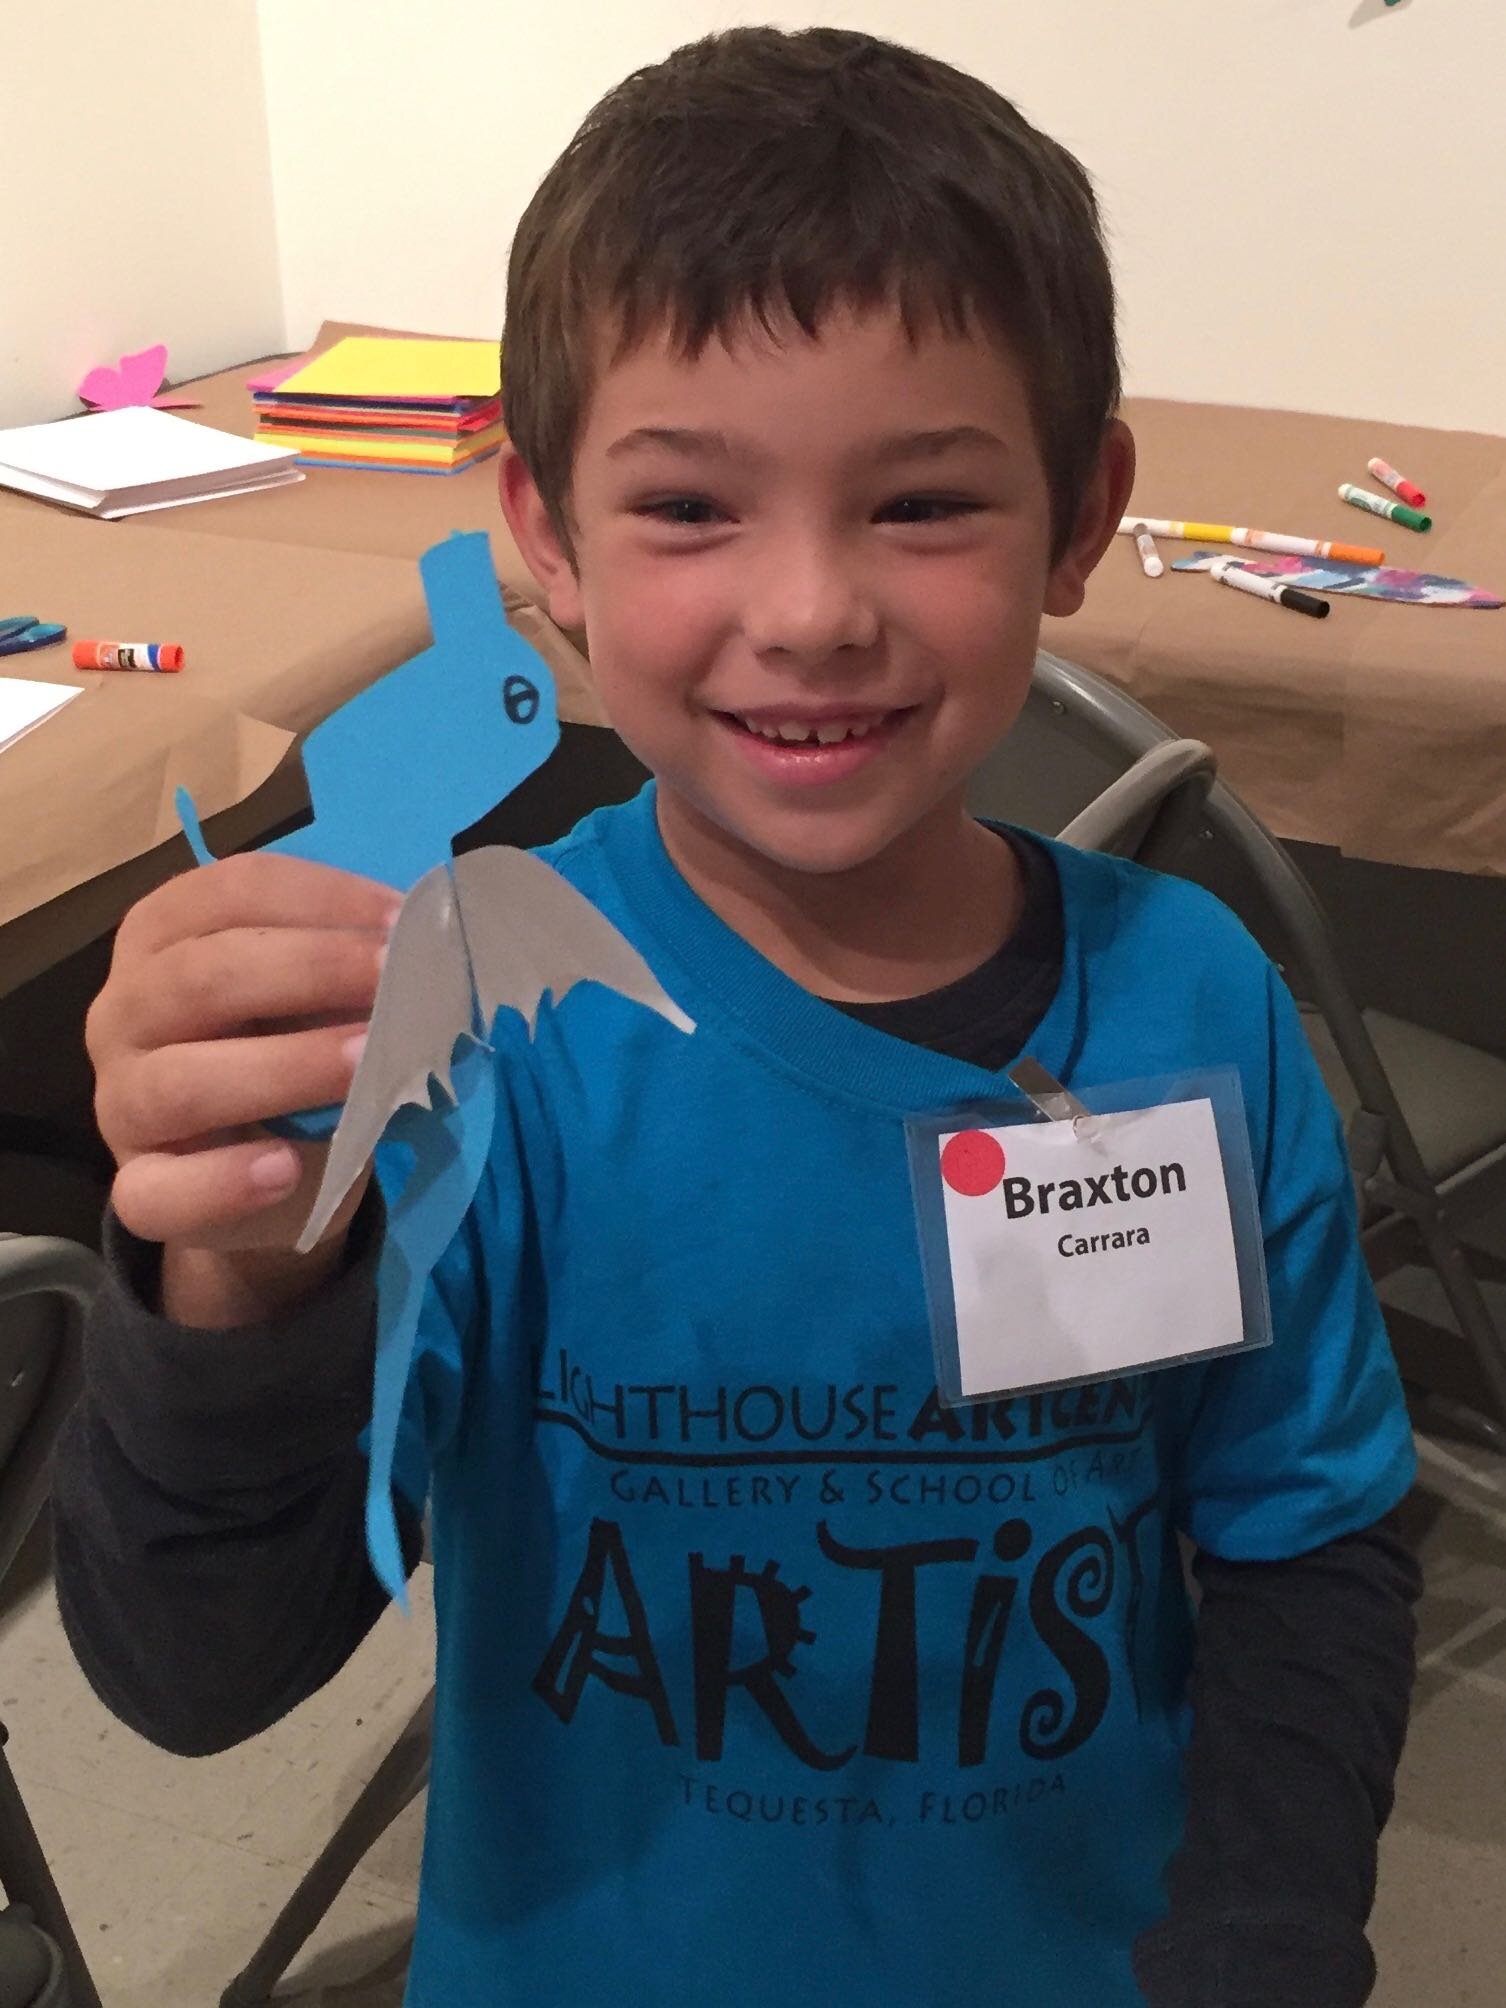
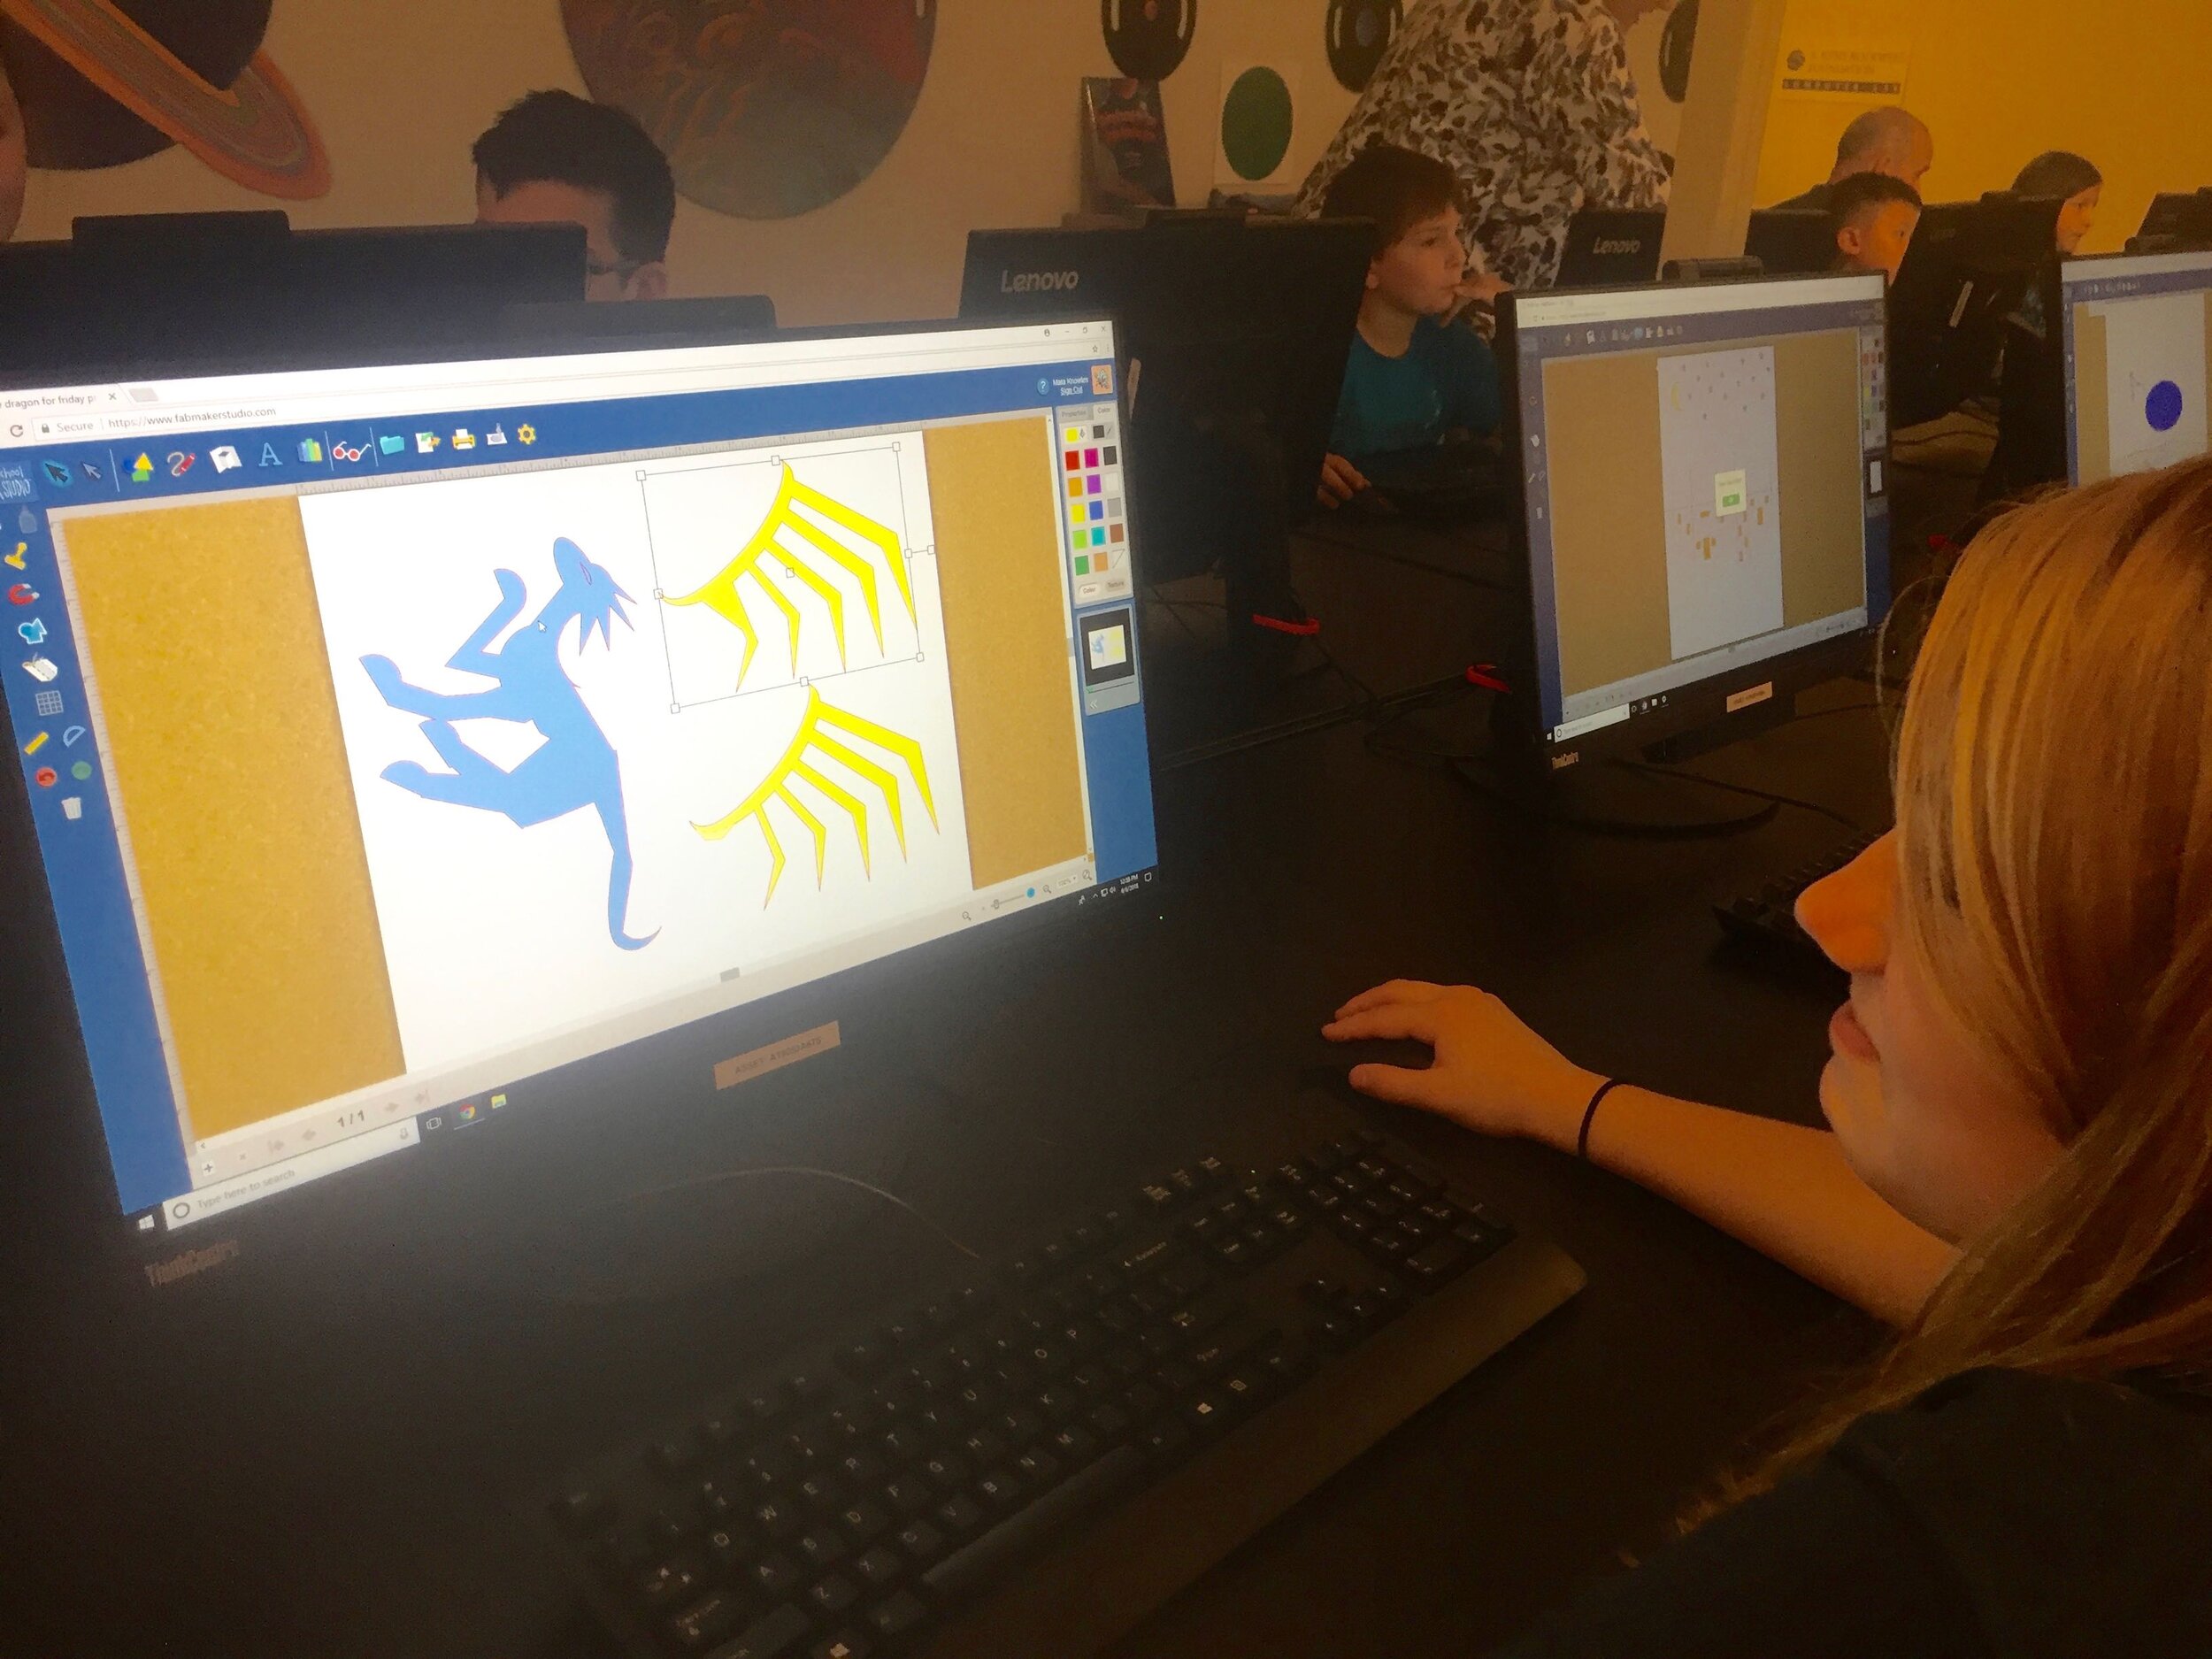
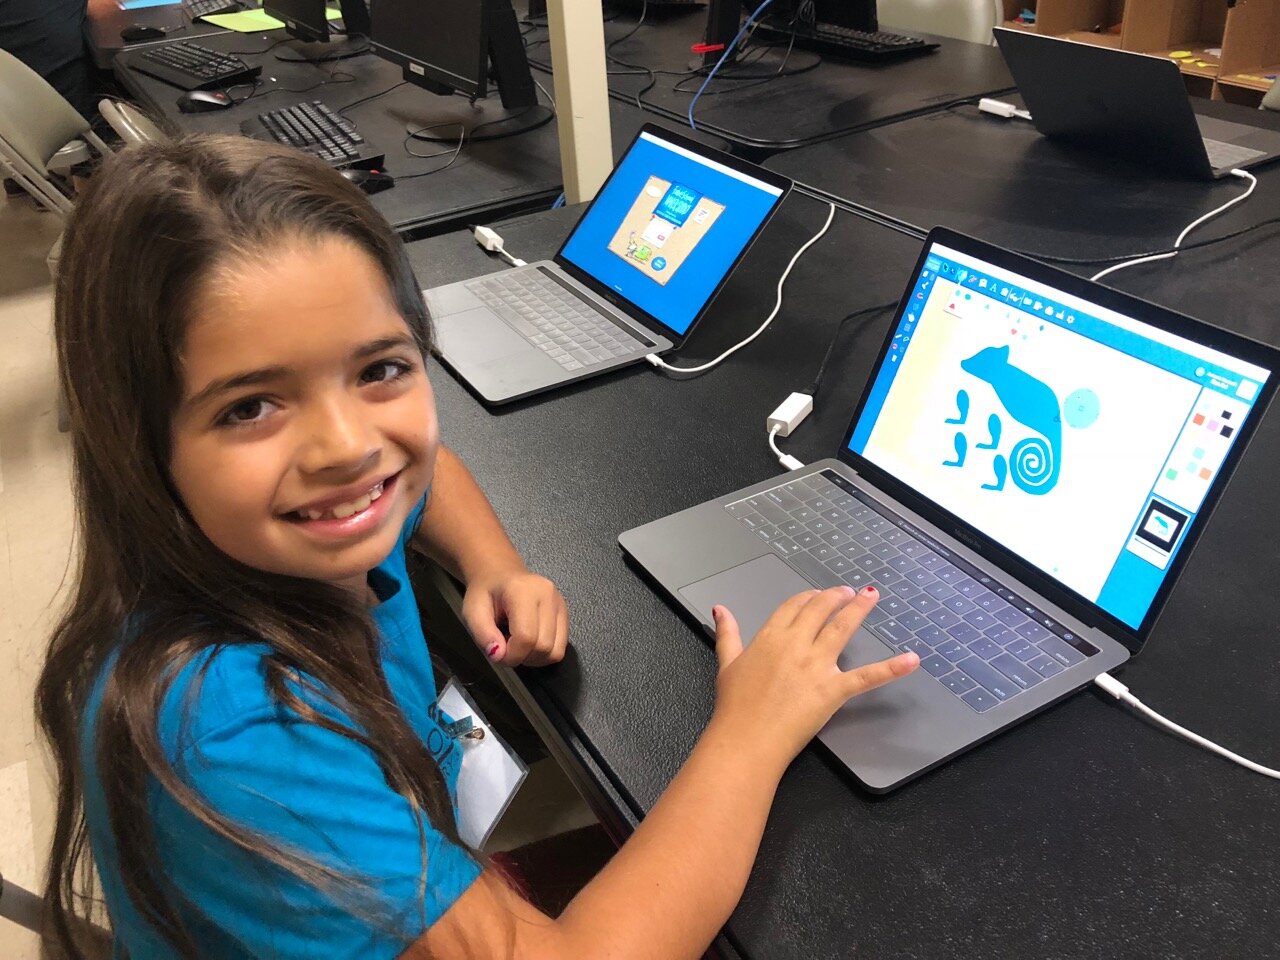
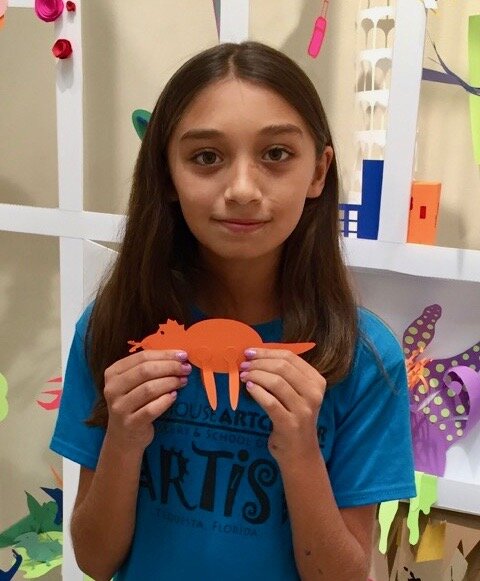
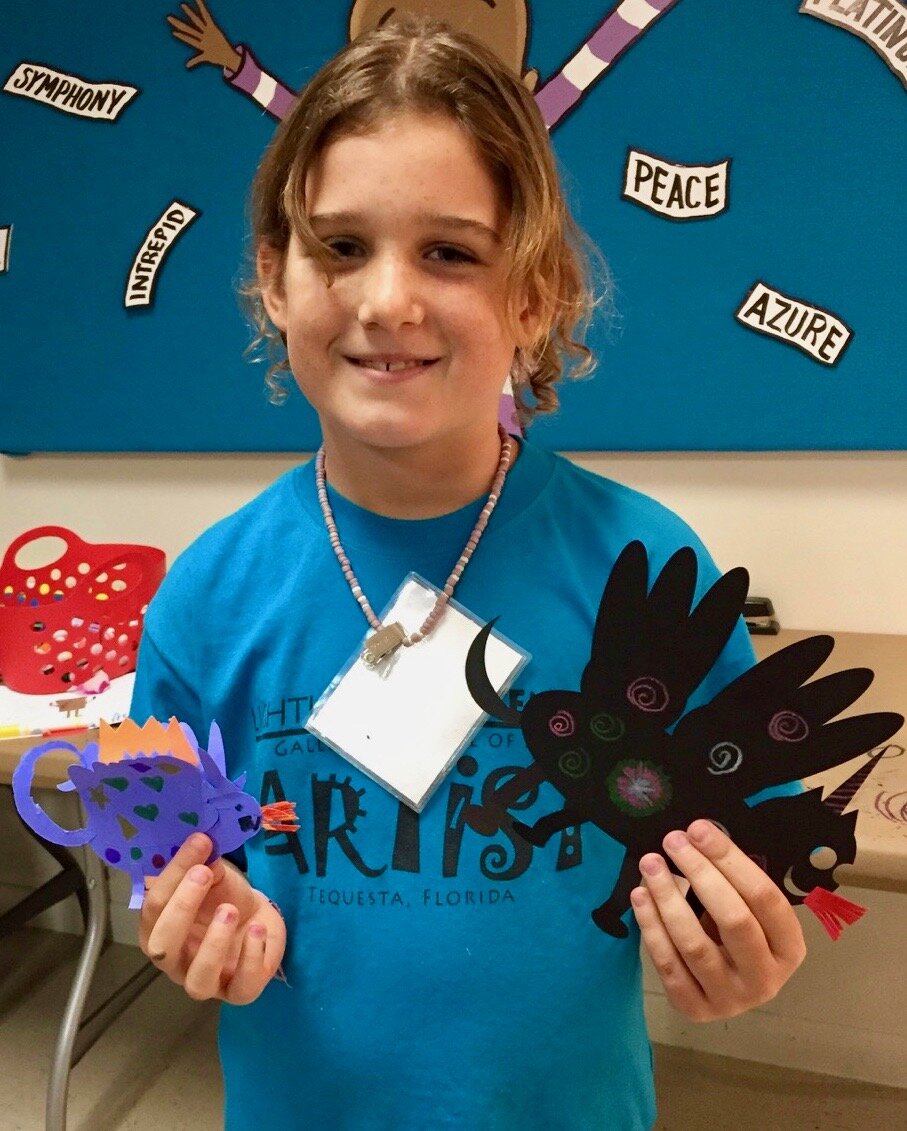
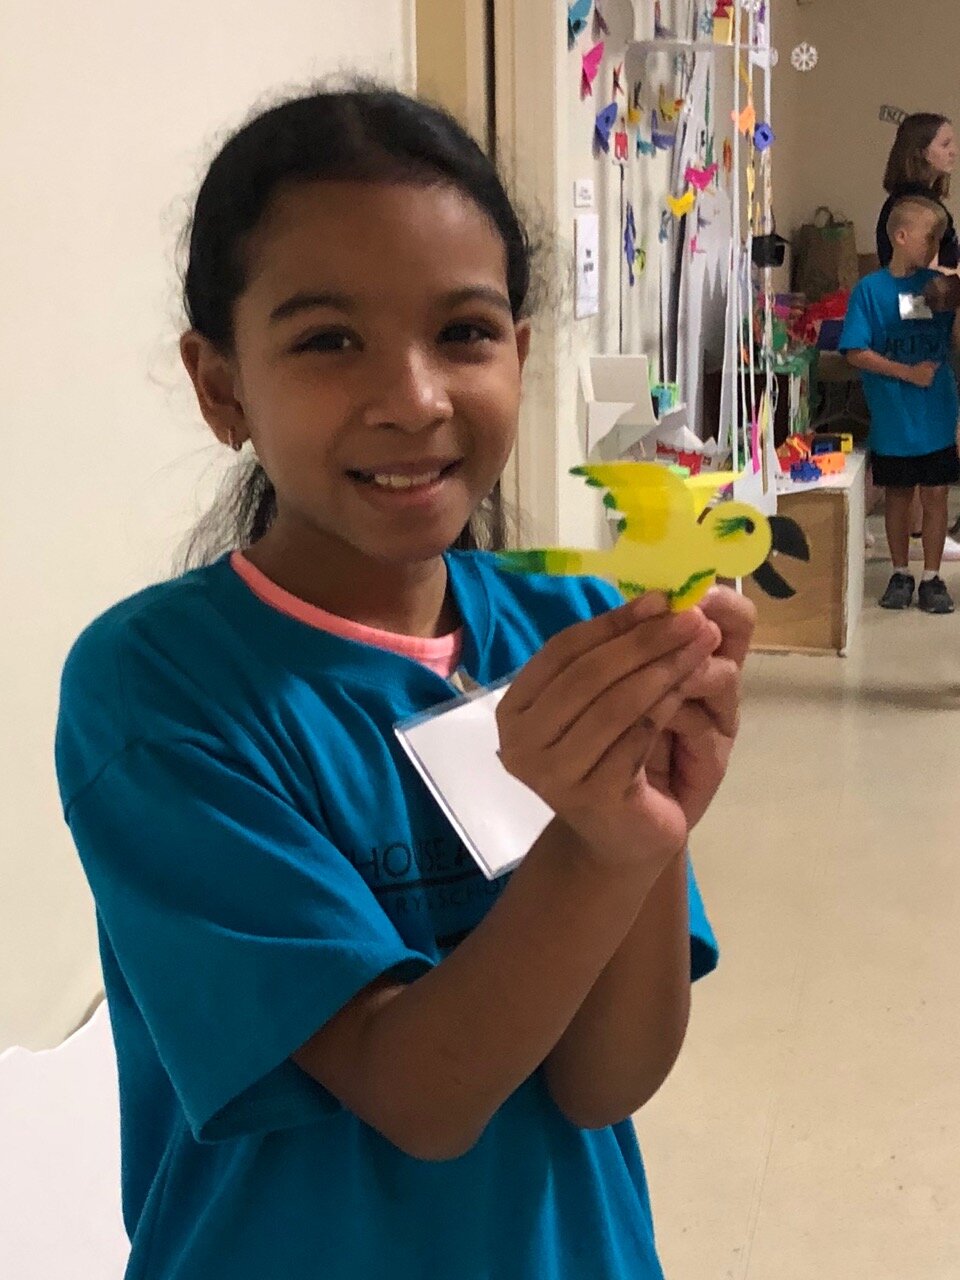
Young FabMaker Designers Share Their Tips
Peggy Healy Stearns, Ph.D., software designer for FabMaker Studio, has spent part of her summer working with campers at the Lighthouse ArtCenter in Florida. In this videos series, she’s captured some tips and tricks on how to use FabMaker Studio from the youngest campers.
Are your students FabMaker Designers? Share their tips and tricks in our FabMaker Studio teacher group or send Andrea Calvin (andrea@fablevision.com).

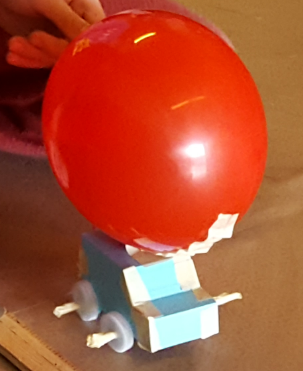
FABClassroom: “Fab” ulous Cars

For this week's FabClassroom we head over to Augustine F. Maloney Elementary in Blackstone, MA. Monica Carty is an elementary technology teacher at Blackstone-Millville Regional School District. She has been using Fab@School Maker Studio in her after school STEM club. It has been so successful she will be launching an after-school club just for Fab@School! Monica shares how her students used FabMaker Studio to design some "Fab" ulous Cars!

Who says learning has to be dry or boring? Or even end with the school bell? Well I do not think that ever has to be the case! In fact, I run an amazing STEM club after school thanks to my school parent organization and Fab@School Maker Studio that say different.
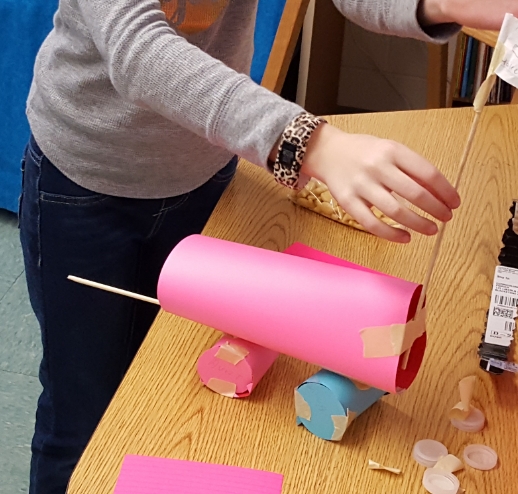
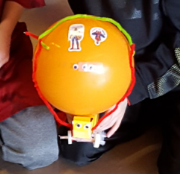
In the past my STEM clubs were always enjoyed by all the students who attended, but this year I stepped it up by adding the use of Fab@School Maker Studio. In the club’s conclusion project students designed, developed, and created balloon powered cars. Students had a wide range of tools and supplies at their disposal. The only requirement was the car had to move by balloon power!
Students quickly went to work developing a sketch, or basic blueprint, and a supply list. From their printing, cutting and building noises filled the room with laughter and smiles. When testing day came no one was nervous because at that point they felt that failure was their learning opportunity.
I highly recommend trying this with your students as you explore several science and engineering standards in your classrooms. If you want to connect to multiple subject areas you can have students do a formal write piece about their experience, or develop a descriptive writing piece for their design. If you are looking to integrate more math calculate distances, movement times, or building expensives is a great option. The fact of the matter the possibilities are only limited by your own creativity!
Is your classroom a FabClassroom? We would love to feature your school! To be featured in an upcoming post, send an email to info@fablevisionlearning.com. You can also tweet your photos with the hashtag #FabMakerStudio! For more posts featuring Fab@School Maker Studio, click here.

FABClassroom: Oak Ridge School Students Construct a FAB Paper City

Meet Carly Smith, Art and Technology Teacher at Oak Ridge School. Carly fuses creativity and innovation together every day with her students to program robots, create stop-motion animations, and design in Fab@School Maker Studio.
Can you share a bit about your school and your teaching journey?
I am lucky enough to teach in the elementary school that I attended as a child, so working here feels like coming home. I am in my 8th year at this school and have worn many different hats, from special education teacher to technology integrationist and my current role as a specialist teacher teaching both art and technology. A typical day is never typical! Each day is different and that’s what I like most about my role. My technology classes are working on building computational thinking skills by coding robots so my morning is lots of troubleshooting and runaway robots. My art classes are operating on a choice-based curriculum so in the afternoon I feel like a “creativity coach” teaching mini-lessons, managing the space, and meeting with student-artists.
How are your students using Fab@School Maker Studio?
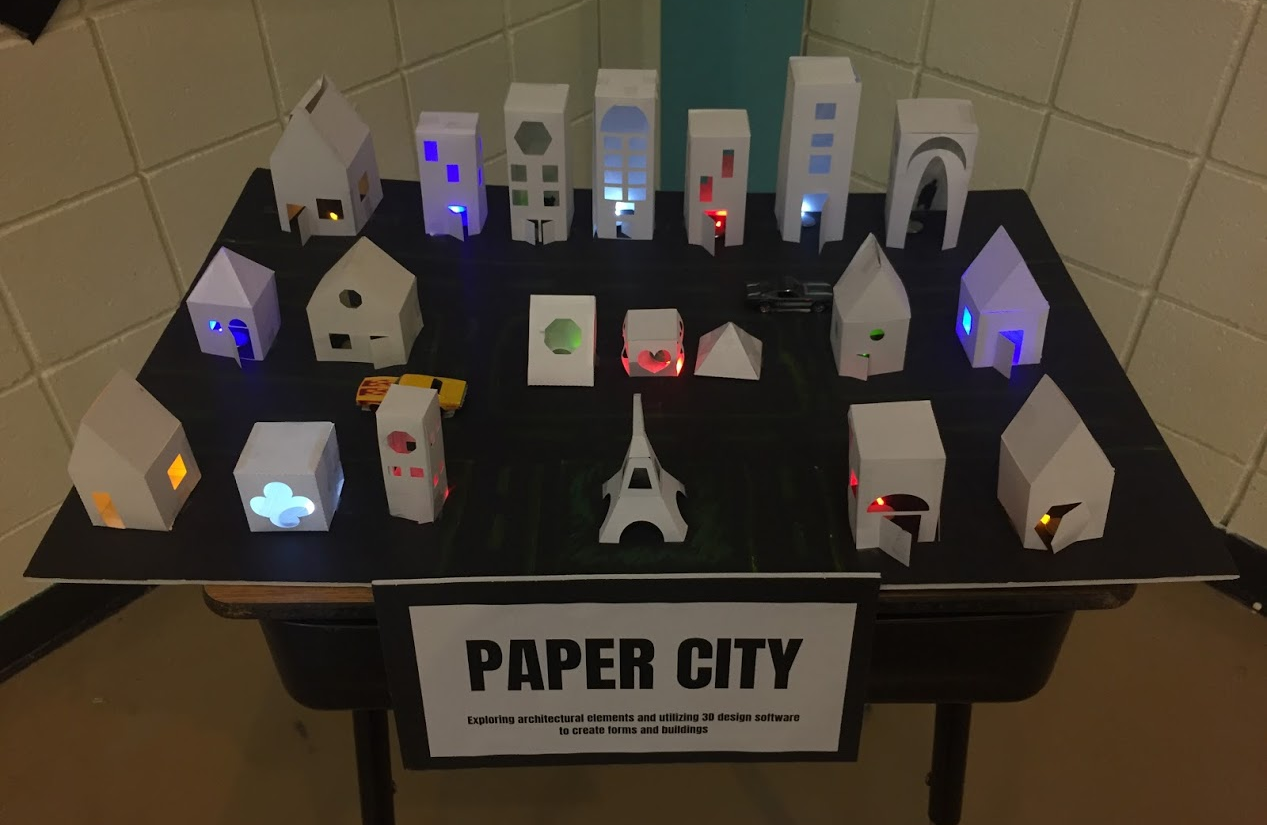
My students used Fab@School Maker Studio to create houses as part of an architecture project we did last year in art class. We looked at different types of buildings and the students designed their own to become part of a “Paper City." They created everything from monuments, to tent camping sites, to skyscrapers and one student even recreated the Eiffel Tower! After the buildings were fabricated the students used LEDs and coin cell batteries to light up the city. After this first project, some students used the software again to create stencils for an apparel design screenprinting project.
What has been the “aha” moment?
I discovered Fab@School Maker Studio at last year’s MassCUE conference. I was so excited the first time I used it because the options are limited only by the imagination of the designer. The software is the perfect combination of “kid-friendly” without being limiting. I had wanted to bring 3D printing into my classroom, but felt that my students’ experience would be diminished due to the expense of the filament and the time the printing takes for each item. Seeing how fast the paper cutter works combined with the affordability of the paper and cardstock made this so doable for my students and me. My PTA generously purchased the licenses and the paper cutter for my classroom and we began using it with Chromebooks last spring.
How are you integrating Fab@School with your current school curriculum?
This year I am hoping to expand the use of the software by having technology classes fabricate “cars” or “boats” that will be driven by the robots we are learning to program. The robots are waterproof so hopefully students will be able to design and program them to drive on dry land or be propelled through water. Check back with me in a few months and we will see how this grand plan comes to life!

As an Art/Tech teacher you really put the A in STEAM- can you share a bit about your role at Oak Ridge and how you incorporate arts with technology?
I am always looking for new ways to incorporate technology into the art curriculum and vice versa. The technology and art curriculums overlap in so many ways because creative problem solving and the design process are so critical to both content areas. In addition to the 3D design work they have done with Fab@School Maker Studio, my students have used software to edit photos or create unique compositions, iPads to create digital artwork, and digital cameras to learn about perspective, create illusions in photography as well as stop-motion animation.

This year we are experimenting with green screens to add interesting effects to our photos and videos. I find that my job is evolving to the point where I am putting students in the driver’s seat and empowering them to come up with ways to creatively use the technology available to them. I try to learn as much as I can about each tool or device so that I can help to guide them and troubleshoot problems. Often students know what they want the technology to do, and just need help getting there. Experimentation can sometimes feel scary because the teacher has to give up control, but the results are usually far beyond what I would have thought of or expected!
What is next?
I am excited to continue to connect with educators who are using this software because the sharing of ideas is so valuable. I would love to add a second printer so that more students can fabricate within a single class period (wish list item!). I am also open to bringing the software to other teachers in my district as part of a possible makerspace to be built. With this and other technology tools I will continue to be inspired by the creativity of my students!

Get Involved
Is your classroom a FabClassroom? We would love to feature your school in a blog post! To be featured in an upcoming post, send an email to info@fablevisionlearning.com. You can also share your Fab@School Maker Studio creations and ideas on social media with #FabMakerStudio! For more posts featuring Fab@School Maker Studio, click here.
But Wait, There's More!
Want to learn more about Fab@School? Fill out the contact form below and a FableVision Team member will get back to you.

FABClassroom Spotlight: Castle Rock Middle School & Yvonne Miller

Meet Yvonne Miller from Castle Rock Middle School in Castle Rock, Colorado. The school has a makerspace library filled with resources and tools for students and teachers to use. They recently added Fab@School Maker Studio, a digital design and fabrication program, to space. We asked Yvonne to share more about how they are applying this software into their school curriculum.
Can you share a bit about your library makerspace and programming?

For the past 3 and a half years, we have been on a mission to transform our traditional library to a dynamic space for students. Students will have access to world-class tools, innovative spaces, comprehensive resources, and 21st Century instructional support. We started our Library MakerSpace with donations of recycled and consumable materials. Today, we have 3D printers, littleBits and MakeyMakey products, robotics, a CNC machine, and a 2D fabricator. Recently, with the generous donation from the Morgridge Family Foundation, we were able to add the Fab@School Maker Studio software, four additional Silhouette machines, and receive training on the software as well. The space has supported students and staff in numerous projects, and it has been wonderful to witness excited and engaged students learn about the potential of a MakerSpace.
Our school has adopted the mindsets of Design Thinking as our constructivist model of instruction. Every student attends a class called InnoV8 where they learn about the Design Thinking Process and apply it to authentic problems and designs for human needs.
How are the students at Castle Rock Middle School using Fab@School Maker Studio?

Students use Fab@School Maker Studio as part of the prototyping process in their Design Thinking curriculum. Currently, all 8th grade students are engaging in a Sustainability Project in their Science classes. They are learning about sustainable living, energy transfer, natural resources, and human environment interactions. They have been challenged to design a tiny home in a specific location and for specific users. For example, an environmentalist who lives in a Portland, Maine, or a pet rescue family who lives in Buffalo, New York. Students will build spaces that must be proportionally correct and includes the amenities of a tiny home. They will be using Fab@School Maker Studio to design the interior of the tiny home, receive feedback about their designs, then iterate any components needed for the tiny home.
We are also using Fab@School Maker Studio in numerous different ways. We had a team of 7th graders use Fab@School Maker Studio to design a school during a Mars Challenge. They’ve also created a game incorporating math concepts for their Math Challenge activity. Our World Cultures teacher also used Fab@School Maker Studio during a study of a Japanese culture and paper folding.


What has been the “aha” moment working with Fab@School?

The spatial awareness and critical thinking necessary to design a 3D project is challenging to say the least. Students also found it challenging to mentally deconstruct a 3D object to a 2D design. Students with strong visual spatial skills have an easier time with the design, compared to those who think in pictures. There is definitely a lot of metacognition and visible thinking going on, and we appreciate the ready-made objects as a learning tool to take the designs even further. But the challenge is real.
What is next?
I hope our students make it a routine to use Fab@School Maker Studio while prototyping their designs. It fosters and promotes the mindset of rapid prototyping and helps build the maker culture, all while supporting instruction with Design Thinking.
Is your classroom a FabClassroom? We would love to feature your school in an blog post! To be featured in an upcoming post, send an email to info@fablevisionlearning.com. You can also tweet your photos with the hashtag #FabMakerStudio! For more posts featuring Fab@School Maker Studio, click here.
FABClassroom Spotlight: Kim Slayton, Burnham Brook School

Meet Kim Slayton from the Burnham Brook School in Canterbury, New Hampshire. Not long ago, the school added Fab@School Maker Studio, a digital design and fabrication program, to their school curriculum. Kim and her students have been using the web-based program in art, science, and social studies projects. We asked Kim to share more about how her students were using the tool and how they plan on taking the program to the next step.

As a teacher, you truly encourage your students to Create Bravely. What tips can you share on encouraging creativity in the classroom?
An important tip to encourage creativity is not to panic. If something doesn’t work out the way it is supposed to, don’t be afraid to try again or find another way to solve the problem. Where there's a will there’s a way to work around any problem. It is also important to have a backup plan, in case your original idea doesn’t come out as you hoped it would. Finally, taking notes on what did and didn’t work helps gives the learner a general sense on how to solve the problem in the future.
How are you using Fab@School Maker Studio in the classroom?
We use Fab@School Maker Studio in art class for making sculptures, as well as creating boxes to store small art projects. The program is especially helpful in demonstrating concepts in science and social studies. To top it off, I also make paper masks for my dyslexic students, as well as other teachers for their students.
What has been an “aha” moment using Fab@School Maker Studio?
I have a student who, due to birth complications, has only four fingers on one hand. This makes it especially difficult for her to use scissors. She was so excited and amazed when she came across the Fab@School Maker Studio program. She was able to plan and create a very complex paper art project without difficulty [and cut it out with the digital cutter]. It was a great “aha” experience when she finally saw her concept come to life.
You work with learners of all ages and abilities. How have you used Fab@School Maker Studio with every student?
Some of my students have been using Fab@School Maker Studio on their own computers, while others explained what they wanted and I designed it on my computer. Typically, the students sketch out their desired finished product, and then we work together to figure out how to properly place the nets. My students and I have also used some of the 3D Ready-Made projects, such as the castle and automaton, for writing prompts and story mapping.

What is next? Any cool projects in the works!?
The student who has difficulties using scissors really likes horses, so we will be working on building an automaton with galloping horses instead.
Can you tell us a bit about your school?
Burnham Brook is a small private school founded in 1982 by Barbara and Walter Howell. All teachers use multisensory structured language instructions to teach their students. Each student is provided with an experience and then we attach a specific language to that experience. This allows them to take ownership for their learning, as well as develop a deeper foundational understanding of the concepts.
Instead of dividing the students into grades, they are instead grouped together based on their ability and language processing styles. The school consists of students with average, above average, and gifted intelligence. Some students have been identified as having a learning disability, while some have no learning difficulties but weren’t being challenged in their local public schools. All of the same types of classes meet at the same exact time, so if we need to change a student’s group, it would not disrupt his or her overall school schedule.
Is your classroom a FabClassroom? We would love to feature your school in an blog post! To be featured in an upcoming post, send an email to info@fablevisionlearning.com. You can also tweet your photos with the hashtag #FabMakerStudio! For more posts featuring Fab@School Maker Studio, click here.

Fab Lab Tulsa Pilots Early Elementary School Program Featuring Fab@School Maker Studio
The following blog post was written by the team at Fab Lab Tulsa about their Digital Fabrication pilot with early elementary school students.
At Fab Lab Tulsa, we’re used to working with digital design and fabrication tools. In fact, we consider ourselves to be experts at it, with over five years of experience teaching youth programs that target 5th through 9th graders. We’ve had some experience with younger students but we’ve wanted to find some way to get early learners engaged in the design process. After a ton of research we were able to locate the Fab@School Maker Studio platformer. We were super excited to pilot Fab@School Maker Studio to see if it could be used to expand our existing programs to students in the 1st to 3rd grades.

In November 2016, we spent two weeks teaching 72 young students in the afterschool program at Kendall-Whittier Elementary School. In keeping with our existing education program philosophy, the curriculum included digital fabrication using Fab@School Maker Studio and Silhouette Portrait paper cutters. We focused on teaching elements of the design process as defined in the Next Generation Science Standards, and we encouraged students to apply the skills they learned in a project-based assignment. Our objective was to evaluate both the software and cutters, as well as test the feasibility and value of introducing digital fabrication concepts and skills at an earlier age.

Each student received approximately 4 hours of instruction over multiple sessions. The 1st grade students focused on 2D design. They were introduced to the topic of design and shapes by reading and discussing the book “The Wing of a Flea” by Ed Emberley. This led to instruction on how to design basic 2D shapes and combine those shapes into more complex structures. Students used the cutters to create their physical model.
The older students began with the 2D design but quickly moved to designing 3D shapes. They were able to use the cutter to render their 3D design and then glue it when necessary. Some older students tried their hand at more advance design concepts like pop-ups, a design principle that’s tough but easier to handle when using the friendly interface of Fab@School Maker Studio.


In short, we were very happy and excited about the results of the pilot. While there is still considerable room for improvement in the lesson plans and teacher instruction, designing with the Maker Studio software was a simple and straightforward concept to learn for all three grade levels. In addition, the cutters proved faster and more efficient than was expected.
We had been concerned that students would lack the developmental milestones needed to be successful in design and fabrication. We were overjoyed when this did not show up in the trial. All students were successful in producing and cutting their 2D and 3D files and we would expect those skills to continue to improve as the students gained more experience.
Best of all, student engagement was very high and we observed a high level of student interest and growing self-confidence. We’re excited about the implications this base of knowledge will have in future grades, when we ask them to use more complex CNC equipment for larger projects.
How is your classroom using Fab@School Maker Studio? We'd love to share YOUR tips and ideas! For more FabFriday posts, click here. Try out some or all of these techniques in the Winter Design Challenge! Share your photos with us, Tweet them with the hashtag #FabMakerStudio for a chance to have them featured on the next FabFriday!