FableVision Learning Spotlight Blog
Categories
- Animation-ish 42
- Books 21
- Civics! 2
- Classroom Spotlight 17
- Conferences and Events 20
- Creative Educator 3
- Creativity 25
- Distance Learning 13
- Dot Day 22
- FabClassroom 28
- FabFriday 19
- FabMaker Studio 66
- FabMaker Studio Classroom 13
- FableFive 7
- FableVision Games 3
- Free Educator Resources 36
- HUTCH 1
- Home Activities 5
- In the Classroom 34
- In the News 11
- International Dot Day 23
- Ish 1
- Library 1
- Mapping the World by Heart 7
- Paul Reynolds 10
- Peter H. Reynolds 54
- Professional Development 9
- STEM/STEAM 20
- Storybook Academy 2
- Teacher Spotlight 14
- The Dot 17
- The North Star 2
- Words and Their Stories 1
- Zoombinis 3
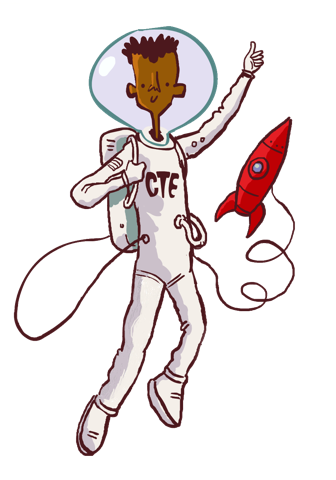
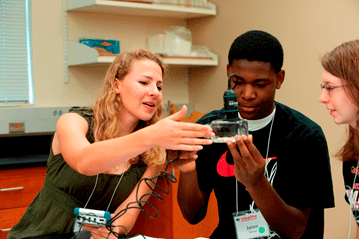
FableVision Learning's CTE Courses: Sharing New Skills & Careers with Middle Schoolers
Students Can’t Be What They Can’t See
Career choices can be intimidating in high school and beyond. This is why starting early is key. The earlier students visualize their future selves by seeing what they can be through the lens of what they enjoy doing, the better.
Expanding the use of digital tools - that potentially are already part of the classroom - is a great way to start.
At FableVision Learning, we developed two middle school Careers and Technical Education (CTE) strands built around our tools. One focused on animation and second around engineering and production.
Engineering Program: Can We Build It? Yes, We Can!

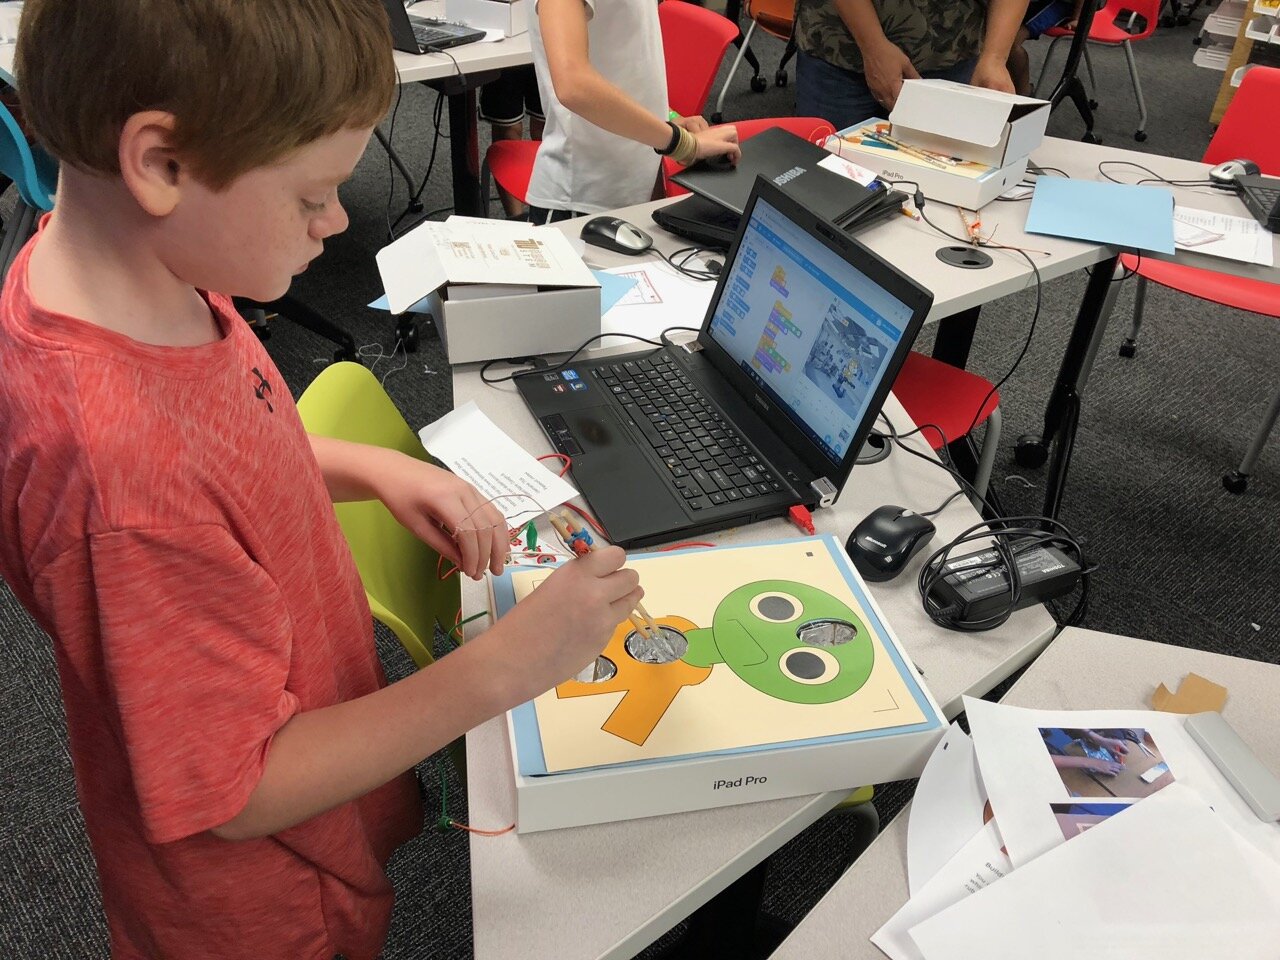
FableVision Learning’s Engineering and Production CTE Course utilizes FabMaker Studio, our web-based 2D/3D design and fabrication software, as the basis for exploring design thinking and the engineering design process. During this 18-unit program, students meet engineers working in the field, use the engineering design process as they tackle projects focused on the 14 Grand Challenges as defined by the National Academy of Engineering.
But Wait, There’s More: Students will not only be introduced to design principles and appreciate the variety of ways engineers contribute to society, they will also learn how problem solving is the link between all the types of engineers.
Tell Your Story Through Animation

Animation is an incredible tool for giving voice using a different medium. As a career, animation can be done anywhere in the world. FableVision Learning’s Animation CTE program provides an on-ramp to professional animation while providing skills in storytelling. Using Animation-ish online software, middle school students learn 12 Principles of Animation as they develop their portfolio highlighting their achievements.
Students experience how a digital media studio works and experiment with different roles and learn how to collaborate with others as well as communicate with a client. Video interviews from animation professionals at FableVision Studios provide authentic experience to support learning.
Both programs are perfect for remote learning. Through an online portal powered by Skillify by Prodigy Learning, students can access the CTE curriculum on a desktop, Chromebook or mobile device, and take the certification exam. The online curriculum ensures it is easy for educators, who may not feel proficient in the career areas, to deliver the program.
Both programs are designed as 18 week courses with the option for certification, normally funded by the school district through Perkins Grants.
Why not celebrate CTE month by learning more about how you can support the student journey into career exploration?
Click here to learn more or email cte@fablevisionlearning.com
Not Ready for the Full 18 Weeks? Both programs are available as a 5 Unit Intro Course for animation and engineering.

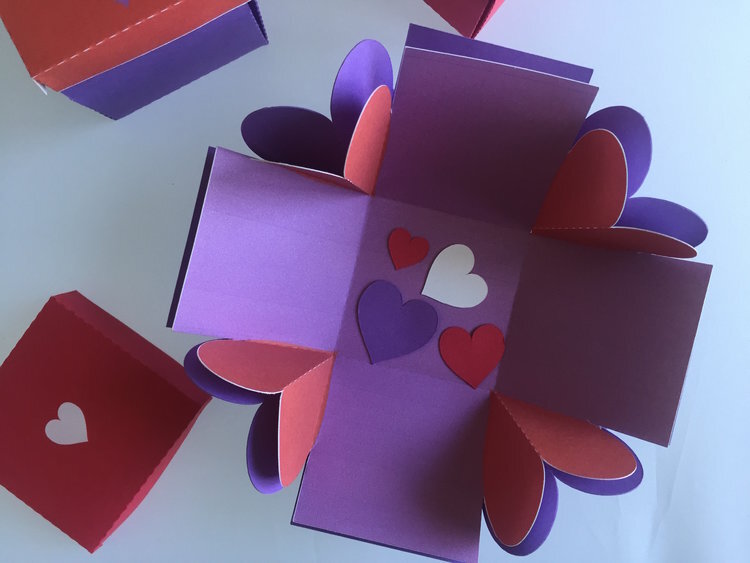
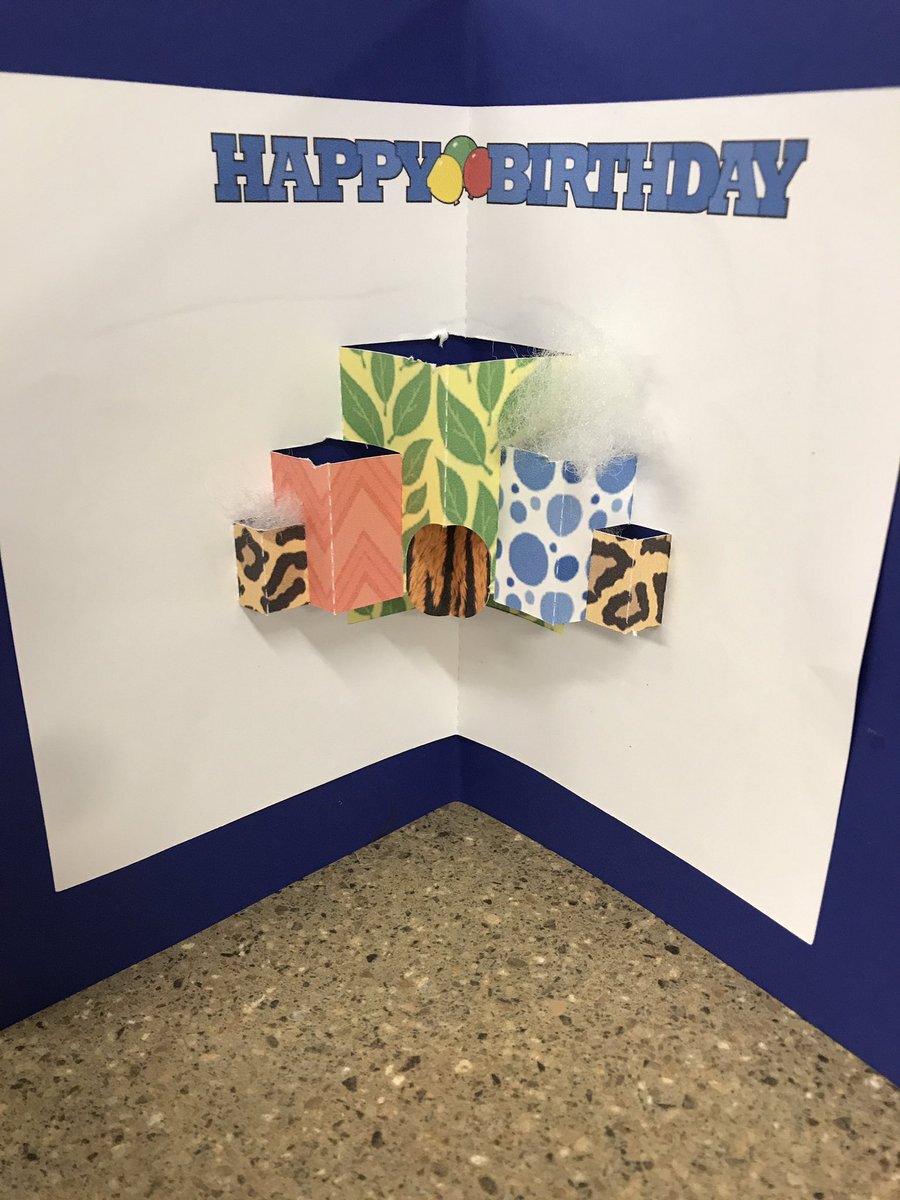
Create Bravely this Valentine’s Day
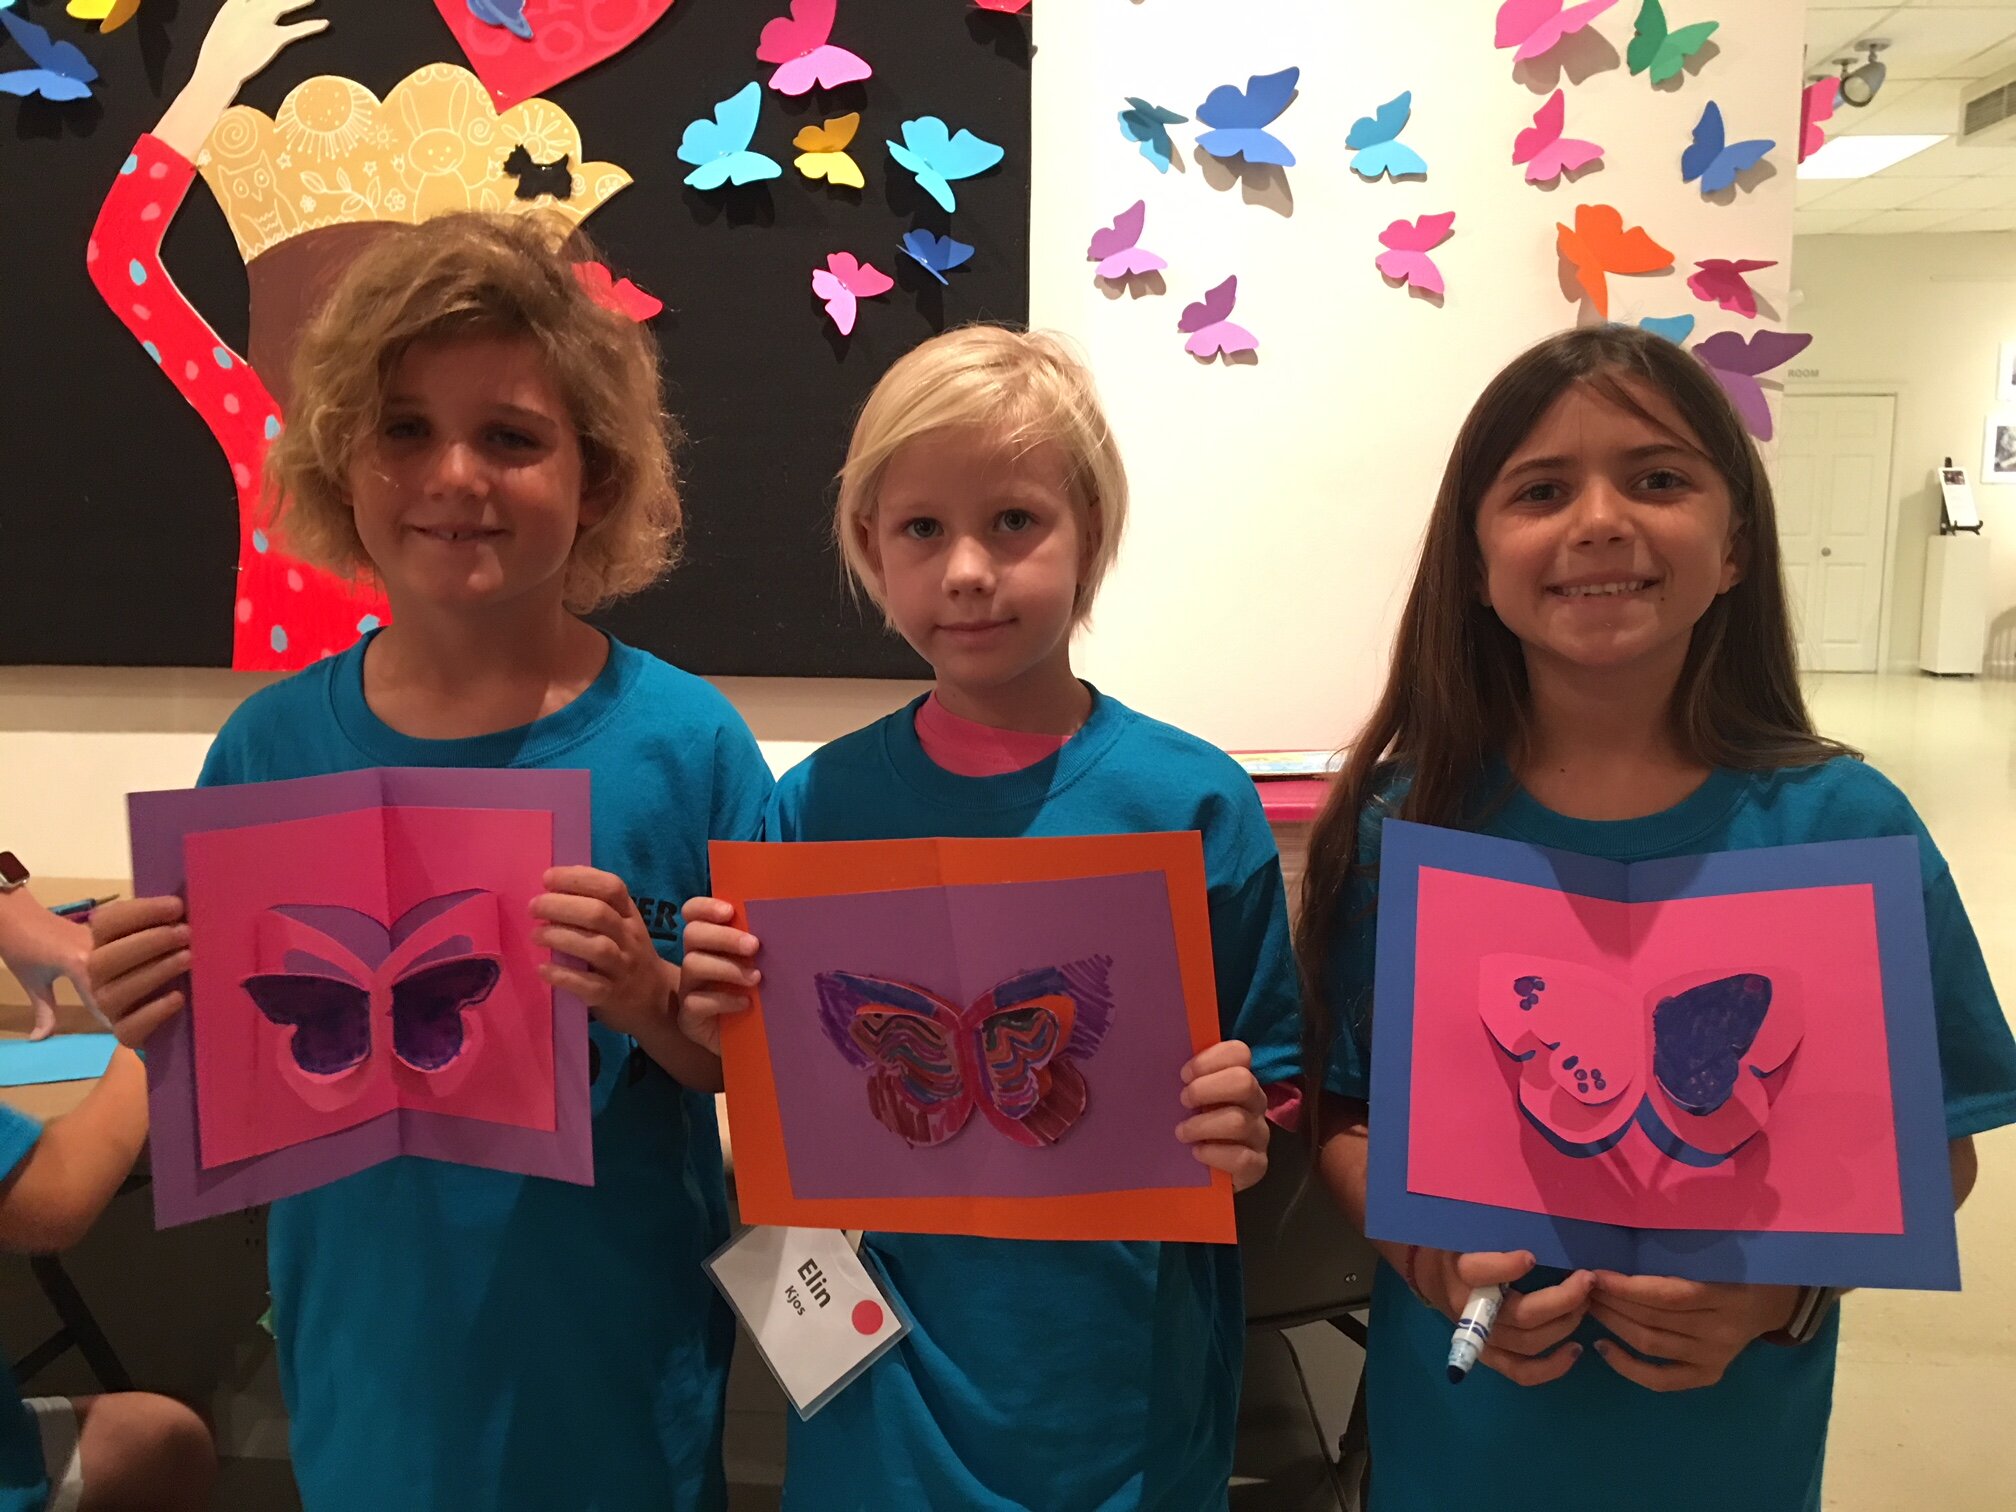
This Valentine’s Day, share the love with those that mean the most - virtually of course! For a fun twist on a typical card, why not have your students use Animation-ish and FabMaker Studio, to create awesome Valentines!
With these two web-based tools, your students can make Valentine’s Day explosion boxes, practice math with pop-up cards, animations of what they love, and so much more.
Here’s a few activities from the classroom that you can try with your students.
Animation-ish

Find a unique way to share your love and creativity this holiday with FableVision Learning’s Animation-ish! It’s an easy-to-use, innovative creativity tool that turns any artist into an animator in minutes. Not only is it exciting for students to create, but educators can also join in on the fun by tuning into their own creativity and using it as a teaching tool for learners to show what they know and can do in relation to content.
A simple Valentine goes a long way for the person that’s getting it as well as for the person making it. Students are encouraged to communicate, come up with fresh ideas, and create bravely with Animation-ish! Make sure you export your file as a GIF so others can see your beautiful creation in motion!
Here are a couple of ideas to get started on creating!
Write a fun, clever poem!
Design an animation of Cupid shooting a Valentine with an arrow
Make a simple heart or garden of roses
Helpful tip: All of this can be done with the paintbrush for making fine lines, or the bucket to put a splash of color in the art!
FabMaker Studio
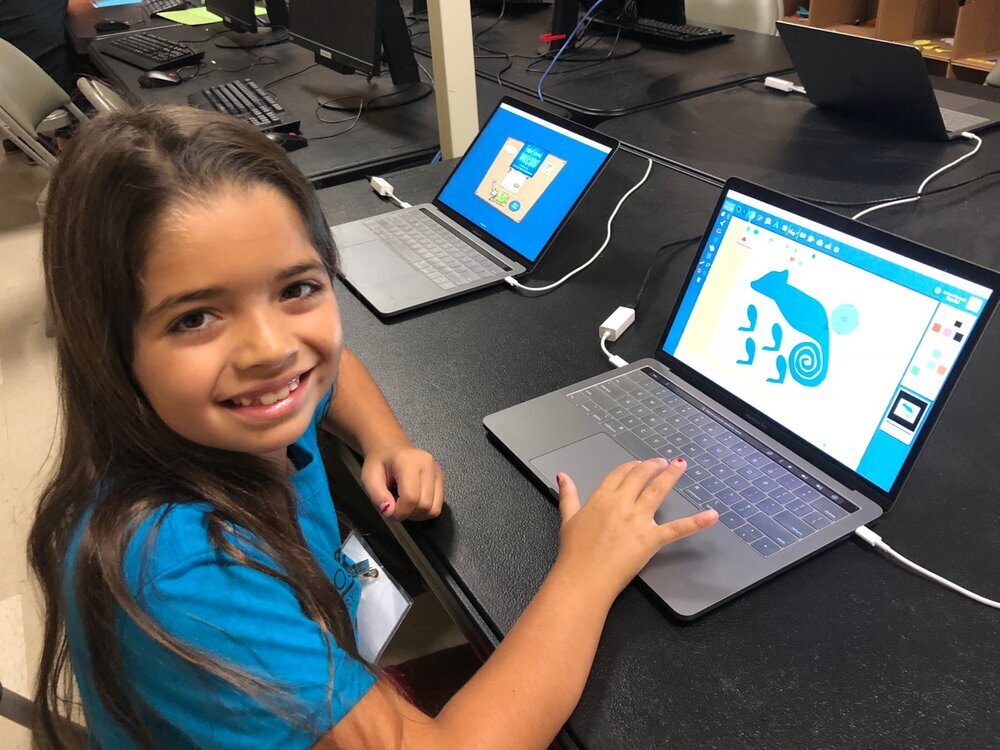
Our digital design and fabrication tool created to get students prototyping with paper, FabMaker Studio, is an easy-to-use, online-based program that invites learners to experience STEM and STEAM mastering in an engaging, personally meaningful way.
For more tips and tricks on how to use a printer and a pair of scissors, click here.
Costly Cards
Create things meaningfully with Costly Cards this year! This lesson plan integrates elements of mathematics, English language art, engineering, and technology all in one project! Using this lesson and FabMaker Studio, students can take on the role of a graphic designer who needs to stay on budget. Costly Cards engages students in a real world task while also enhancing the importance of the engineering design process as learners create their prototypes.


Explosion Boxes
If you need an engaging way to invite your students into the world of math and engineering this holiday, FabMaker Studio's “explosion boxes” encourage learners to discover and work with new angles, measurement, parallel and perpendicular lines, symmetry, triangles, and transformational geometry.
Encourage students to customize with color, cutouts, and other design elements. Once students have their initial model in hand, ask them to explore their constructions. Use some of the questions below to kickstart a class discussion. Then challenge students to design their own original explosion boxes.

How will you be celebrating Valentine’s Day? Share it with the FableVision Learning team via Twitter or Instagram @FableLearn, or via email: info@fablevisionlearning.com.

FableVision Lands Grant to Support CTE Pathways in Boston Public Schools

FableVision Learning is thrilled to announce it is one of three grant recipients for the 2021 Generation Success Grant Challenge offered by the Boston Opportunity Agenda. This funding will allow FableVision to pilot two new CTE (Career Technical Education) programs across six Boston Public Schools and three to six public libraries in resourced communities.
The grant provides resources to broaden the relationship between the work of FableVision, Boston Public Schools, and Boston Public Libraries. The goal for the new program is to introduce 9th graders to opportunities for career exploration through the hybrid digital/in-person program. Students will have the opportunity to learn digital animation and/or engineering design; hear stories and tips from professionals working in the field, and be provided access to digital design and creation software either at home, school, or at a public library nearest to them. With additional support, plans are eventually to deploy the animation and engineering programs across the entire district – making it available to thousands more middle and high school students in Boston.
FableVision’s programs were recently featured in BOA’s Generation Success BrightSpot Toolkit – Harnessing Boston’s Collective Energy to Prepare Students for College, Career and Life.
The Boston Opportunity Agenda (BOA) is a public/private partnership that is working urgently and strategically to transform the Boston education landscape from “cradle to career.” BOA is focused on removing the systemic barriers that create unacceptable outcomes and lack of opportunity for historically oppressed and economically disadvantaged populations and creating a just, equitable education system. Working with the City of Boston, and Boston Public Schools, as well as the city’s leading public charities and many local foundations, the coalition is working to give all Boston residents access to the education necessary for upward economic mobility, civic engagement and lifelong learning for themselves and their families.
BOA has most recently responded to the alarming research that shows that less than half of students who graduate from Boston’s district, charter and Catholic schools are prepared to pursue higher education, and subsequently face the reality that more than half of all job vacancies in the city require at least an Associate’s degree. And these readiness gaps are widening as COVID-19 continues to disproportionately impact Black, Latinx, Asian and Native American students.
In response, BOA launched Generation Success - a campaign focused on preparing each and every student to graduate high school fully prepared to achieve success in life, as they define it. Through Generation Success, BOA offered small and medium-sized businesses, as well as nonprofits, an opportunity to apply for a $10,000 grant to help young people connect with and learn about local industries, and gain meaningful learning and skills that they can leverage after high school.
Along with FableVision, the two other 2021 grant recipients are XR Terra and Fontbonne -The Early College of Boston. XR Terra will be introducing students from The Calculus Project how to create real-time, interactive 3D experiences using the Unity platform, used across sectors as varied architecture, manufacturing, and medical training, etc. And Fontbonne - The Early College of Boston, a Catholic, all-girl college preparatory high school and early college serving families throughout Greater Boston and the South Shore. With this social investment, they will be augmenting their efforts to integrate innovative technology learning to help bridge the Achievement Gap of students from disadvantaged communities (drastically widened by the pandemic) through their Early College Model.

Boston Opportunity is investing in three programs committed to answering this question: How might we help Boston’s high school students go beyond exposure to local industries to get meaningful learning and skills that they can leverage after graduation – even now during the pandemic?
Each 2021 grant recipient submitted a unique idea that fit the following criteria:
Industry aligned: Does the experience prepare Boston’s high school students for careers for which there are openings in the city and region? Does it focus on one particular industry or is a hybrid experience with overlapping industries and activities?
Innovative: Is it fresh? Does it spur creativity for our students? Does it provide collaborative or out-of-the-box learning and training opportunities?
Relevant: Does it answer the call to reimagine student development during the pandemic?
Equitable: Does it make learning more equitable and inclusive for black and brown communities? Does it take into account remote learning gaps or challenges given the pandemic?
Visit the Generation Success website to learn more about what Boston Opportunity Agenda is doing to fuel preparation opportunities for life after high school. For more information about FableVision Learning’s CTE program click here.

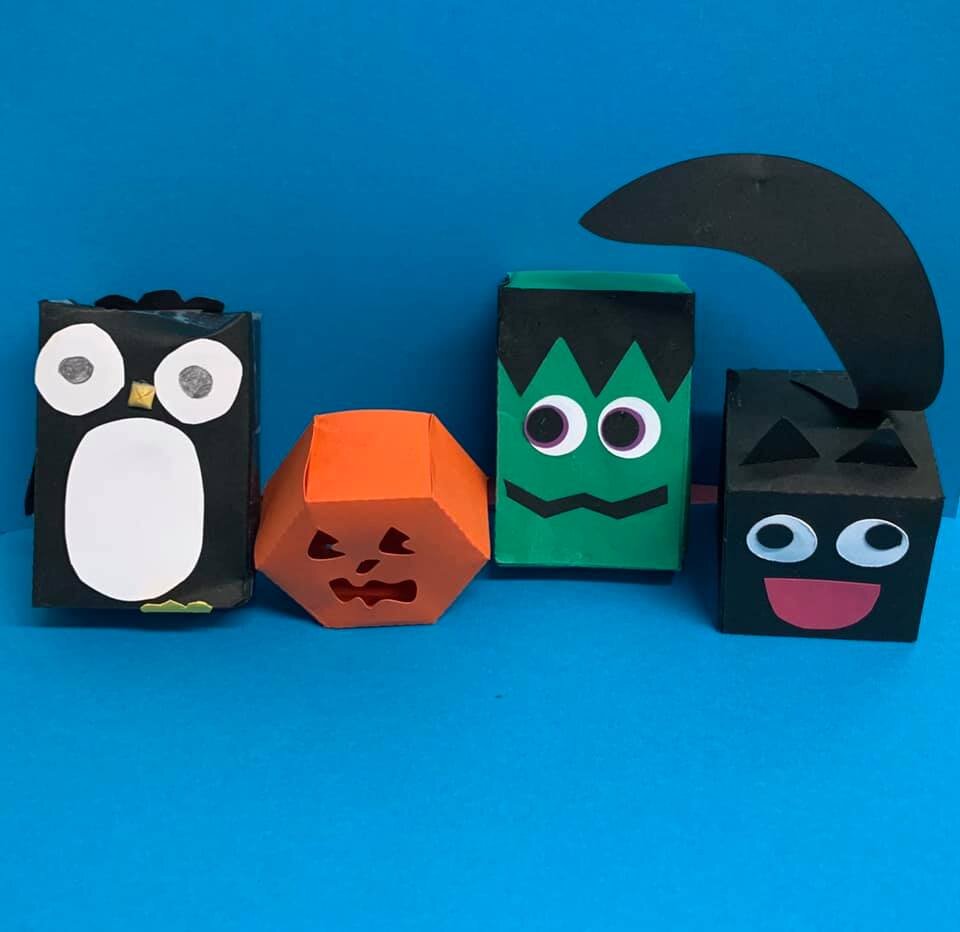
Creative Activities for Halloween
It is fall in New England. The leaves are turning shades of orange, yellow, and red and Jack-O’-Lanterns are popping up on doorsteps. This means Halloween is around the corner and at FableVision Learning we are getting creative with project ideas in made with our creativity tools. Here’s a few to get started.
Boo! Animated Pumpkins and Ghosts
Encourage your students to use Animation-ish to explore motion and story by creating a dancing ghost, or have your students animate their dream costume, or tell a joke on a pumpkin. What’s new: Animation-ish creations made in Flipbook-ish can be exported as a GIF.
About Animation-ish: Animation-ish is an easy-to-use online animation tool that helps students show what they know! Whether you are doing distance learning, hybrid teaching or on site classes, you can weave Animation-ish activities into your lessons.
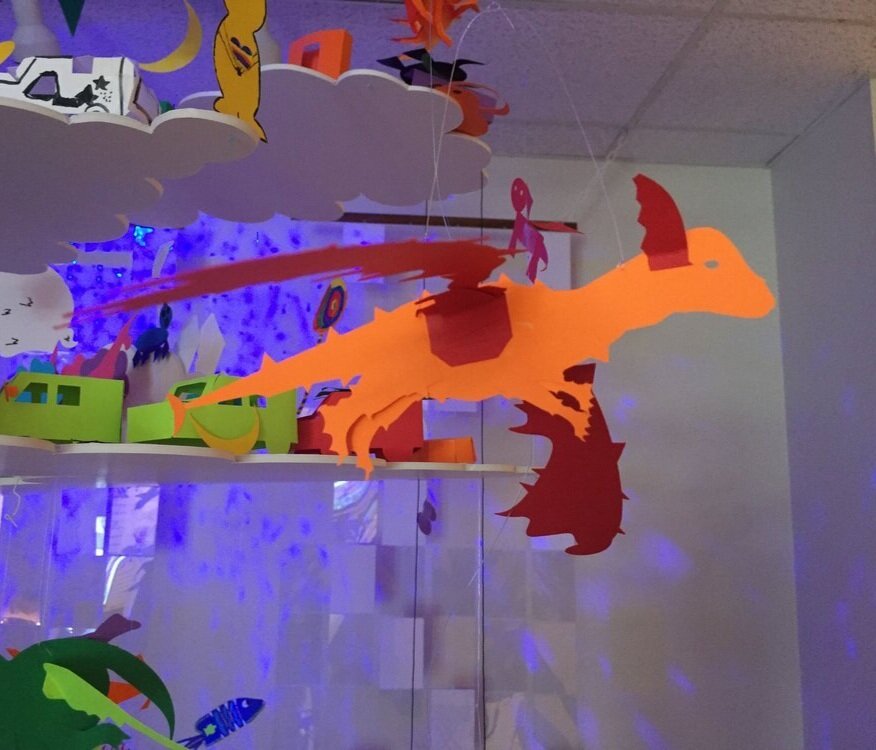
Mystery Monsters Made With FabMaker Studio
If your students can imagine it, they can create with with FabMaker Studio. In the Mystery Monster Blog Post, Dr. Peggy Healy Stearns, Lead Designer for FabMaker Studio, shares her tricks and tips for using the web-based design and fabrication program to combine, weld and morph shapes into exciting creatures. What will your students create?
Create a 3D “Mystery Monster”
But Wait. there’s more!
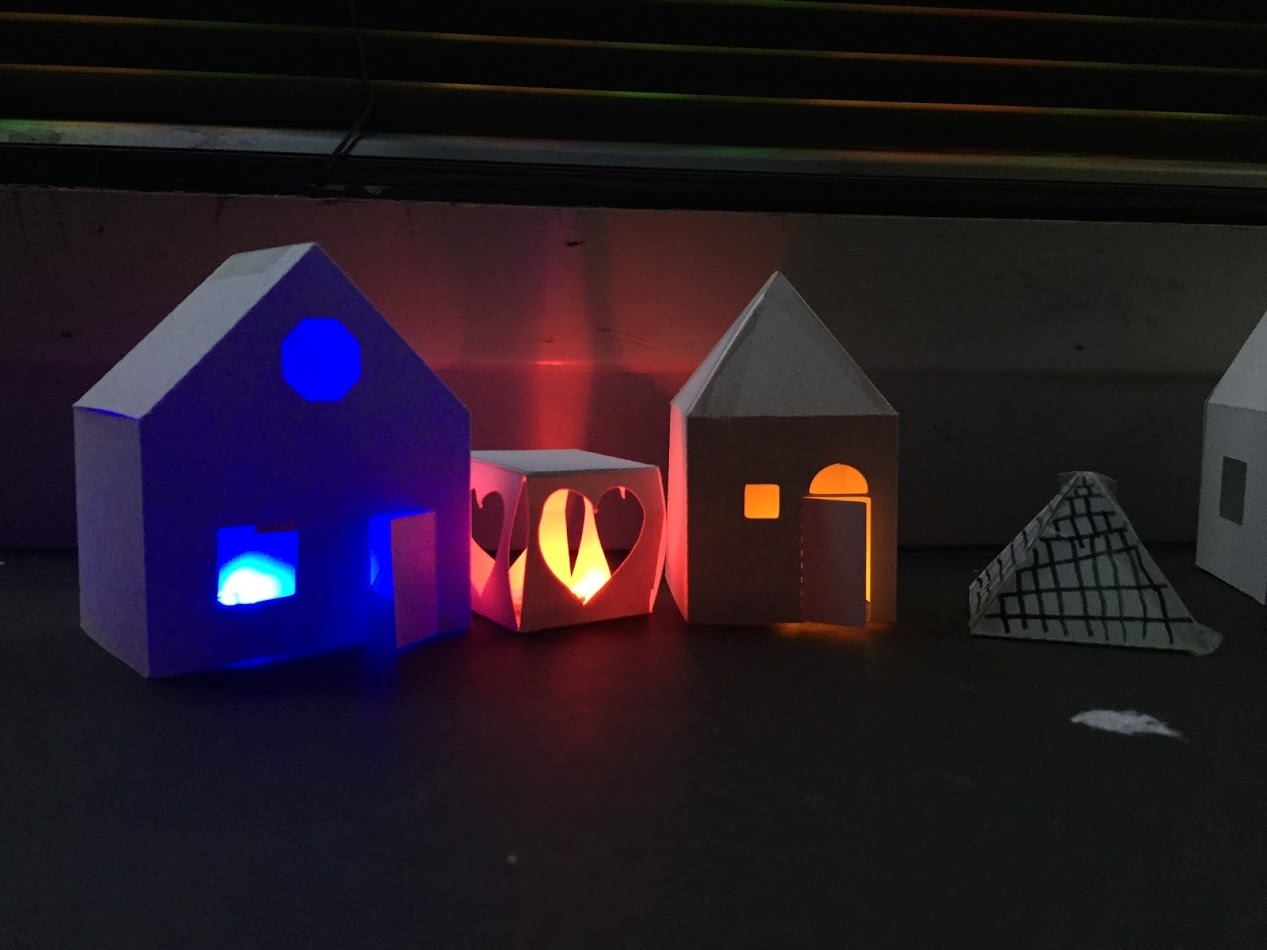
Jack-O-Lantern
The 5th graders in Palm Beach County, FL combined their FabMaker paper prototyping with circuitry to light up their paper Jack-O-Lanterns. Want a quicker fix? If needed, Peggy recommends substituting circuitry with LED votives.
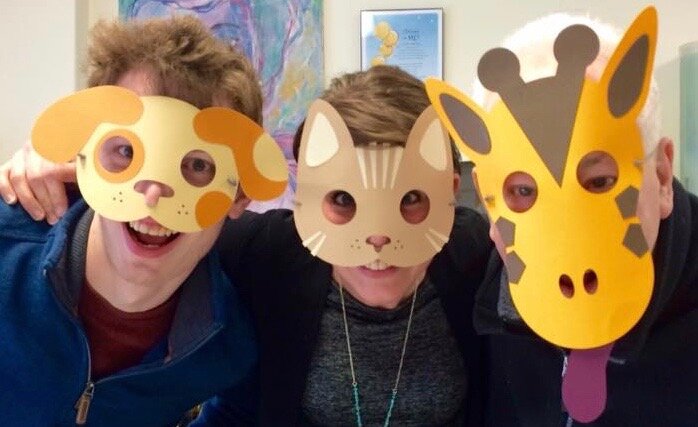
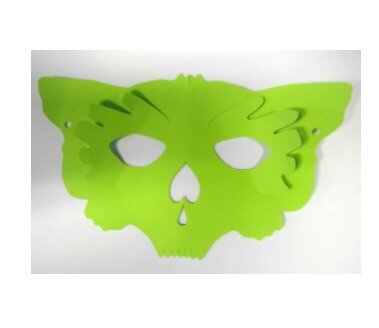
Masks
Halloween is a great time to explore some FabMaker Studio Ready-Mades. There is a library of masks available to choose from.
Or you and your students can create your very own from scratch.
BONUS: for a more advanced mask, add 3D elements.


Looking to make a socially distanced Halloween a little more fun? Use FabMaker to create candygrams to give to friends- or even a candy corn garland!
About FabMaker Studio: FabMaker Studio is our digital design and fabrication tool created to get students prototyping with paper. For more tips and tricks on how to use a printer and a pair of scissors, click here.
How will you be celebrating Halloween? Share it with the FableVision Learning team via Twitter or Instagram @FableLearn, or via email: info@fablevisionlearning.com
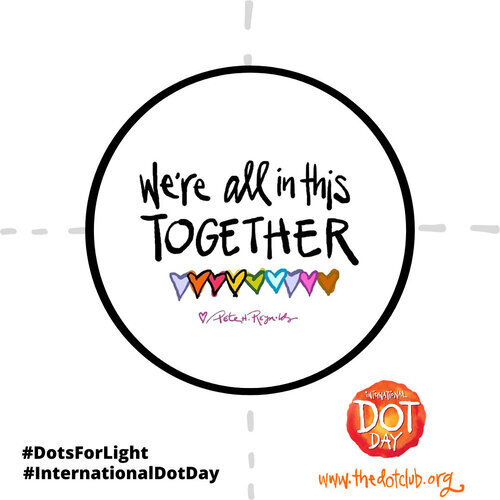
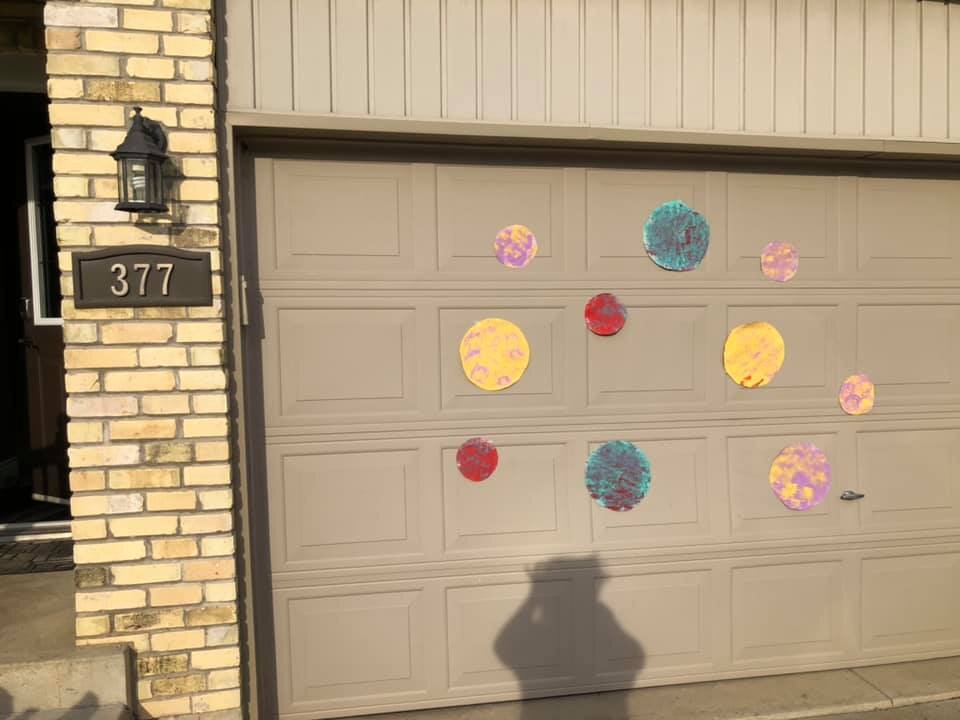
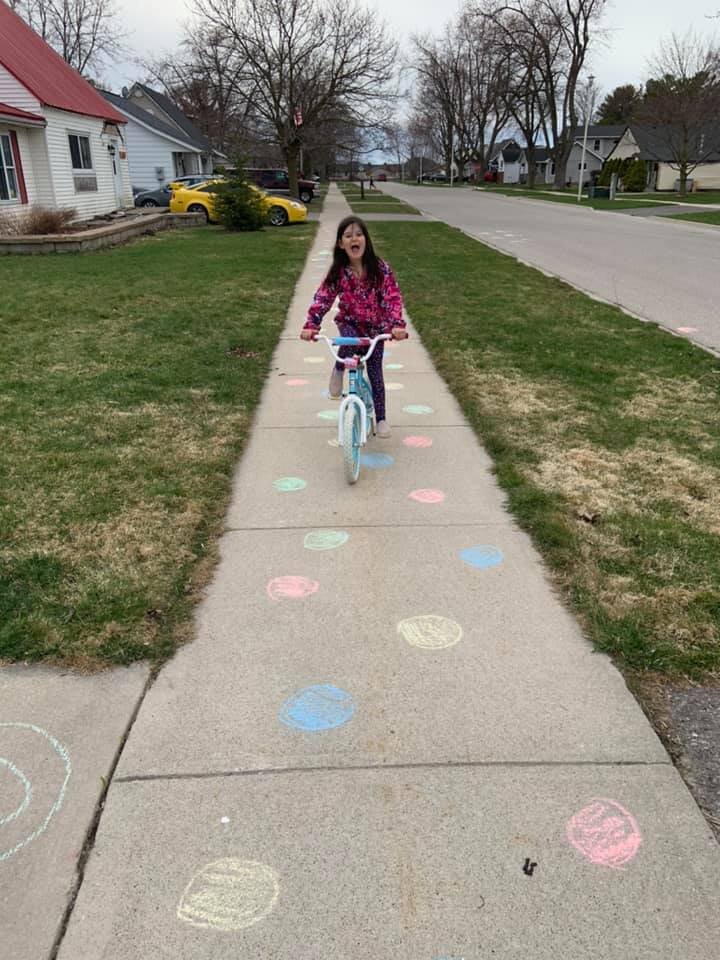
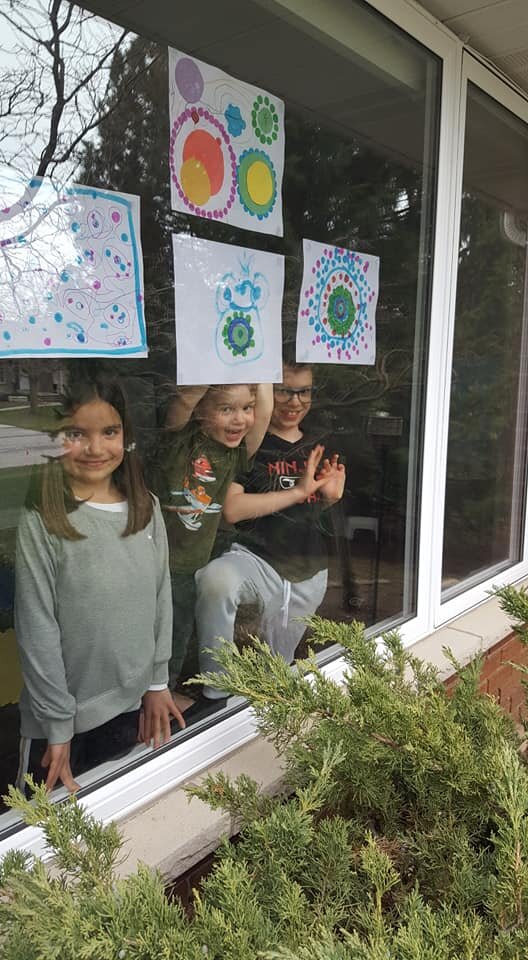
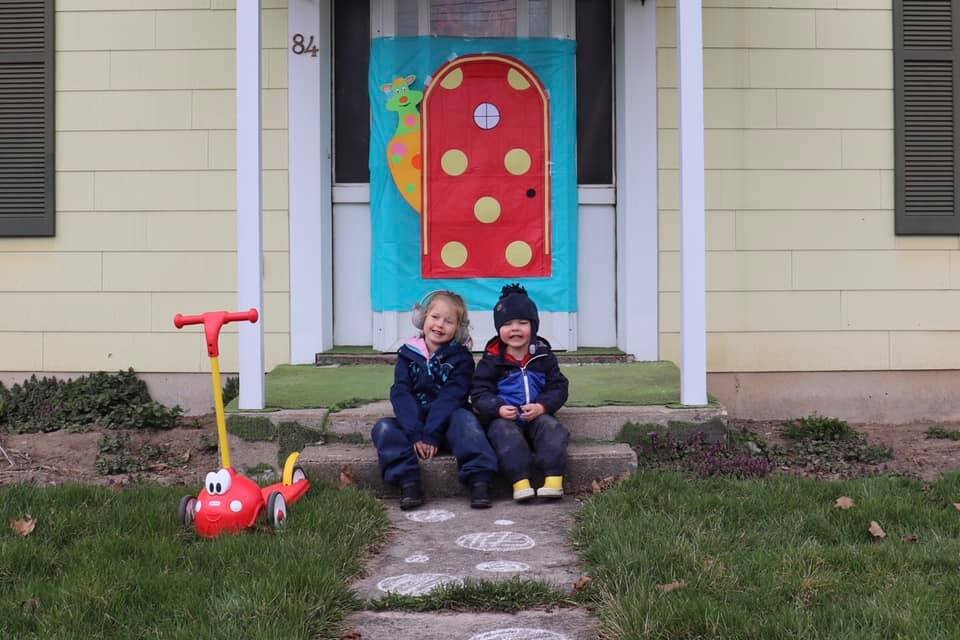
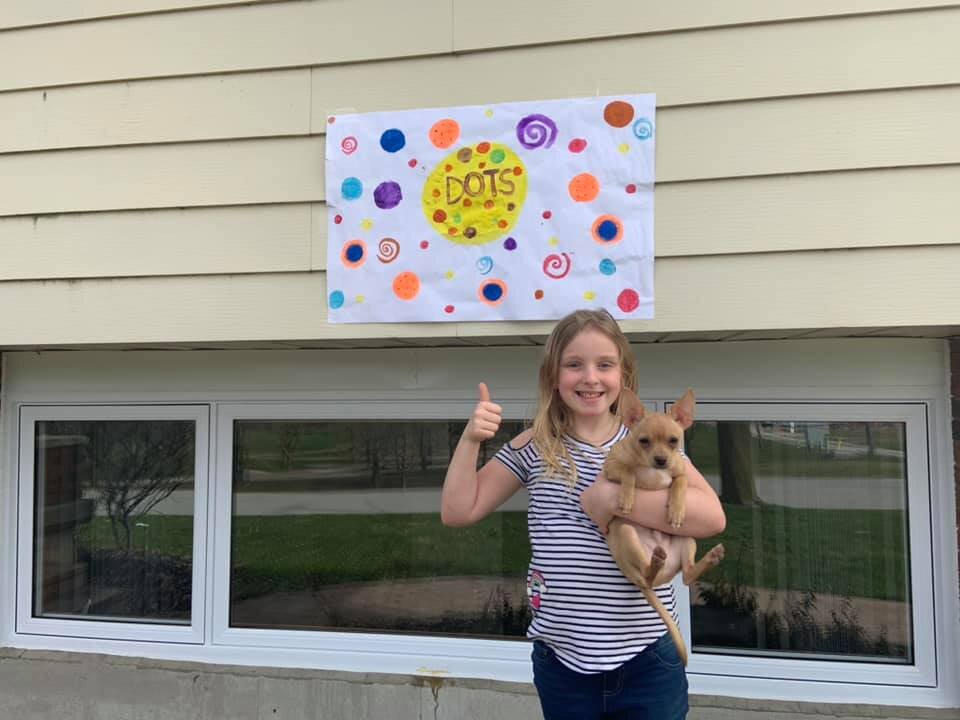
Create Bravely this International Dot Day

International Dot Day might look a bit different his year - but there are many creative way to celebrate. Are you ready to join the over 17 million students, teachers, librarians, community groups and more this International Dot Day, celebrating creativity and courage in 185 countries on or around September 15th-ish!
To support your International Dot Day festivities we’ve pulled together a few ideas to “connect the dots this year.”
Discover The Dot
Read The Dot by Peter H. Reynolds to see where all of this started - you can grab a copy over at The Dot Central. Once you read the book, go behind the scenes with Peter H. Reynolds.

Let Us Know You Are Celebrating
Join the growing community celebrating International Dot Day by registering over at The Dot Club! Once you register, you can download the updated 2020 Educator’s Handbook for Dot Day, which features student handouts by Peter H. Reynolds and Dot Day activities by creative educators -including ideas for remote celebrations. Visit the Reynolds Center for more resources and posters.
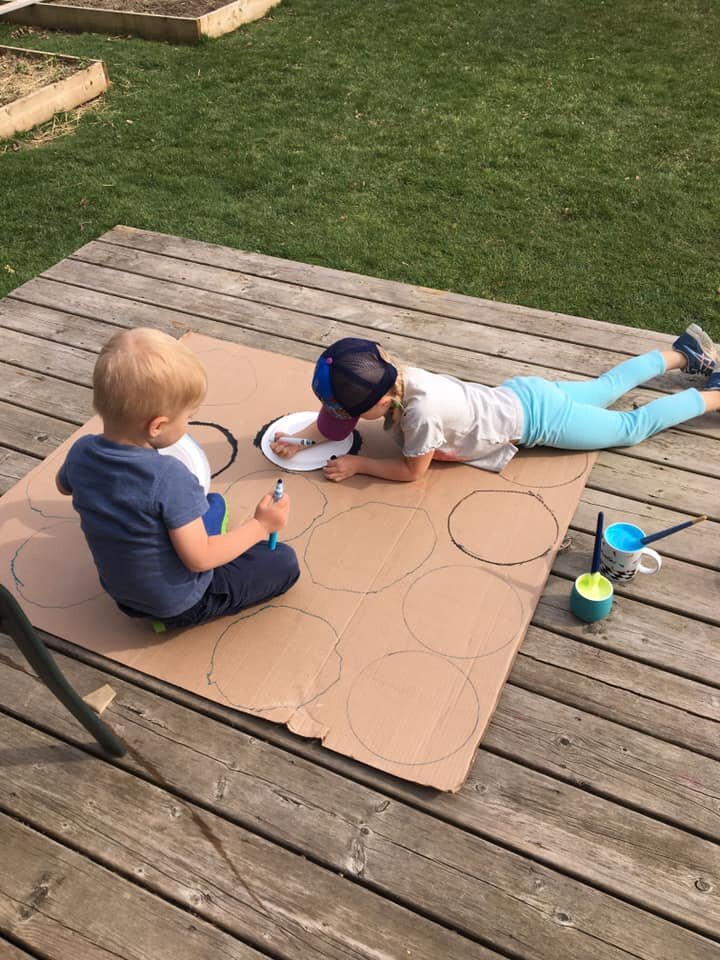
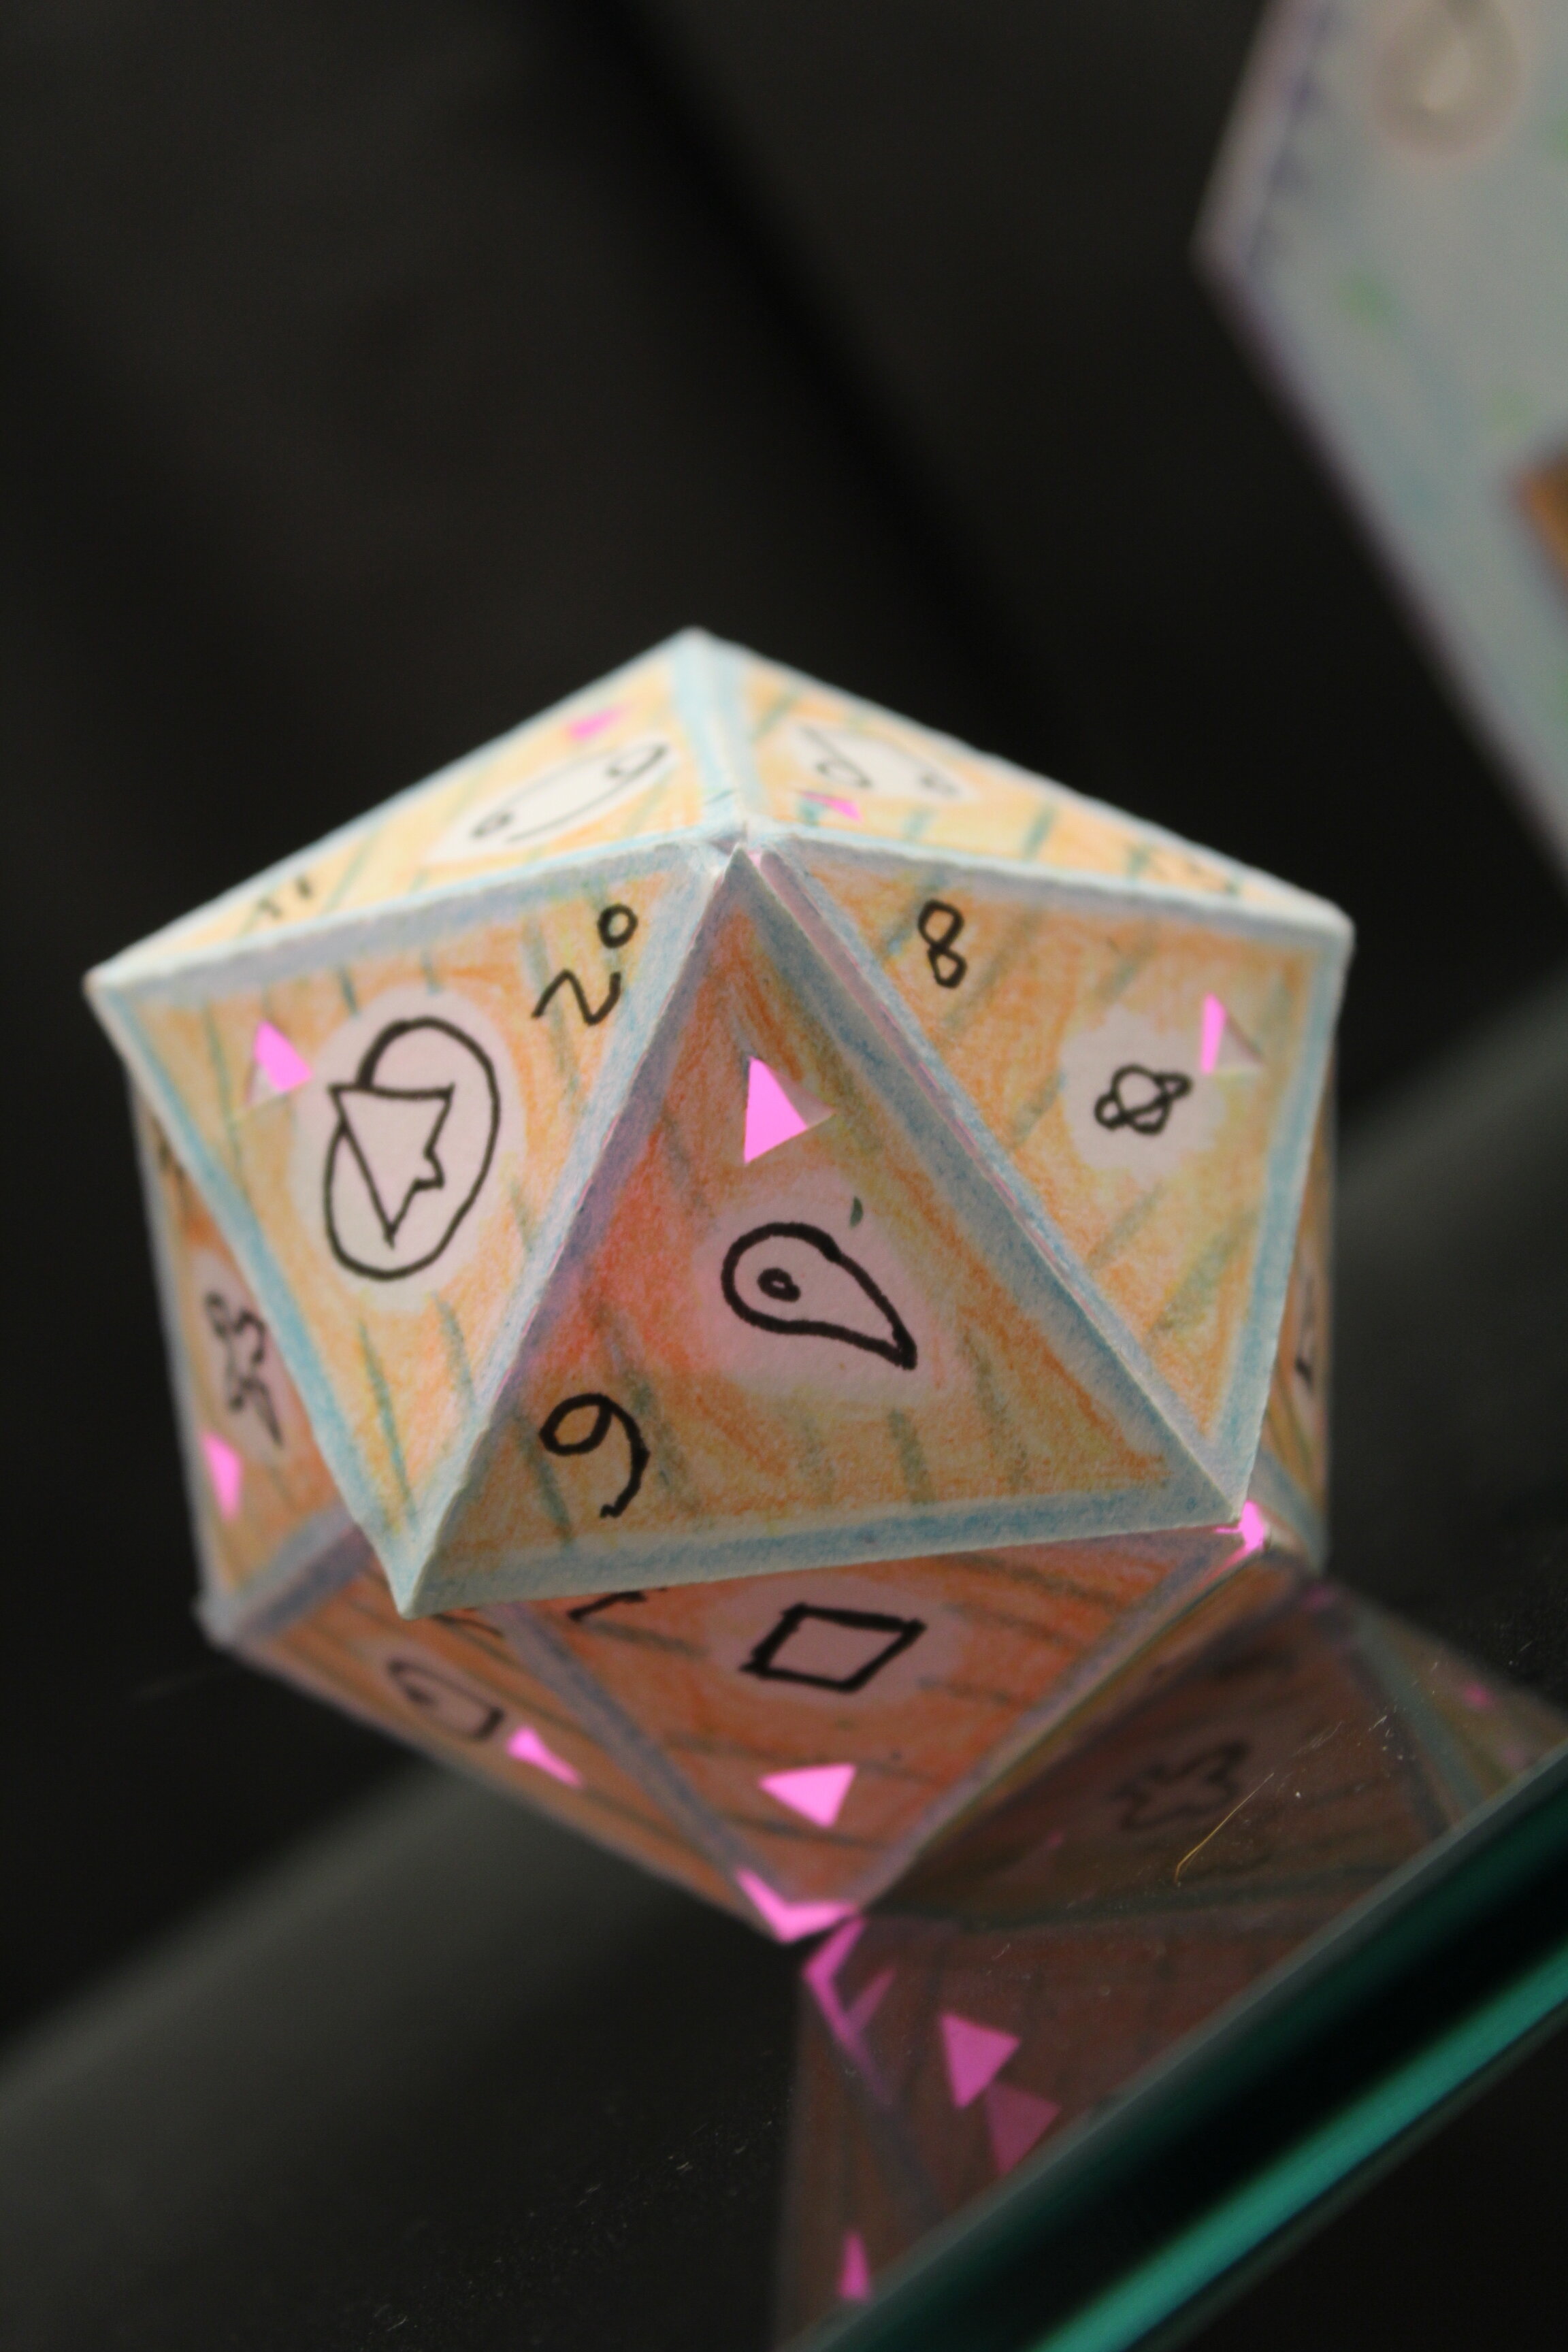
Fabricate Your Dot
FabMaker Studio is a perfect tool for cultivating your inventive spirit! With this paper prototyping and fabrication software, flex your design muscles and create 2D, Pop-up, and 3D paper models inspired by The Dot. It’s easy to get your design mind rolling when you start small - you can always try again and again! Try fabricating dots that fold, roll, spin, or transform!

Animate Your Dot
With Animation-ish it’s never been easier to bring your drawings to life. Three distinct levels let you practice and animation motion techniques by making your dots roll, bounce, squish, grow, morph, and much more. What can your dots do? Just make your mark and see where it take you!
The Story of Your Dot
With virtual coaching by Peter H. Reynolds, Storybook Academy, our book writing and design program is the perfect way to encourage your students to share their voice. Students can write and illustrate the story of how they will make their mark this Dot Day!
Get Inspired: Check Out Celebri-dots

Head over to the Celebri-dots website to check out dots created by a variety of individuals, from authors and illustrators to actors and astronauts! Packed with dots from all walks of life - paint dots, pie dots, and even Earth dots - you’ll be sure to find inspiration there.
Connect the Dots with Other Educators
Looking to "connect the dots" with other classrooms nationally and internationally on Dot Day? Whether it's through email or web-based video connection, use the Dot Day Google Doc to make connections. Thanks to creative librarian/educators Shannon McClintock Miller @shannonmmiller, Andy Plemmons @plemmonsa, and Matthew Winner @matthewwinner for overseeing this effort! Check out Shannon’s blog post, here.
Connected Dots: A Virtual Celebration
Dot Day founder Terry Shay, introduced a create way to “connect the dots” this year to a virtual template. For more details on how to participate and to download the template, click here.
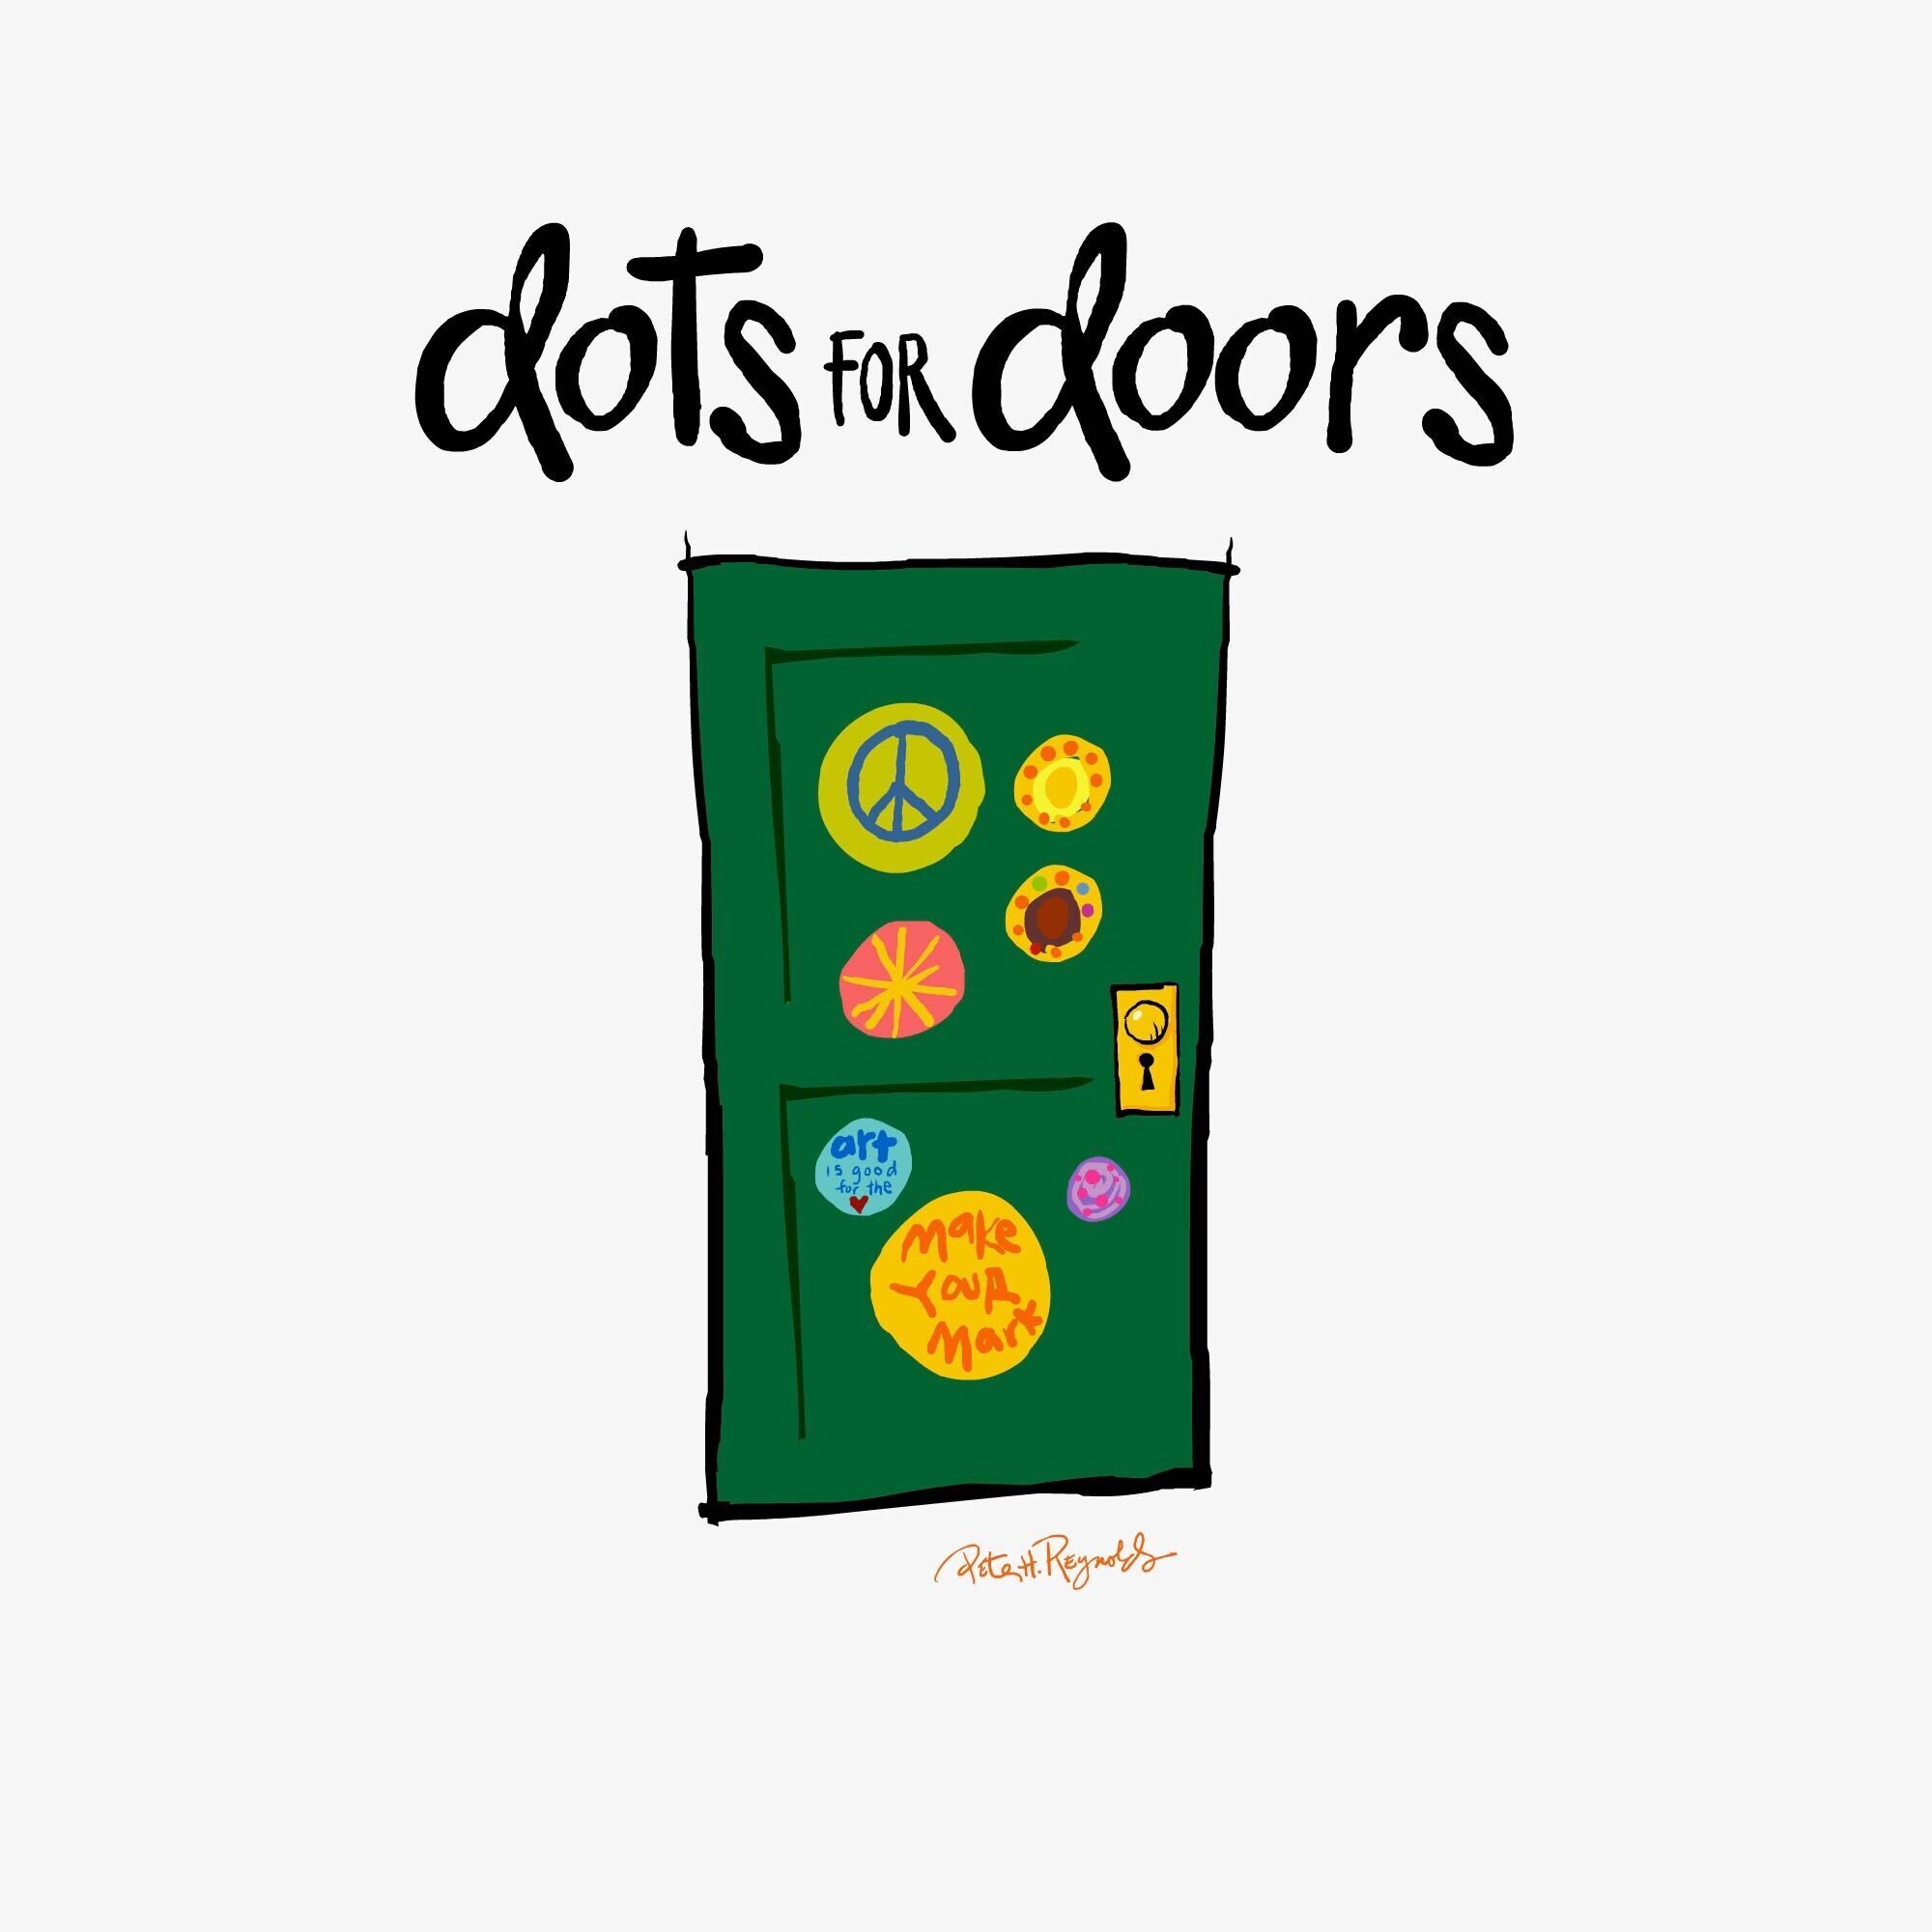
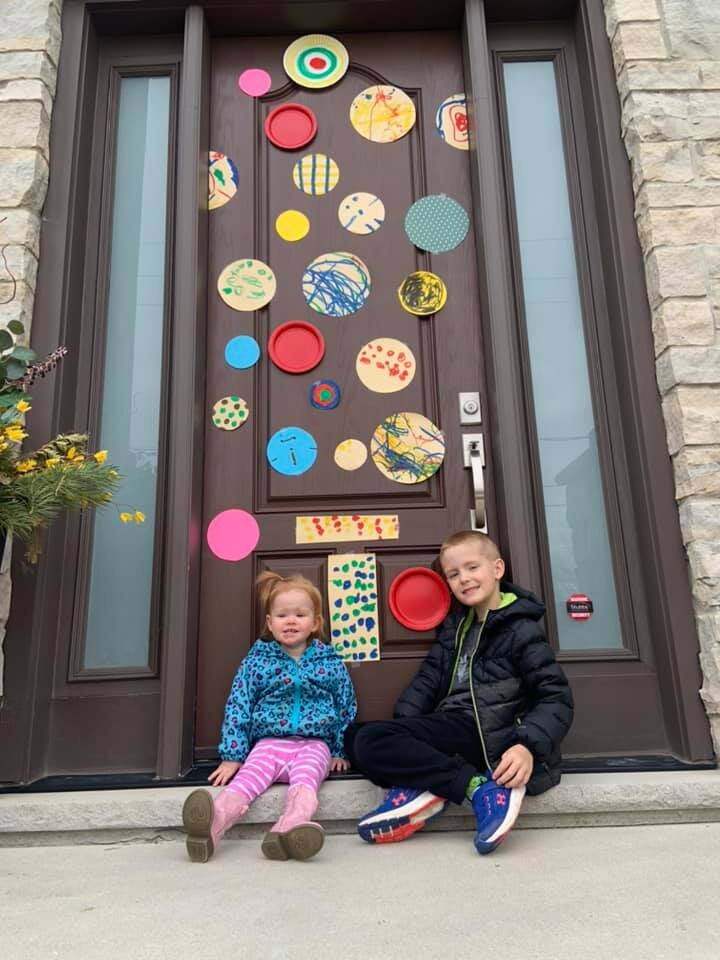
Dots for Doors: A Community Celebration
Inspired by Amanda Overholt of Exeter, Ontario community-wide scavenger hunt, we are excited to share the Dots for Doors project. Amanda explained that the scavenger hunts are a way to stay connected during the pandemic. “The best thing about these scavenger hunts is everyone can participate! If you're not able to get out to count the houses, while practicing social distancing due to COVID isolation regulations, or other reasons, you can still Participate by simple posting something on your front window/door!” Through the community Facebook page, Amanda shares activities (like this Dot counter), photos, and more.
On September 15-ish, students, teachers, schools, and communities will celebrate International Dot Day. A celebration of creativity, courage, and compassion, Dot Day encourages everyone to #MakeYourMark. Ready to join in on the International Dot Day 2020 Celebration! Share your story with us! Let us know you are celebrating and download the new handbook: Register at The Dot Club. Share your mark across social media with #MakeYourMark and #InternationalDotDay. Stay connected on Twitter @DotClubConnect, Instagram and Facebook!

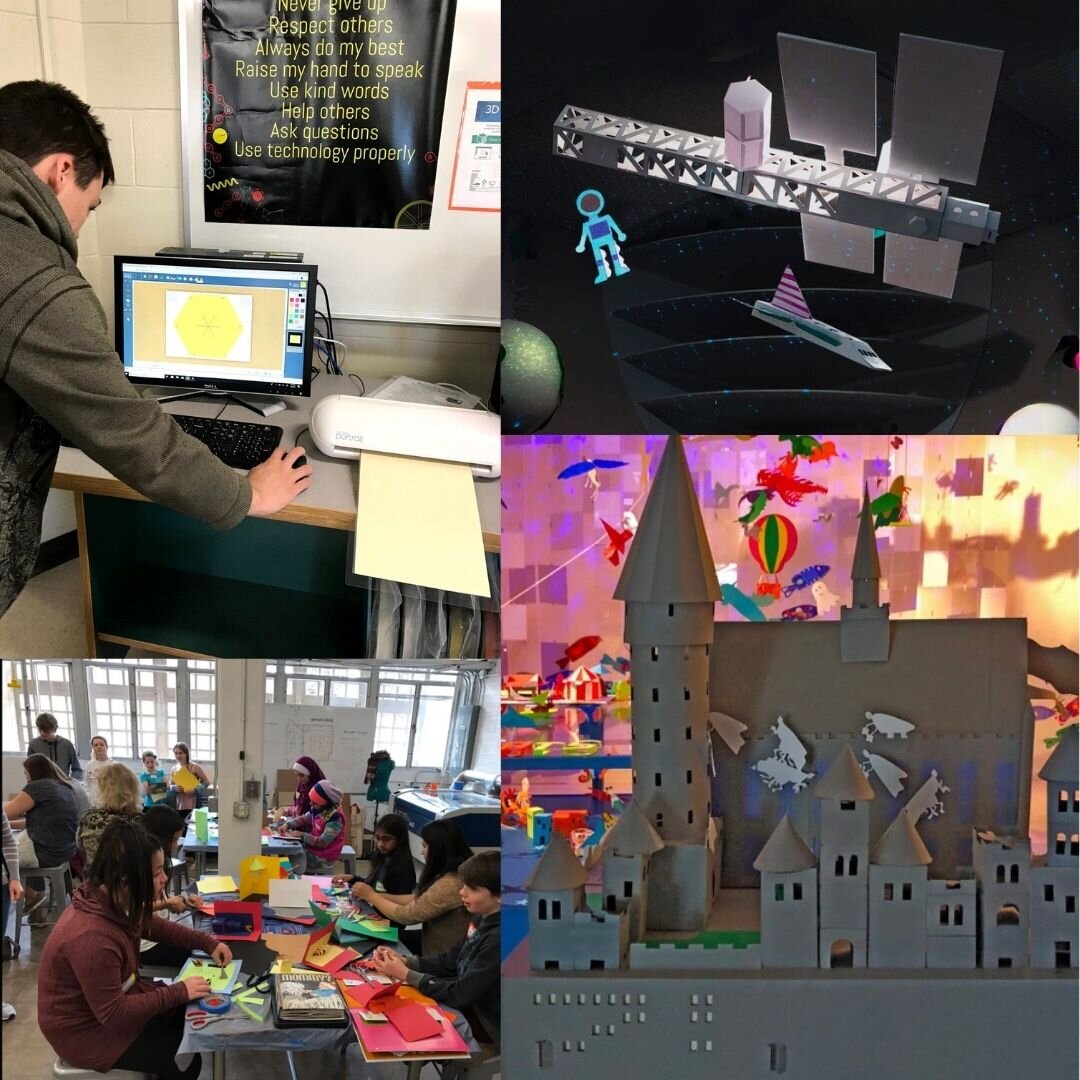
Engineer, Invent & Make: Getting Started with FabMaker Studio (VIDEO)
From solar-powered homes to magnetic turtles and pop-up book reports, schools/programs across the country are using FabMaker Studio to encourage invention, creation, and engineering - all with paper.
Not sure how to get started? No worries we’ve got you covered in 4 easy steps!
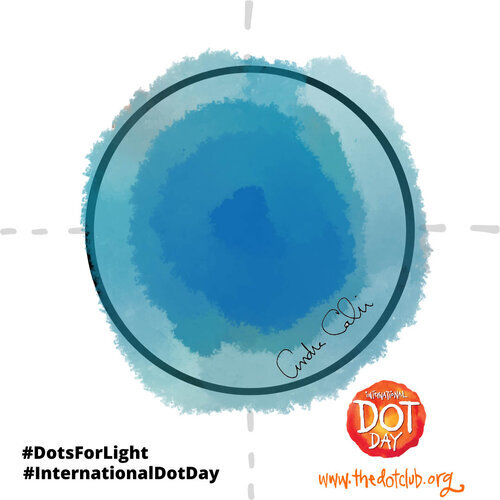
Step 1: Watch Andrea Calvin as She Shares Her Tips & Tricks

Step 2: Tune into the Tutorials & Blogs
From how to use shapes to exploring the reflection tool, Peggy Healy Stearns, lead designer for FabMaker Studio, guides you through the the ins and outs of the program through these Quick Tips tutorial videos. Another awesome resource can be found on our Spotlight Blog. There your will find step-by-step guides from Peggy Healy Stearns and ideas pulled from the classroom.
Step 3: Give it a Go
If you have an account, hop into FabMaker Studio and take it for a test drive. Open a Ready-Made Project and send it to to your printer (our favorite one to start with is the house). Once you built the starter project, take it apart and build from scratch. How will you modify your design?


Step 4: Join the Conversation
Have a question or a a FABawesome idea to share? Join the FabMaker Studio Facebook Group. We are all in this together.
Want to Learn More? Send us an email at info@fablevisionlearning.com

FabMaker Spotlight: Literature, Robots, Designing, Oh My!
This FabMaker Studio Spotlight is from Susan Spigelmire, a kindergarten teacher at Harvest Valley Elementary in California. She connected the dots with FableVision Learning through the Carly and Adam Elementary STEM Teachers Club.
It all started with a STEM literacy unit on the “Three Billy Goats Gruff” by Paul Galdone. A team of teachers and I got together and wrote a lesson in which Kindergarten students would build a bridge that the three goats (using three different sized blocks) would go over and under which a troll would fit.


We incorporated many Common Core State Standards, such as speaking and listening, writing, positional words, and geometry standards related to the 3D shapes used in the bridge design. We also incorporated NGSS standards in this lesson. Students had to sketch a design of their bridge and come up with a material list. Then as a group, they built the bridge, tested it with the goats, and made changes when necessary.


This lesson was a hit with our students. However, after attending Wonder Workshops webinars, I wanted to incorporate their Dash and Dot robots. Dot became the troll and Dash the Billy Goats. With this change, students need to construct a bridge that will be strong enough to support Dash. The robot is coded to go up, across, and back down the other side. Dot, the troll, has to fit under the bridge and be coded to talk when dash crosses the bridge. This lesson encourages students to think about designing the bridge and surrounding setting details. It also gets them to record their own sounds into Dot and Dash using language from the story and encourages them to retell the story in sequential order. This lesson will take a few days as there are a lot of details involved.
During my online research of STEM, I found Carly and Adam and their Facebook page “Elementary STEM Teachers Club,” where I attended a Facebook Live with Andrea Calvin. During this Facebook event, I learned about the fabulous Fabmaker Studio. So of course I signed up, bought a new digital craft cutter, and got busy designing.
My first designs were basic, but as I played with FabMaker Studio, my designs improved, including my goat and troll. From there I was inspired to design more storybook characters such as the three little pigs and the wolf, and the three bears.
I am currently writing lesson plans for those fairy tales. As my students get better at designing, they will use FabMaker Studio to design characters and setting details from other popular stories we read in class.


For more information, contact us at info@fablevisionlearning.com. We invite you to join the conversation on Facebook the FabMaker Teacher Group.

FabMaker Studio Tips: Saving Final Projects to Google Drive from a Chromebook
The FabMaker team is asked a lot: If I am using a Chromebook, how can I save a completed FabMaker project to fabricate later from a PC or MAC?
The answer has a few simple steps: You need to install drivers to send the final FabMaker project to the Silhouette Fabricator, you must use a PC or a MAC - but you can design FabMaker Studio projects on any device with an Internet connection - this includes Chromebooks. Most schools and maker spaces that use Chromebooks designate one PC or MAC as the fabrication center.
Users just need to save their files when designing on Chromebooks and then open them at the fabrication station.
Here are the simple steps to follow to save the final FabMaker projects to a shared Google folder on a Chromebook.
Create the Google Folder and share with your class.
Once the FabMaker Studio project is done and ready to send to a printer you will need to do two things:
Click the Folder Icon to save the working file (.xml). These files can be saved to a student’s Google Drive, online FabMaker files, or desktop. Saving this file means your student can go back and make changes.
Click the Fabrication icon to save the final FabMaker file (.fabmaker). This is the final file that will be sent to the fabricator.
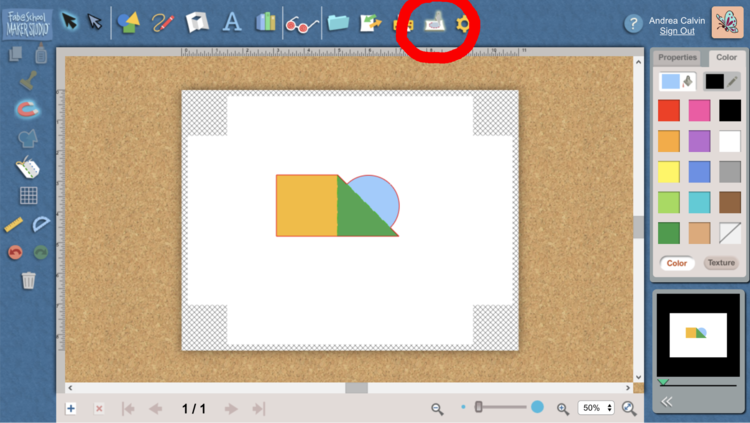
If working with a multi-page document, select the page to fabricate and click “Send to FabMaker App” to start download.
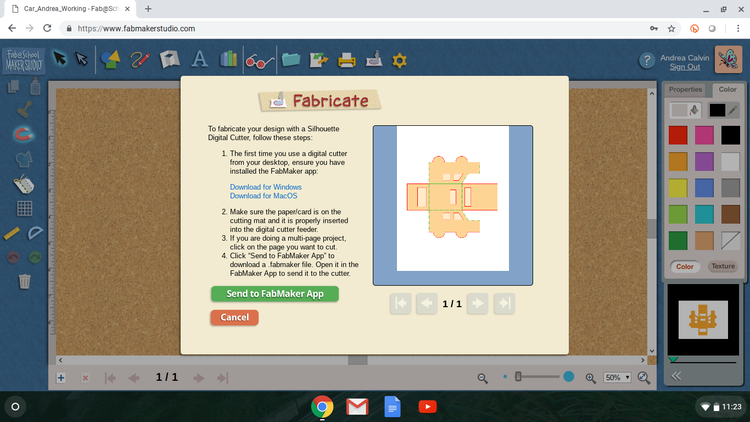
Download the .fabmaker file and save to the shared Google Folder.
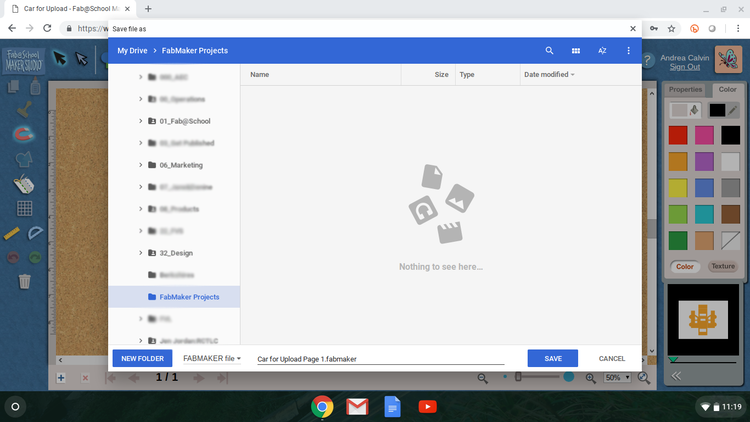
On the PC or MAC, locate the shared Google Folder and download the files you would like to fabricate. Once downloaded, follow the Fabrication instructions to complete your project.

FabMaker Mystery Monsters: Math Shapes & Cool Tools for Imagineering
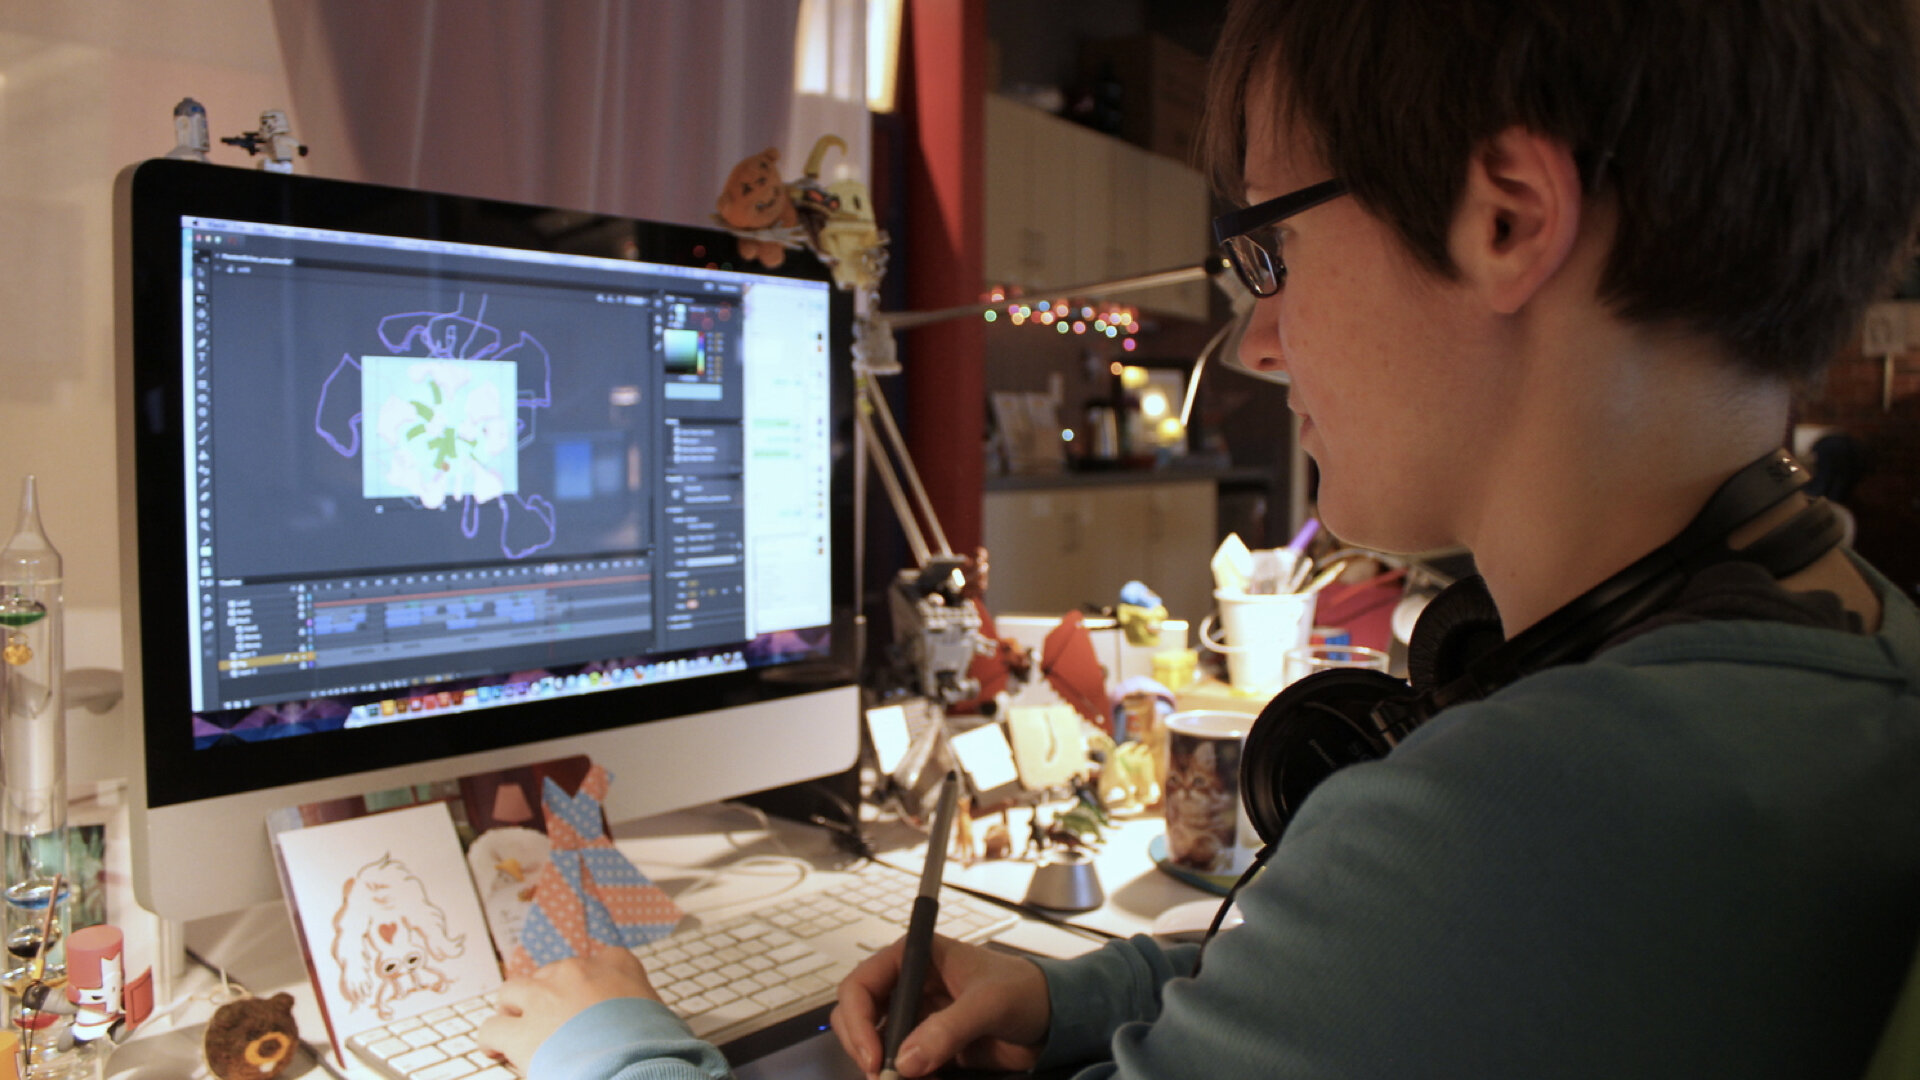
The following blog post is by Peggy Healy Stearns, Lead Software Designer, FabMaker Studio.
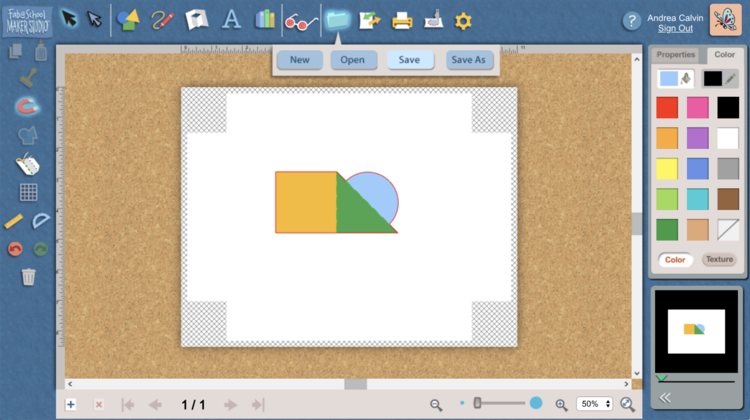
Create a 3D “Mystery Monster” with FabMaker Studio! Identify and combine shapes, weld shapes, and morph shapes. Add 3D wings, legs, ears and other body parts!
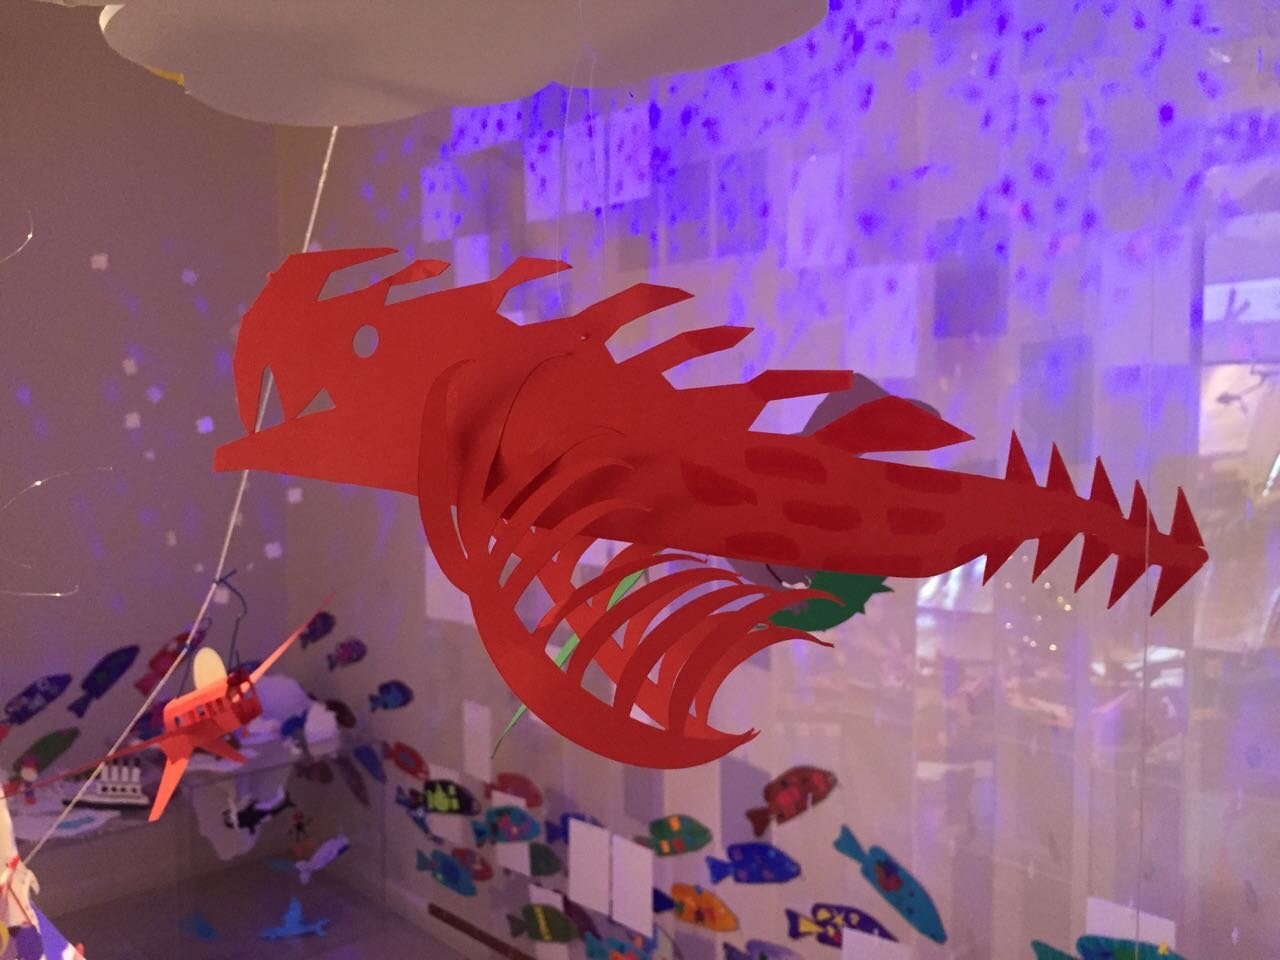
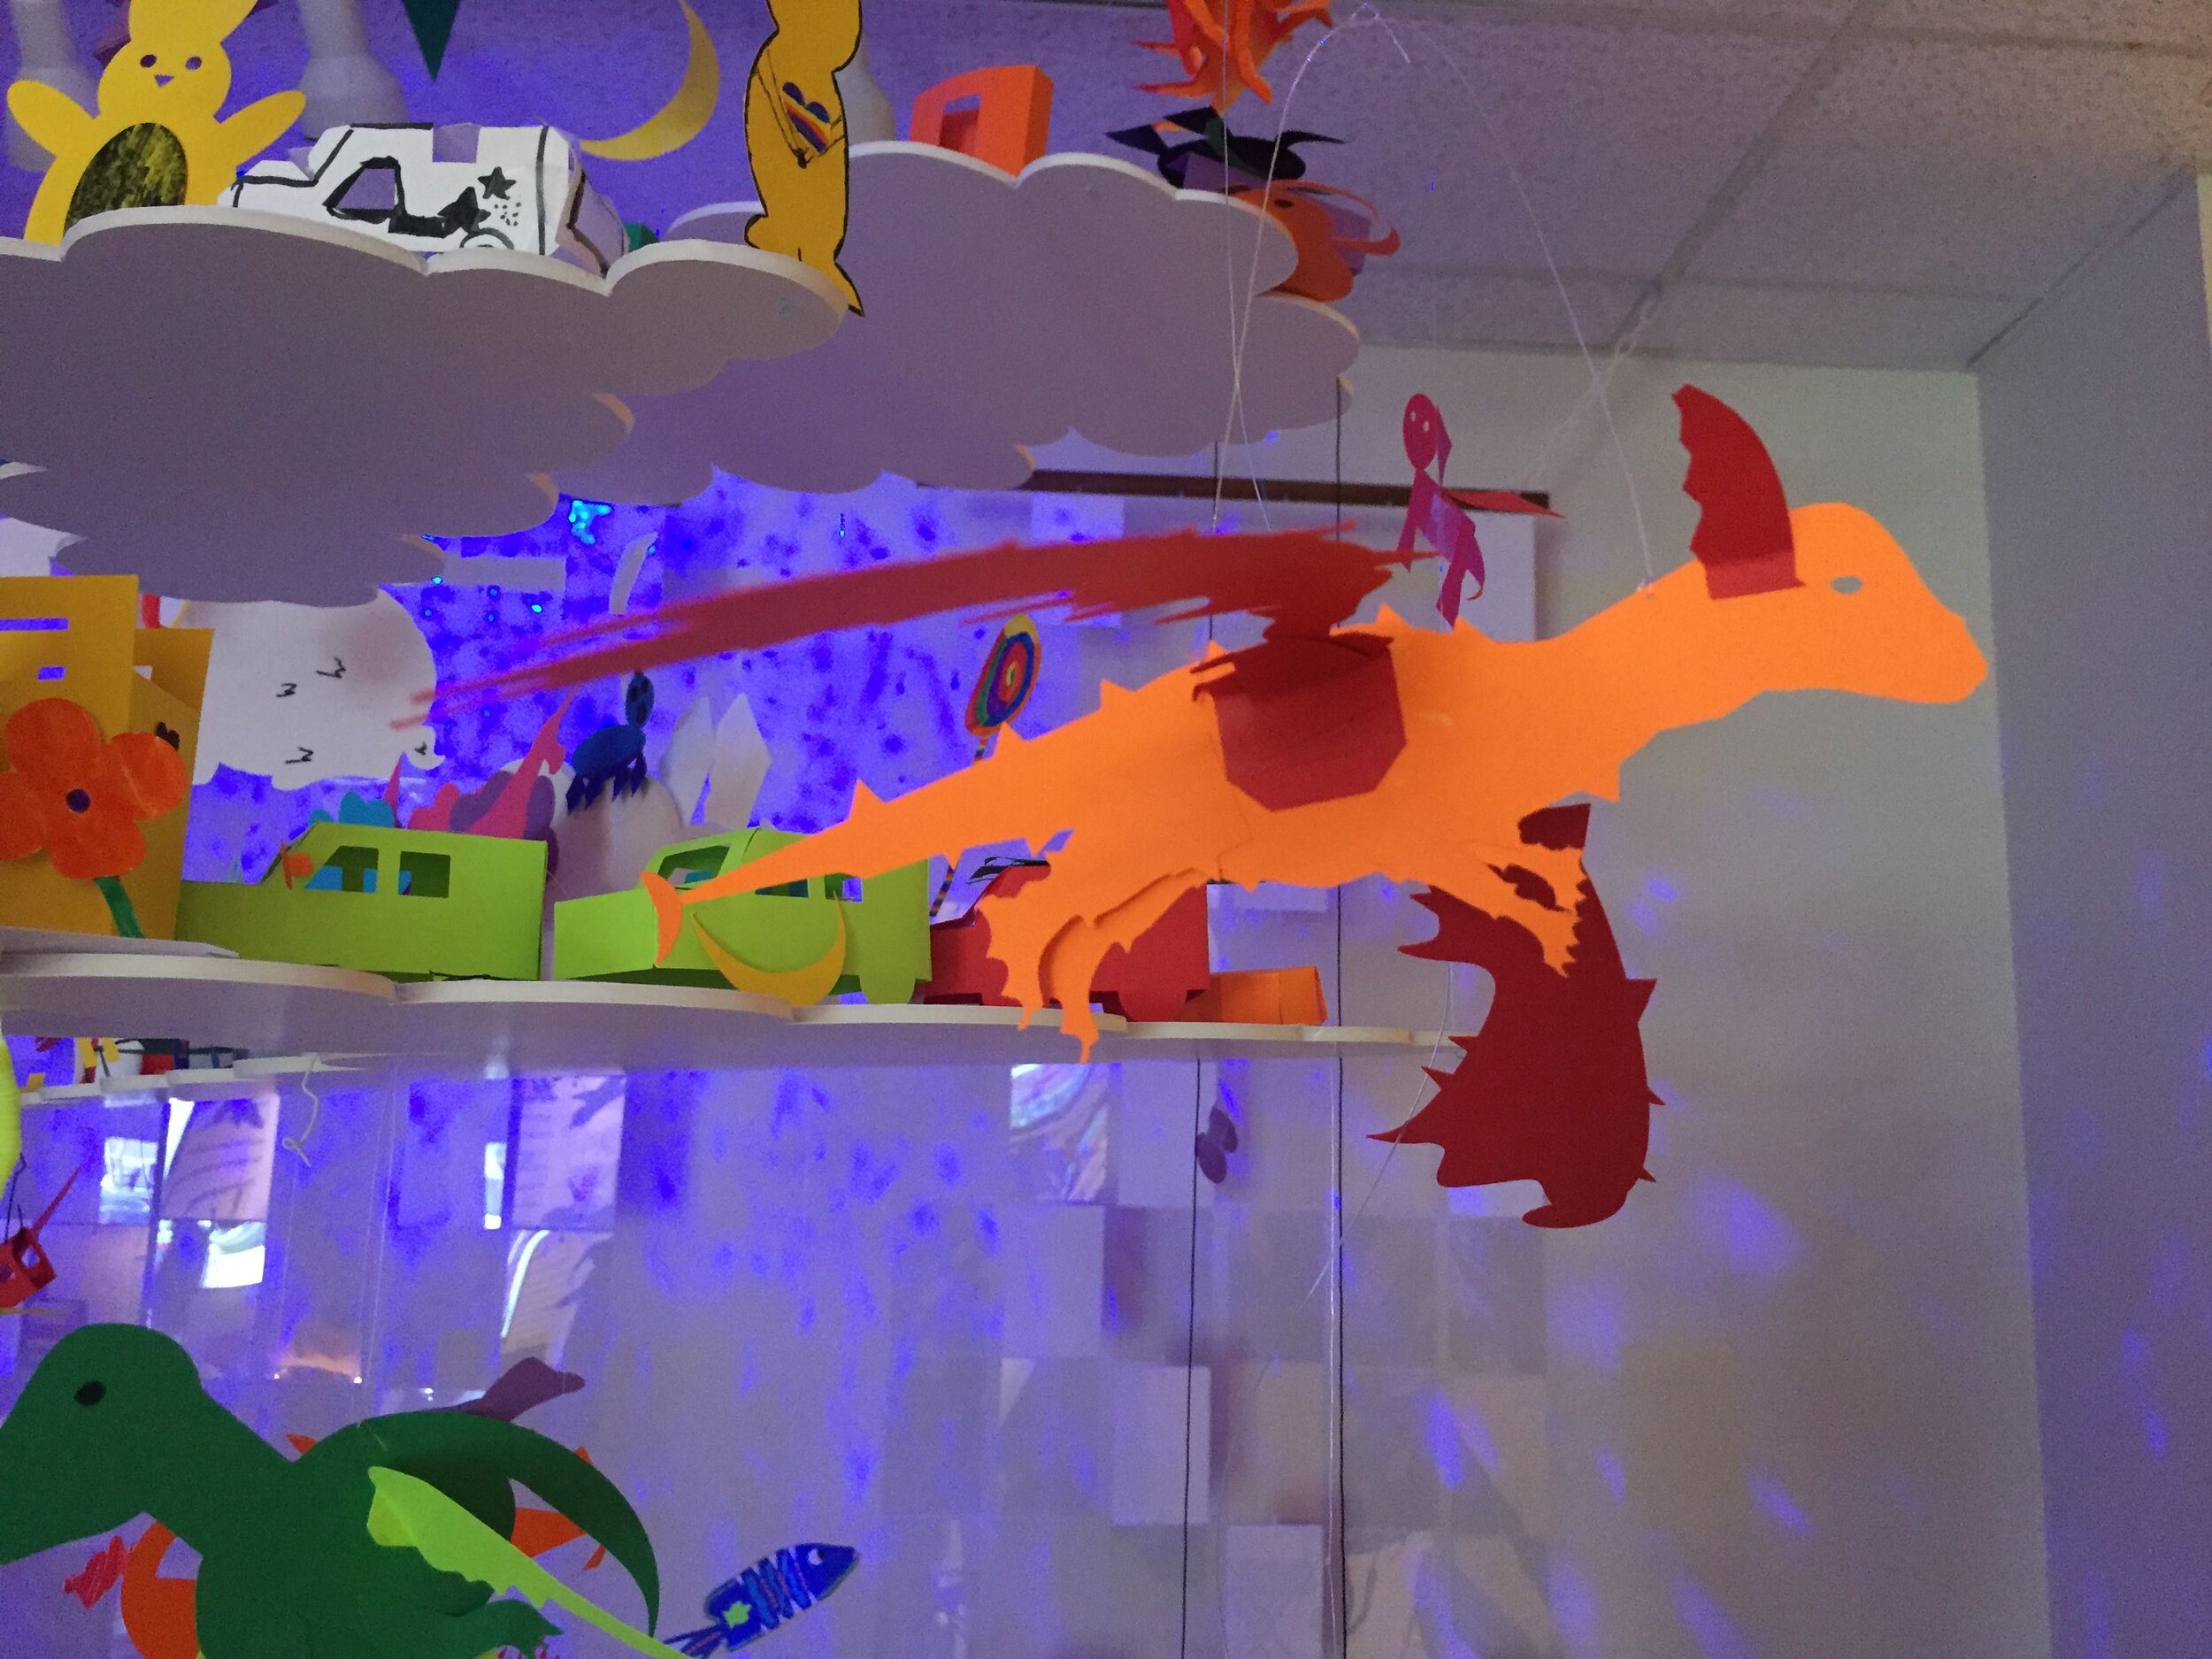
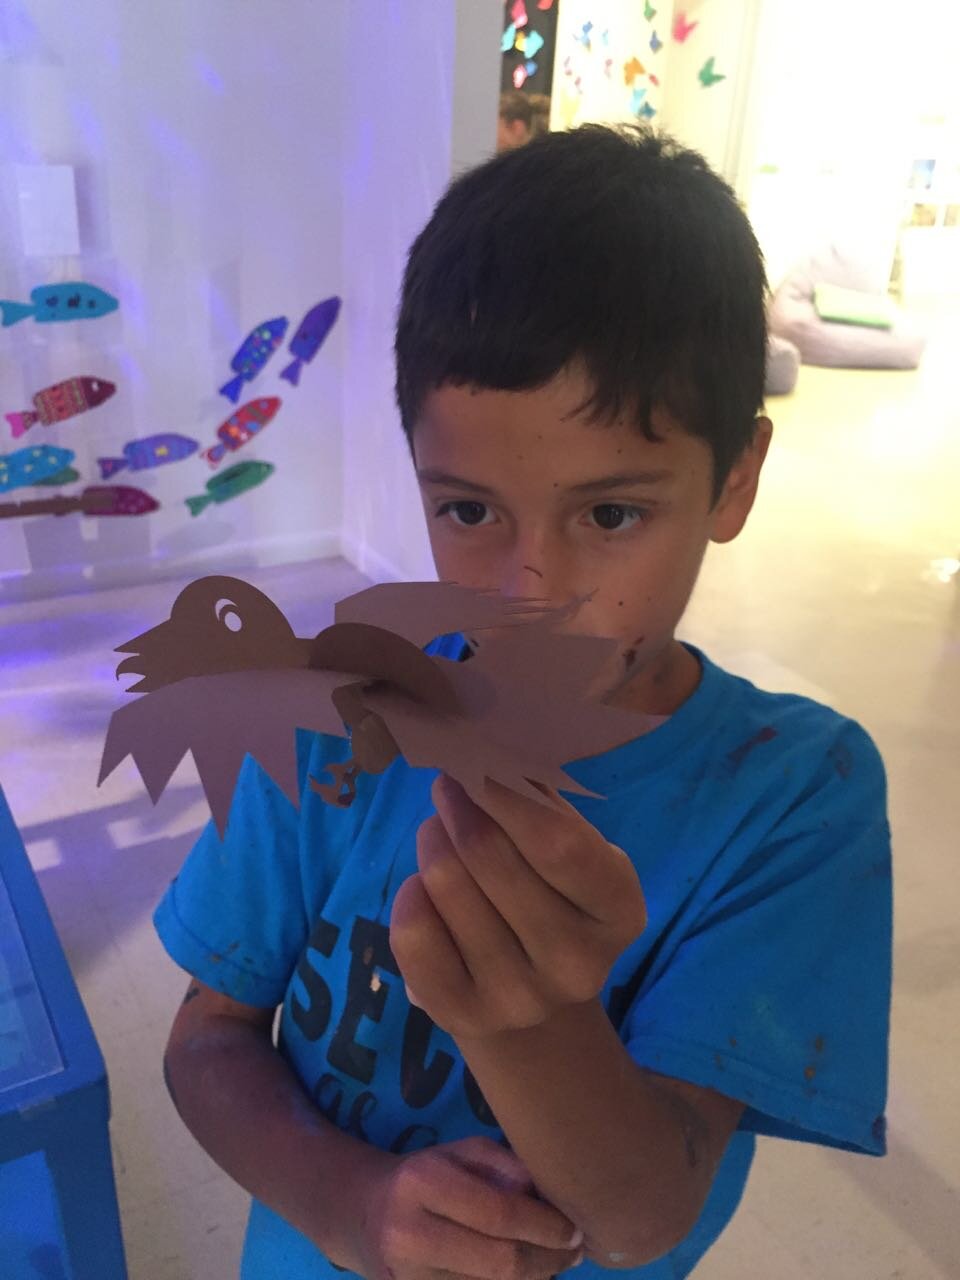
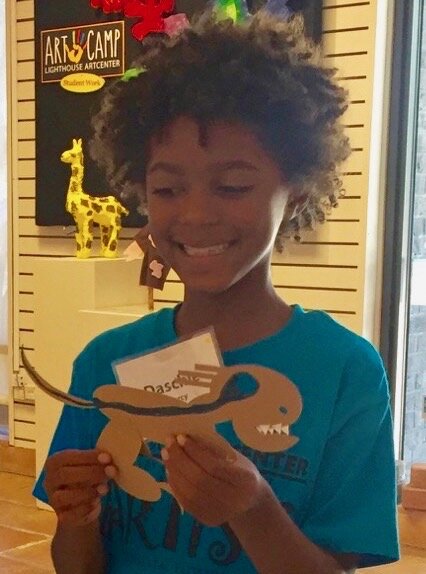
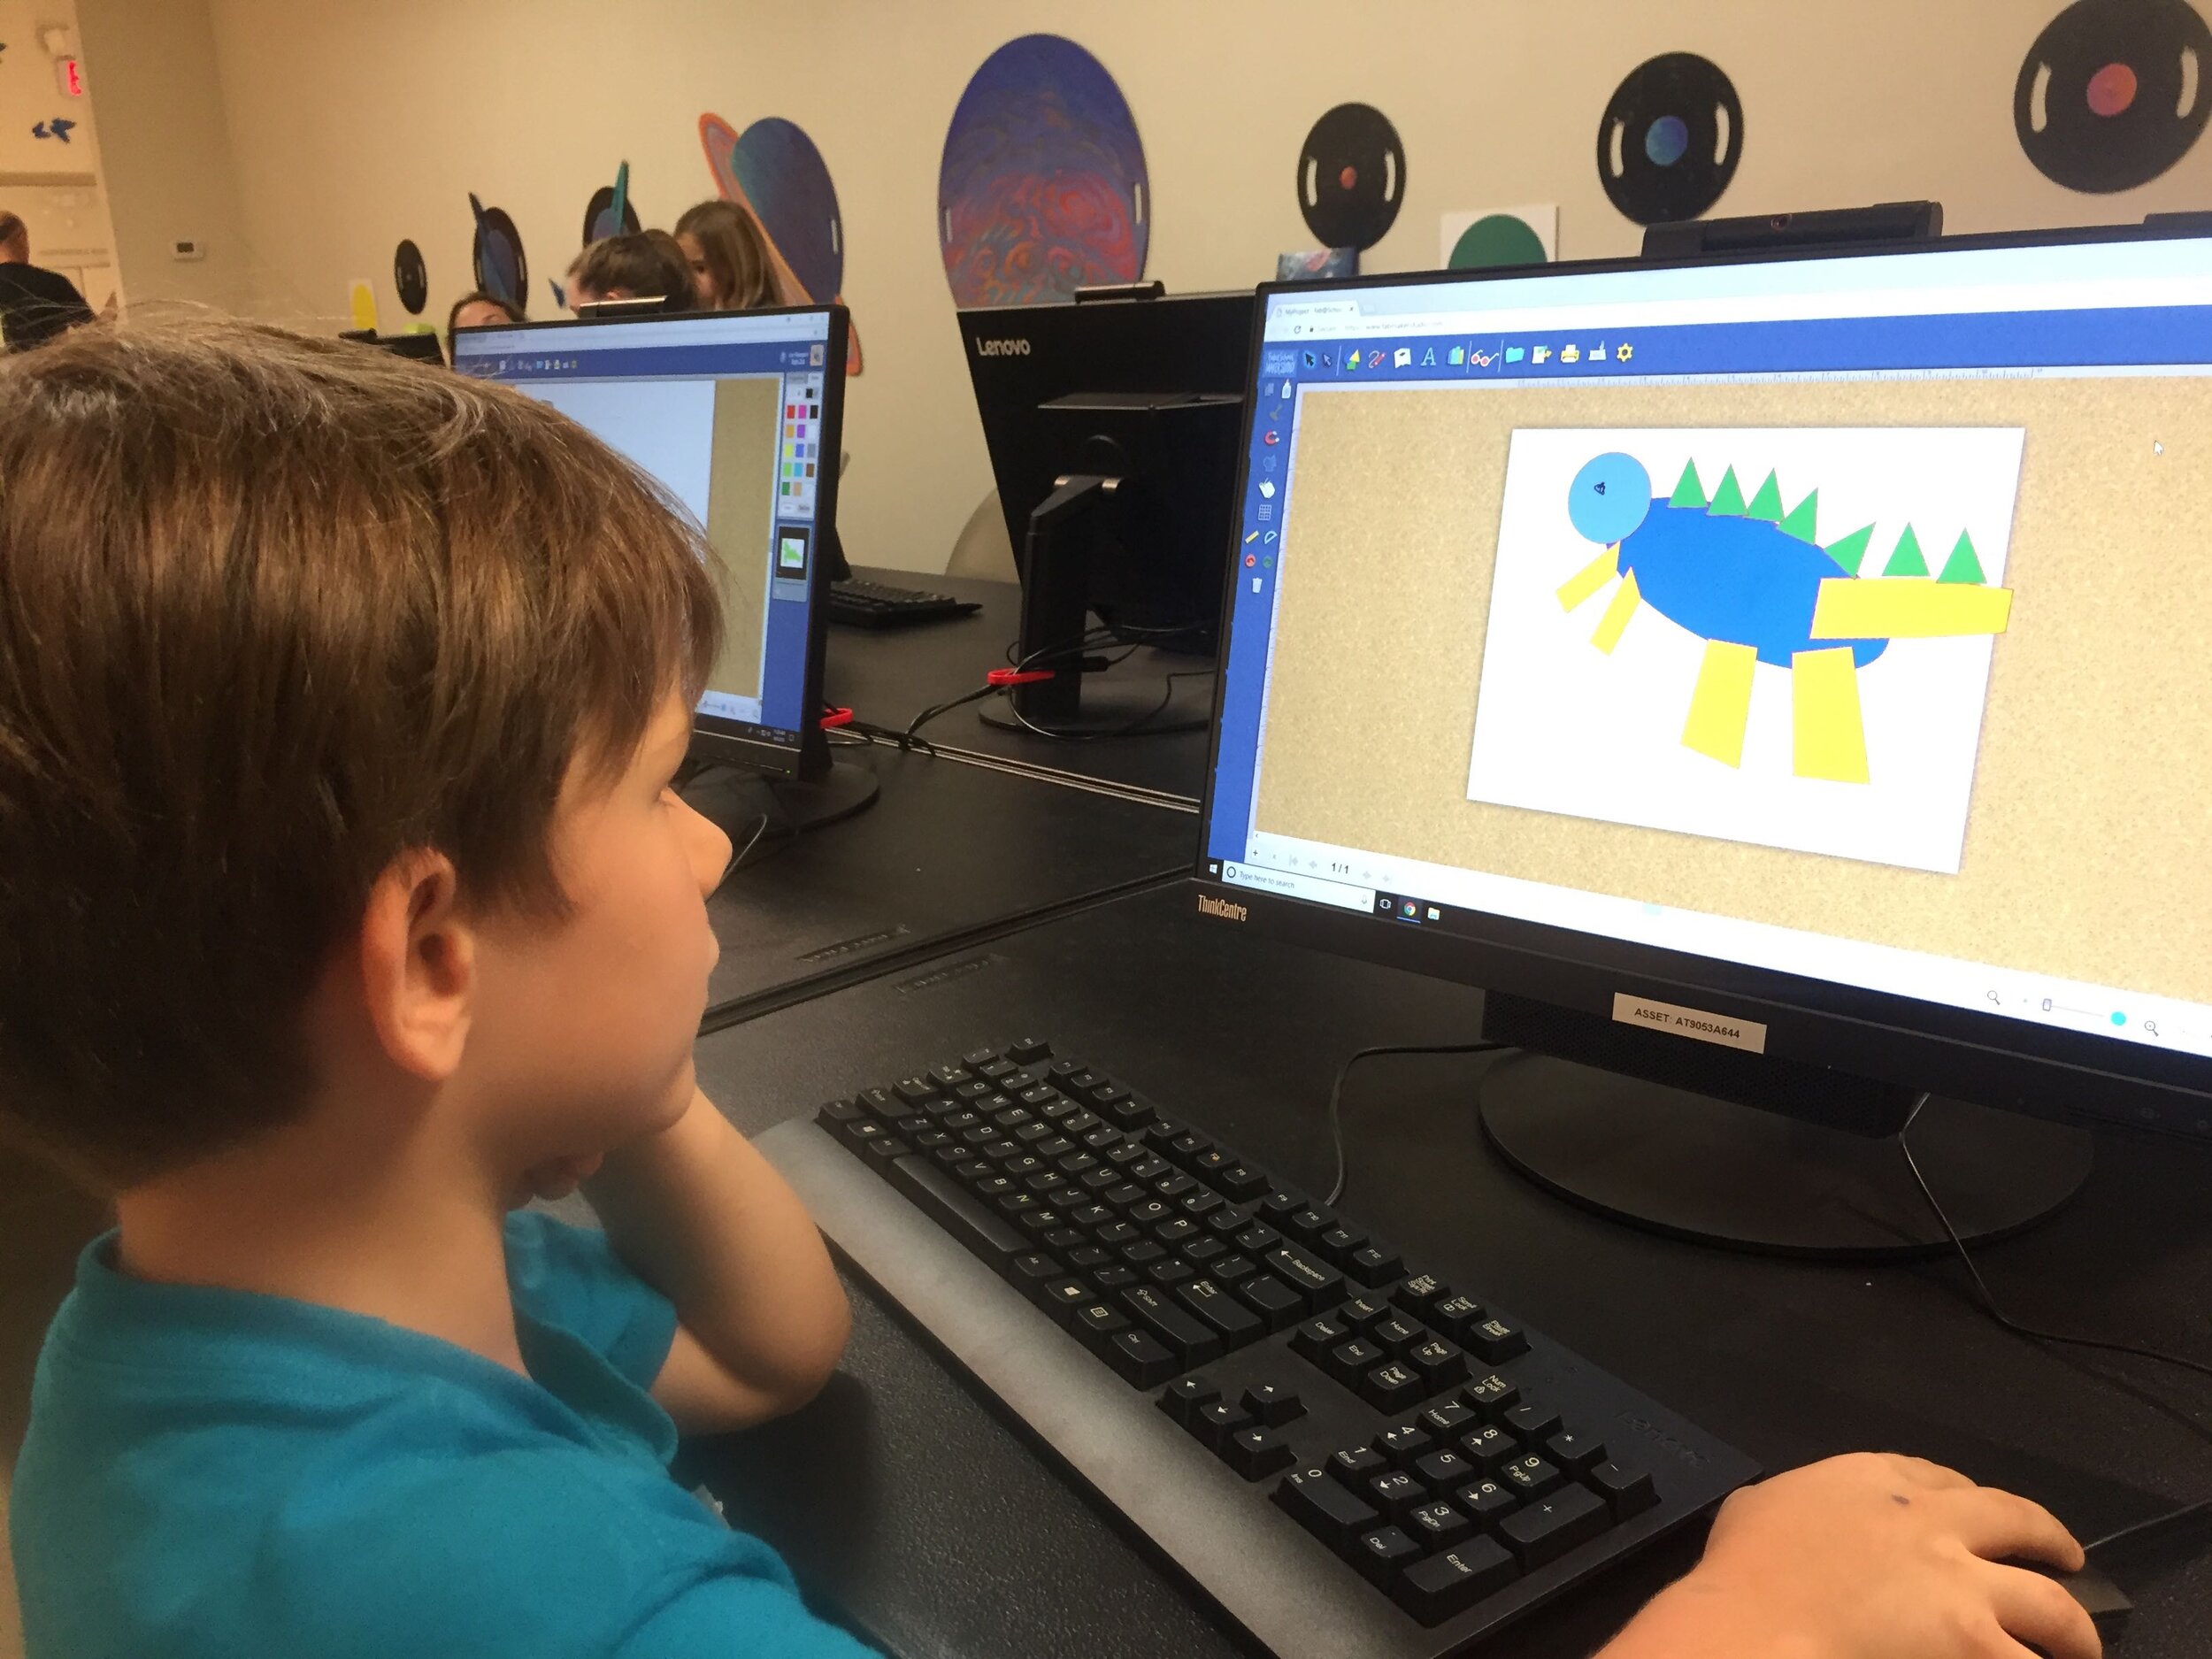
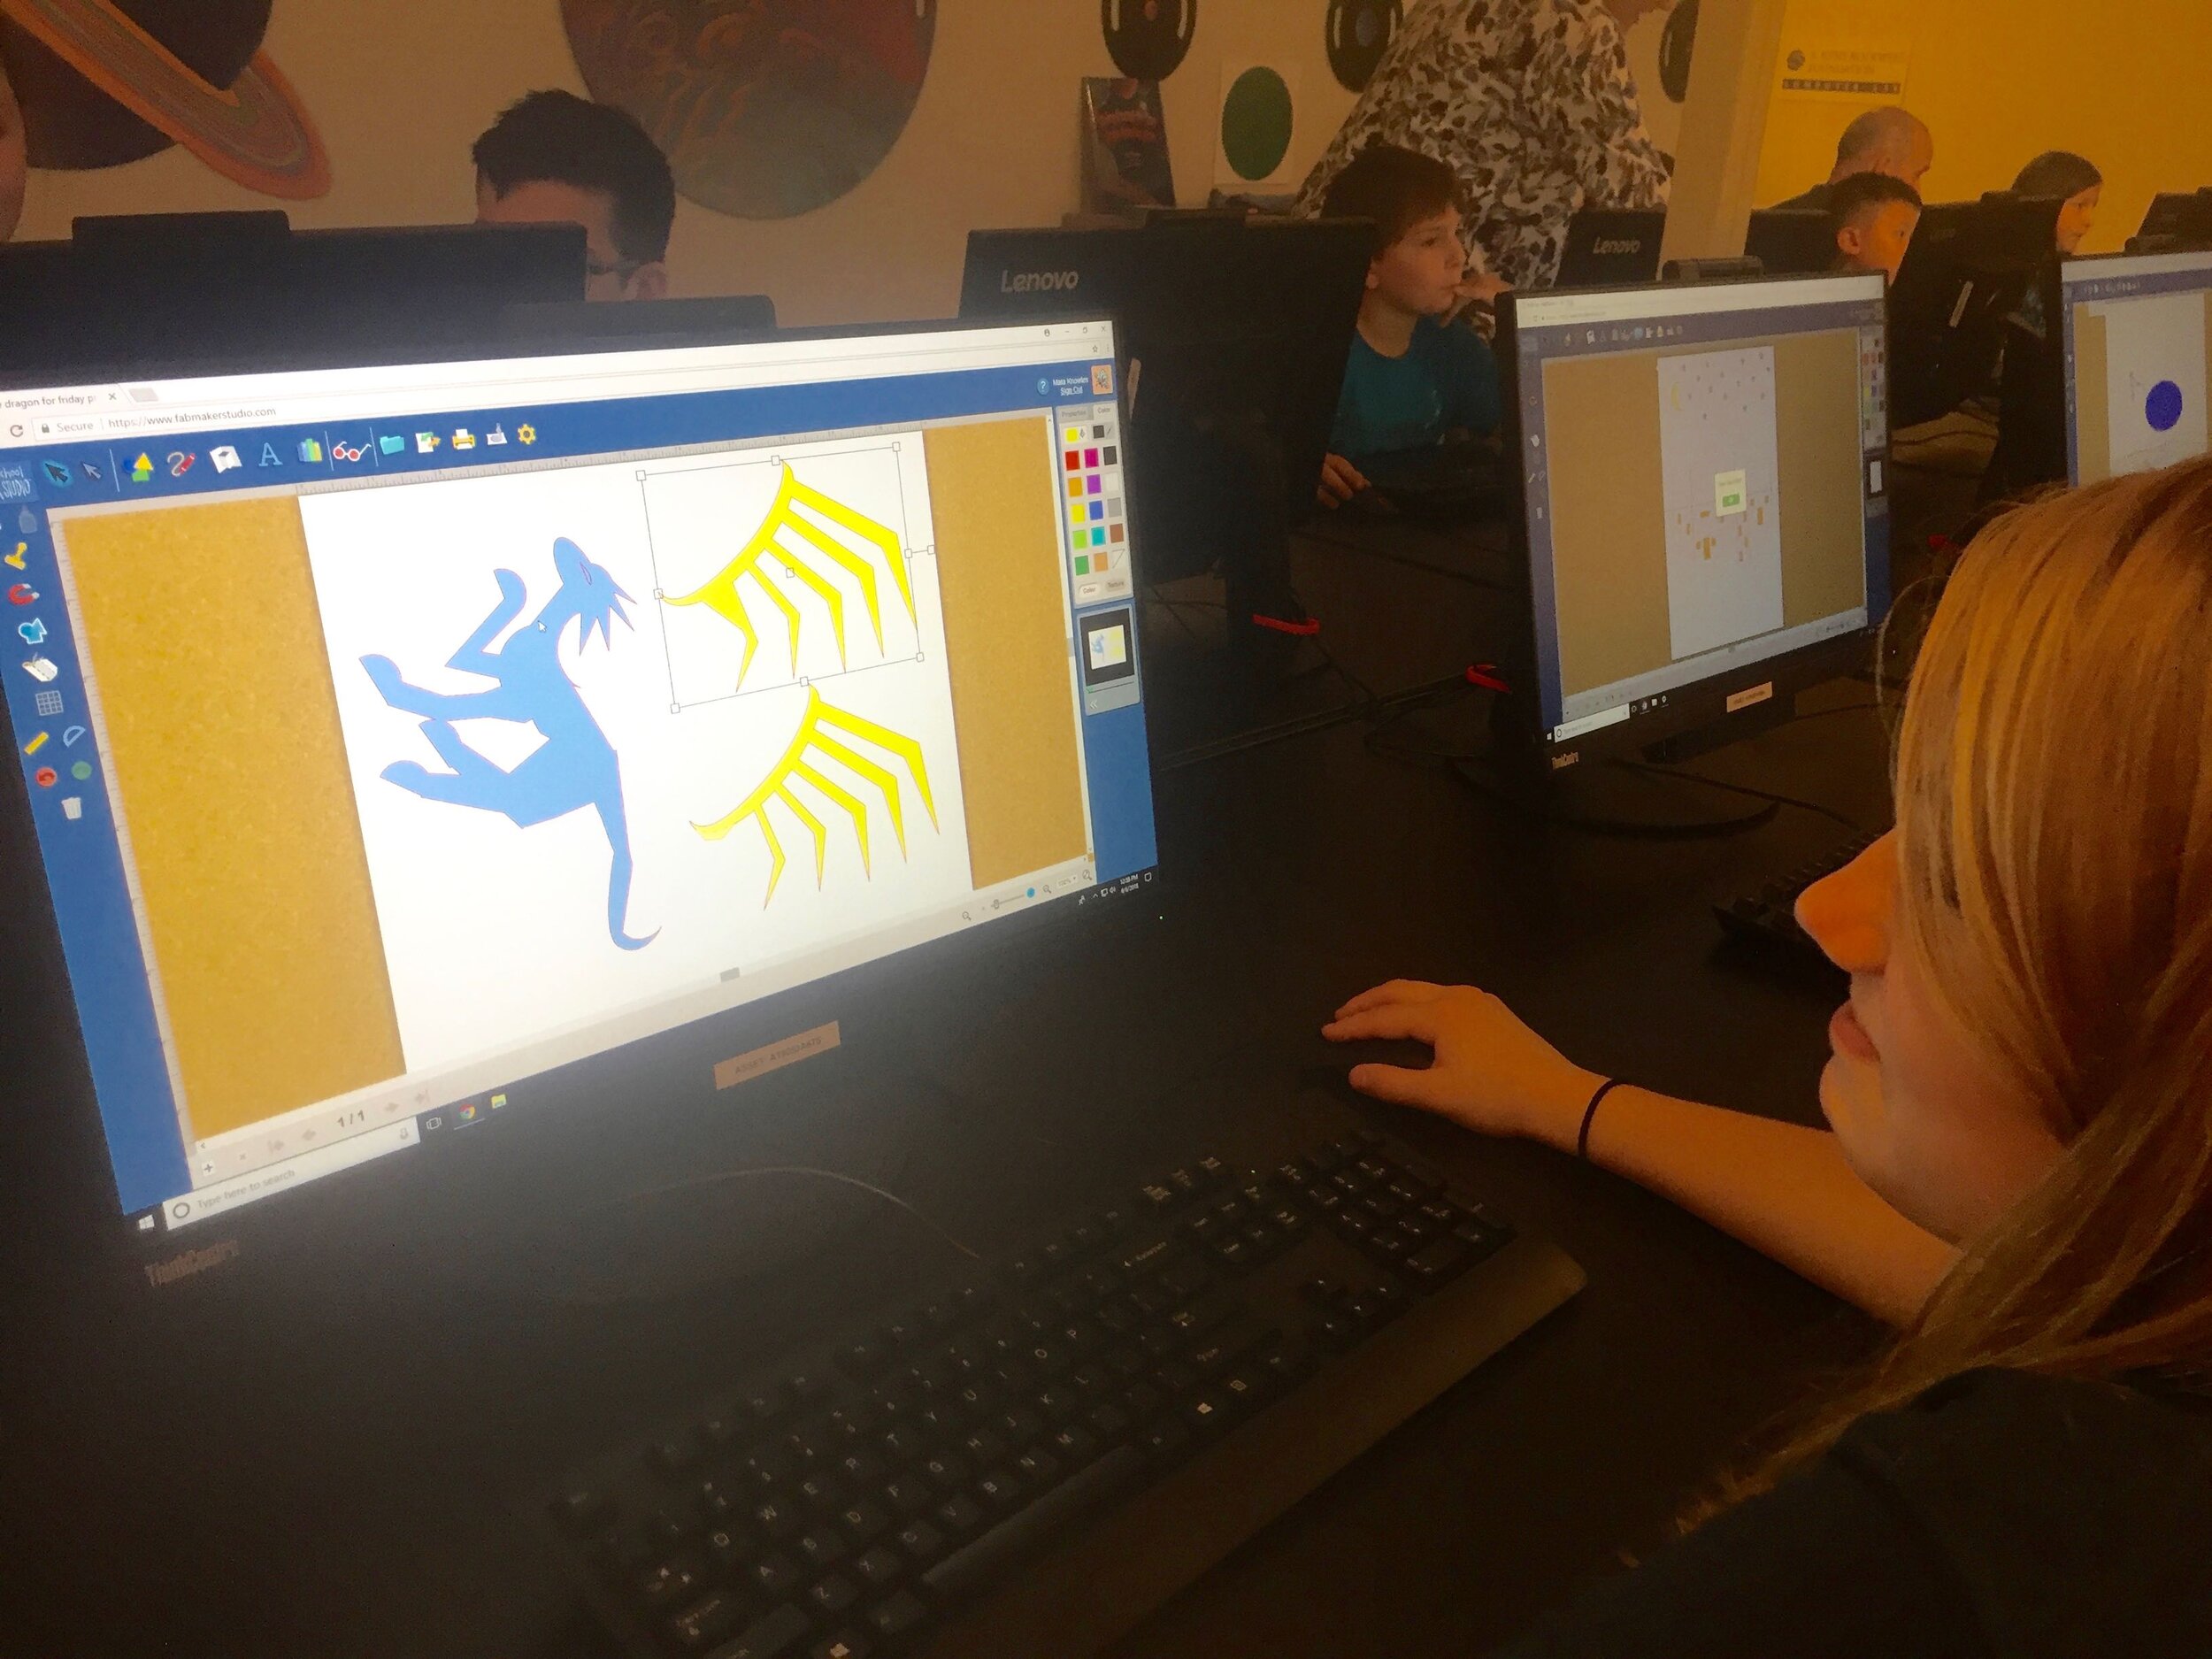

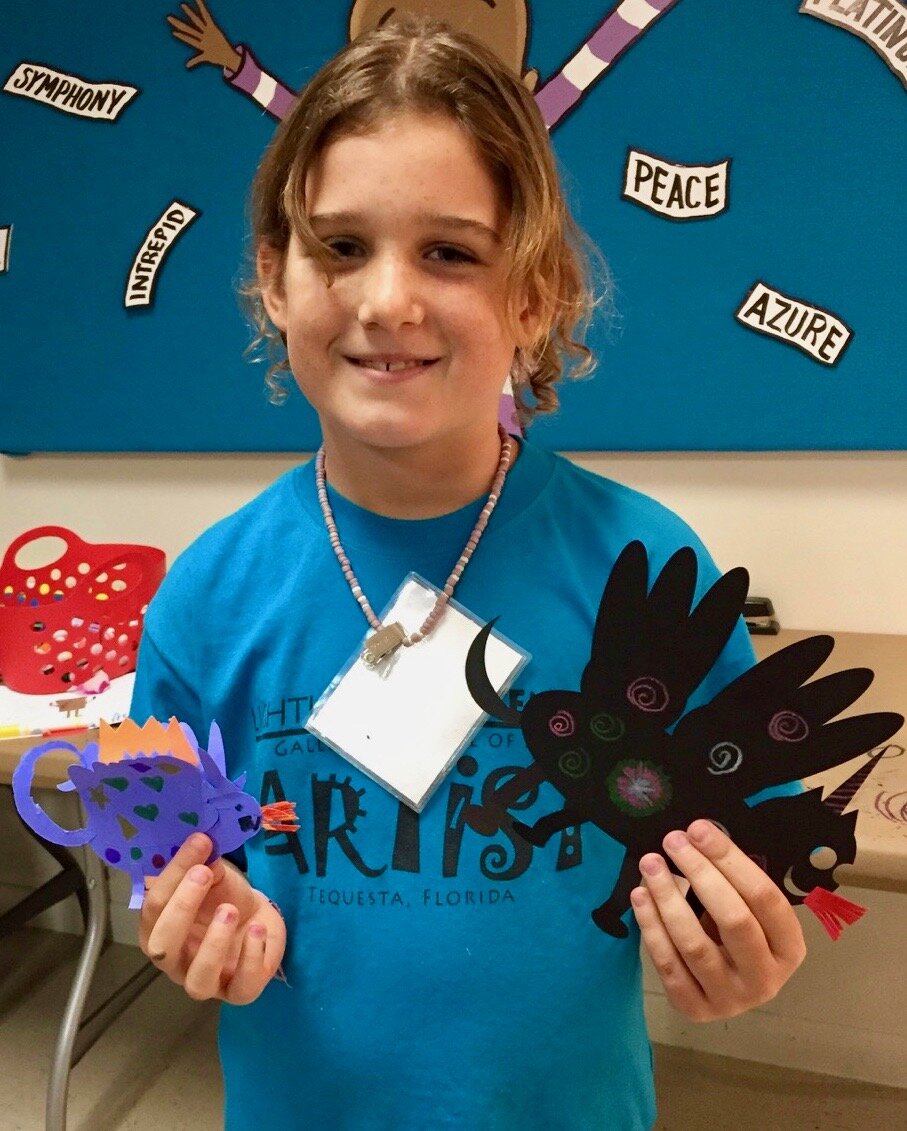
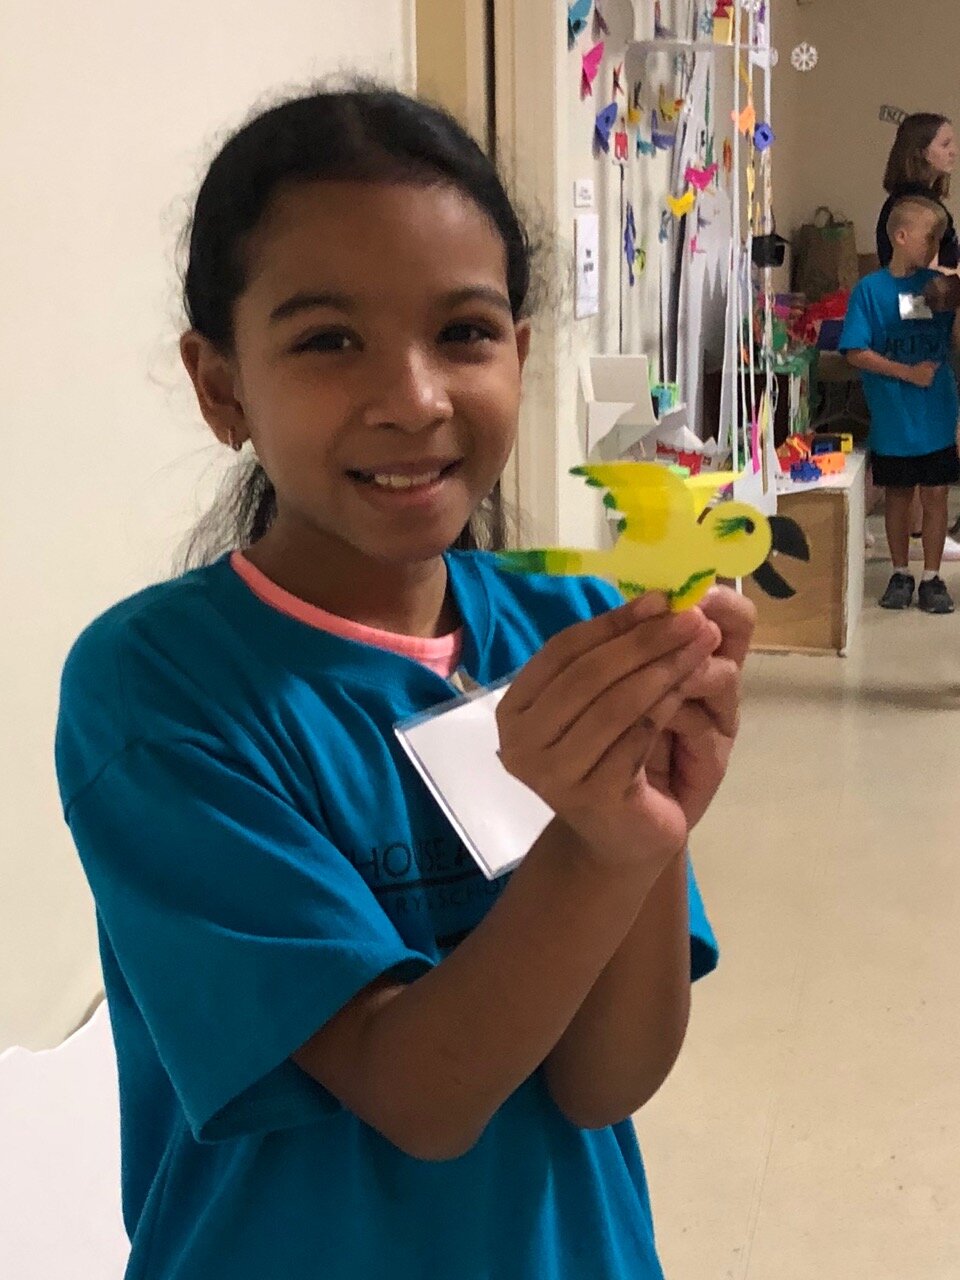
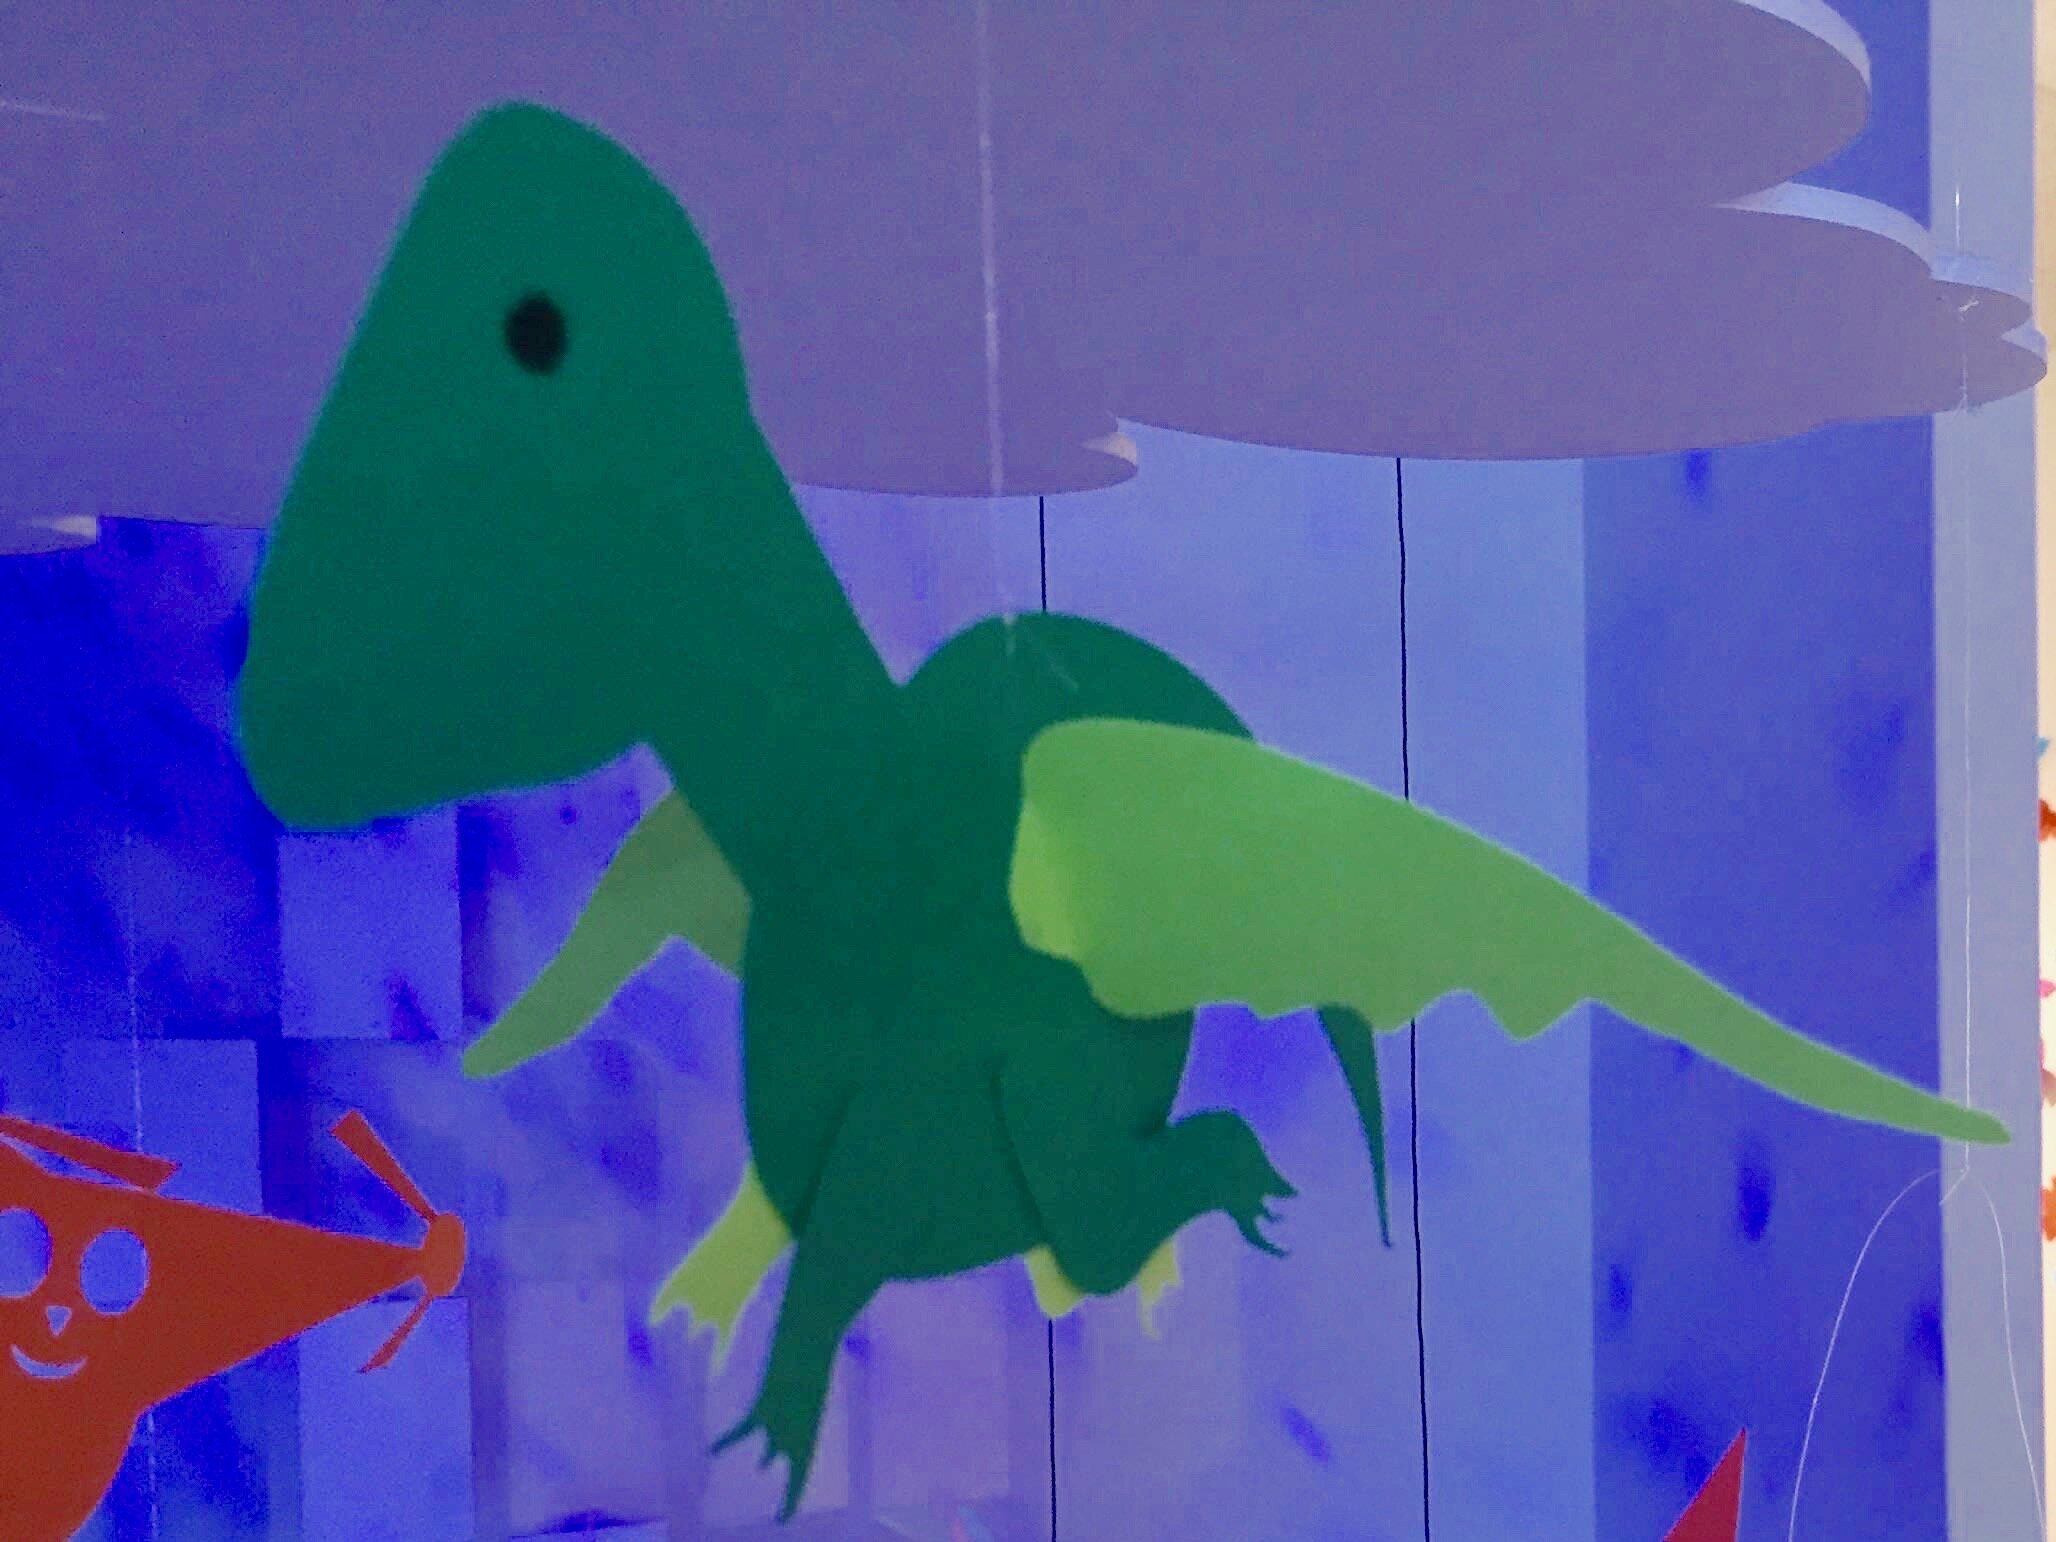
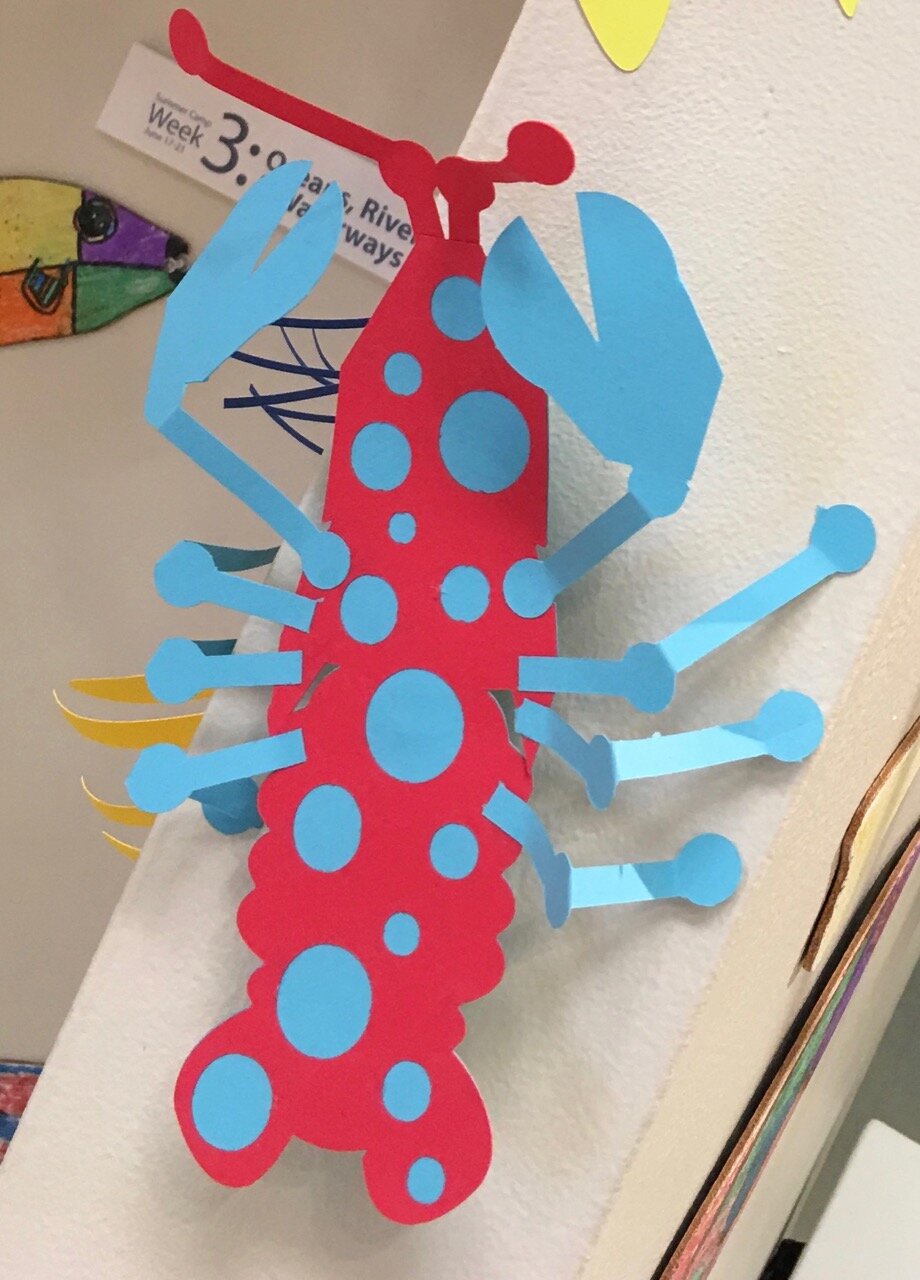
Designing “Mystery Monsters” is a motivating way to address foundational math standards and inspire meaningful writing prompts. In the process, students learn easy but powerful digital design tools they can use for years to come. This project can be simple or sophisticated. Follow the steps that work best for your makers and then print, cut and construct.
Make Your Monster
Watch this short video then follow the steps below.
Step 1: New Project Click here to go to FabMaker Studio. Sign in and go to New Project and click OK.
Step 2: Choose Shapes Open the Shapes tool at the top. Drag shapes onto the screen and arrange them to make your basic monster. To resize a shape, select it and drag handles.

Step 3: Weld Shapes Make sure your shapes touch or overlap. Then place your cursor and drag around all the shapes to select them. Choose the Weld button in the left toolbar to weld your shapes.

Tip: Be sure to drag far enough outside the shapes to select them all before welding.
Step 4: Rearrange If you want to rearrange your monster parts, you can Unweld. Select your monster and click the Weld button. This time, since your monster is already welded, it unwelds. Rearrange the shapes and then drag around to select them all and Weld again.
Tip: Make a mistake? Use the red Undo and green Redo buttons on the left above the Trash can.
Step 5: Save Go to the File button on the top toolbar and choose Save. Select “My Online Files” (or another location if desired), give your file a name, and click Save.

Tip: If you save your FabMaker Studio file to My Google Drive or My Computer, it can only be opened from within the FabMaker Studio software.
Morph Your Monster
Watch this video then follow the steps below.
Step 1: Turn on Edit points With your monster file open, choose the gray Edit Points cursor in the top left corner of your design. The edit points that anchor your design will appear.

Step 2: Drag Edit points Drag edit points to morph your mystery monster.
Step 3: Add new Edit points Click anywhere on the outline to add a new edit point, and then drag the new edit point to reshape. Edit points can be tricky -- sometimes it helps to zoom in. Play around. You can always Undo and Redo.

Step 4: Check your design Choose the standard cursor (black arrow) again to see your morphed monster.

Tip: If you Unweld after using Edit points, you’ll go back to your original shapes and lose all your morphing! Remember you can quickly Undo changes.
Step 5: Save Go to the File button on the top toolbar and choose Save or Save As.
Make Your Monster 3D
Watch this video then follow the steps below.
Step 1: Make a new body part Design wings, ears, legs, bigger tail or other parts to cut separately and attach to your monster. Check the photos for ideas. You can use the following tools.
A. Shapes Tool: Choose a shape and use the handles to resize and reshape it. If you want, combine two or more shapes, weld them, and the choose Edit Points to morph.
B. Lines Tool: Choose the Lines tool and then choose Straight Lines, Curved Lines, or Brush. To use Straight Lines or Curved Lines, click to place each point. Double-click to place the final point. To close a shape, place your final point at or near the beginning point. For more detail on the Lines tool, see the FabMaker Studio Lines tutorial.
Step 2: Save Go to the File button on the top toolbar and choose Save or Save As.
Step 3: Print, cut and construct
To cut by hand: Click the Print button at the top. If you want to color by hand or use color paper, select “Print Cut & Fold Lines” and “Remove Color Fill” on the Print Preview page. Then select Save to PDF and print.
To cut with a Silhouette: If you want to color by hand or use color paper, you can send directly to the cutter. Click the Fabricate button at the top and follow instructions. Tip: Shapes have automatic cut lines, but objects created with the Lines tool do not. To define the outlines of these objects as cut lines, see the “Cut Fold Tab” tutorial or the FabMaker Studio User Guide for details.

What To Do With a Mystery Monster?
Write about your mystery monster. How big is it? How does it move? Where does it live? What does it eat? Does it have any enemies?
Tell a story about your mystery monster.
Now that you’ve honed your design skills, create a herd or flock or an entire habitat complete with flora and fauna.
Share your mystery monster. Post a PDF or picture of your monster. For more share options, see the FabMaker Studio User Guide.
For more information, contact us at info@fablevisionlearning.com. We invite you to join the conversation on Facebook the FabMaker Teacher Group.

FabMaker Pop-ups: Math in the Palm of Your Hand!
The following blog post is by Peggy Healy Stearns, Lead Software Designer, FabMaker Studio.
Pop-ups are surprising and fun – and a great way to explore shapes, angles, triangles, parallel lines, symmetry and other math concepts. They also provide great opportunities for story telling and descriptive or other expository writing.
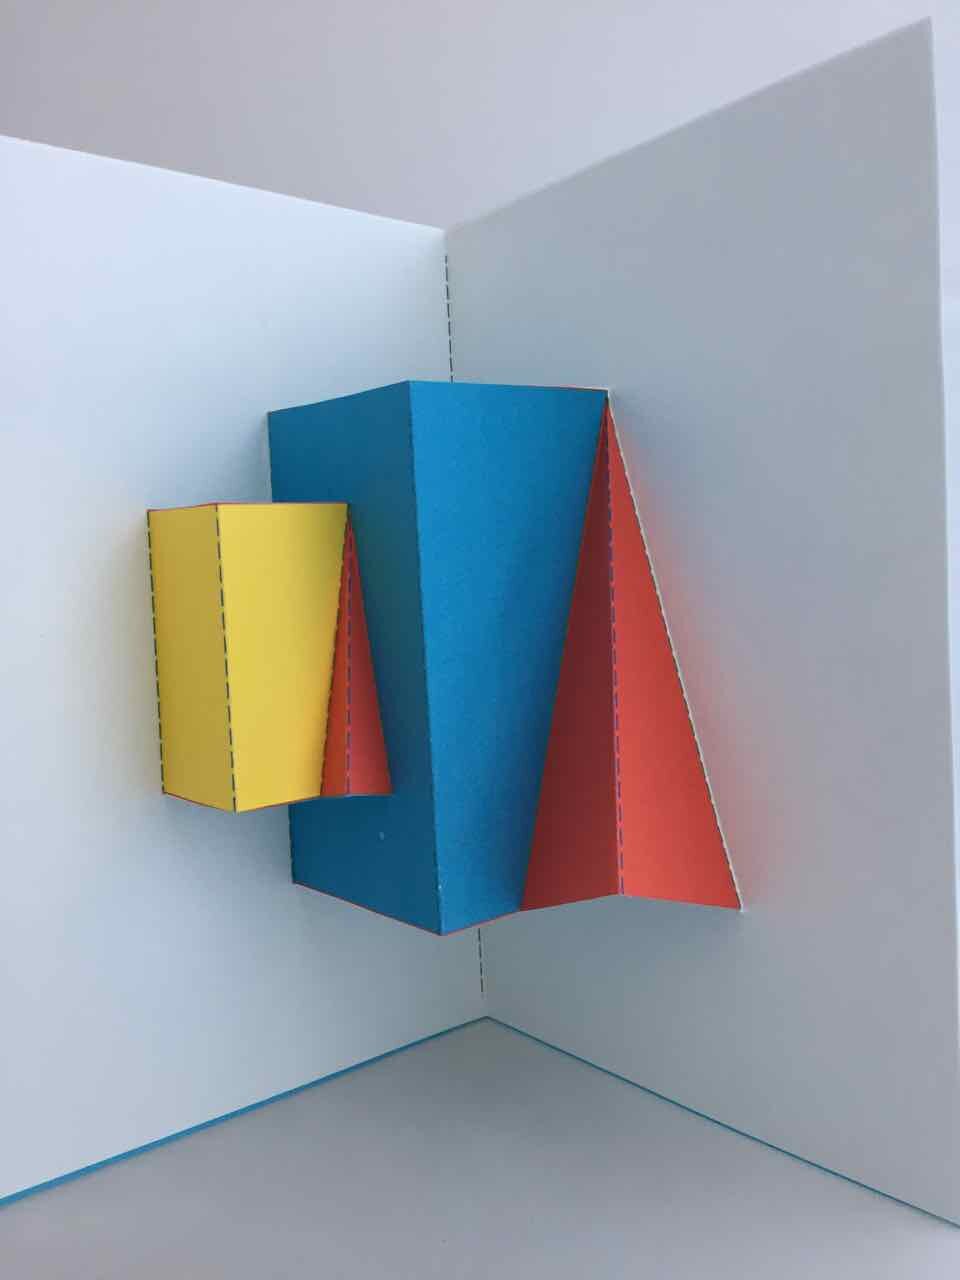
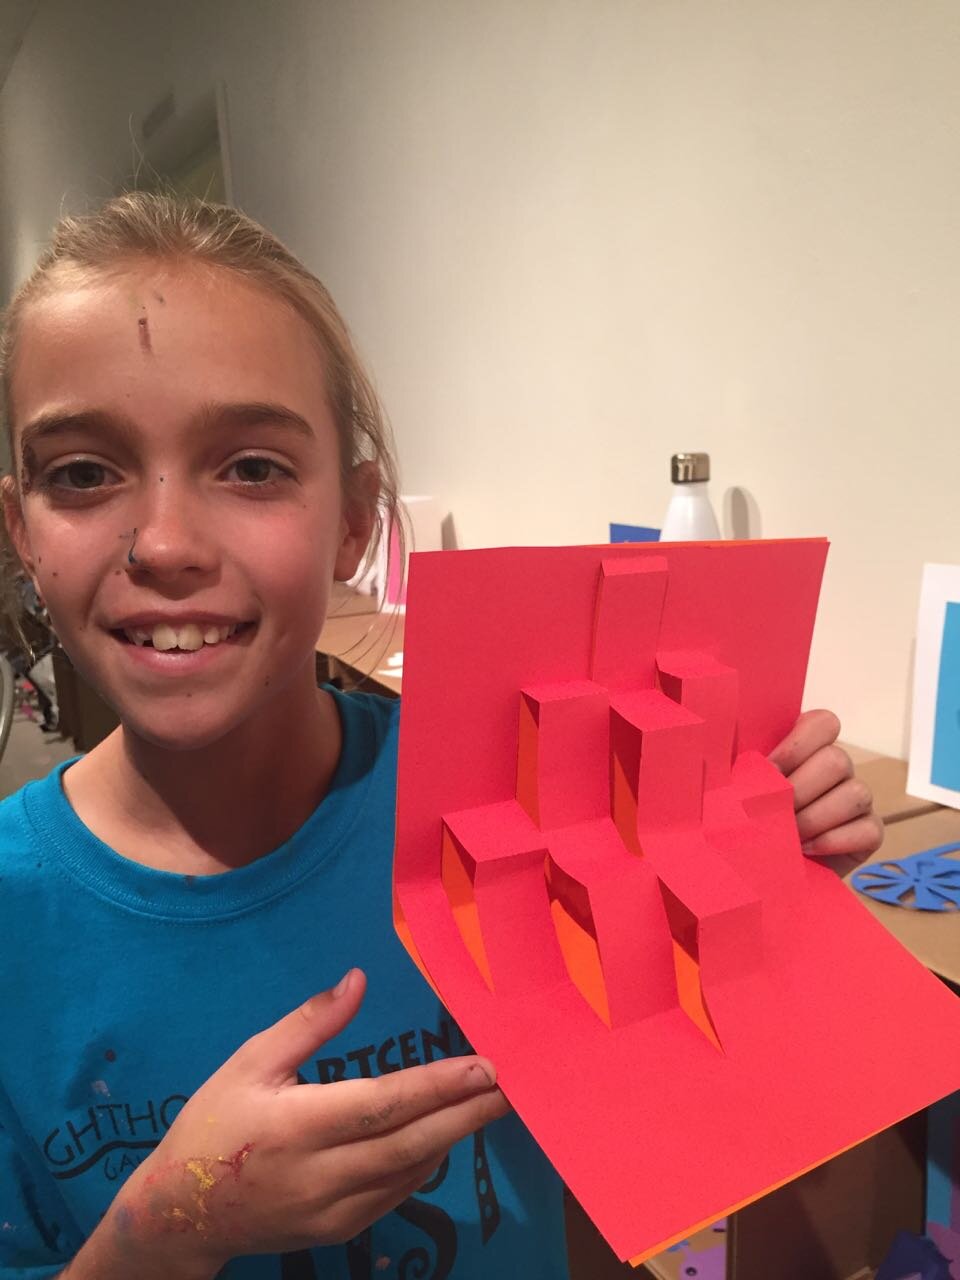
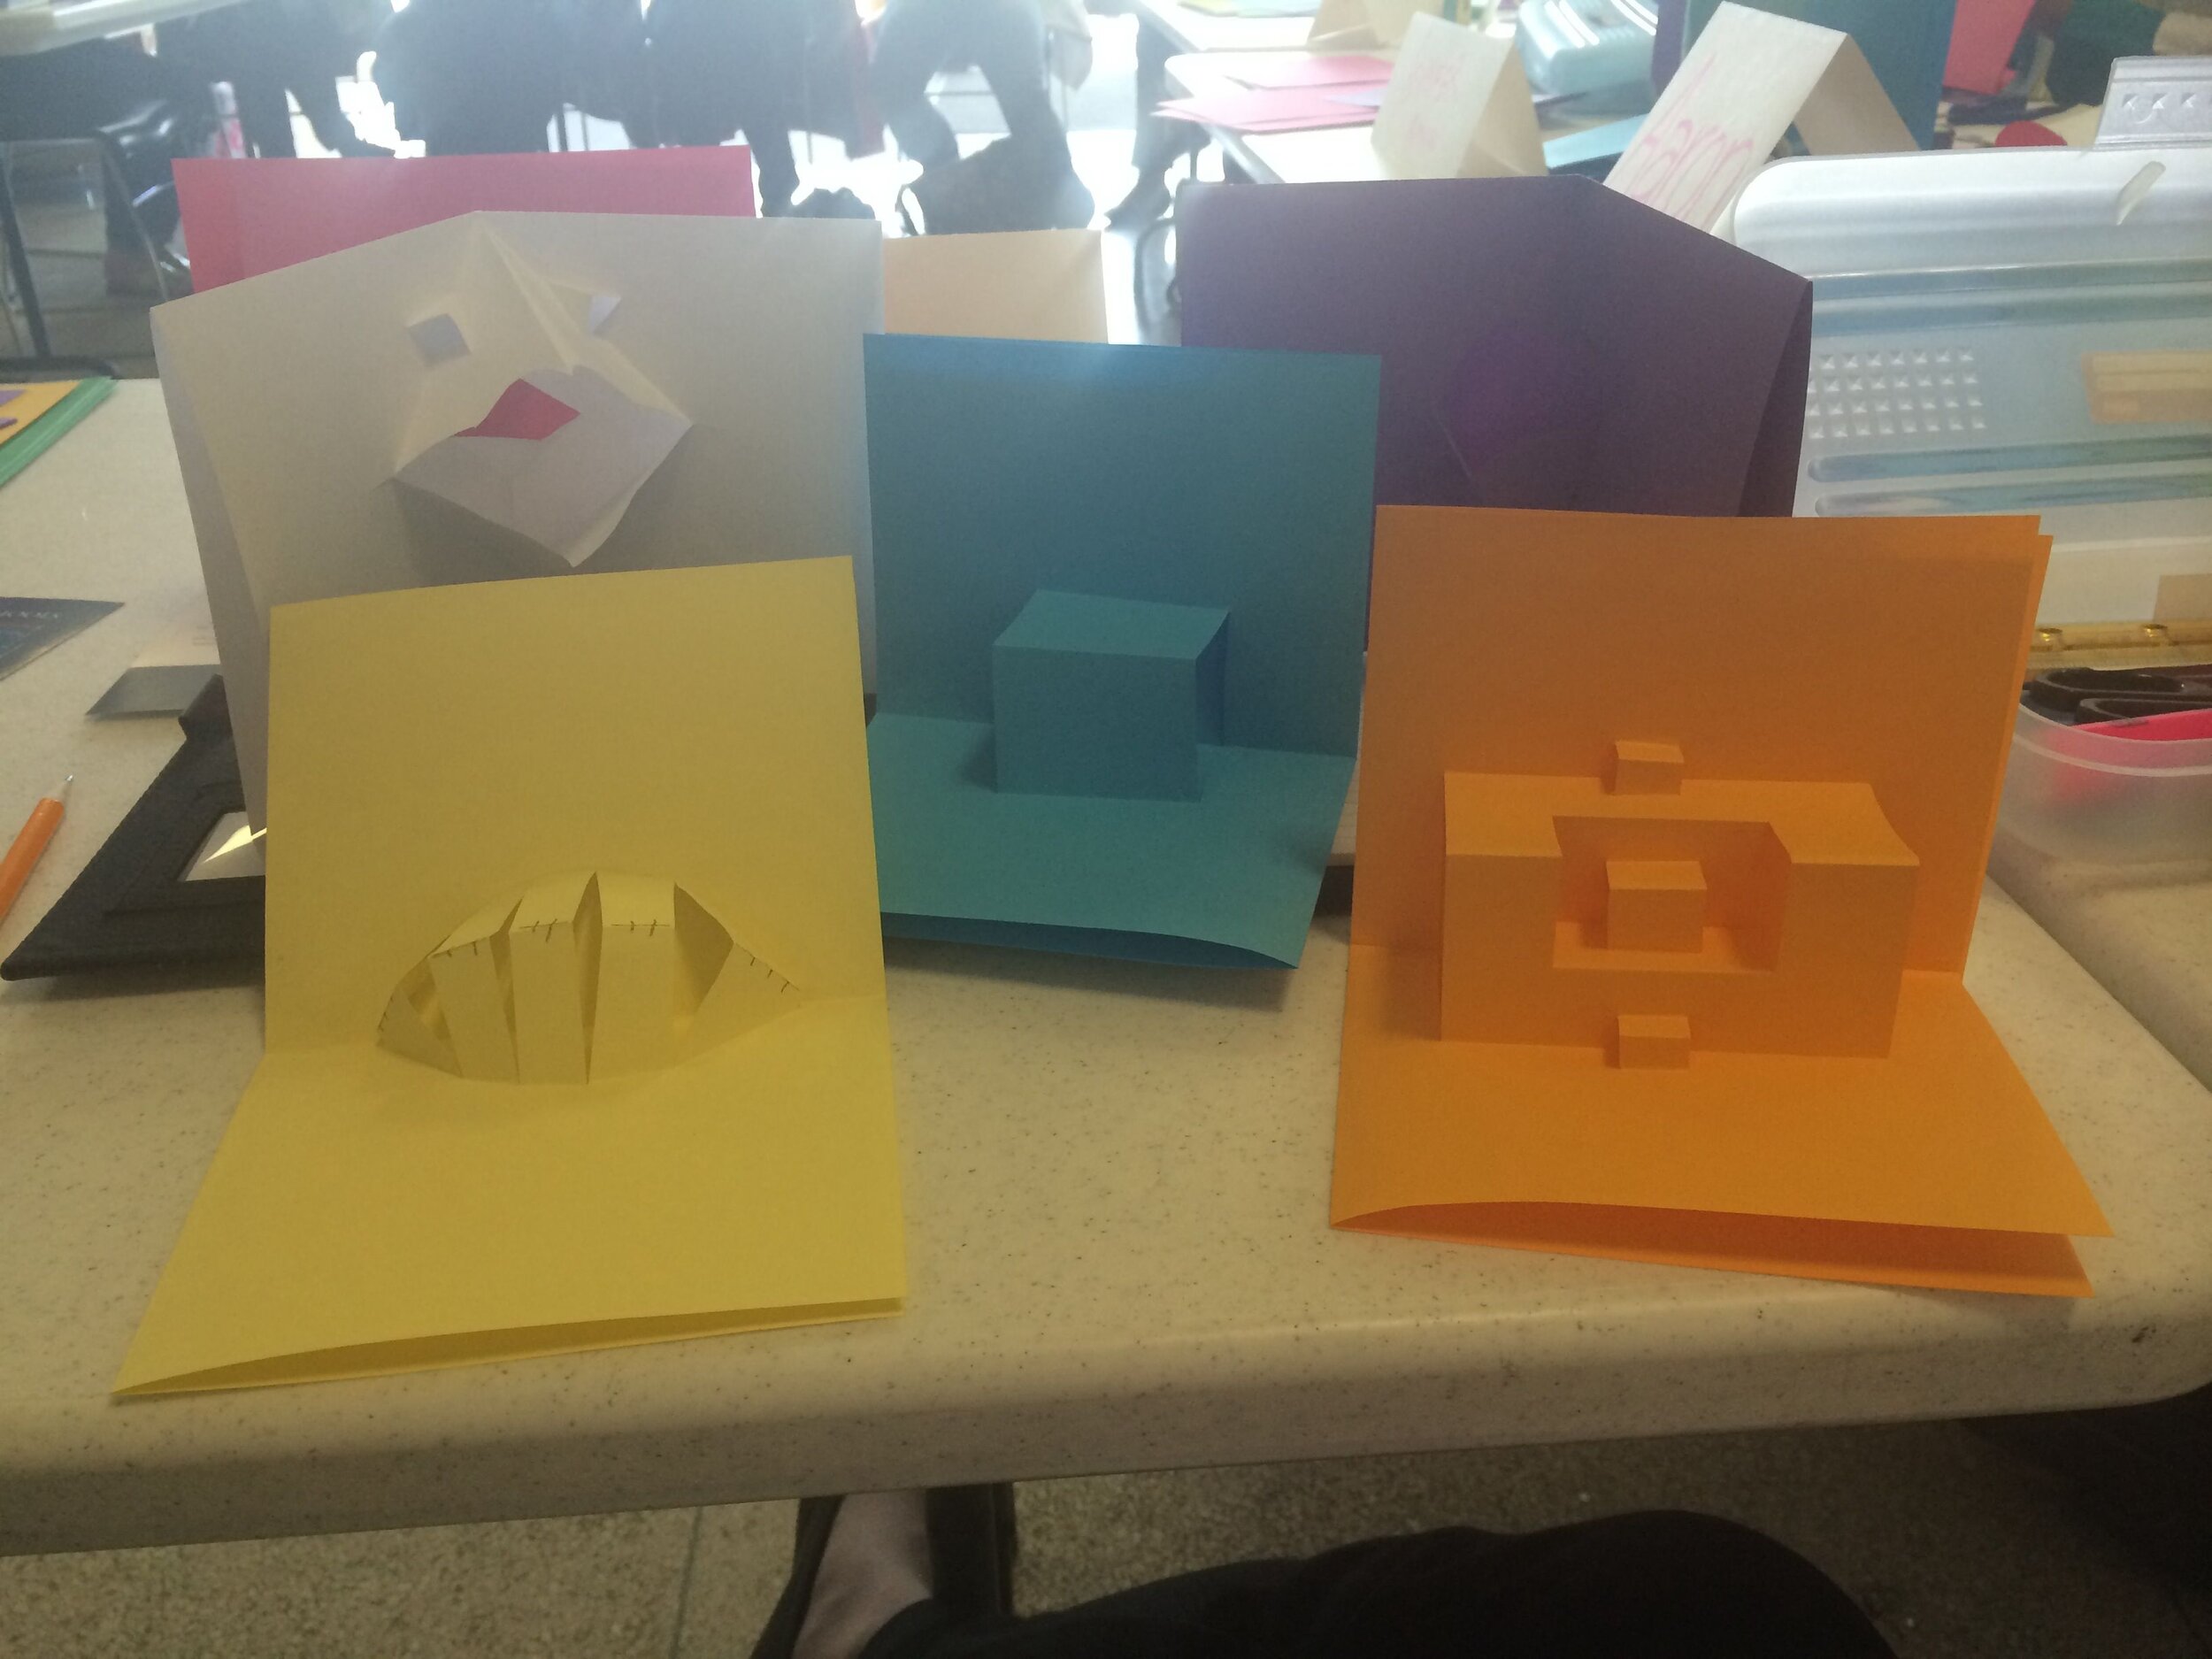
With FabMaker Studio, you can play with these cool constructions onscreen in both 2D and 3D view and then fabricate and explore them in the palm of your hands.
Watch this short video then follow the steps below.
Step 1: Open a Ready-Made Click here to go to FabMaker Studio. Sign in and go to Ready-Made Projects. Choose the tab for Pop-Ups. Wait for the projects to load and scroll down to select and open the Tree Pop Up.

Step 2: Explore When your file opens in the Edit screen, note the different shape pop-ups and the red cut and green fold lines. Go to 3D View in the lower right and click the Larger button (double arrow) to expand the 3D view. Drag the green slider to see the box open and close. Place your cursor in the black area and drag to change the view angle.

Step 3: Print Click the Print button at the top. On the Print Preview page, select Print Cut & Fold Lines. If you colored your pop-up, you may want to select Remove Color Fill. Then select Save to PDF and print your pop-up on standard printer paper or cardstock.
For more details on how to to use scissors to finish your project click here.

Step 4: Construct Fold your printed pop-up along the center fold with the print side out. Cut along the three red cut lines. Then fold the three pop-up elements to the side along the green lines. Open your page and pop out the elements. If you want, color your pop-up and mount it on another piece of paper or card stock.
Watch the following video with quick tips for customizing a pop-up, then move on to Step 5.
Step 5: Customize. Go back to FabMaker Studio and modify the Tree Pop-up or another readymade pop-up to design your own original creation.
Add color
Move elements
Resize elements
Add new elements
If you want to save your customized pop-up, select the File button at the top and choose Save. In the dialog, choose a location to save to, give your file a name, and select Save.
Step 6: Design. Ready to design your own pop-up from scratch? Here’s one more video to set you on your way!
Play around, have fun, and discover how learning and play come together with FabMaker Studio! FabMaker Studio is the first digital fabrication software tool developed specifically for use in the classroom. It is an easy-to-use, web-based program that invites students to experience STEM and STEAM learning in an engaging, personally meaningful way.
For more information, contact us at info@fablevisionlearning.com. We invite you to join the conversation on Facebook the FabMaker Teacher Group.

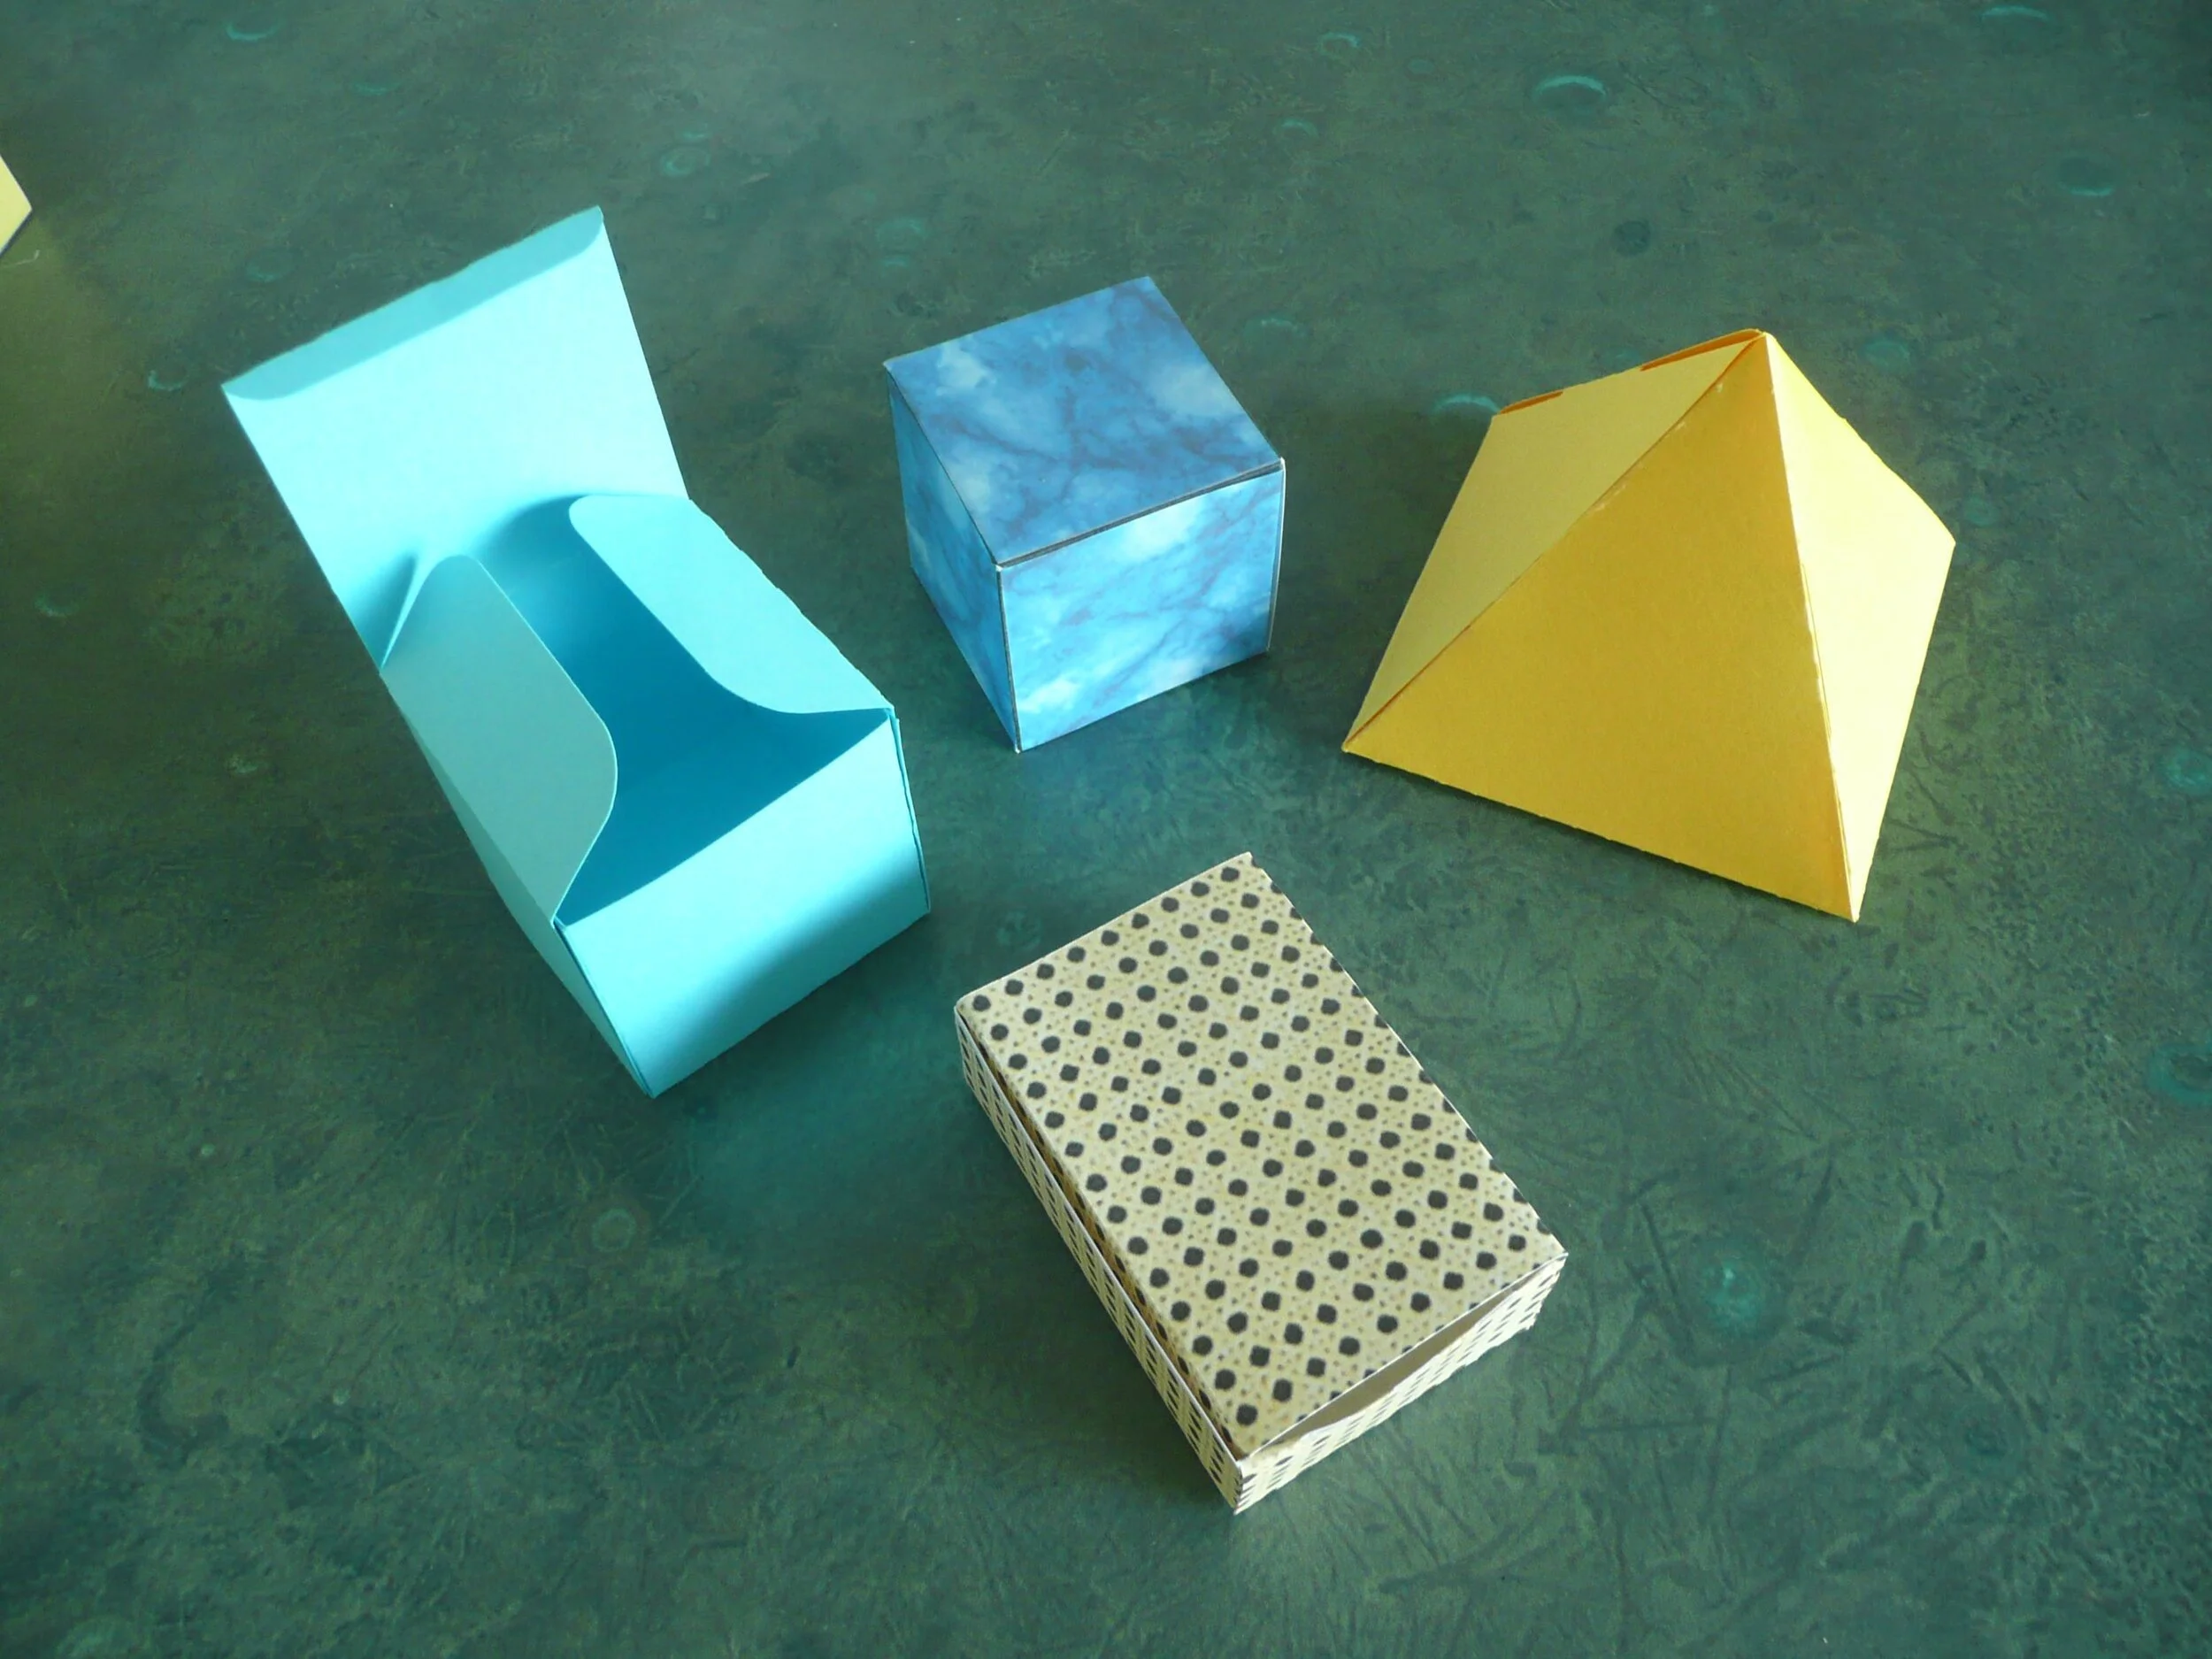
FabMaker Project Idea: Package What You Love

The following blog post is by Peggy Healy Stearns, Lead Software Designer, FabMaker Studio.
During Peter H. Reynolds Facebook Live reading of I Am Love, he shared a box designed to package “unconditional love.”
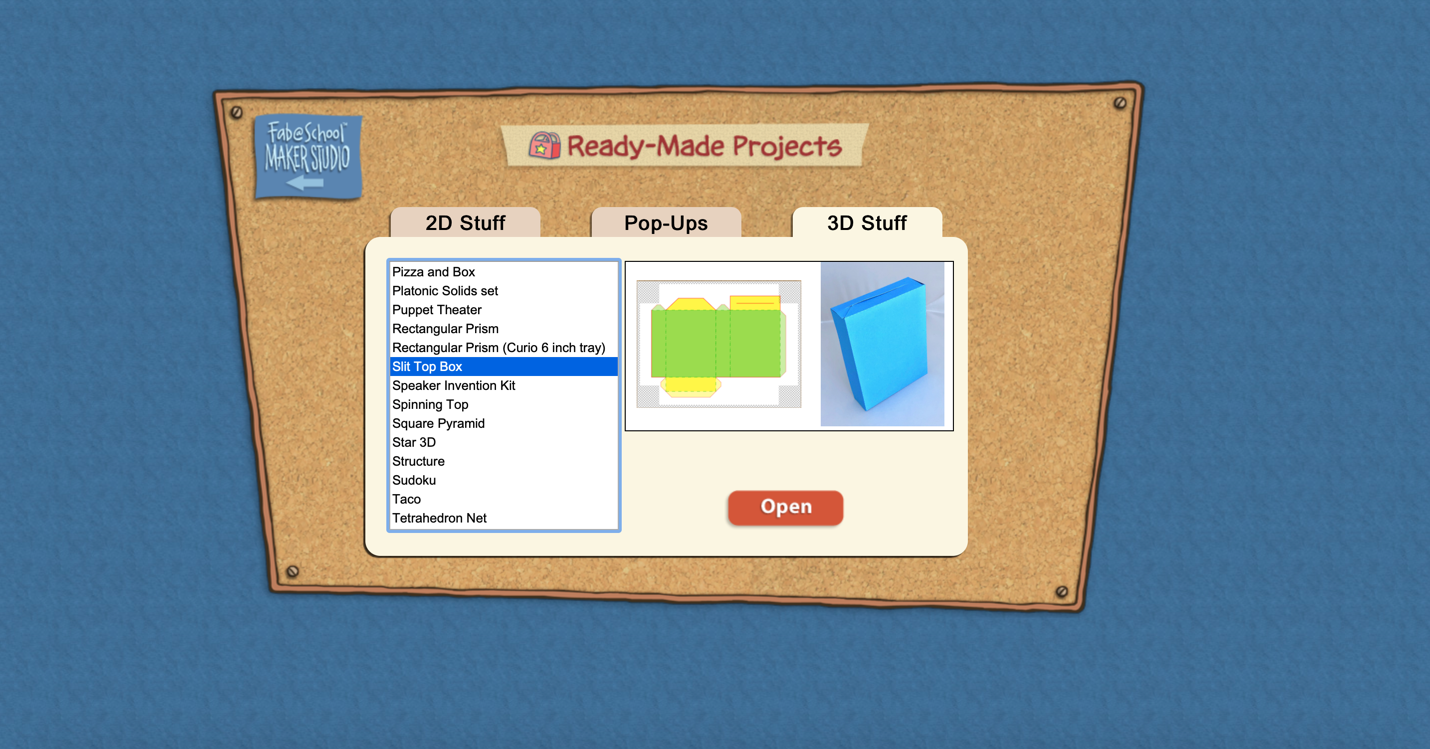
Is there something, real or imaginary, that you’d like to package and share with others? Follow these steps to design and construct your own boxes in FabMaker Studio
QuickStart Video #1 – Ready-Made Box
Watch this video, then follow the steps below.
How to create your custom FabMaker Box!
Step 1: Open a Ready-Made. Click here to go to FabMaker Studio. Sign in and go to Ready-Made Projects: 3D Stuff. Wait for the projects to load and open the Slit Top Box.
Step 2: Explore. When your file opens in the Edit screen, note the red cut lines and green fold lines. Go to 3D View in the lower right and click the larger button (double arrow) to expand the 3D view. Drag the green slider to see the box open and close. Place your cursor in the black area and drag to change the view angle.

Step 3: Print. Click the Print icon at the top. On the Print Preview page, select “Print Cut & Fold Lines” and “Remove Color Fill.” Then select Save to PDF and print your pattern.

Step 4: Construct. Use scissors to cut (or a Silhouette if you have one) to cut your pattern, then fold your box, but don’t glue it together yet. Identify the front, back, sides, top and bottom. Decide what you’d like to package and color your design. When you’re done, construct your box. Give your packaged treasure to someone or save it for inspiration.
Step 5: Design. Explore other package designs from FabMaker Studio’s Ready-Made 3D Stuff. Then use the following video as a guide to design your own box from scratch!

Using FabMaker Studio with Distance Learning
How many squares create a cube? This prompt sparks a variety of answers depending on the age. First graders usually answer four and often, we hear the number 12. With FabMaker (Fab@School) Studio, students can use shapes to digitally create 2D nets and with the 3D viewer tool immediately see how the finished project will fold. And this is just the beginning.
FabMaker Studio, our digital design and fabrication tool, opens the door to authentic learning and assessment. And as a web-based tool, FabMaker Studio can easily be folded into distance learning as they explore the Engineering Design Process. To encourage your students to think through their designs and document the process, we’ve created a handy project journal.
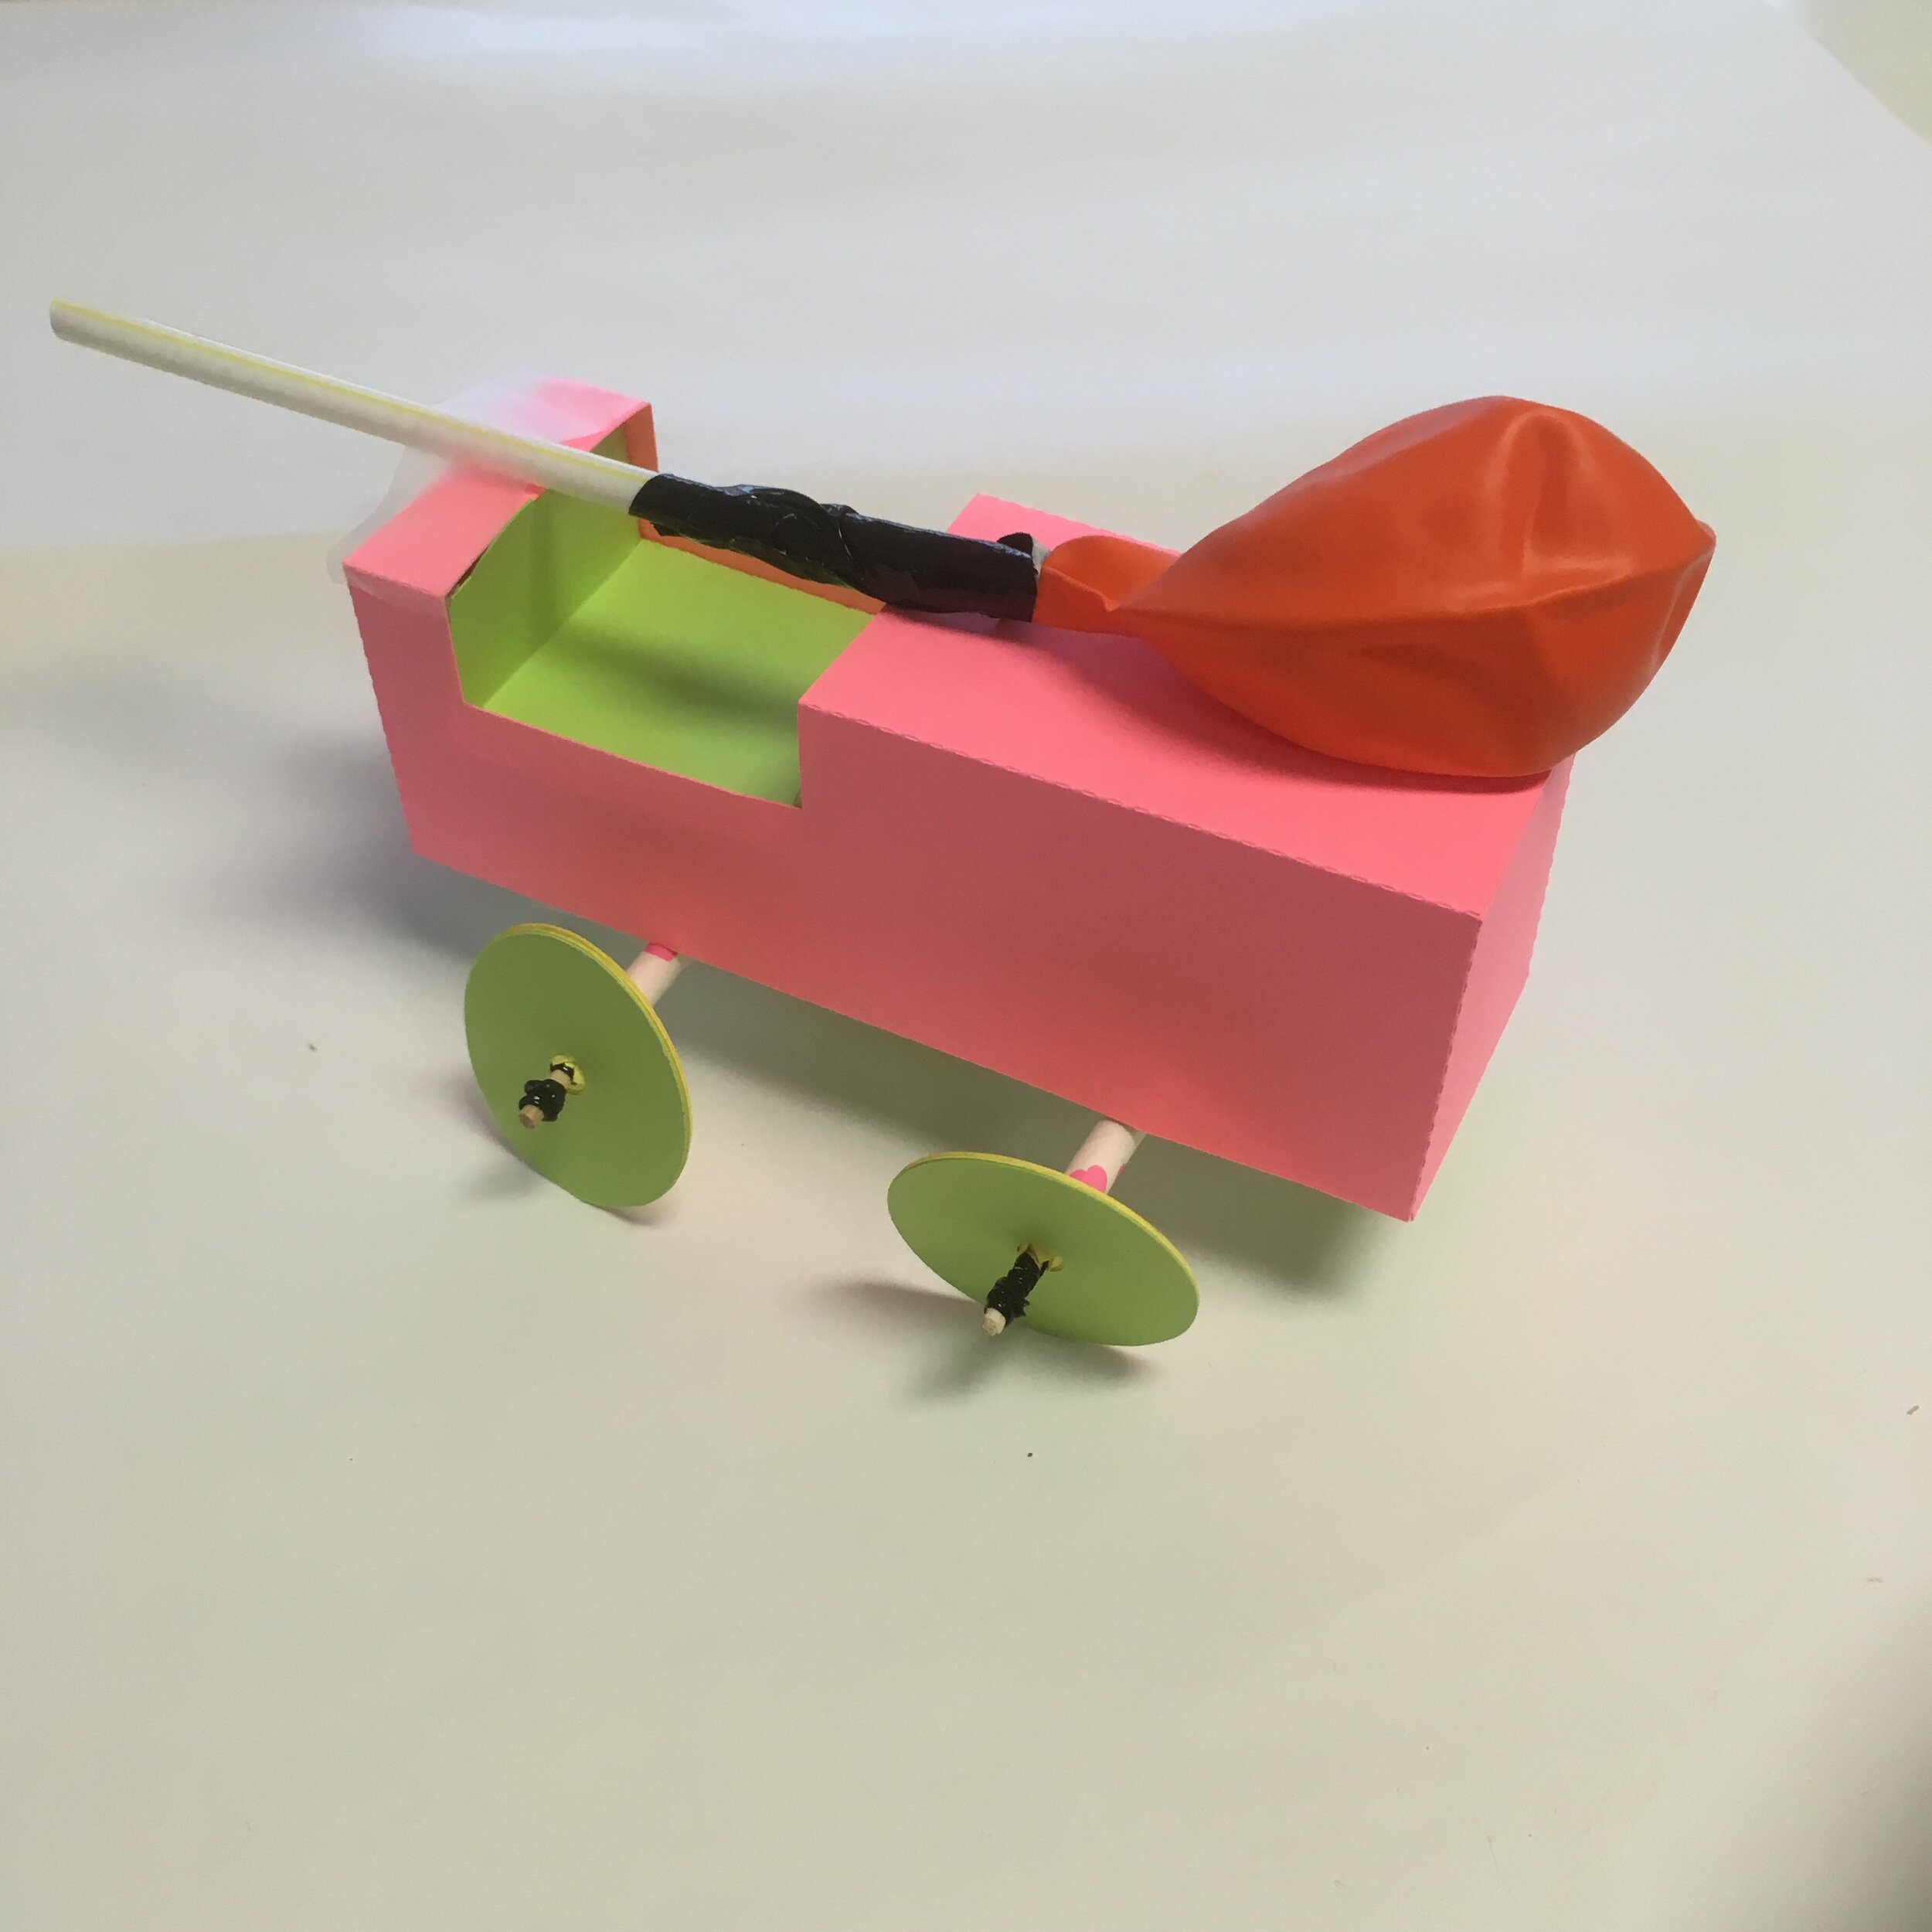
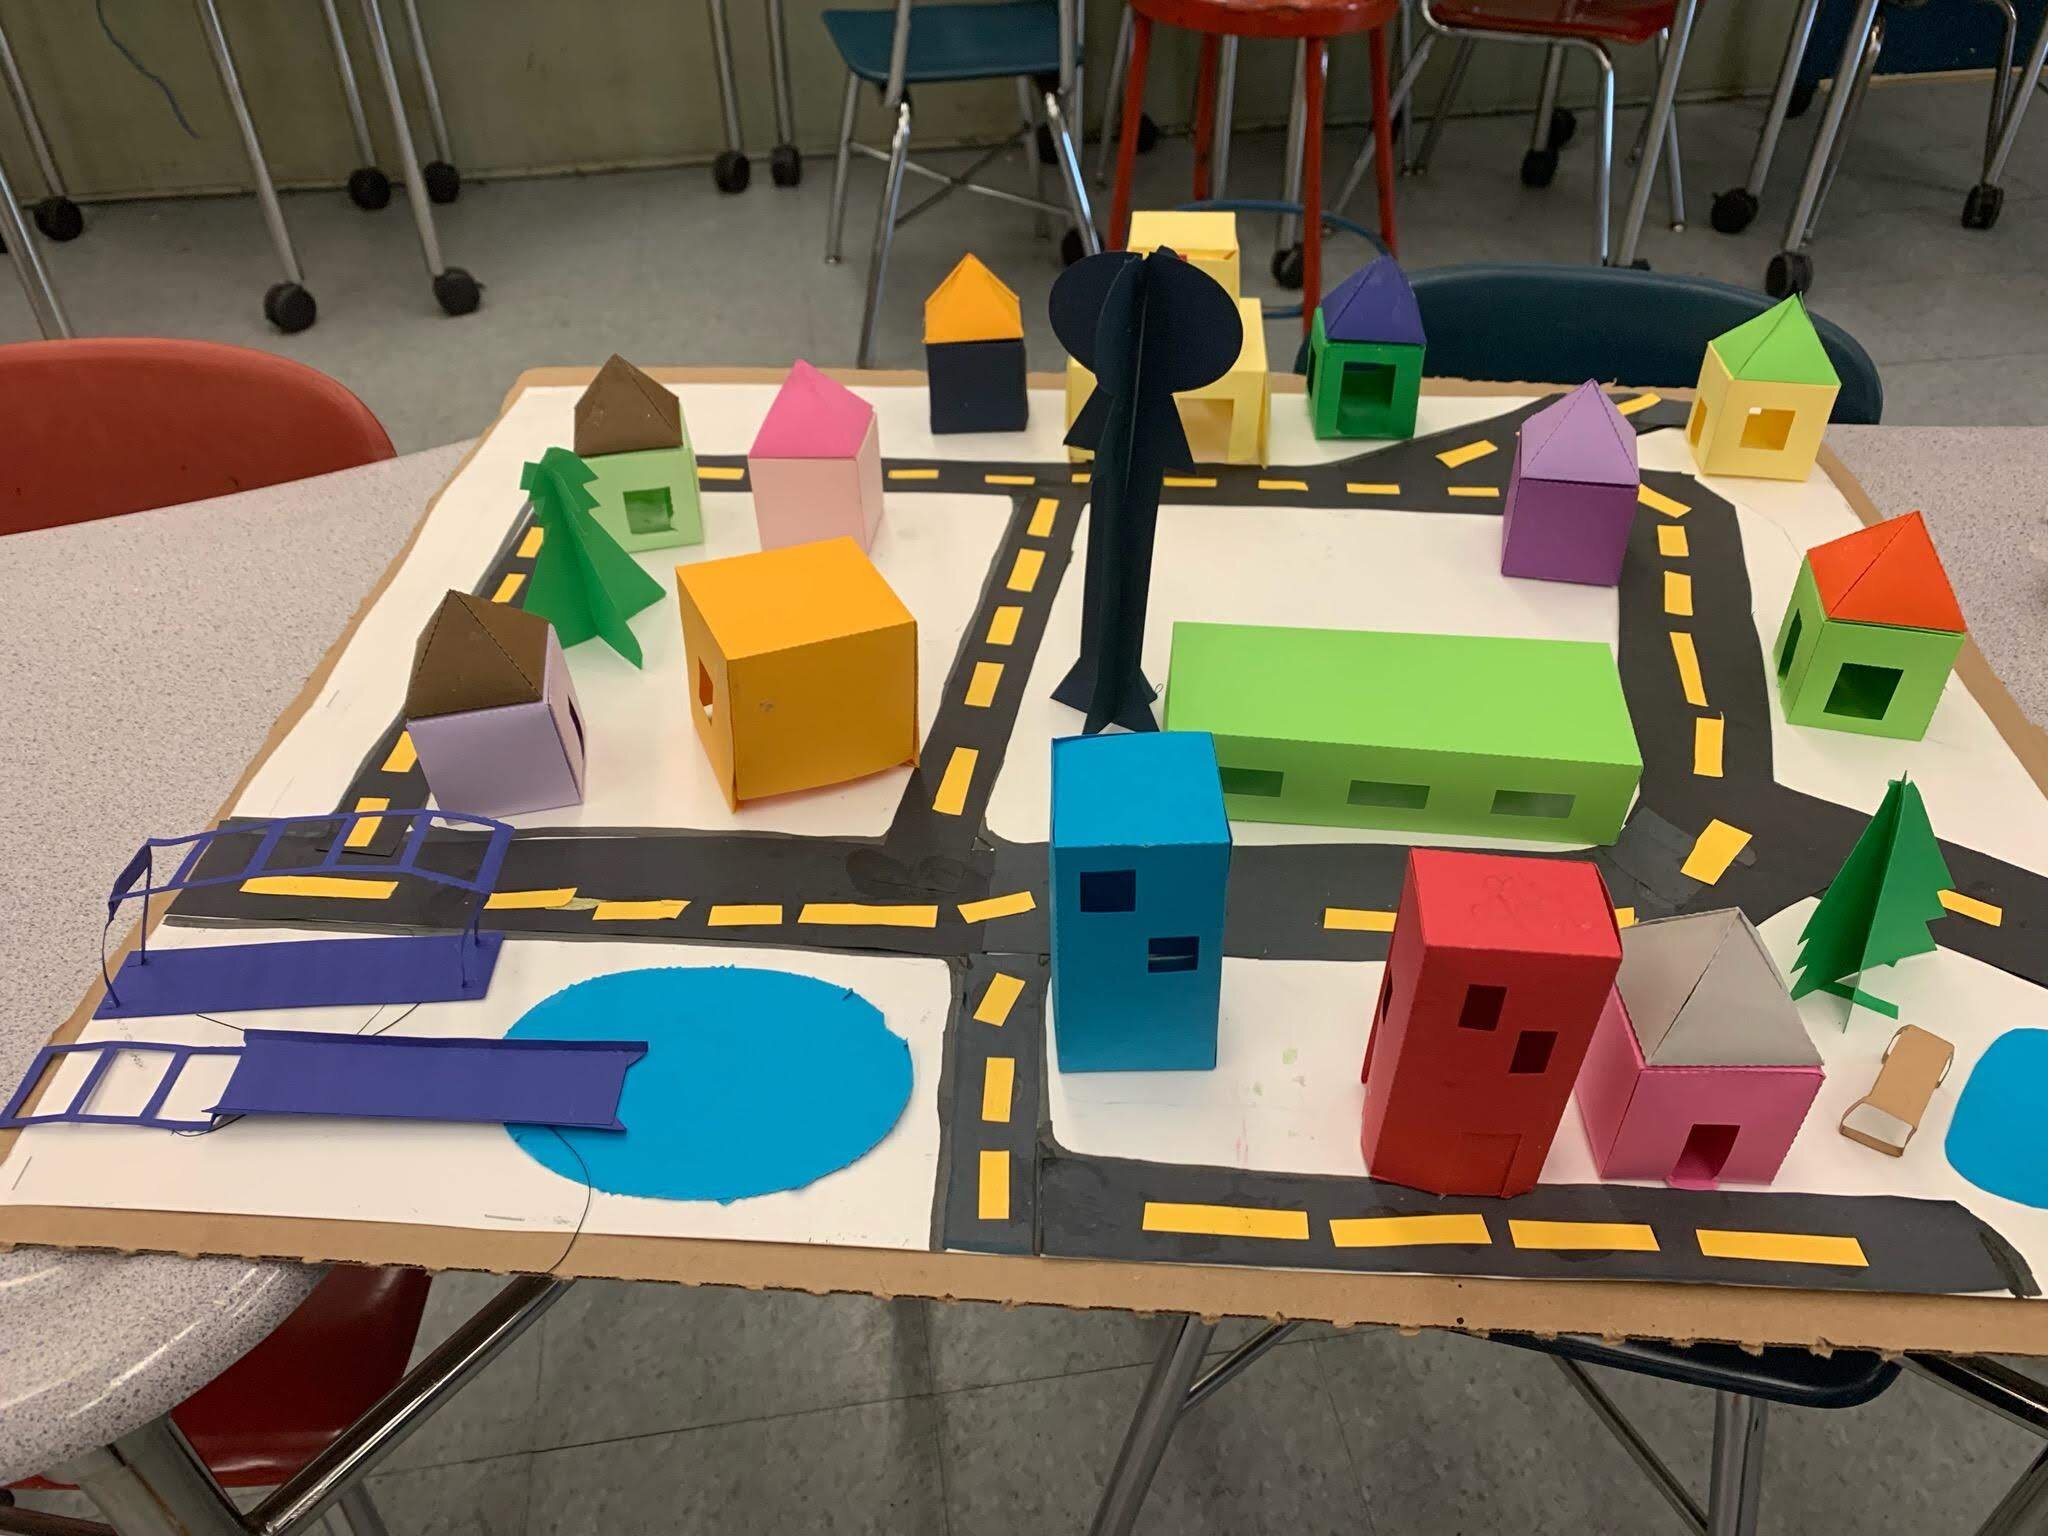
STEM content: Through FabMaker Studio, students can learn about constructing geometric shapes (activity here) and use the built-in measurement tools to engineer a scale model of a city or to exploring force and structure (go-cart activity).
Building first through technology then with actual materials is a hands-on way to gain skills in all the STEM fields.
Paper Prototyping: Prototyping is a valuable part of the creative process. Utilizing affordable and easily accessible materials, FabMaker Studio can help students make tangible objects to represent their ideas in order to test out their understanding. For details on how to use scissors to complete a project click here.
Spatial Reasoning: When designing in FabMaker Studio, students must think about how the final product they’re imagining would look when unfolded. Students have to envision where the paper must be cut and folded to create the end goal. Developing their spatial reasoning in this way is valuable for many applications and future careers.
FabMaker Tips: There are three lines in FabMaker Studio - perforated fold lines (green), cut lines (red), and black lines (don’t cut). For tips on how these lines function download our FabMaker Tool Tip sheet.
Design and Creativity: Students get to build objects starting with their imagination and then bringing them into reality. There are multiple possible ways to build the same object when you are talking about paper fabrication, so students’ design and creativity skills really get to shine. For ideas on how to get started with FabMaker Studio, check out these Spotlight Blogs and examples on the Reynolds Center site.
Perseverance and Resilience: Fabricating with just paper and tape/glue provides a low-stakes environment for taking risks and making mistakes. Students learn to try again and again and to think of mistakes as pieces of information to learn from. Perseverance and resilience are all part of the process.