FableVision Learning Spotlight Blog
Categories
- Animation-ish 42
- Books 21
- Civics! 2
- Classroom Spotlight 17
- Conferences and Events 20
- Creative Educator 3
- Creativity 25
- Distance Learning 13
- Dot Day 22
- FabClassroom 28
- FabFriday 19
- FabMaker Studio 66
- FabMaker Studio Classroom 13
- FableFive 7
- FableVision Games 3
- Free Educator Resources 36
- HUTCH 1
- Home Activities 5
- In the Classroom 34
- In the News 11
- International Dot Day 23
- Ish 1
- Library 1
- Mapping the World by Heart 7
- Paul Reynolds 10
- Peter H. Reynolds 54
- Professional Development 9
- STEM/STEAM 20
- Storybook Academy 2
- Teacher Spotlight 14
- The Dot 17
- The North Star 2
- Words and Their Stories 1
- Zoombinis 3

FabMaker Mystery Monsters: Math Shapes & Cool Tools for Imagineering
The following blog post is by Peggy Healy Stearns, Lead Software Designer, FabMaker Studio.
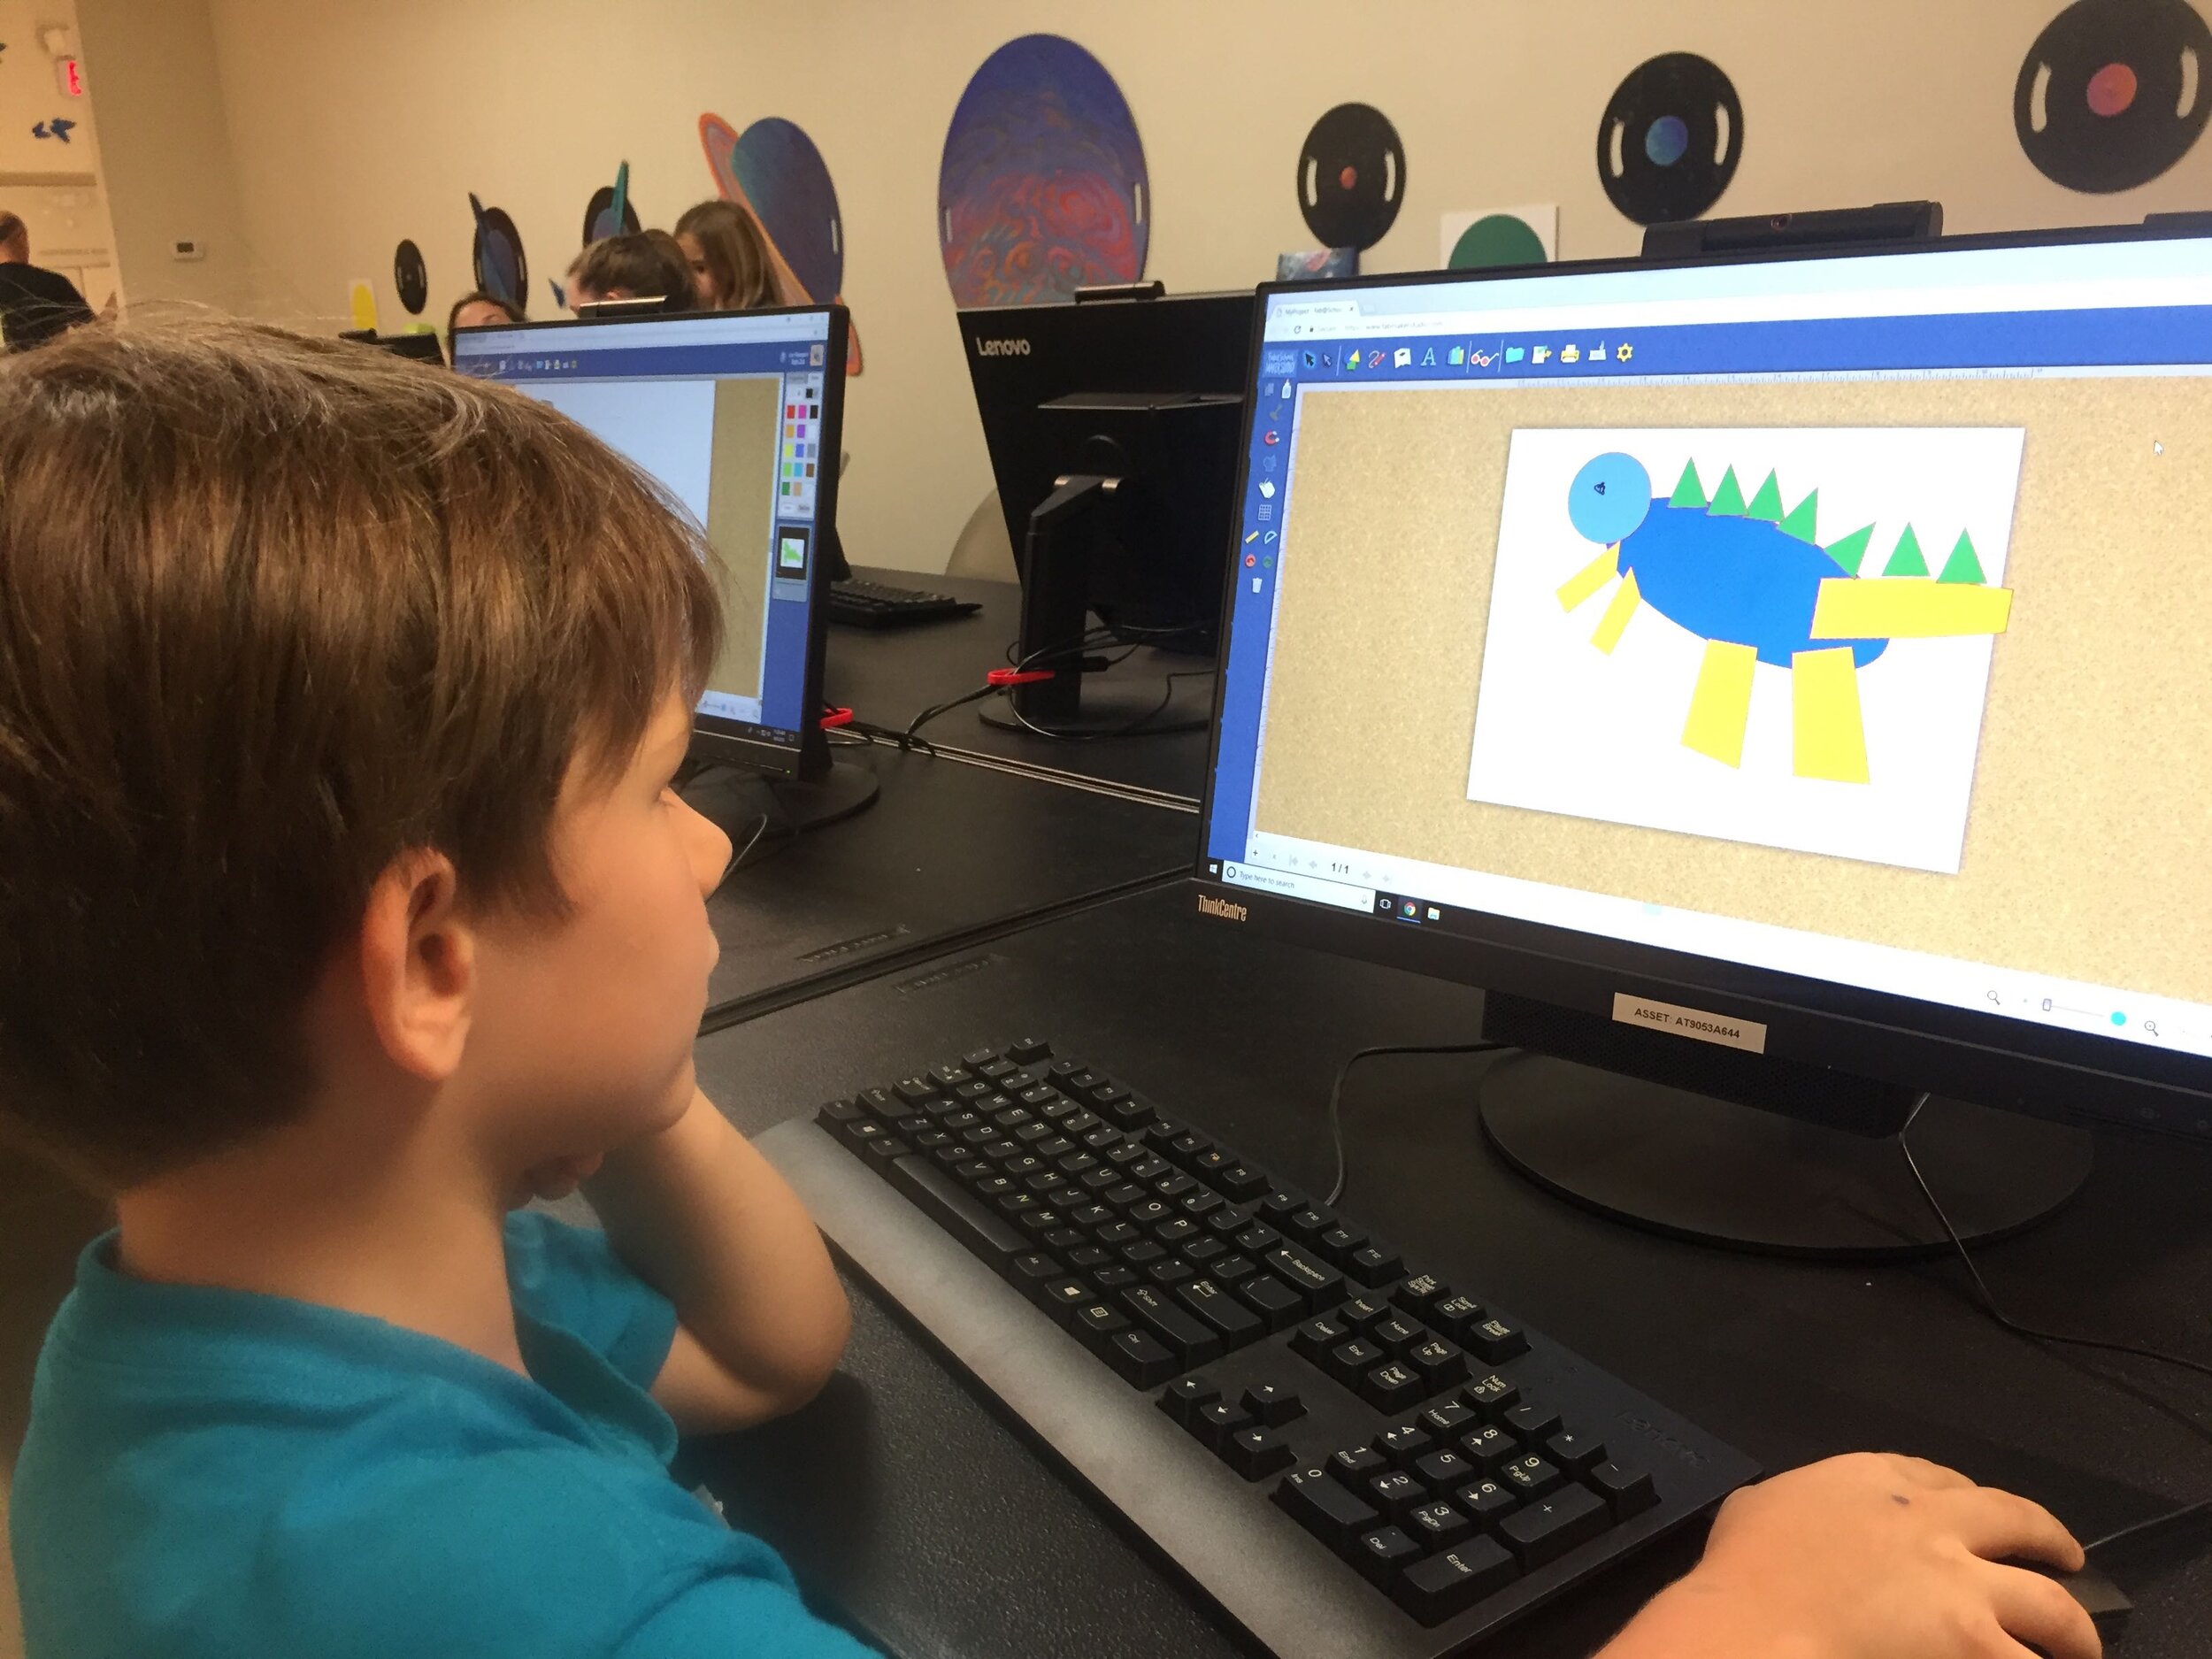
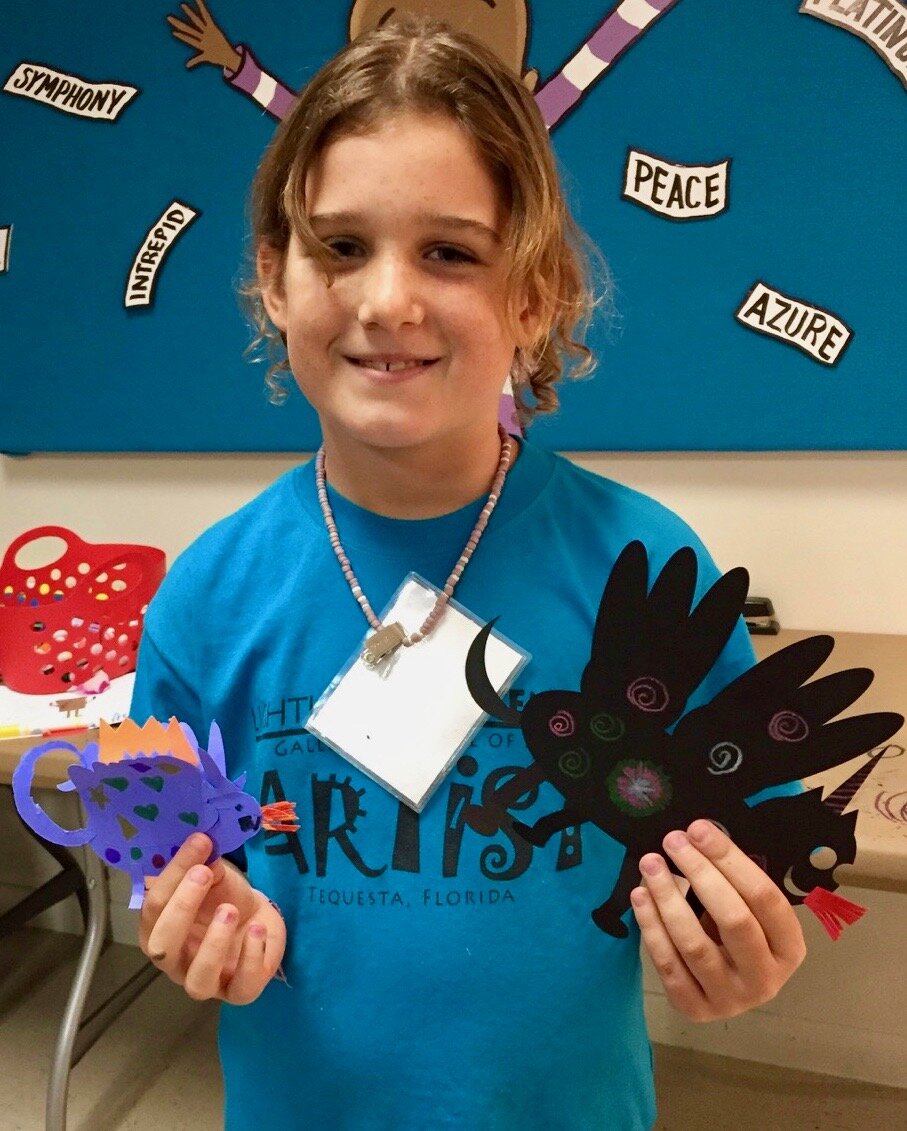
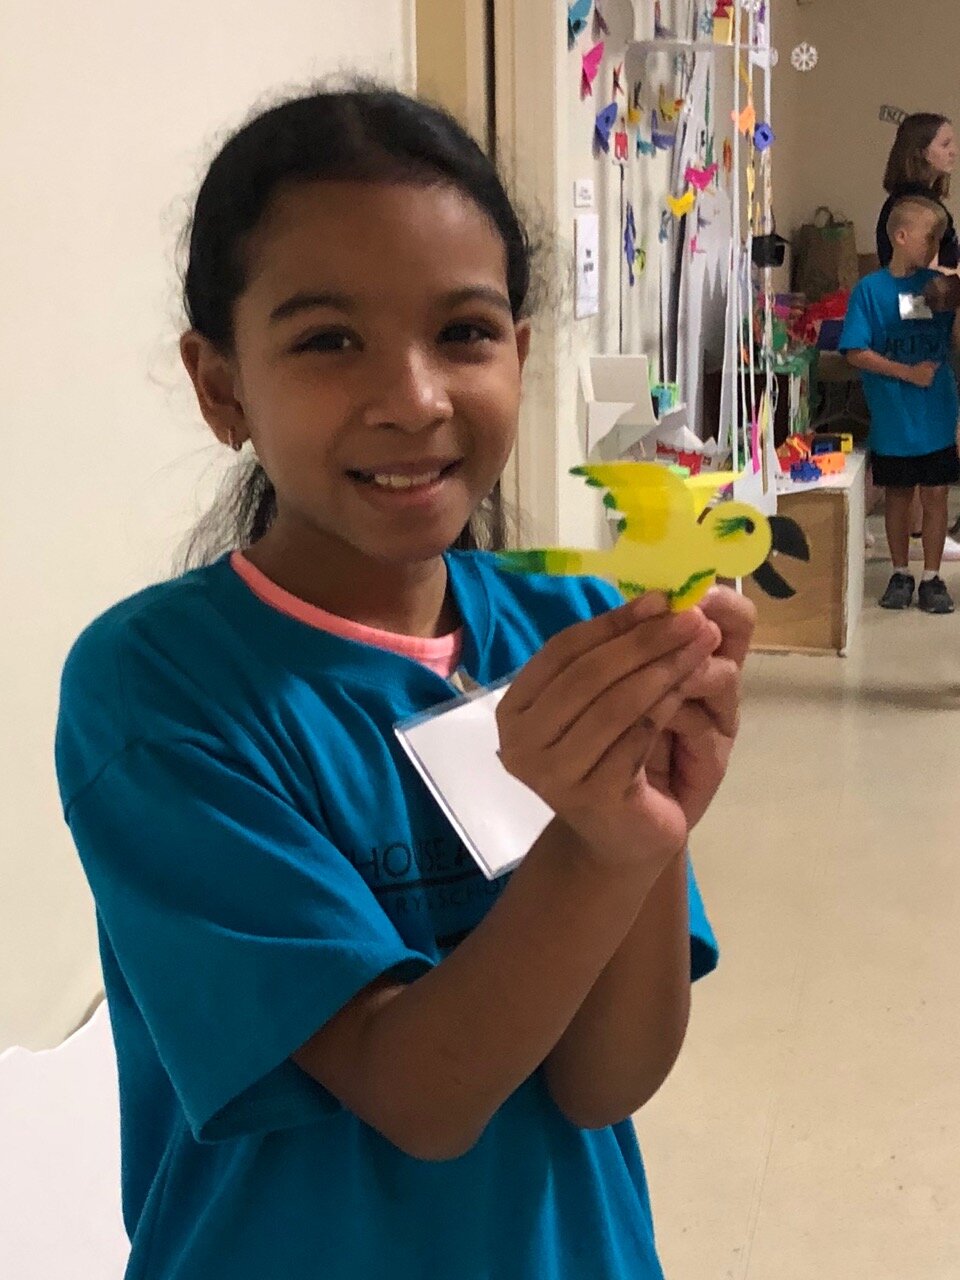
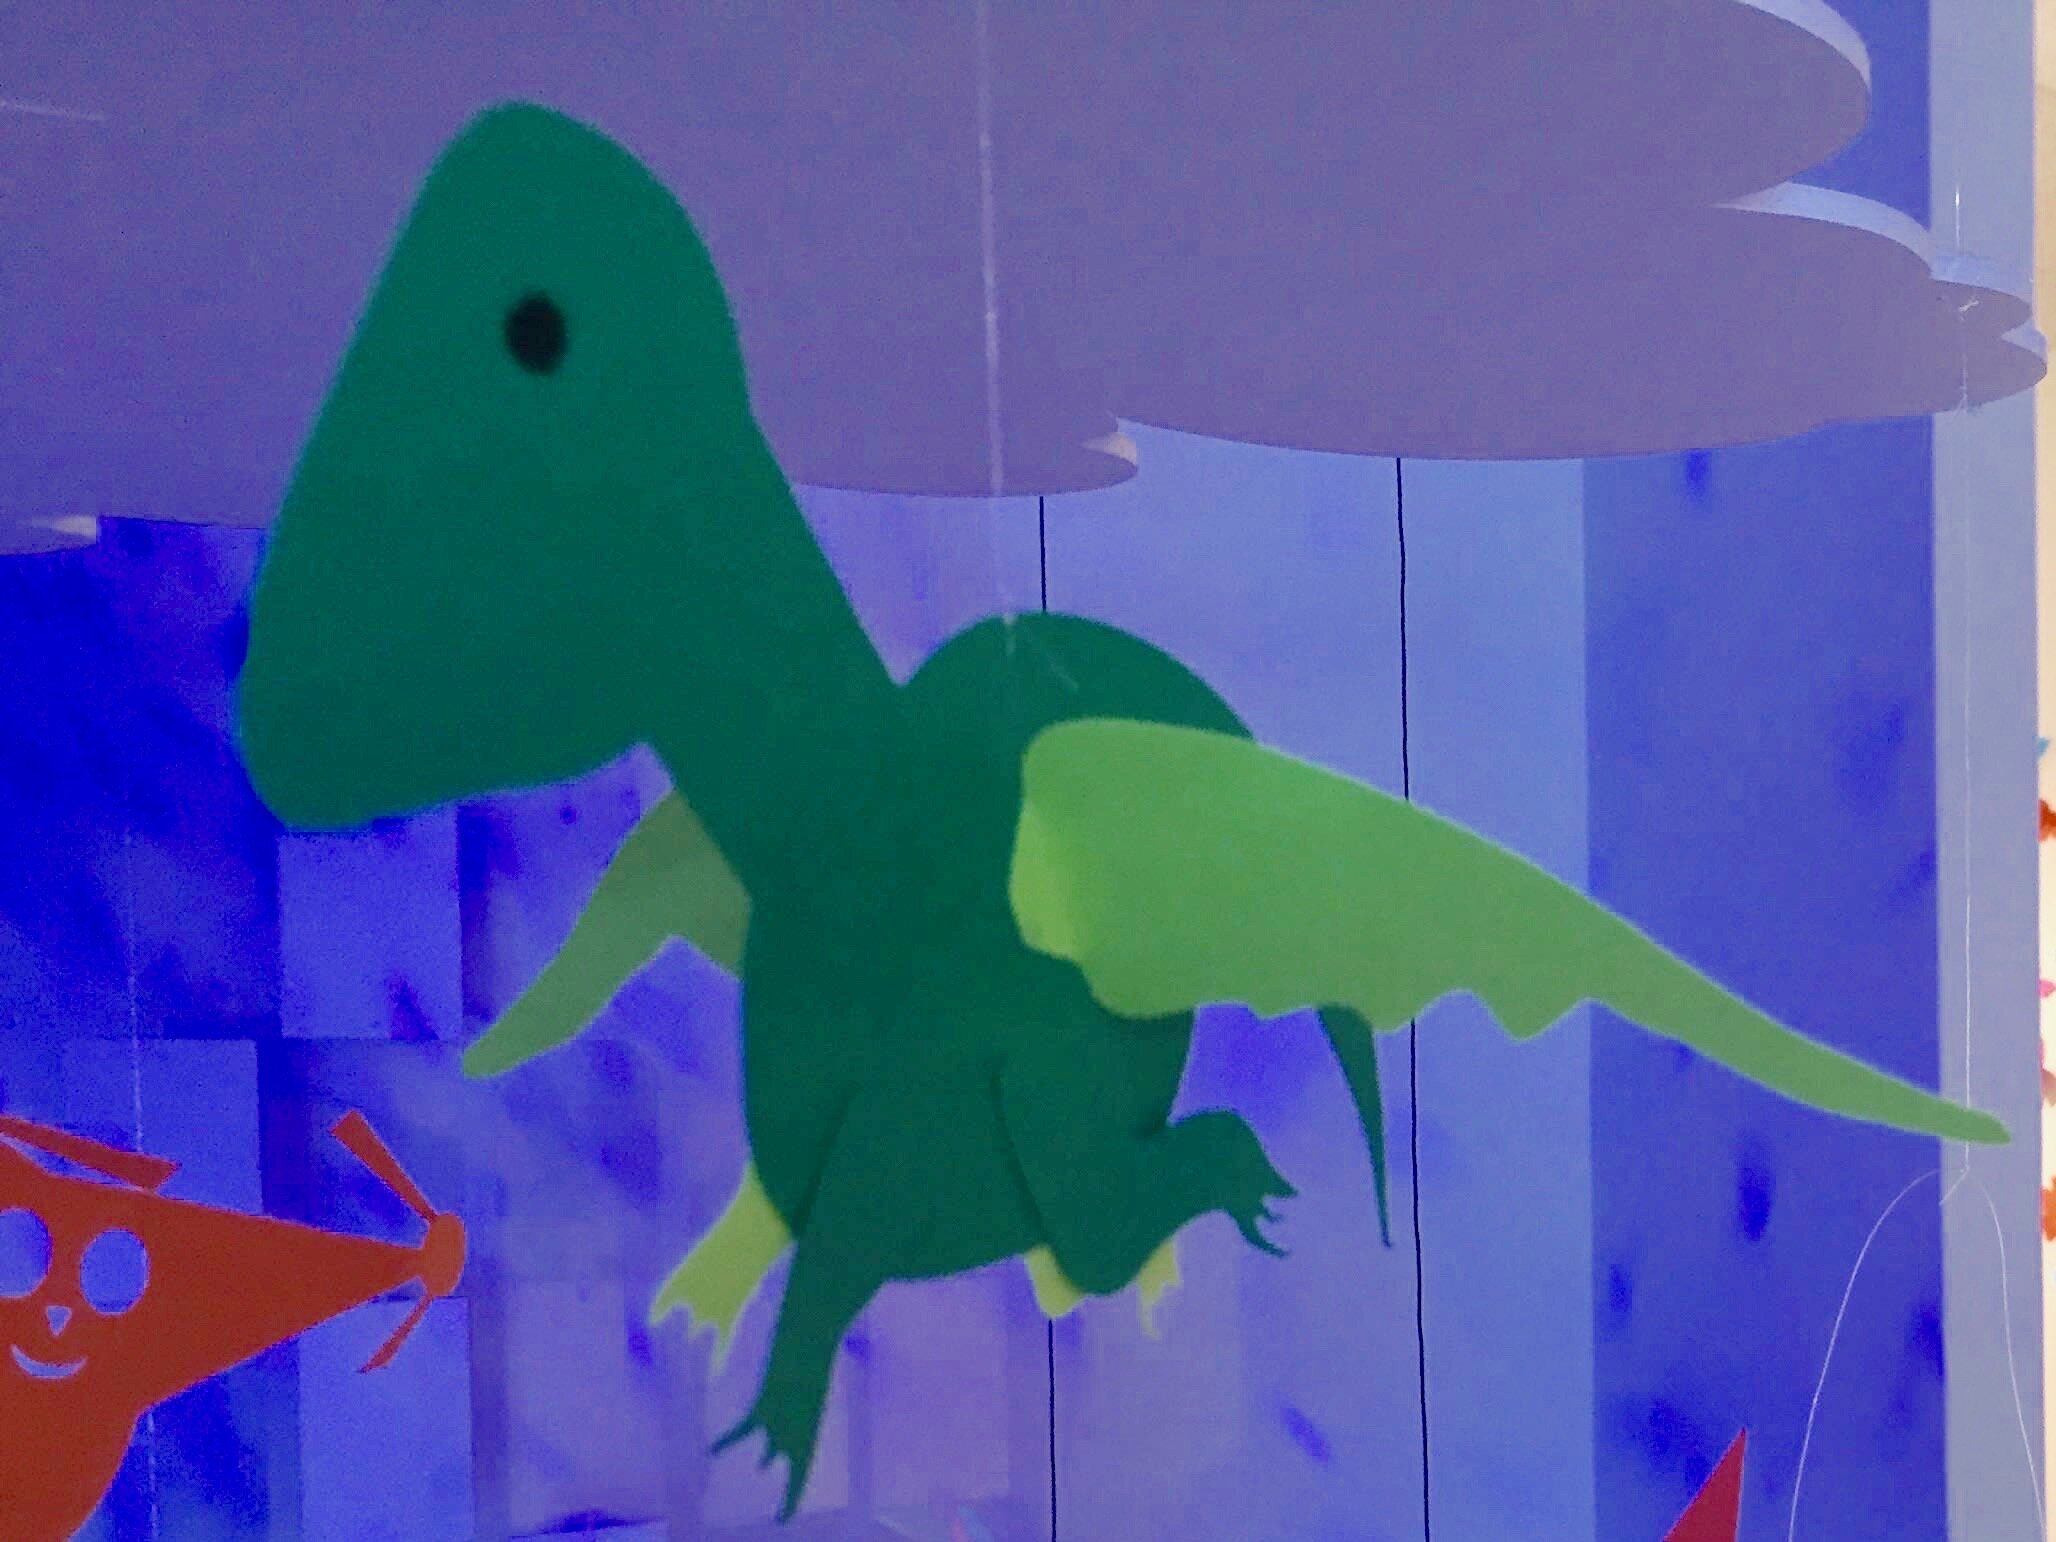
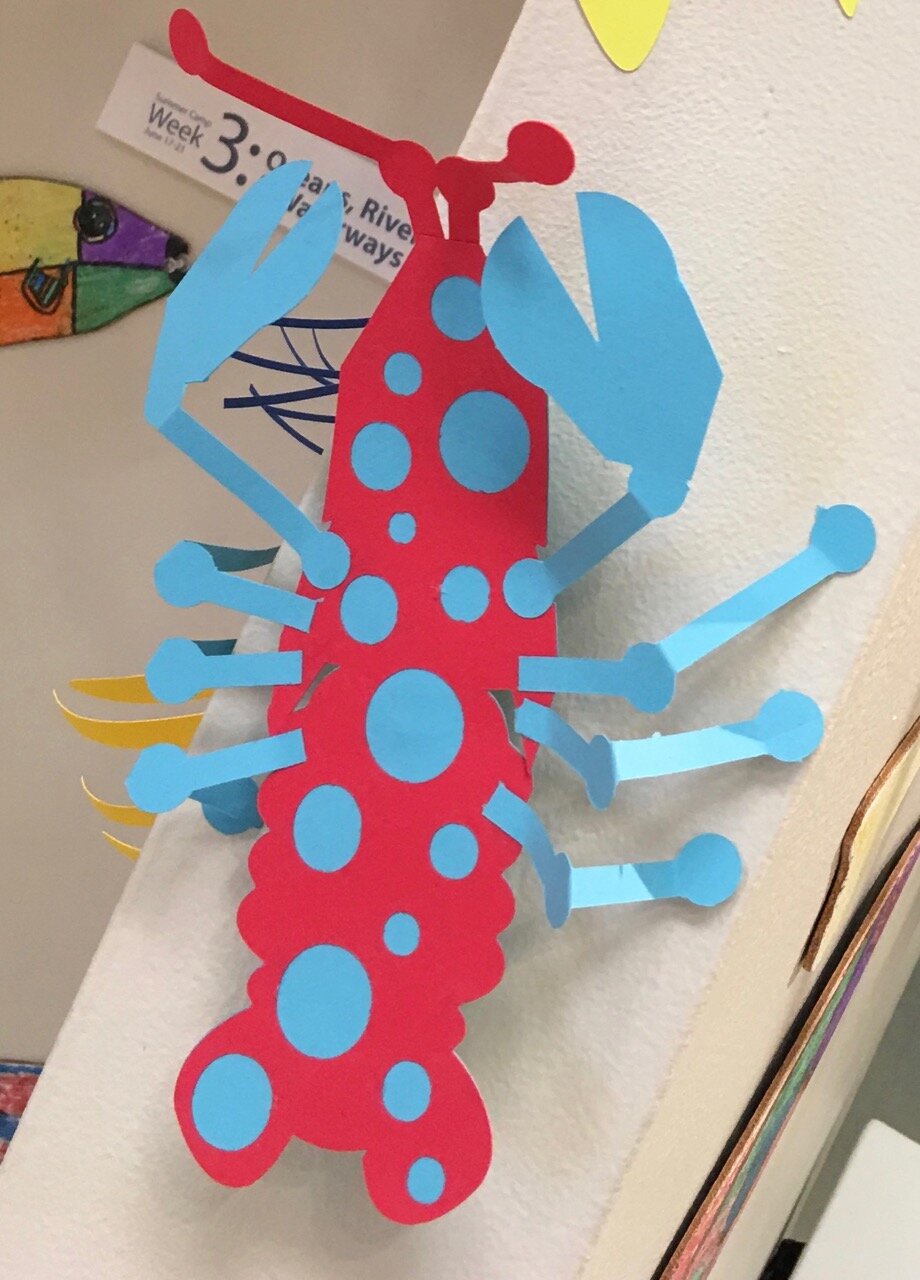
Create a 3D “Mystery Monster” with FabMaker Studio! Identify and combine shapes, weld shapes, and morph shapes. Add 3D wings, legs, ears and other body parts!
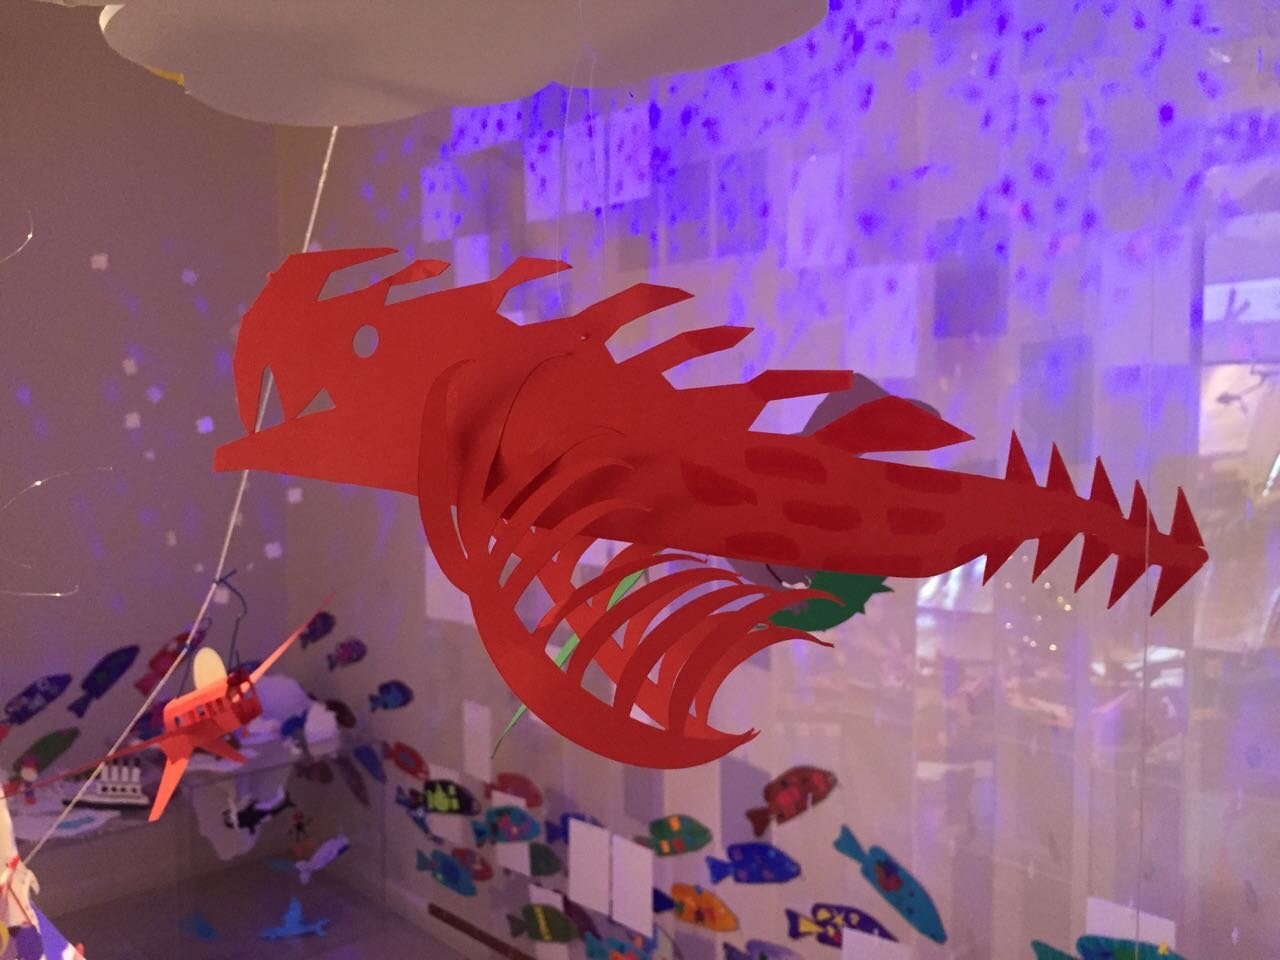
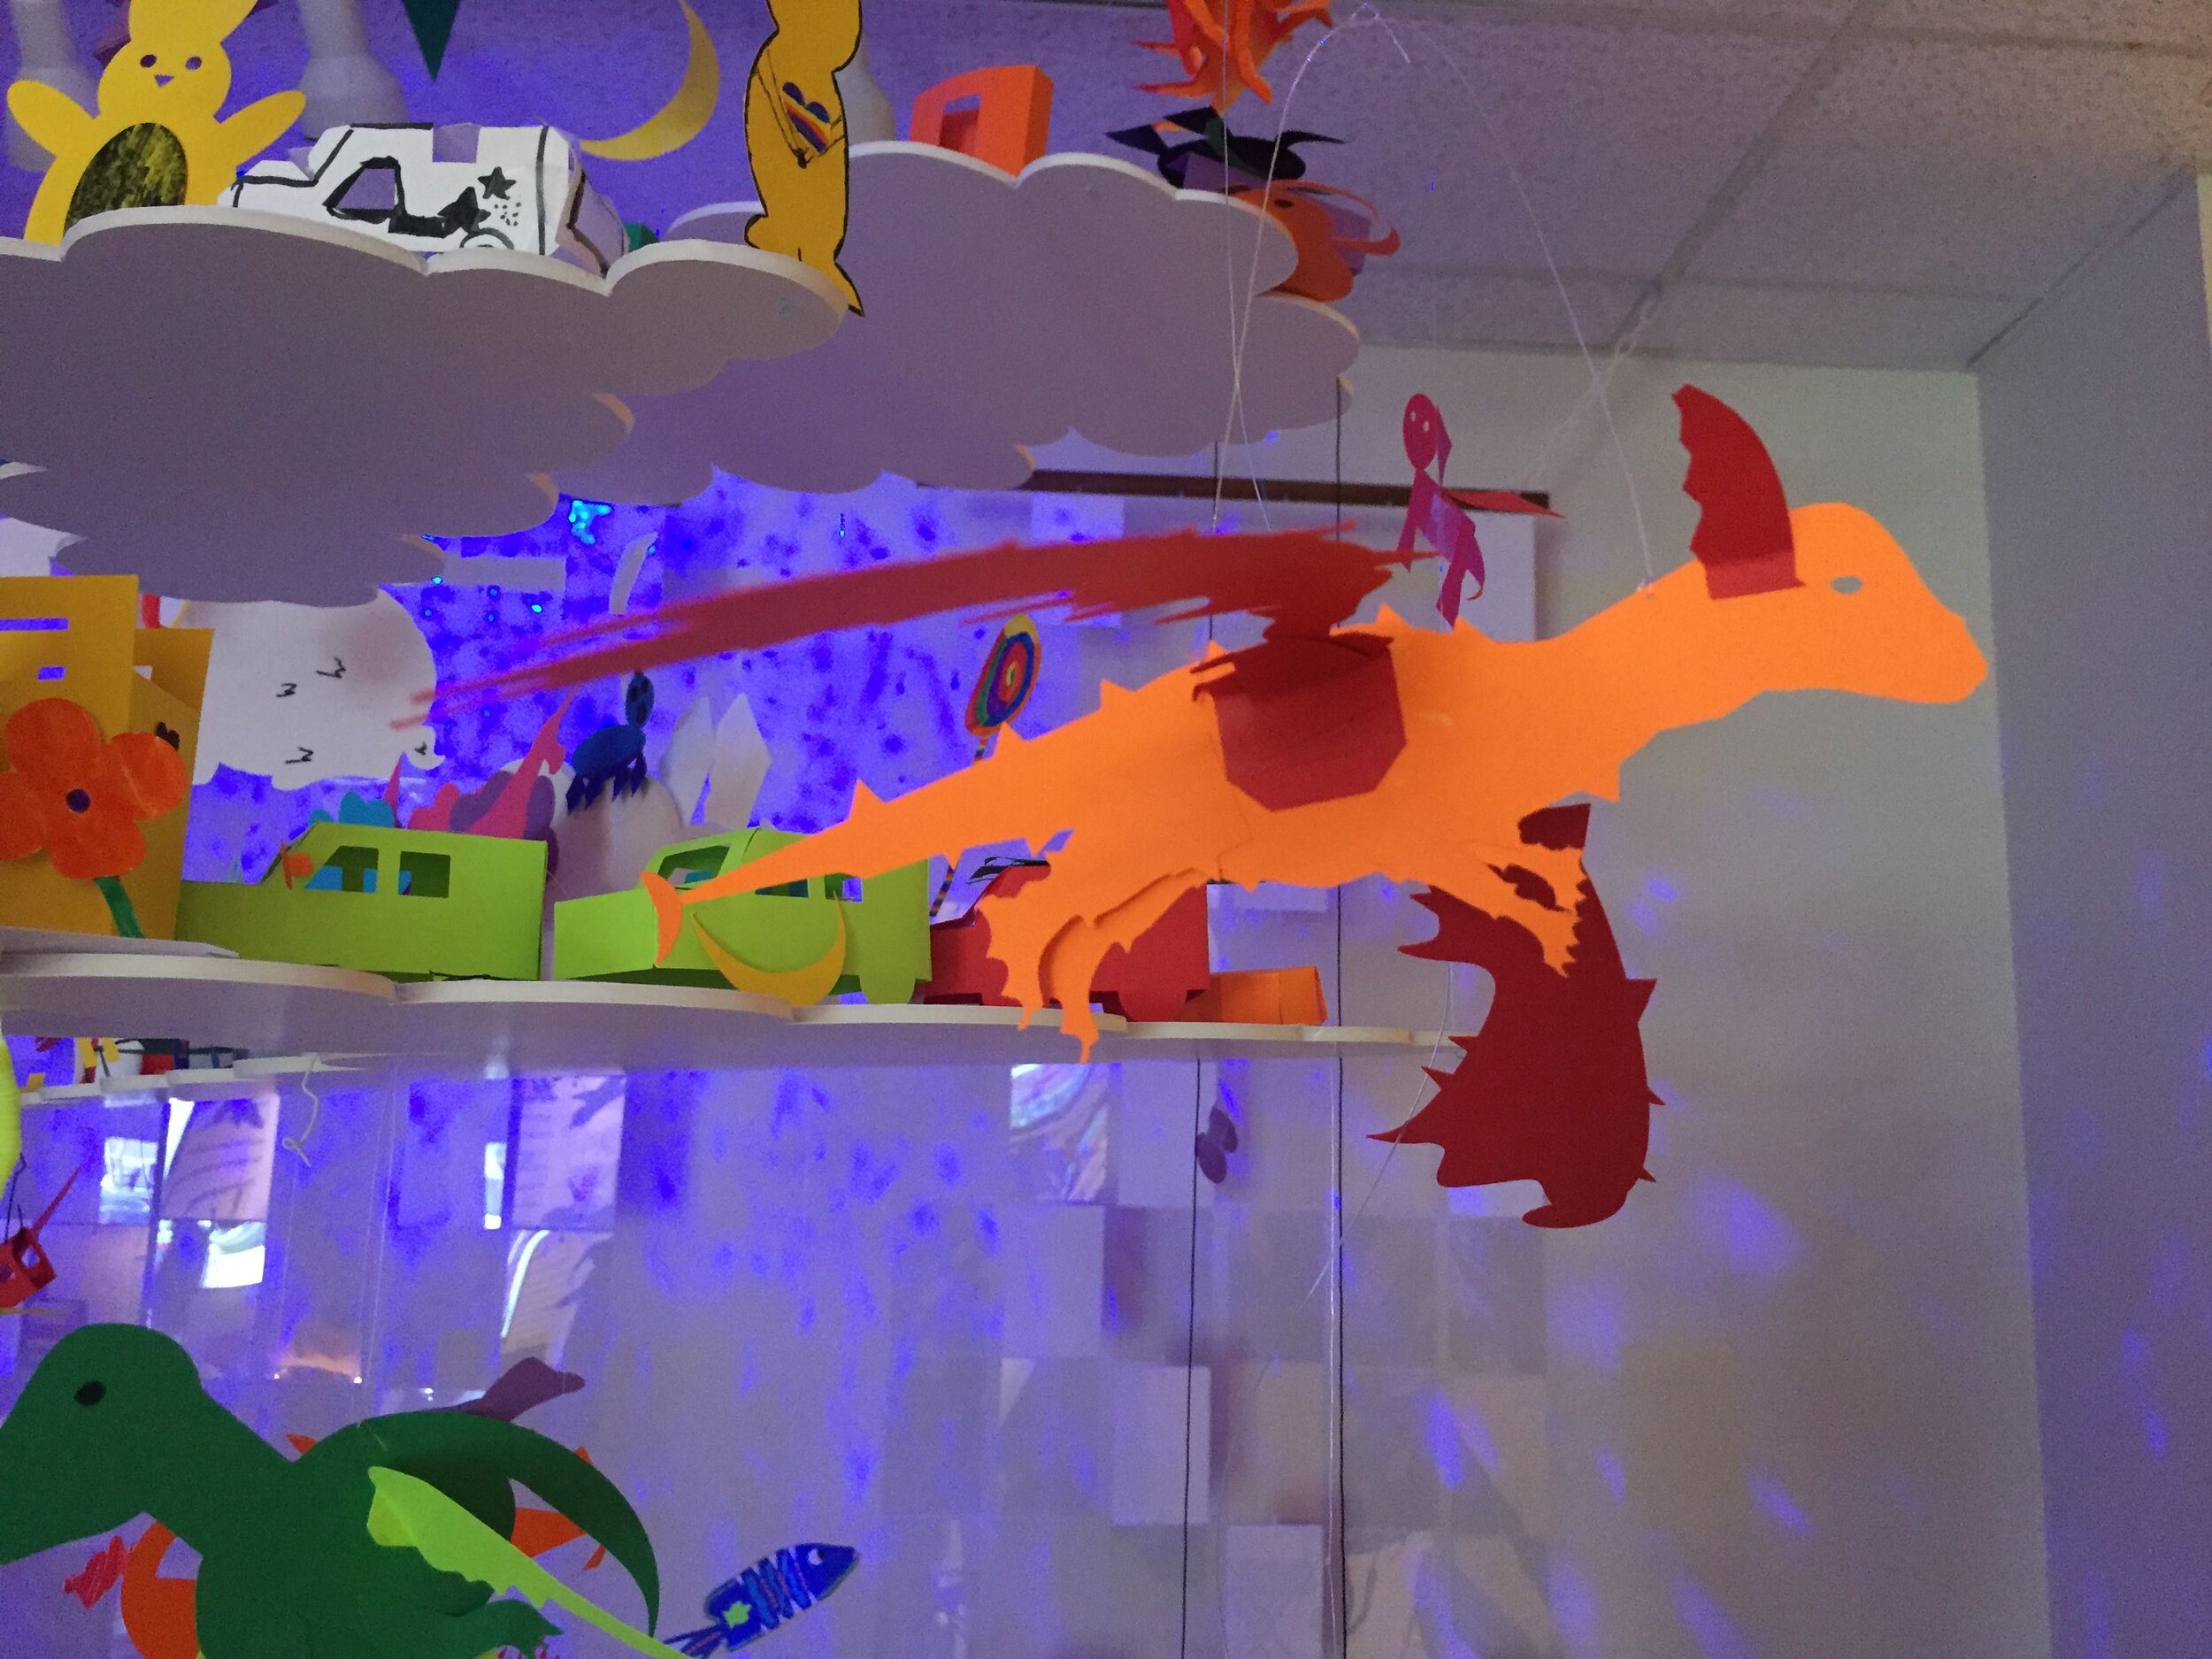
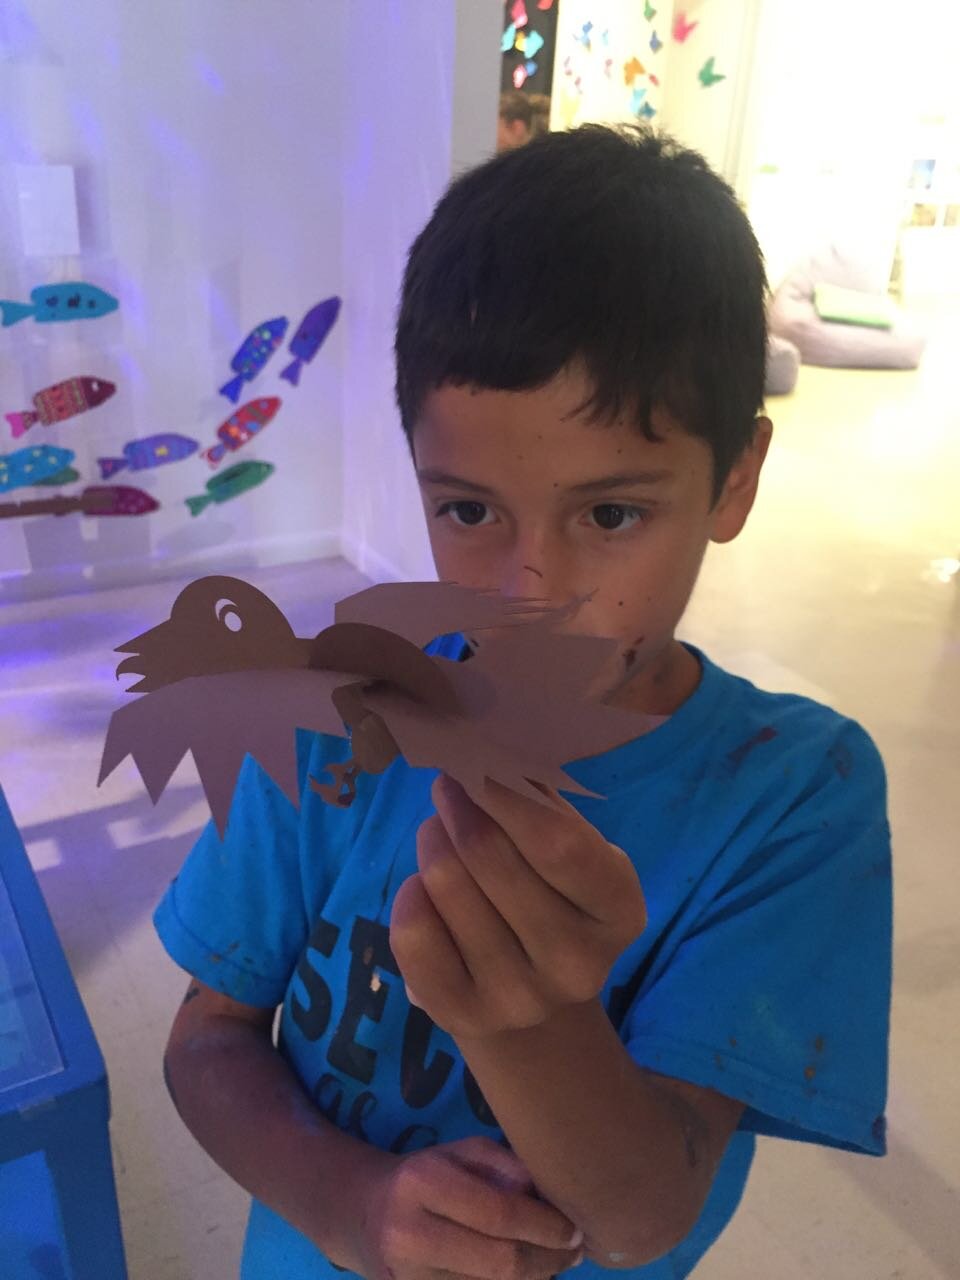
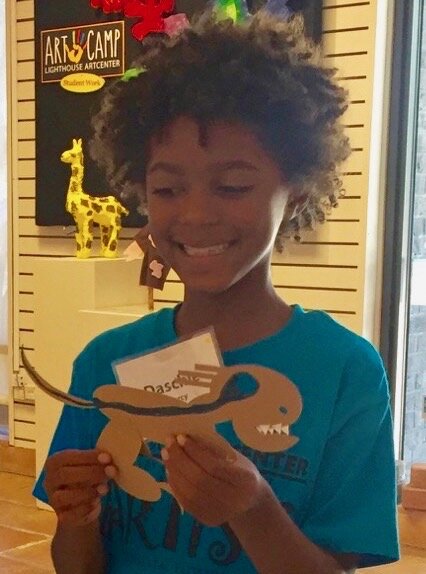
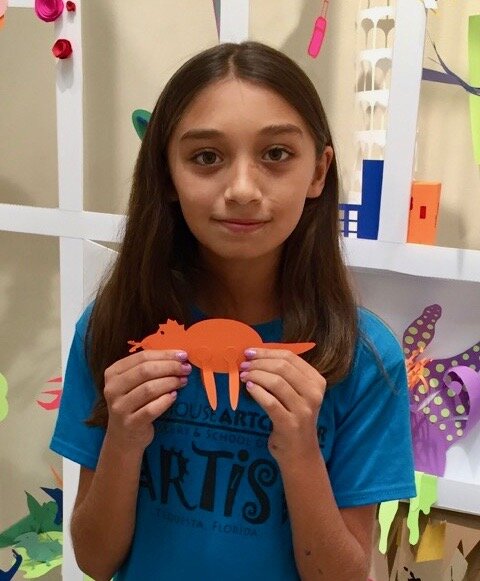
Designing “Mystery Monsters” is a motivating way to address foundational math standards and inspire meaningful writing prompts. In the process, students learn easy but powerful digital design tools they can use for years to come. This project can be simple or sophisticated. Follow the steps that work best for your makers and then print, cut and construct.
Make Your Monster
Watch this short video then follow the steps below.
Step 1: New Project Click here to go to FabMaker Studio. Sign in and go to New Project and click OK.
Step 2: Choose Shapes Open the Shapes tool at the top. Drag shapes onto the screen and arrange them to make your basic monster. To resize a shape, select it and drag handles.

Step 3: Weld Shapes Make sure your shapes touch or overlap. Then place your cursor and drag around all the shapes to select them. Choose the Weld button in the left toolbar to weld your shapes.

Tip: Be sure to drag far enough outside the shapes to select them all before welding.
Step 4: Rearrange If you want to rearrange your monster parts, you can Unweld. Select your monster and click the Weld button. This time, since your monster is already welded, it unwelds. Rearrange the shapes and then drag around to select them all and Weld again.
Tip: Make a mistake? Use the red Undo and green Redo buttons on the left above the Trash can.
Step 5: Save Go to the File button on the top toolbar and choose Save. Select “My Online Files” (or another location if desired), give your file a name, and click Save.

Tip: If you save your FabMaker Studio file to My Google Drive or My Computer, it can only be opened from within the FabMaker Studio software.
Morph Your Monster
Watch this video then follow the steps below.
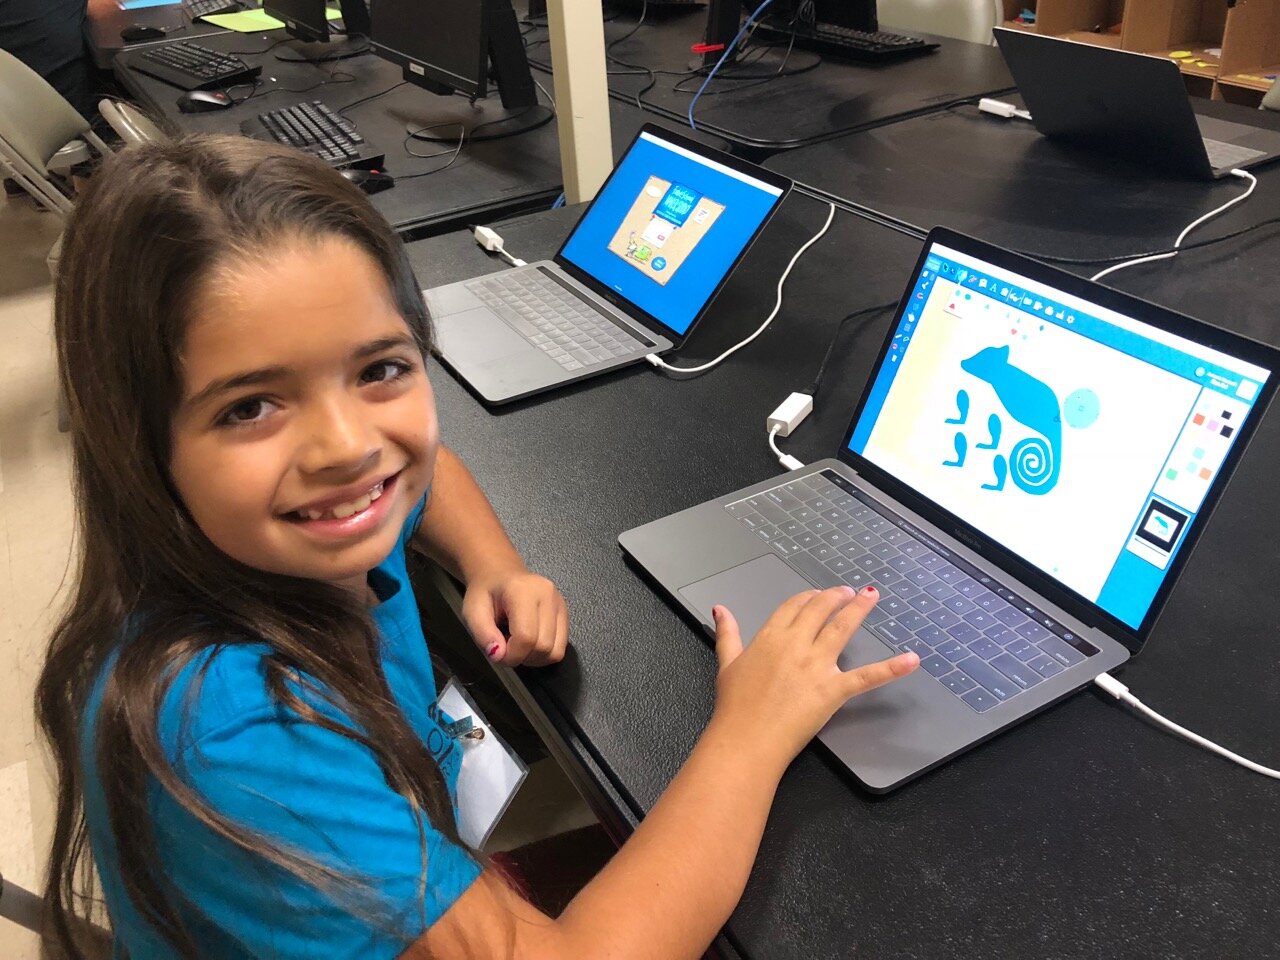
Step 1: Turn on Edit points With your monster file open, choose the gray Edit Points cursor in the top left corner of your design. The edit points that anchor your design will appear.

Step 2: Drag Edit points Drag edit points to morph your mystery monster.
Step 3: Add new Edit points Click anywhere on the outline to add a new edit point, and then drag the new edit point to reshape. Edit points can be tricky -- sometimes it helps to zoom in. Play around. You can always Undo and Redo.

Step 4: Check your design Choose the standard cursor (black arrow) again to see your morphed monster.

Tip: If you Unweld after using Edit points, you’ll go back to your original shapes and lose all your morphing! Remember you can quickly Undo changes.
Step 5: Save Go to the File button on the top toolbar and choose Save or Save As.
Make Your Monster 3D
Watch this video then follow the steps below.
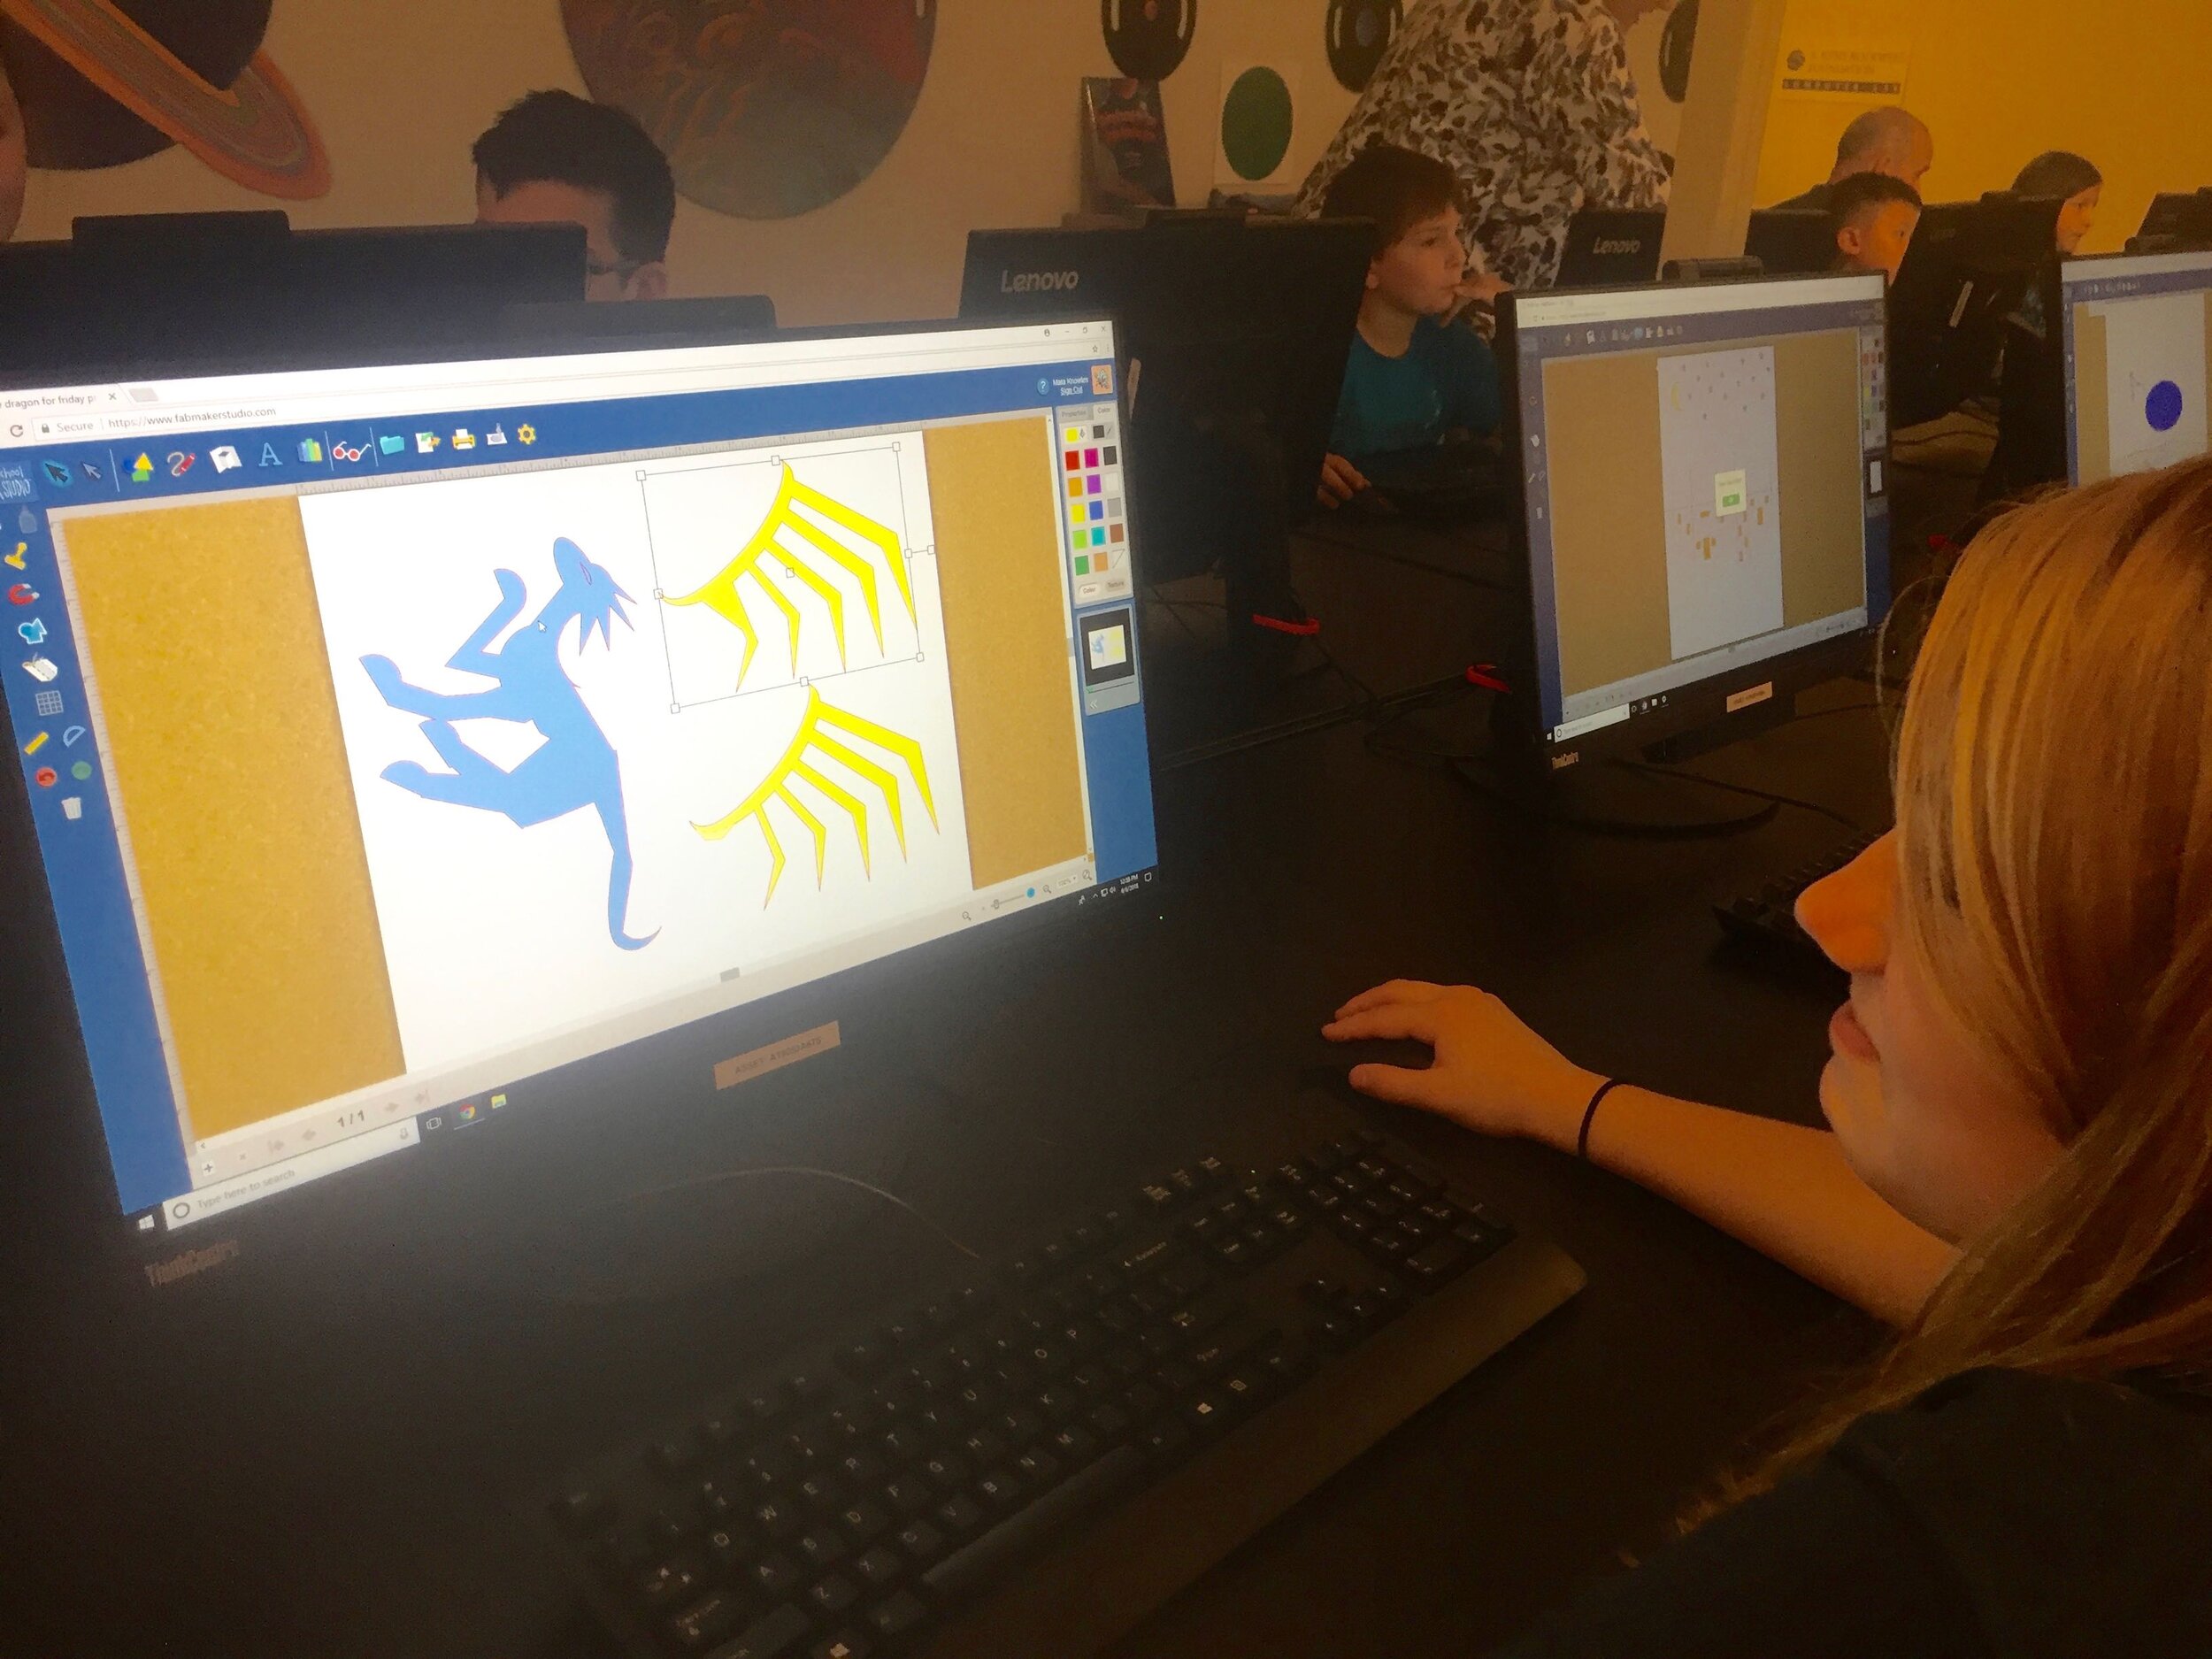
Step 1: Make a new body part Design wings, ears, legs, bigger tail or other parts to cut separately and attach to your monster. Check the photos for ideas. You can use the following tools.
A. Shapes Tool: Choose a shape and use the handles to resize and reshape it. If you want, combine two or more shapes, weld them, and the choose Edit Points to morph.
B. Lines Tool: Choose the Lines tool and then choose Straight Lines, Curved Lines, or Brush. To use Straight Lines or Curved Lines, click to place each point. Double-click to place the final point. To close a shape, place your final point at or near the beginning point. For more detail on the Lines tool, see the FabMaker Studio Lines tutorial.
Step 2: Save Go to the File button on the top toolbar and choose Save or Save As.
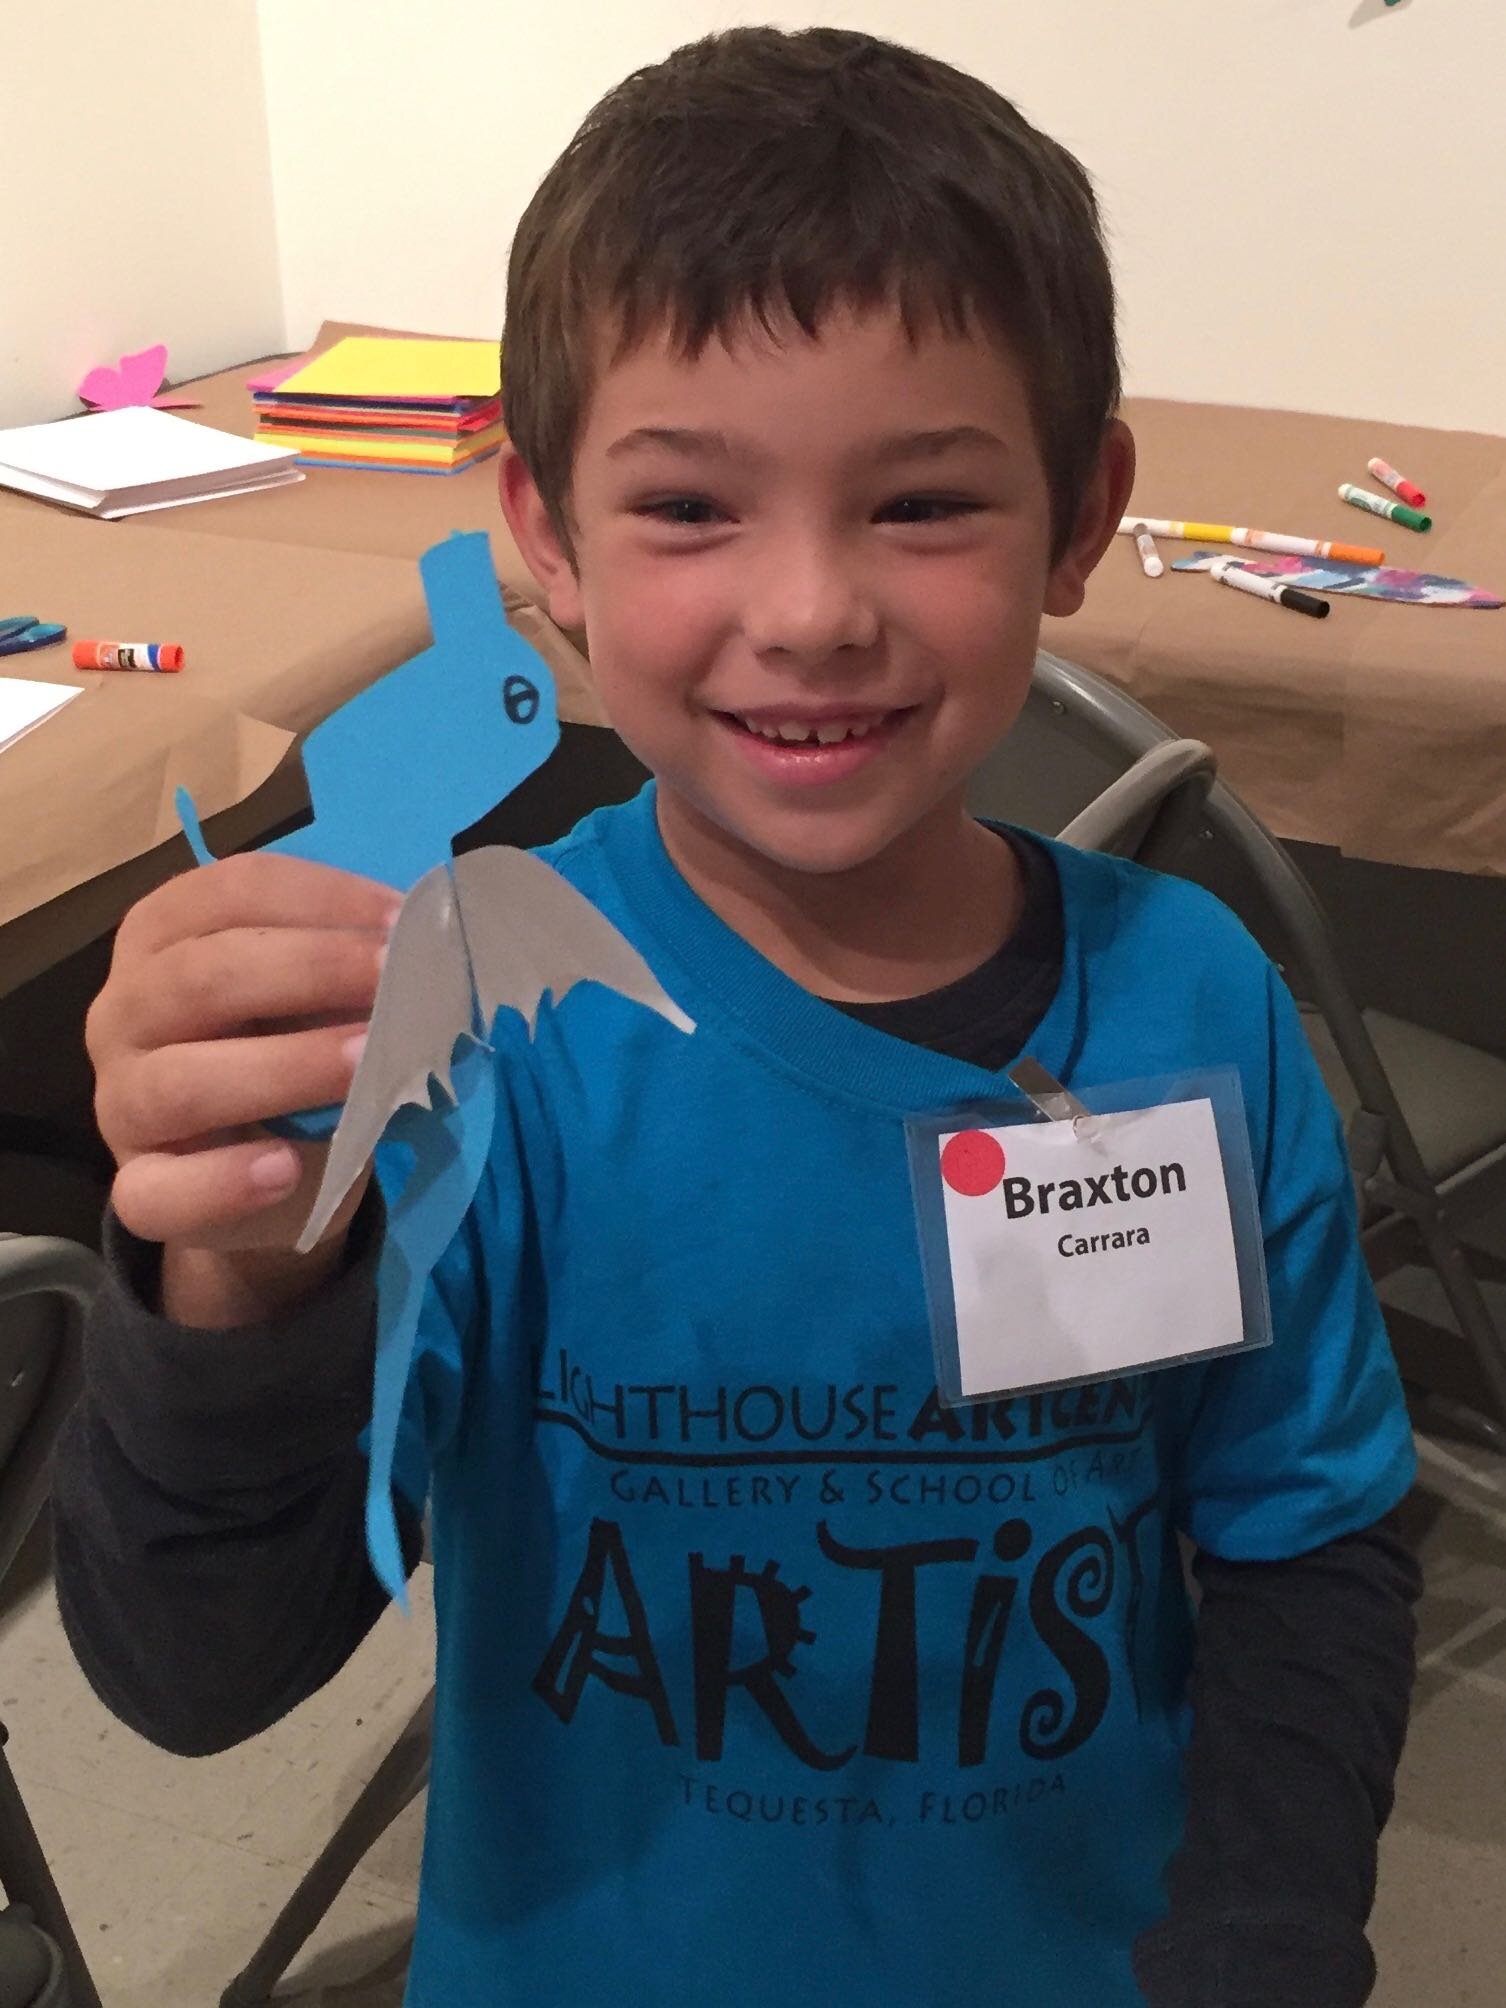
Step 3: Print, cut and construct
To cut by hand: Click the Print button at the top. If you want to color by hand or use color paper, select “Print Cut & Fold Lines” and “Remove Color Fill” on the Print Preview page. Then select Save to PDF and print.
To cut with a Silhouette: If you want to color by hand or use color paper, you can send directly to the cutter. Click the Fabricate button at the top and follow instructions. Tip: Shapes have automatic cut lines, but objects created with the Lines tool do not. To define the outlines of these objects as cut lines, see the “Cut Fold Tab” tutorial or the FabMaker Studio User Guide for details.

What To Do With a Mystery Monster?
Write about your mystery monster. How big is it? How does it move? Where does it live? What does it eat? Does it have any enemies?
Tell a story about your mystery monster.
Now that you’ve honed your design skills, create a herd or flock or an entire habitat complete with flora and fauna.
Share your mystery monster. Post a PDF or picture of your monster. For more share options, see the FabMaker Studio User Guide.
For more information, contact us at info@fablevisionlearning.com. We invite you to join the conversation on Facebook the FabMaker Teacher Group.

Fab@School Team Joins Global Early Childhood Fab Lab Partnership
To help tackle the disruption in the STEM education/career pipeline, FableVision and The Reynolds Center have spent the past five years collaborating with University of Virginia’s successful Fab@School Initiative to bring meaningful STEM teaching and learning to many younger learners and their teachers.
This past January, after years of development, testing and research led by Dr. Glen Bull and Dr. Peggy Healy Stearns, the FableVision/Reynolds Center teams released Fab@School Maker Studio digital design and fabrication software, which is the keystone tool in the Fab@School initiative. Made possible in large measure by the generosity of the Cisco Foundation, Fab@School Maker Studio is an easy-to-use web-based digital design and fabrication tool, which invites students in grades 3-8 to experience STEM and STEAM learning in a more engaging, personally meaningful way.
Maker Studio offers a unique onramp to creating with cross-curricular activities from simple to sophisticated and support for a variety of materials and a range of tools from scissors to inexpensive 2D cutters to 3D printers and laser cutters – all with a single tool. Beginning with paper, cardstock, and cardboard, Maker Studio provides an accessible, low-cost way to imagine, design, invent, and fabricate 2D designs, pop-ups, and 3D projects like geometric constructions and working machines. Maker Studio is part of the national Fab@School research initiative and committed to championing equity & access to quality maker education.
Last year, our Fab@School team was also tapped to join the global Early Childhood Fab Lab Partnership, led by the Teaching Institute for Excellence in STEM (TIES) and MIT Fab Foundation to bring the Fab Lab learning experience to early learners (PreK to Grade 2). Other Early Childhood Fab Lab partners include the Bay Area Discovery Museum, the Center for Childhood Creativity, Virginia Tech’s Institute for Creativity, Arts, and Technology. To support the Early Childhood Fab Lab mission, with generous support from the Noyce Foundation, the FableVision/Reynolds Center teams are now working to create an early education version (PreK-2) of the recently-developed Fab@School Maker Studio software for both formal and informal spaces.

FableFive: Peggy Healy Stearns, Lead Software Designer for Fab@School Maker Studio

Teacher, software designer, and maker movement enthusiast, those are three ways to describe Dr. Peggy Healy Stearns. She's also the lead software designer behind FabMaker Studio, FableVision Learning's new digital/3D Fabrication program for the classroom. And she's no stranger to the classroom, in fact you could say that is where it all began.
"In 1983, when I was teaching 8th grade, I touched my first computer. It was like magic," Peggy said. "I immediately saw the potential and knew I wanted to design software. I bought an Apple IIe, learned to program, and headed to graduate school to earn my doctorate and start my software design career."

For this month's FableFive, Peggy shared a bit about her background in software design, her role in the Maker Movement, and of course Fab@School Maker Studio
1) How did you get connected with FableVision?
While designing my first software programs for Sunburst Communications, I worked as a district technology coordinator and taught at the University at Buffalo. In 1991, I brought my idea for a program called The Graph Club to Tom Snyder Productions (TSP). That’s when I met Peter H. Reynolds, then TSP’s Vice President and Creative Director. Peter designed the graphic interface for The Graph Club and we worked together on collaborative activities based on a mystery theme. Peter wrote his first published book, Fizz and Martina’s Incredible Not-for-Profit Pet Resort, as part of the original Graph Club curriculum. I went on to design Neighborhood MapMachine, Community Construction Kit, Diorama Designer, and Rainforest Designer, and then came back to Peter with the design for a program called Stationery Studio. By then, Peter and his twin brother Paul had founded FableVision. The first version of Stationery Studio was released in 2003 and a new enhanced version in 2010.


2) How did the Fab@School Maker Studio Journey Begin?
In 2008, Glen Bull at the University of Virginia was exploring how 3D printers and inexpensive digital cutters could support STEM education. When Glen came across my software programs, Community Construction Kit and Diorama Designer, he realized these programs addressed similar concepts, except kids cut by hand instead of using electronic cutters. Glen asked me to design onramp software for the Fab@School coalition, which sought to establish the curriculum, instructional resources, software, professional development, and research to support the use of digital design and fabrication in STEM education. I asked Peter and Paul to collaborate on the development of what came to be Fab@School Maker Studio. Since then, the Fab@School collaborative has grown to include multiple school districts, Canon, SITE, the Smithsonian, the FabFoundation, TIES, and other partners.


3) How do you see the Maker Movement impacting the classroom?
The Maker Movement, a powerful example of hands-on project-based learning, has tremendous potential to positively impact the classroom. Making stuff is intrinsically motivating and gives students the opportunity to explore, invent, problem solve, discover, and apply what they’ve learned in an immediate and meaningful context. Making is not so much about the product, but the process, and how children are empowered to construct their own learning. Curiosity and discovery are natural by-products and fuel further explorations and discovery.
Maker projects, like real life, tend to be cross-curricular, so learning takes place in a richer, more meaningful environment. Although we think of the Maker Movement primarily in terms of STEM and STEAM, maker projects offer rich opportunities to integrate multiple curricular areas. When students make things, they have something concrete and of personal interest to talk about and develop language skills in a meaningful context. The Smithsonian Invention Kits go a step further and incorporate history, culture, and consumer science.
The University of Virginia’s preliminary research suggests that these maker projects positively impact measurable learning outcomes.
4) What are some simple ways for schools to create a Maker Space?
Maker spaces don’t have to be hi-tech. You can start with Legos, K’NEX, cardboard, tape, yarn, markers, scissors, and other readily accessible materials. First, create an attractive and inviting space where students feel free to explore, create, collaborate, and invent. Create a culture where mistakes are not only acceptable but understood as a critical part of the process.
In terms of digital design, the big buzz has been about 3D printing. We suggest an affordable, accessible onramp – paper and card stock. With just Fab@School Maker Studio and a single electronic cutter for under $150, students can create pop-ups, 3D models, working machines, and even the Smithsonian Invention Kits. Some projects can be cut by hand, so no cutter is required.
5) What has been your favorite moment working on Fab@School and what is your favorite project to fabricate?
December 2009: Paul made the leap of faith and committed FableVision to the Fab@School journey and Maker Studio development. At that point, few people had heard of 3D printing or even digital design and fabrication, and almost no one saw it’s potential in the classroom. Peter and Paul had faith in the vision and jumped on board this unique creative journey.
Also, Fall 2015, Paul personally took charge of Maker Studio development and brought Andrea Calvin on board, our new FableVision Learning Vice President. Our dream team, with John Lechner, Bill Norris, and Adam Landry, turbo-charged the project and readied Fab@School Maker Studio for release.
Now for my favorite project to fabricate, I like projects with moving parts. I believe they’re not only more motivating, but also provide more opportunities for learning across the curriculum. Projects with moving parts can be simple pop-ups or more involved like an automaton and the curriculum-rich Smithsonian Invention Kits being developed at the University of Virginia.